|
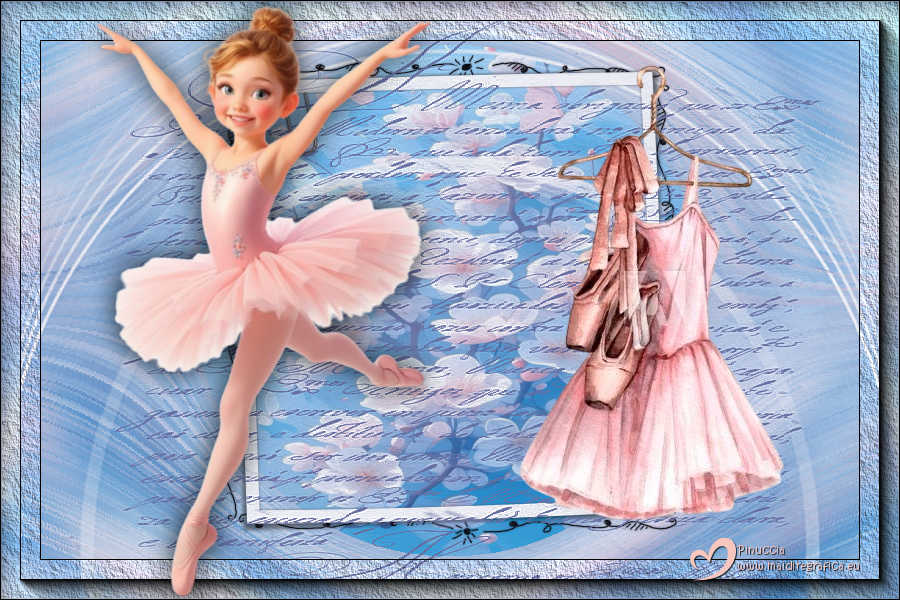
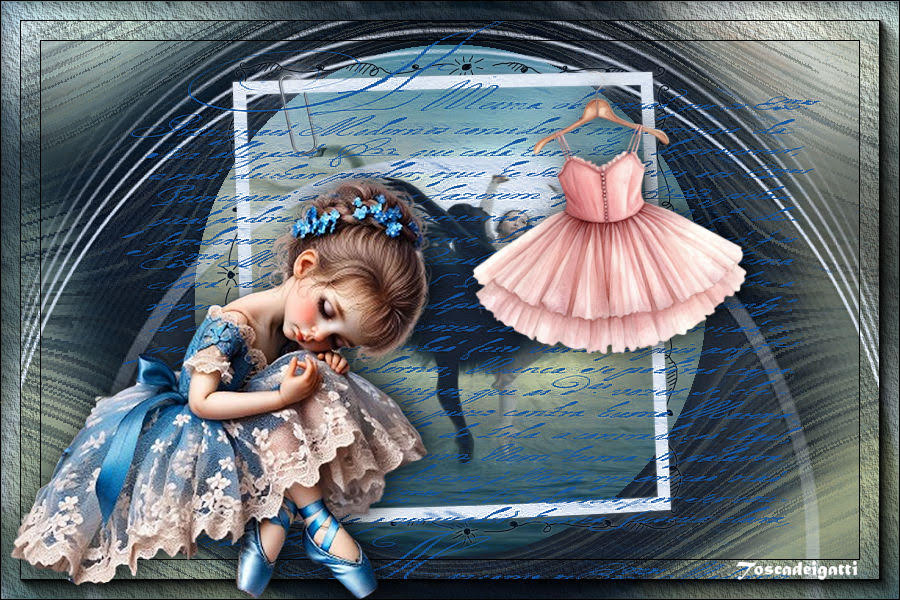
BAILARINA


Thanks Elaine for your invitation to translate your tutorials into english

This tutorial was written with PSP2020 and translated with PSPX9 and PSP2020, but it can also be made using other versions of PSP.
Since version PSP X4, Image>Mirror was replaced with Image>Flip Horizontal,
and Image>Flip with Image>Flip Vertical, there are some variables.
In versions X5 and X6, the functions have been improved by making available the Objects menu.
In the latest version X7 command Image>Mirror and Image>Flip returned, but with new differences.
See my schedule here
 italian translation here italian translation here
For this tutorial, you will need:
1 image
1 tube
1 deco tube.
The rest of the material

For the mask thanks Narah
(The links of the tubemakers here).

consult, if necessary, my filter section here
Filters Unlimited 2.0 here
VM Toolbox - Blast here
AAA Frames - Foto Frame, Texture Frame here
Filters VM Toolbox can be used alone or imported into Filters Unlimited.
(How do, you see here)
If a plugin supplied appears with this icon  it must necessarily be imported into Unlimited it must necessarily be imported into Unlimited

You can change Blend Modes according to your colors.

Open the masks in PSP and minimized them with the rest of the material.
1. Open a new transparent image 900 x 600 pixels.
Selections>Select All.
2. Open your image and go to Edit>Copy.
Go back to your work and go to Edit>Paste into Selection.
Selections>Select None.
3. Adjust>Blur>Gaussian Blur - radius 10.

4. Effects>Image Effects>Seamless Tiling, Side by Side.

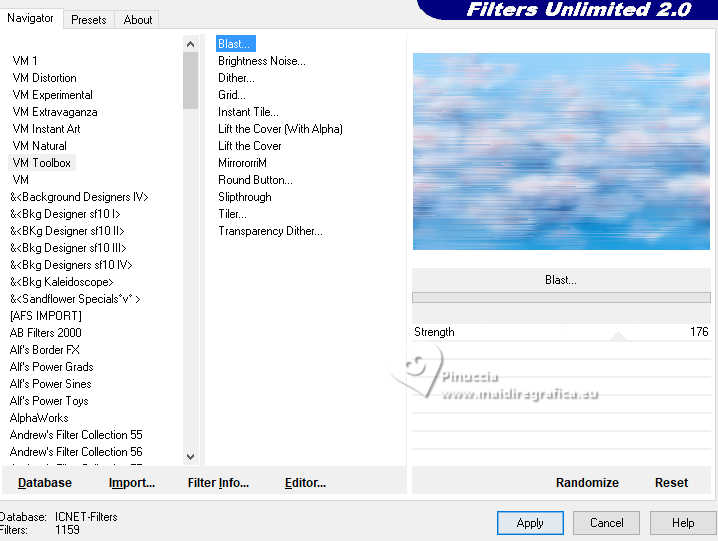
5. Effects>Plugins>Filters Unlimited 2.0 - VM Toolbox - Blast.
6. Effects>Plugins>Filters Unlimited 2.0 - Distortion Filters - Black Hole
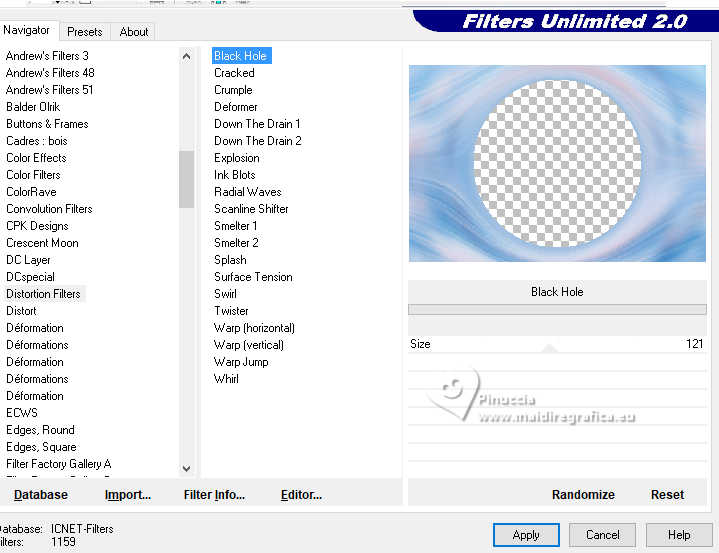
7. Activate your Magic Wand Tool 
and click in the circle to select it.
8. Selections>Modify>Expand - 3 pixels.
9. Layers>New Raster Layer.
Edit>Paste into Selection - your image is still in memory.
Selections>Select None.
10. Layers>Arrange>Move Down.
11. Set your foreground color to white.
Activate the layer Raster 1.
Layers>New Raster Layer.
Flood Fill  the layer with color white. the layer with color white.
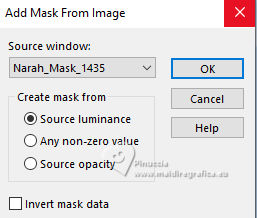
12. Layers>New Mask layer>From image
Open the menu under the source window and you'll see all the files open.
Select the mask Narah_Mask_1435
Effects>Edge Effects>Enhance.
Layers>Merge>Merge Group.
13. Open KPertiet_Doodled-n-Curled.png 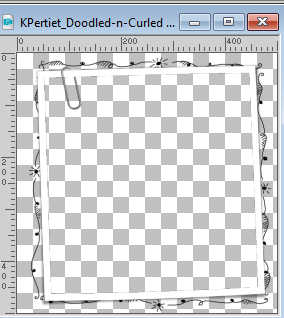
Edit>Copy.
Go back to your work and go to Edit>Paste as new layer.
14. Effects>3D Effects>Drop Shadow.

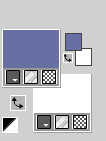
15. Set your foreground color with a dark color of your image;
for me #6870a3.
16. Layers>New Raster Layer.
Flood Fill  the layer with your dark color. the layer with your dark color.
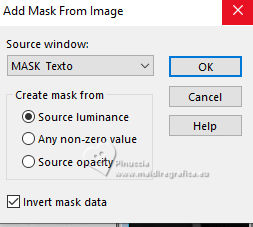
17. Layers>New Mask layer>From image
Open the menu under the source window
and select the mask MASK Texto, Invert mask data checked.
Effects>Edge Effects>Enhance.
Layers>Merge>Merge Group.
18. Layers>Merge>Merge All.
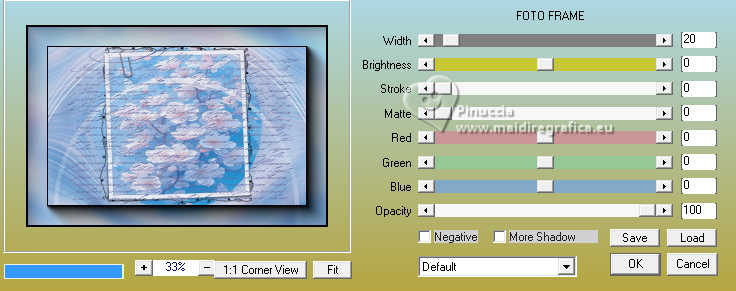
Effects>Plugins>AAA Frames - Foto Frame.
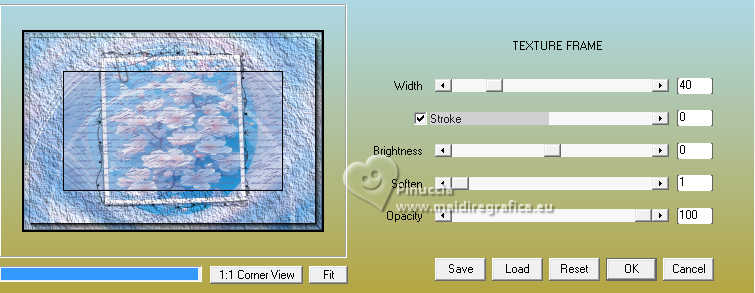
19. Effects>Plugins>AAA Frames - Texture Frame.
20. Open your tube and go to Edit>Copy.
Go back to your work and go to Edit>Paste as new layer.
Image>Resize, if necessary.
Move  the tube to the left, or to your liking. the tube to the left, or to your liking.
Effects>3D Effects>Drop Shadow, at your choice.
21. Open your deco tube and go to Edit>Copy.
Go back to your work and go to Edit>Paste as new layer.
Image>Resize, if necessary.
Move  the tube to the right, or to your liking. the tube to the right, or to your liking.
Effects>3D Effects>Drop shadow, at your choice.
22. Sign your work and save as jpg.
For the tubes of these versions thanks
LoriM.
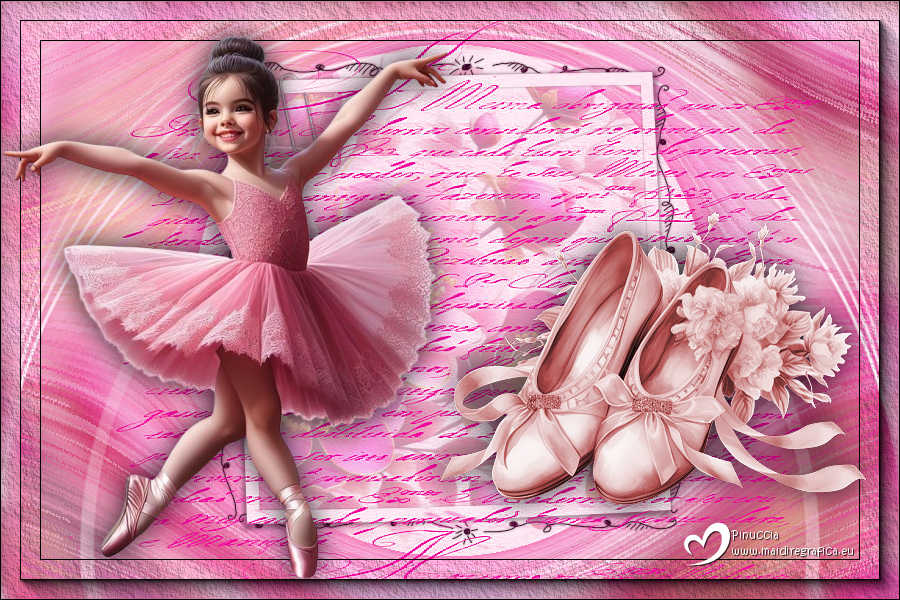
ElFairy
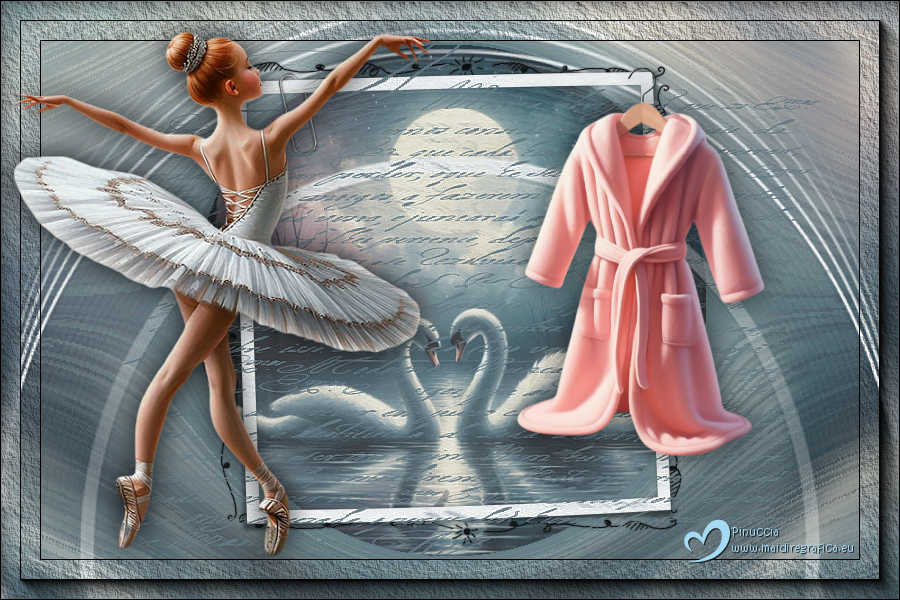

Your versions. Thanks
Tosca dei gatti

If you have problems or doubts, or you find a not worked link, or only for tell me that you enjoyed this tutorial, write to me.
25 August 2025

|

