|
PHOTOGRAPHY


Thanks Elaine for your invitation to translate your tutorials into english

This tutorial was written with PSP2020 and translated with PSPX9 and PSP2020, but it can also be made using other versions of PSP.
Since version PSP X4, Image>Mirror was replaced with Image>Flip Horizontal,
and Image>Flip with Image>Flip Vertical, there are some variables.
In versions X5 and X6, the functions have been improved by making available the Objects menu.
In the latest version X7 command Image>Mirror and Image>Flip returned, but with new differences.
See my schedule here
 italian translation here italian translation here
For this tutorial, you will need:
1 tube
Various elements that match the tube, stamps, cameras...
2 images that match the theme.
The rest of the material

(The links of the tubemakers here).

consult, if necessary, my filter section here
Xero - Porcelain here

You can change Blend Modes according to your colors.
In the newest versions of PSP, you don't find the foreground/background gradient (Corel_06_029).
You can use the gradients of the older versions.
The Gradient of CorelX here

The texture Wet fall leaves or Corel_15_048 is standard in PSP.
If you don't find it in your PSP, copy the one provided in the Textures Folder.
Open the masks in PSP and minimized them with the rest of the material.
1. Open a new transparent image 900 x 600 pixels.
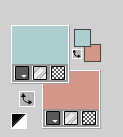
2. Set your foreground color to #adcdd1,
and your background color to #d39789
3. Set your foreground color to a Foreground/Background Gradient, style Linear.
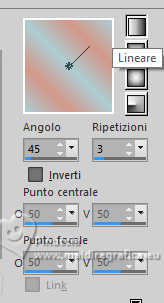
Flood Fill  the transparent image with your Gradient. the transparent image with your Gradient.
4. Effects>Texture Effects>Texture - select the texture Wet fall leaves or Corel_15_048.
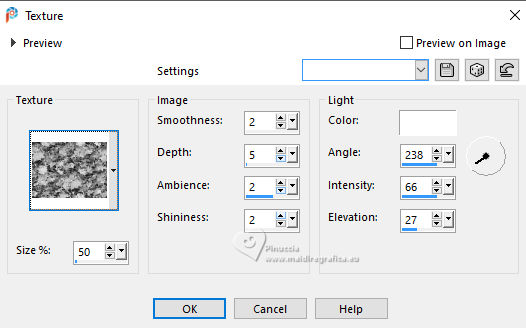
5. Set your foreground color to Color.
Layers>New Raster Layer.
Flood Fill  the layer with your light foreground color #adcdd1. the layer with your light foreground color #adcdd1.
6. Layers>New Mask layer>From image
Open the menu under the source window and you'll see all the files open.
Select the mask Mask Rasgada, Invert mask data checked.
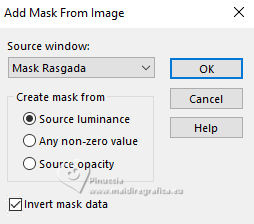
Layers>Merge>Merge Group.
7. Activate your Magic Wand Tool 
and click in the right part of the mask to select it.
8. Layers>New Raster Layer.
Set your foreground color to a gray color, or other that suit the work,
for me #808080.
Flood Fill  the layer for your foreground color. the layer for your foreground color.
9. Layers>New Mask layer>From image
Open the menu under the source window
and select the mask Mask Escrita, Invert mask data not checked.
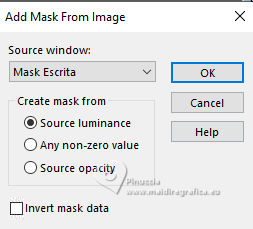
Effects>Edge Effects>Enhance More.
Layers>Merge>Merge Group.
Selections>Select None.
10. Activate again the layer Raster 2.
Select the left part with your Magic Wand Tool 
11. Activate your top layer.
Open your image and go to Edit>Copy.
Go back to your work and go to Edit>Paste into Selection.
12. Effects>Plugins>Xero - Porcelain, default settings.
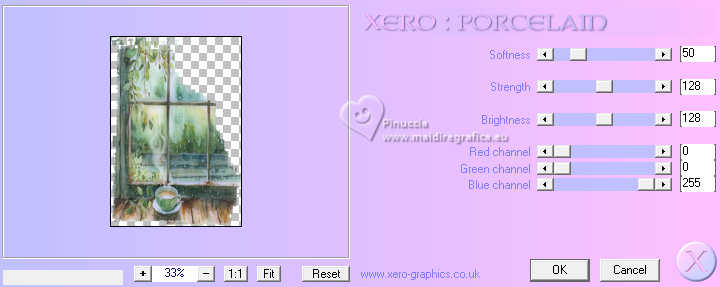
Selections>Select None.
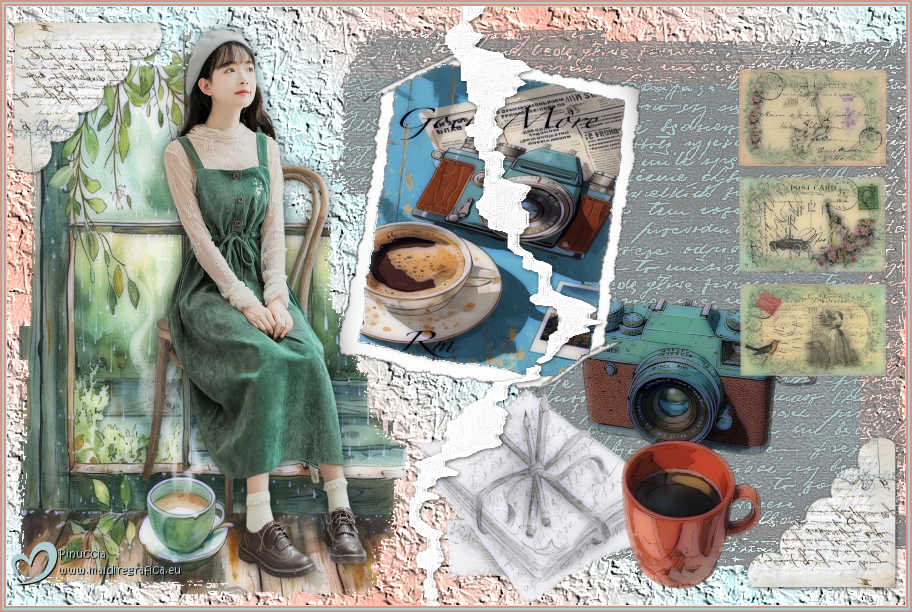
13. Copy>Paste as new layer the elements,
and place them  to your liking. to your liking.
Look at my work for guidance, and you can use other elements of your choice.
Resize each element by 50% for a harmonious look.
14. On each element, apply:
Effects>Plugins>Xero - Porcelain, default settings.
15. Open Abas Tutorial 59 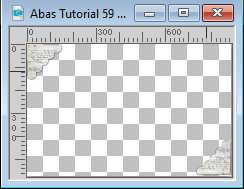
Edit>Copy.
Go back to your work and go to Edit>Paste as new layer.
16. Open Frame Tutorial 59 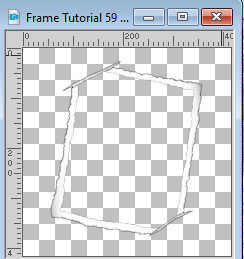
Edit>Copy.
Go back to your work and go to Edit>Paste as new layer.
Click in the frame with your Magic Wand Tool 
17. Layers>New Raster Layer.
Open another themed image and go to Edit>Copy.
Go back to your work and go to Edit>Paste into Selection.
Selections>Select None.
Effects>Plugins>Xero - Porcelain, default settings.
18. Layers>New Raster Layer.
Set your foreground color to white.
Flood Fill  the layer with color white. the layer with color white.
19. Layers>New Mask layer>From image
Open the menu under the source window
and select the mask Mask Rasgada2, Invert mask data not checked.

Effects>Edge Effects>Enhance More.
Layers>Merge>Merge Group.
20. Effects>3D Effects>Drop Shadow.
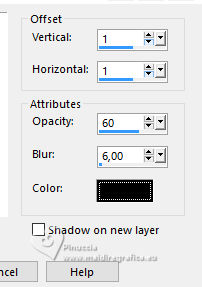
21. Open your tube and go to Edit>Copy.
Go back to your work and go to Edit>Paste as new layer.
Image>Resize, if necessary, resize all layers not checked.
Efects>3D Effects>Drop Shadow, at your choice.
22. Image>Add Borders, 2 pixels, symmetric, color #d39789.
Image>Add Borders, 2 pixels, symmetric, color #adcdd1.
Image>Add Borders, 2 pixels, symmetric, color #d39789.
23. Sign your work and save as jpg.
Version with images by Pinterest
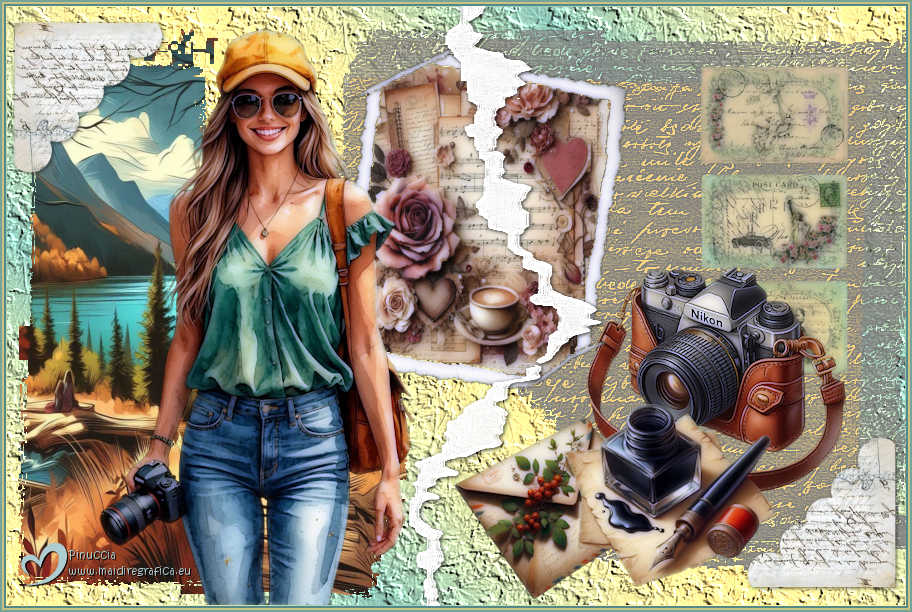

If you have problems or doubts, or you find a not worked link, or only for tell me that you enjoyed this tutorial, write to me.
25 August 2025

|

