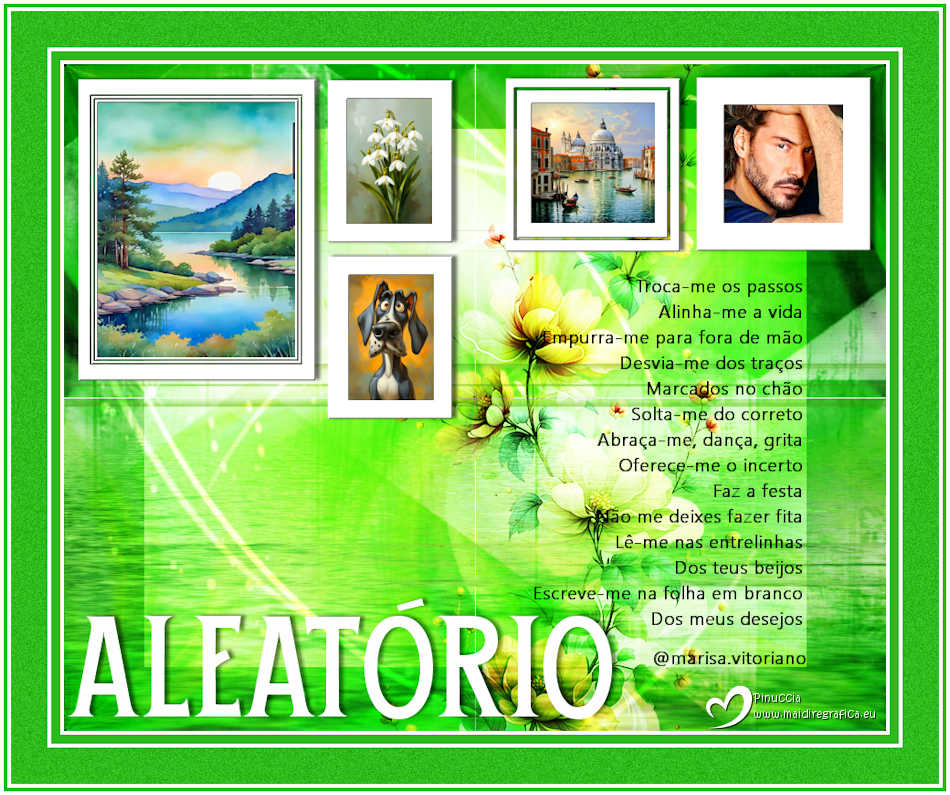
|
ALEATORIO


Thanks Estela for your invitation to translate your tutorials into english

This tutorial, created with PSP2022, was translated with PspX7, but it can also be made using other versions of PSP.
Since version PSP X4, Image>Mirror was replaced with Image>Flip Horizontal,
and Image>Flip with Image>Flip Vertical, there are some variables.
In versions X5 and X6, the functions have been improved by making available the Objects menu.
In the latest version X7 command Image>Mirror and Image>Flip returned, but with new differences.
See my schedule here
 French Translation here French Translation here
 Your versions here Your versions here

For this tutorial, you will need:

Material by Estela Fonseca
(The links of the tubemakers here).
*It is forbidden to remove the watermark from the supplied tubes, distribute or modify them,
in order to respect the work of the authors

consult, if necessary, my filter section here
Filters Unlimited 2.0 here
&<Sandflower Specials°V°> (to import in Unlimited) here
Mock - Windo here
Mura's Seamless - Emboss at Alpha here
Flaming Pear - Flood here
Filters Mock and Mura's Seamless can be used alone or imported into Filters Unlimited.
(How do, you see here)
If a plugin supplied appears with this icon  it must necessarily be imported into Unlimited it must necessarily be imported into Unlimited

You can change Blend Modes according to your colors.

Open the mask in PSP and minimize it with the rest of the material.
1. Open EF-Aleatorio_Alfa.
Window>Duplicate or, on the keyboard, shift+D to make a copy.

Close the original.
The copy, that will be the basis of your work, is not empty,
but contains the selections saved to alpha channel.
Selections>Selectionner tout.
2. Open the image EF-Aleatorio_Fundo 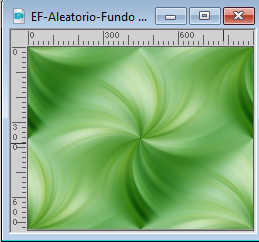
Edit>Copy.
Go back to your work and go to Edit>Paste into Selection.
Selections>Select None.
3. Effects>Plugins>Filters Unlimited 2.0 - &<Sandflower Specials°V°> - Color Boosterz
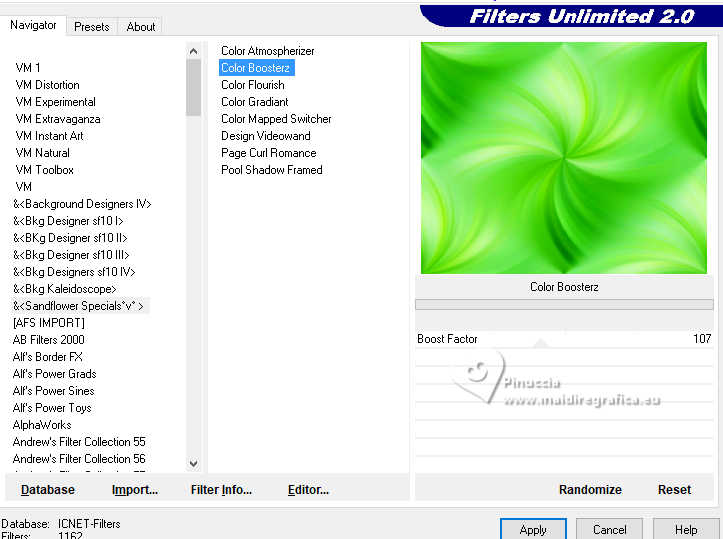
4. Effects>Plugins>Filters Unlimited 2.0 - Mock - Windo.
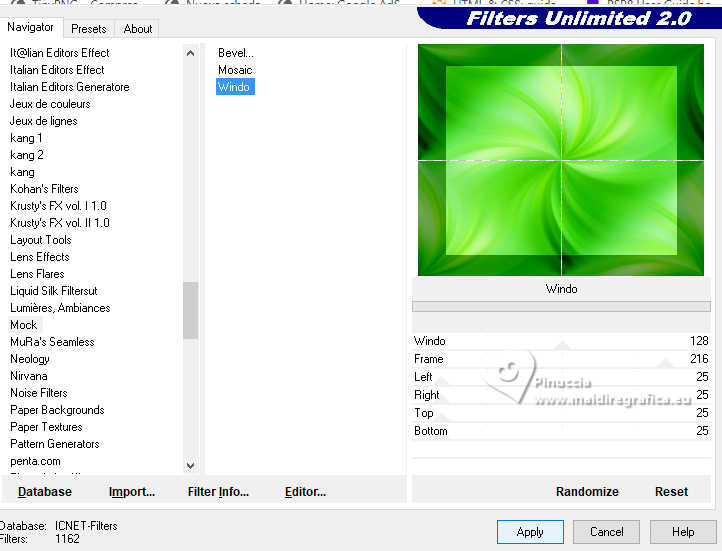
5. Open EF-Aleatorio_Deco_1 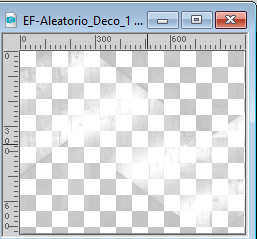
Edit>Copy.
Go back to your work and go to Edit>Paste as new layer.
Reduce the opacity of this layer to 63%.
Layers>New Raster Layer.
Set your foreground color to #5f873a.
Flood Fill  the layer with your foreground color. the layer with your foreground color.
6. Layers>New Mask layer>From image
Open the menu under the source window and you'll see all the files open.
Select the mask EF-Mask_Aleatorio.
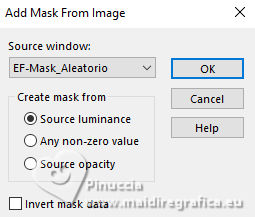
Layers>Merge>Merge Group.
7. Open EF-Aléatorio_Deco_2 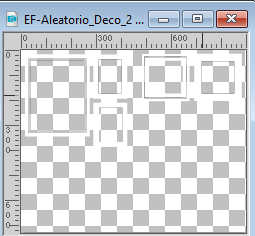
Edit>Copy.
Go back to your work and go to Edit>Paste as new layer.
Don't move.
8. Layers>New Raster Layer.
Selections>Load/Save Selection>Load Selection from Alpha Channel.
The selection Selection #1 is immediately available. You just have to click Load.
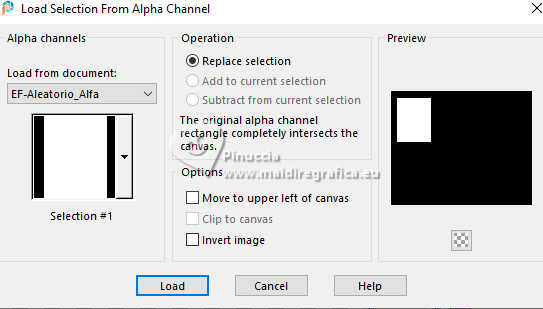
Open Gráfico-1 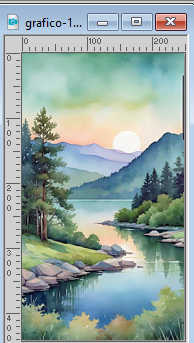
Edit>Copy.
Go back to your work and go to Edit>Paste into Selection.
9. Stay on this layer.
Selections>Load/Save Selection>Load Selection from Alpha Channel.
Open the selections menu and load the selection Selection #2
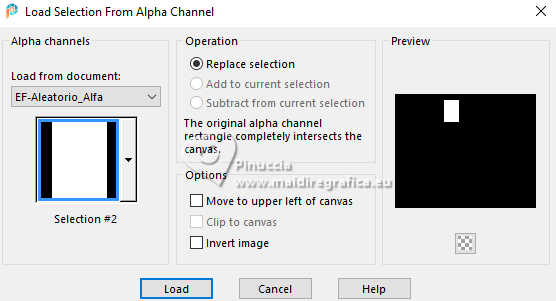
The new selection will replace the previous one.
Open Gráfico-2 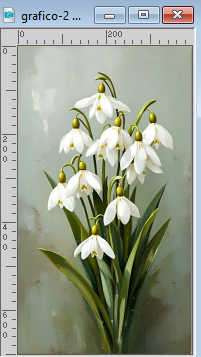
Edit>Copy.
Go back to your work and go to Edit>Paste into Selection.
10. Stay on this layer.
Selections>Load/Save Selection>Load Selection from Alpha Channel.
Open the selections menu and load the selection Selection #3
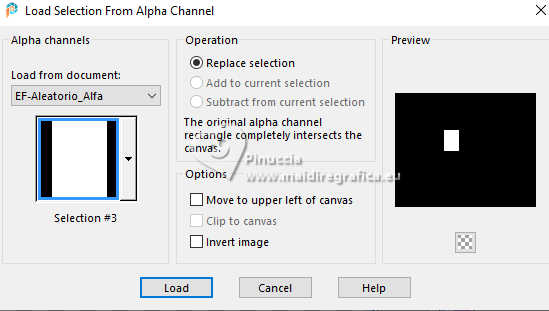
Open Gráfico-3 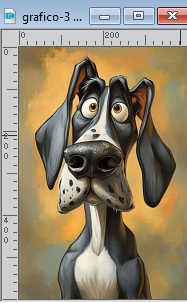
Edit>Copy.
Go back to your work and go to Edit>Paste into Selection.
11. Always on the same layer.
Selections>Load/Save Selection>Load Selection from Alpha Channel.
Open the selections menu and load the selection Selection #4
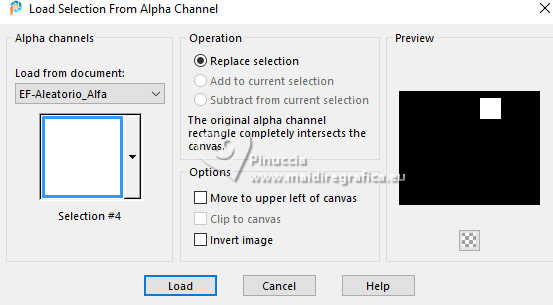
Open Gráfico-4 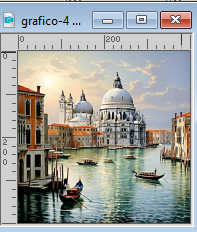
Edit>Copy.
Go back to your work and go to Edit>Paste into Selection.
12. On this layer.
Selections>Load/Save Selection>Load Selection from Alpha Channel.
Open the selections menu and load the selection Selection #5
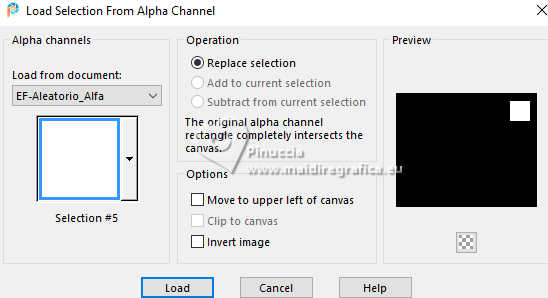
Open Gráfico-5 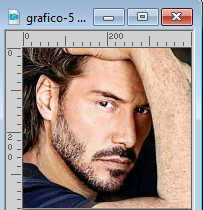
Edit>Copy.
Go back to your work and go to Edit>Paste into Selection.
Selections>Select None.
14. Adjust>Hue and Saturation>Vibrancy
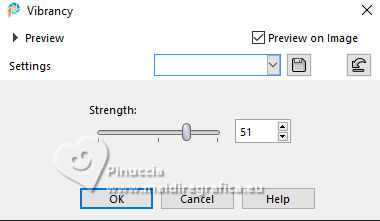
Activate the layer below, raster 3.
Effects>Plugins>Mura's Seamless - Emboss at Alpha, default settings
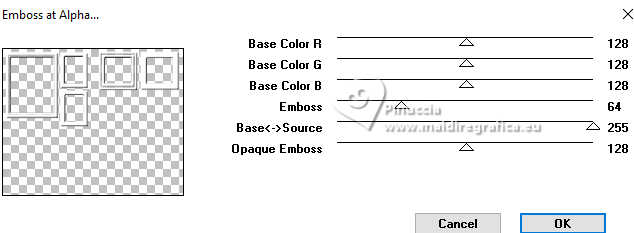
15. Activate your top layer.
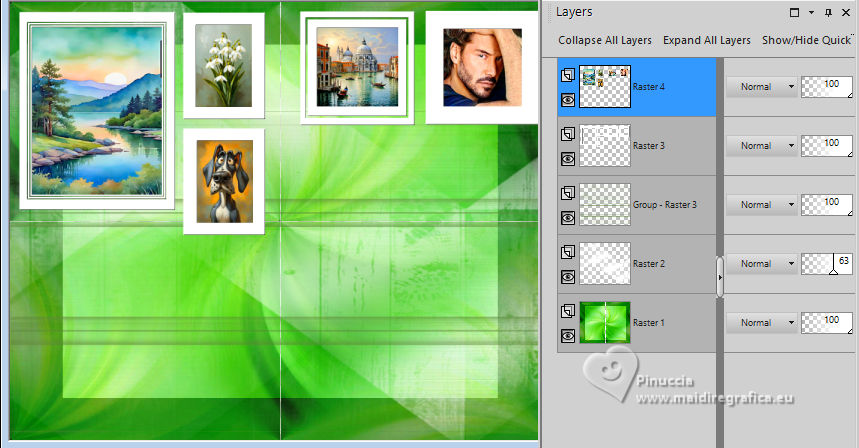
Layers>Merge>Merge Down.
Effects>3D Effects>Drop Shadow, color #000000.

16. Open the tube Floral 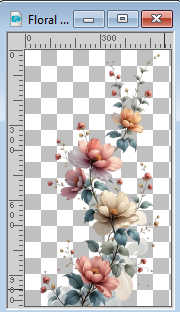
Edit>Copy.
Go back to your work and go to Edit>Paste as new layer.
Image>Resize, to 85%, resize all layers not checked.
Layers>Arrange>Move Down.
Change the Blend Mode of this layer to Hard Light, or other, according to your colors.
17. K key to activate your Pick Tool 
Position X: 337,00 - Position Y: -58,00.

Close your top layer.
Layers>Merge>Merge Visible.
Open your top layer and stay on the layer Merged.
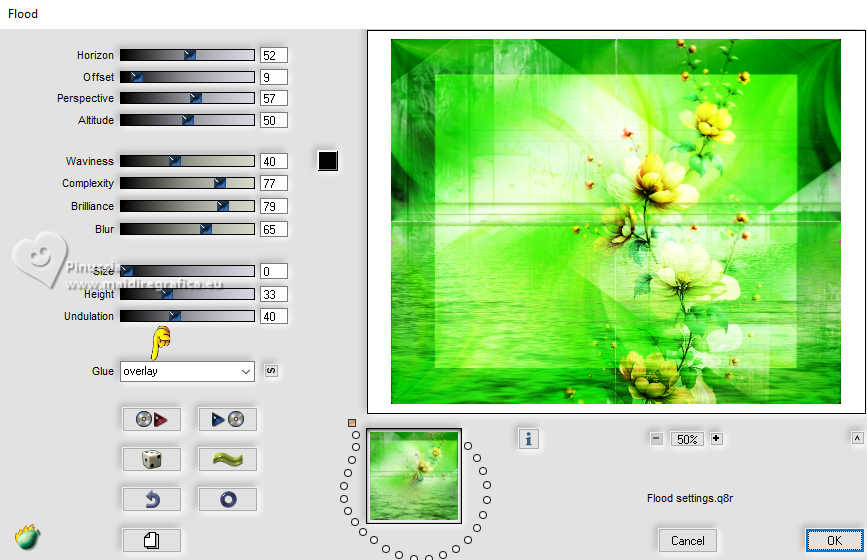
18. Effects>Plugins>Flaming Pear - Flood.
19. Open EF-Aléatorio_Deco_3 
Edit>Copy.
Go back to your work and go to Edit>Paste as new layer.
Pick Tool (K) 
Position X: 515,00 - Position Y: 236,00.

M key to deselect the Tool.
Image>Negative Image.
20. Open Aléatorio_Deco_4 
Edit>Copy.
Go back to your work and go to Edit>Paste as new layer.
Move  the text at the bottom left. the text at the bottom left.
21. Effects>3D Effects>Drop Shadow, same settings.

22. Open Aléatorio_Deco_5 
Edit>Copy.
Go back to your work and go to Edit>Paste as new layer.
Don't move.
Change the Blend Mode of this layer to Overlay.
23. Layers>Merge>Merge All.
Image>Add Borders, 4 pixels, symmetric, color #ffffff.
Image>Add Borders, 10 pixels, symmetric, color #2cbb1a.
Image>Add borders, 4 pixels, symmetric, color #ffffff.
Image>Add borders, 40 pixels, symmetric, color #2cbb1a.
Image>Add Borders, 4 pixels, symmetric, color #ffffff.
Image>Add Borders, 4 pixels, symmetric, color #2cbb1a.
Image>Add borders, 4 pixels, symmetric, color #ffffff.
24. Activate your Magic Wand Tool  , tolerance and feather 0, , tolerance and feather 0,
and click in the border of 40 pixels to select it.
25. Adjust>Add/Remove Noise>Add Noise.
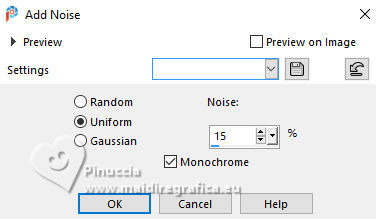
Selections>Select None.
26. Image>Resize, 850 pixels width, resize all layers checked.
Sign your work on a new layer.
Layers>Merge>Merge All and save as jpg.
Version with Pinterest images
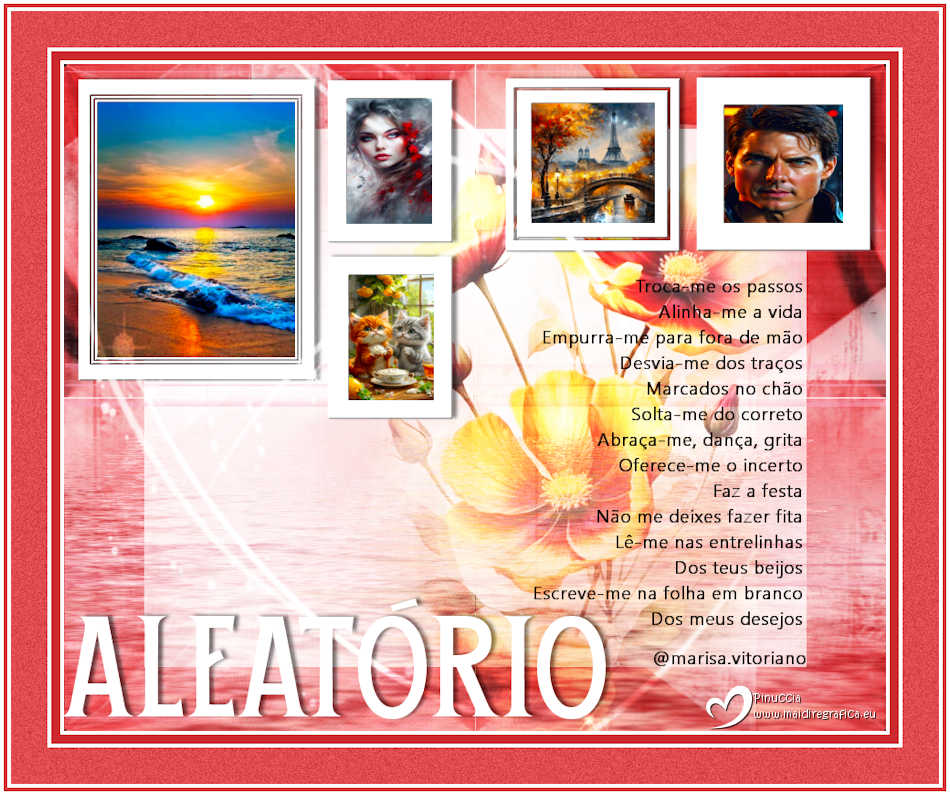


If you have problems or doubts, or you find a not worked link,
or only for tell me that you enjoyed this tutorial, write to me.
24 Juillet 2025

|

