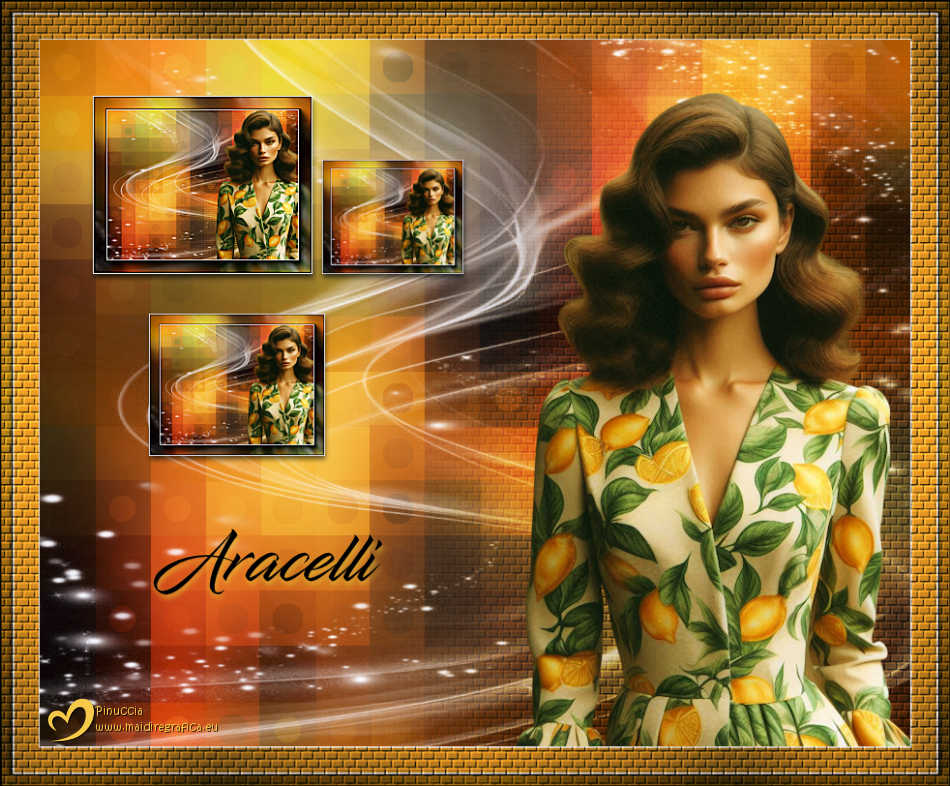
|
ARACELLI


Thanks Estela for your invitation to translate your tutorials into english

This tutorial, created with PSP2022, was translated with PspX7, but it can also be made using other versions of PSP.
Since version PSP X4, Image>Mirror was replaced with Image>Flip Horizontal,
and Image>Flip with Image>Flip Vertical, there are some variables.
In versions X5 and X6, the functions have been improved by making available the Objects menu.
In the latest version X7 command Image>Mirror and Image>Flip returned, but with new differences.
See my schedule here
 French Translation here French Translation here
 Your versions here Your versions here

For this tutorial, you will need:

Material by Estela Fonseca
(The links of the tubemakers here).
*It is forbidden to remove the watermark from the supplied tubes, distribute or modify them,
in order to respect the work of the authors

consult, if necessary, my filter section here
Filters Unlimited 2.0 here
Neology - Sinus Wave, Vasarely Mosaics here
Adjust - Variation here
Simple - 4Way Average here
Graphics Plus - Cross Shadow here
AAA Frames - Foto Frame here
Filters Neology, Simple and Graphics Plus can be used alone or imported into Filters Unlimited.
(How do, you see here)
If a plugin supplied appears with this icon  it must necessarily be imported into Unlimited it must necessarily be imported into Unlimited

You can change Blend Modes according to your colors.

Copy the texture ladrillo in the Textures Folder.
1. Open a new transparent image 900 x 730 pixels.
Selections>Select All.
2. Open BG-Gerado_AI-EF 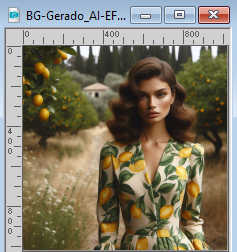
Edit>Copy.
Go back to your work and go to Edit>Paste into Selection.
Selections>Select None.
3. Effects>Image Effects>Seamless Tiling, default settings.

Adjust>Blur>Gaussian Blur - radius 40.

Adjust>Hue and Saturation>Vibrancy.
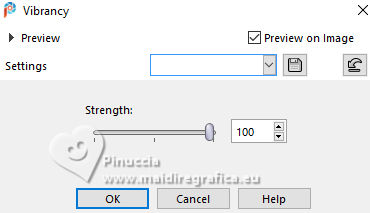
4. Layers>Duplicate.
Effects>PluginsFilters Unlimited 2.0 - Neology - Sinus Wave, default settings.

Effects>PluginsFilters Unlimited 2.0 - Neology - Vasarely Mosaics.
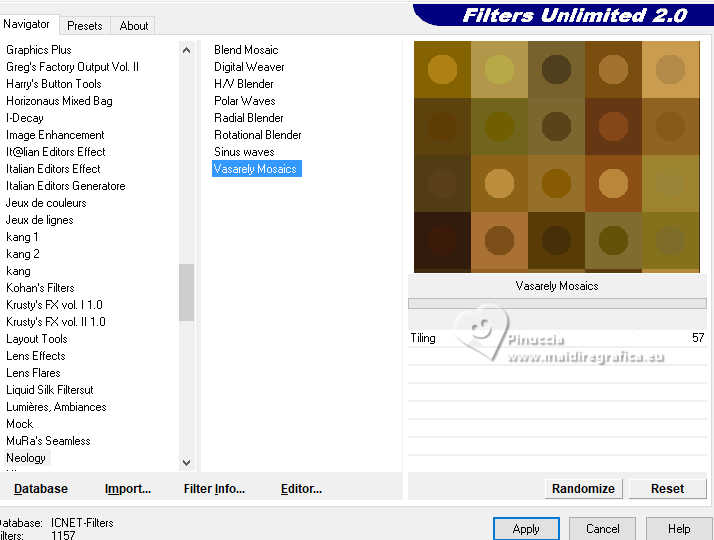
5. Effects>Edge Effects>Erode.
Change the Blend Mode of this layer to Hard Light.
Layers>Merge>Merge Down.
6. Open EF-Aracelli_Deco_1 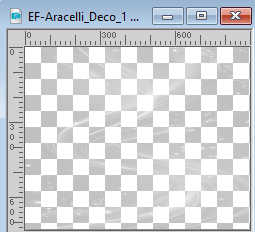
Edit>Copy.
Go back to your work and go to Edit>Paste as new layer.
Don't move.
6. Open the tube EF-TubeMulher-Gerado_por_AI.png 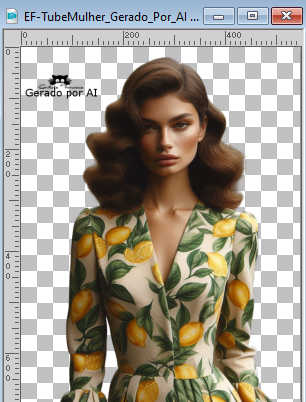
Erase the watermark and go to Edit>Copy.
Go back to your work and go to Edit>Paste as new layer.
Move  the tube to the right (see my example). the tube to the right (see my example).
Note by the autheur: The next step is optional - I used it to lighten my tube a little.
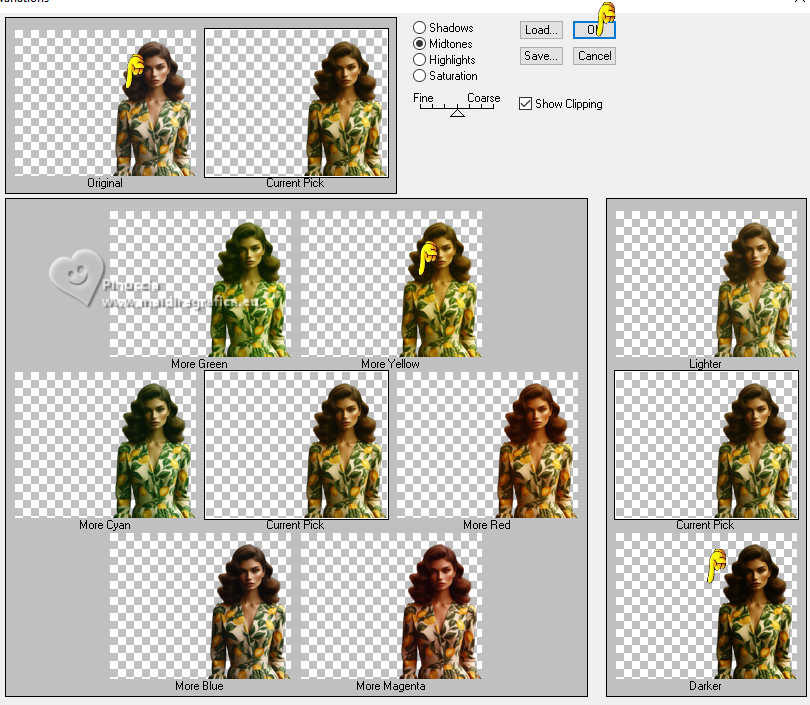
Effects>Plugins>Adjust - Variation
un click on Original, un click on More Yellow, un clic on Darker and ok.
8. Layers>Duplicate.
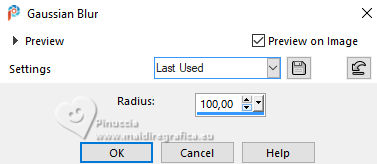
Adjust>Blur>Gaussian Blur - radius 100.
Effects>Texture Effects>Texture - select the texture ladrillo
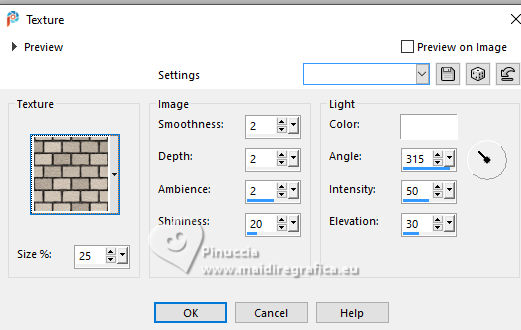
Change the Blend Mode of this layer to Overlay.
Layers>Arrange>Move Down.
9. Edit>Copy Special>Copy Merged.
Edit>Paste as new image.
Work on this image.
Image>Resize, to 25%, resize all layers checked.
10. Effects>Plugins>AAA Frames - Foto Frame
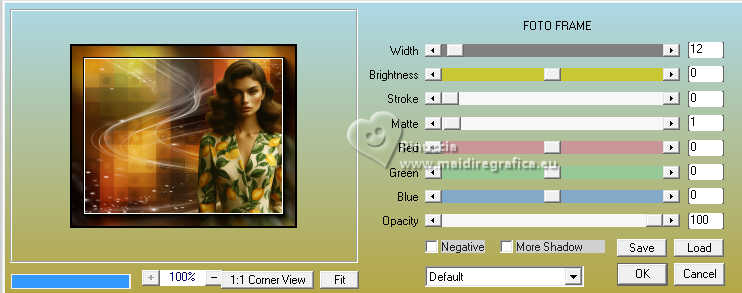
Image>Add Borders, 1 pixel, symmetric, color white.
Edit>Copy.
11. Go back to your work.
Activate your top layer.
Edit>Paste as new layer.
12. K key to activate your Pick Tool 
Position X: 55,00 - Position Y: 58,00.

Adjust>Sharpness>Sharpen More.
13. Layers>Duplicate.
Image>Resize, to 80%, resize all layers not checked.
Position X: 113,00 - Position Y: 283,00.

14. Layers>Duplicate.
Image>Resize, to 80%, resize all layers not checked.
Position X: 292,00 - Position Y: 124,00.

M key to deselect the Tool.
Layers>Merge>Merge Down - 2 times.
Effects>3D Effects>Drop Shadow, color #000000.
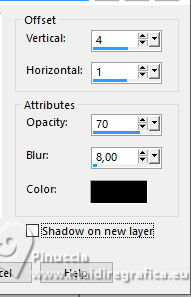
15. Image>Add Borders, 1 pixel, symmetric, color #ffffff.
Image>Add Borders, 40 pixels, symmetric, color #a76d14.
Activate your Magic Wand Tool  , tolerance and feather 0, , tolerance and feather 0,
and click in the last border to select it.
Effects>Plugins>Graphics Plus - Cross Shadow, default settings.
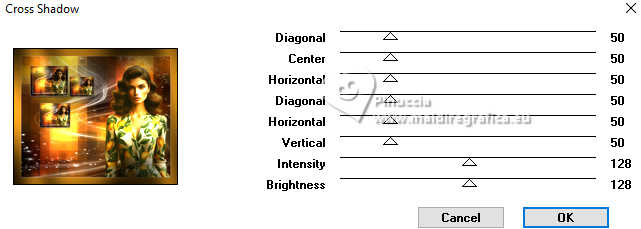
16. Effects>Plugins>AAA Frames - Foto Frame, same settings.
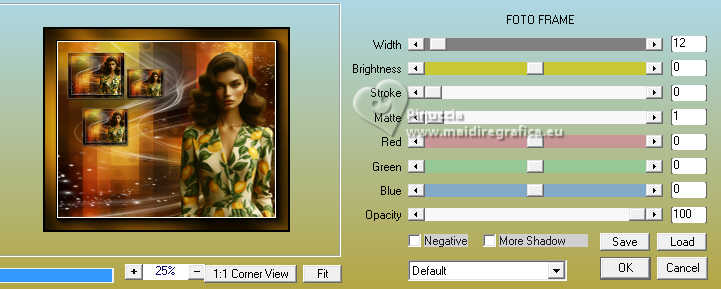
Effects>Plugins>Simple - 4Way Average.
Effects>Texture Effects>Texture, same settings.

Adjust>One Step Photo Fix.
Selections>Select None.
17. Open EF-Aracelli_Texto 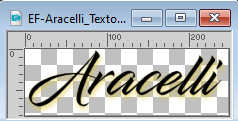
Edit>Copy.
Go back to your work and go to Edit>Paste as new layer.
The text has already its Drop Shadow.
Place  the text to your liking. the text to your liking.
18. Image>Resize, 850 pixels width, resize all layers checked.
Sign your work.
Layers>Merge>Merge All and save as jpg.
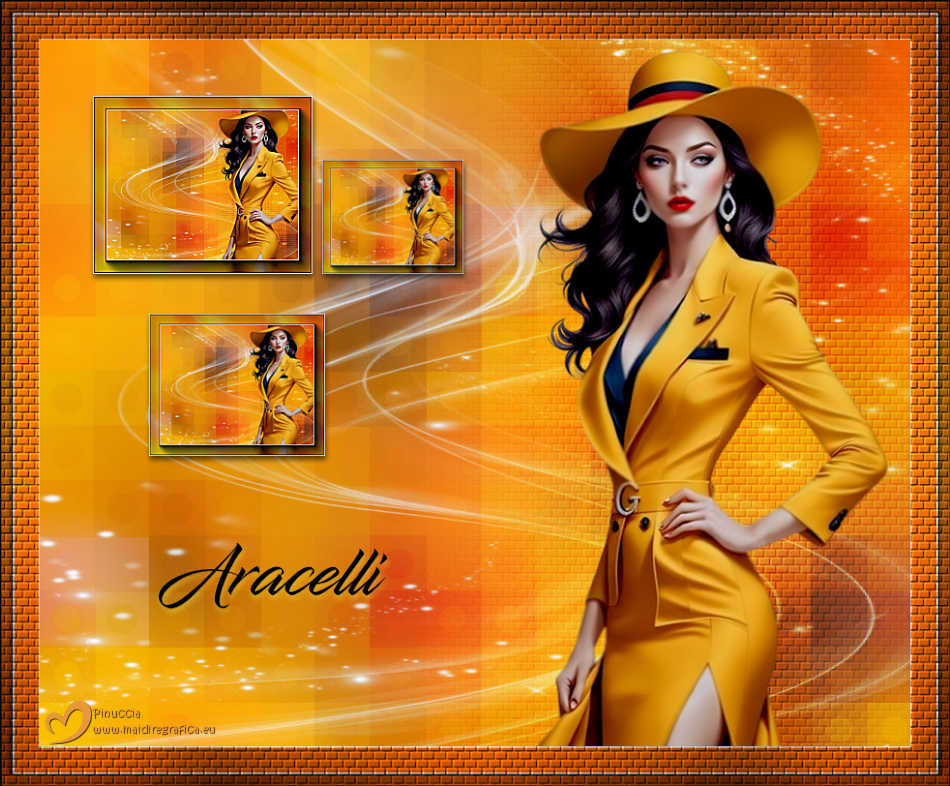
For the tube of this version thanks Luz Cristina


If you have problems or doubts, or you find a not worked link,
or only for tell me that you enjoyed this tutorial, write to me.
3 Juillet 2025

|

