|
AROMA


Thanks Estela for your invitation to translate your tutorials into english

This tutorial, created with PSP2022, was translated with PspX9 and 2020, but it can also be made using other versions of PSP.
Since version PSP X4, Image>Mirror was replaced with Image>Flip Horizontal,
and Image>Flip with Image>Flip Vertical, there are some variables.
In versions X5 and X6, the functions have been improved by making available the Objects menu.
In the latest version X7 command Image>Mirror and Image>Flip returned, but with new differences.
See my schedule here
 French Translation here French Translation here
 Your versions here Your versions here

For this tutorial, you will need:

Tube from images Pinterest
Other material created by EF for this tutorial.
(The links of the tubemakers here).

consult, if necessary, my filter section here
Filters Unlimited 2.0 here
VM 1 - Mighty Maze (to import in Unlimited) here
FM Tile Tools - Saturation Emboss here

You can change Blend Modes according to your colors.

Copy the preset in the Presets Folder.
1. Open a new transparent image 900 x 730 pixels.
Selections>Select All.
2. Open the image gráfico 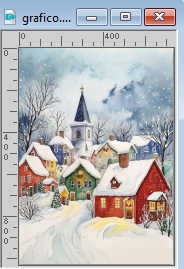
Edit>Copy.
Go back to your work and go to Edit>Paste into Selection.
Selections>Select None.
3. Effects>Image Effects>Seamless Tiling.

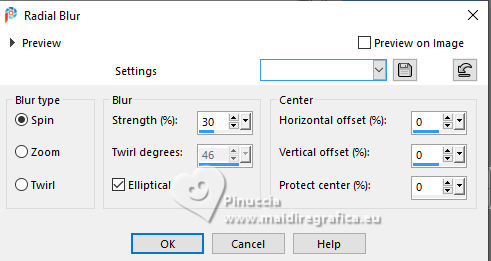
4. Adjust>Blur>Radial Blur.
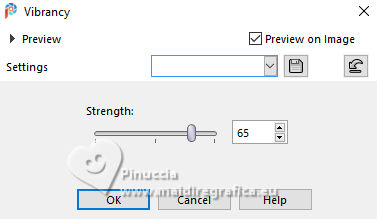
5. Adjust>Hue and Saturation>Vibrancy
6. Layers>Duplicate.
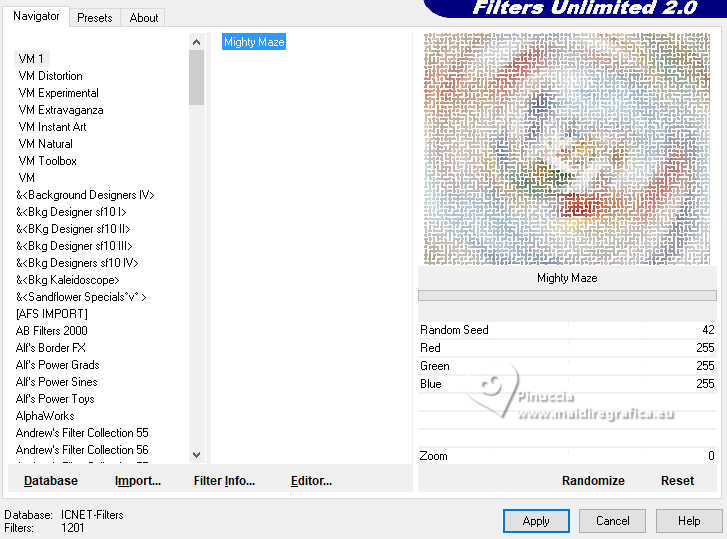
Effects>Plugins>Filters Unlimited 2.0 - VM 1 - Mighty Maze, default settings.
7. Change the Blend Mode of this layer to Soft Light.
Effects>User Defined filter - Emboss 3.

8. Layer>Merge>Merge visible.
9. Open EF-Aroma_Deco_1 
Edit>Copy.
Go back to your work and go to Edit>Paste as new layer.
10. Open the tube EF-Aroma_Misted 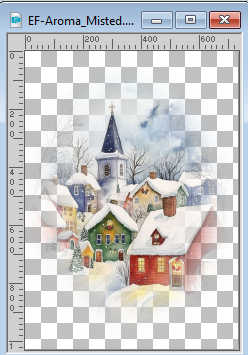
Edit>Copy.
Go back to your work and go to Edit>Paste as new layer.
11. Effects>Plugins>FM Tile Tools - Saturation Emboss, default settings.

12. Layers>Arrange>Move Down.
Activate your top layer.
13. Open EF-Aroma_Deco_2 
Edit>Copy.
Go back to your work and go to Edit>Paste as new layer.
14. Open EF-Aroma_Deco_3 
Edit>Copy.
Go back to your work and go to Edit>Paste as new layer.
15. Set your foreground color to #a5483f 
Activate your Color Changer Tool 
Fill the tube with your foreground color.
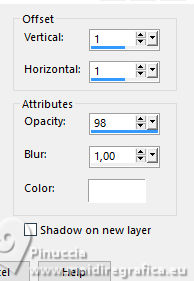
16. Effects>3D Effects>Drop Shadow, color #ffffff.
17. Your tag and the layers

Layers>Merge>Merge visible.
18. Adjust>Hue and Saturation>Vibrancy, same settings

19. Image>Add Borders, 4 pixels, symmetric, color #ffffff.
Image>Add Borders, 4 pixels, symmetric, color #e30000  . .
Image>Add Borders, 40 pixels, symmetric, color #ffffff.
20. Activate your Magic Wand Tool  , tolerance and feather 0, , tolerance and feather 0,
and click in the last border to select it.
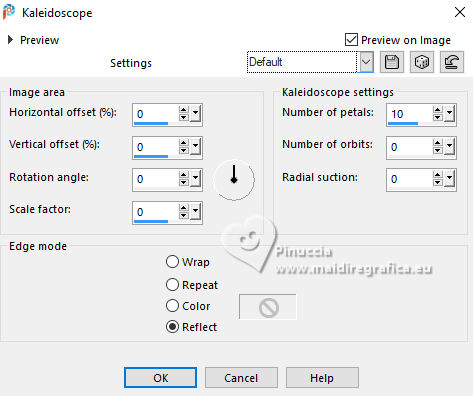
21. Effects>Reflection Effects>Kaleidoscope, default settings.
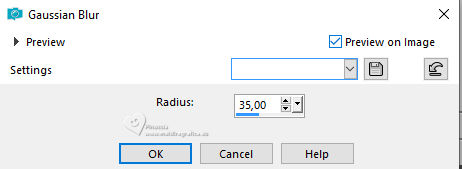
22. Adjust>Blur>Gaussian Blur - radius 35.
23. Selections>Promote Selection to Layer.
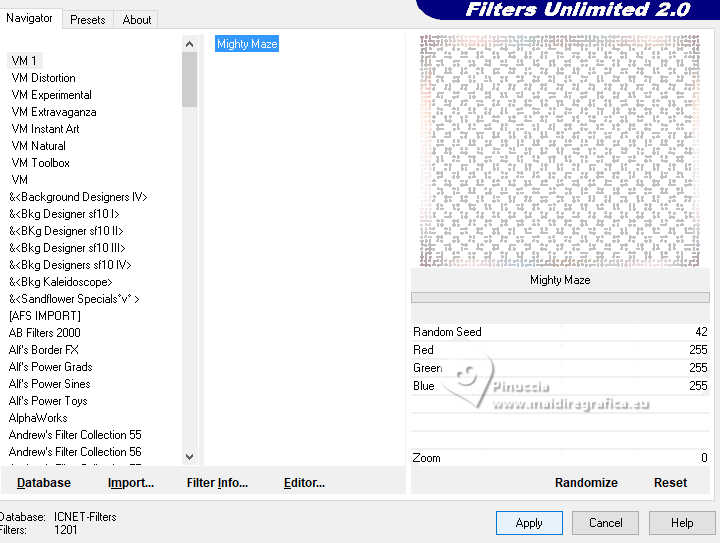
24. Effects>Plugins>Filters Unlimited 2.0 - VM1 - Mighty Maze, default settings
25. Change the Blend Mode of this layer to Soft Light.
Effects>User Defined Filter - Emboss 3.

Selections>Select None.
26. Open the tube EF-Arome_1007 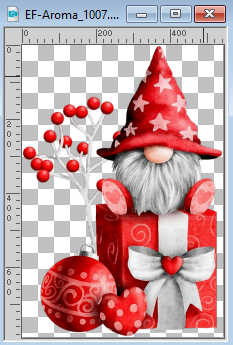
Edit>Copy.
Go back to your work and go to Edit>Paste as new layer.
Image>Resize, to 85%, resize all layers not checked.
Adjust>Sharpness>Sharpen.
27. K key to activate your Pick Tool 
Position X: 503,00 - Position Y: 132,00.

M key to deselect the Tool.
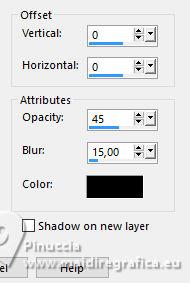
28. Effects>3D Effects>Drop Shadow, color #000000.
29. Open EF-Aroma_Deco_4 
Edit>Copy.
Go back to your work and go to Edit>Paste as new layer.
Place  the tube to your liking. the tube to your liking.
Layers>Duplicate.
Change the Blend Mode of this layer to Hard Light.
30. Sign your work.
Image>Add Borders, 4 pixels, symmetric, color #e30000
Save as jpg.



If you have problems or doubts, or you find a not worked link,
or only for tell me that you enjoyed this tutorial, write to me.
6 December 2025

|

