|
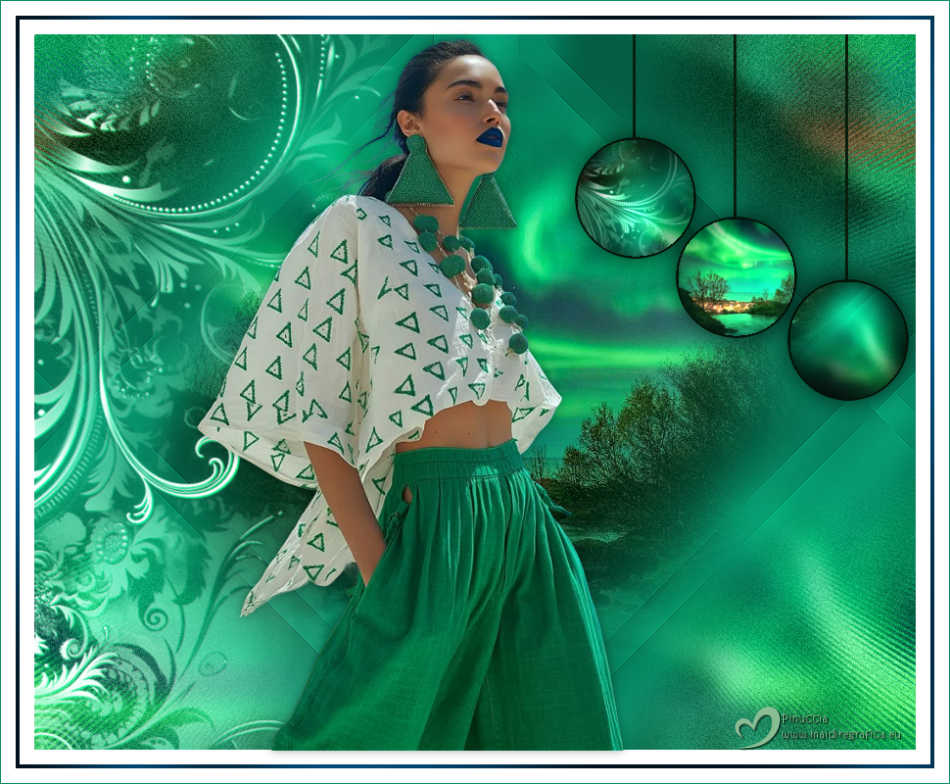
AURORA BOREALE


Thanks Estela for your invitation to translate your tutorials into english

This tutorial, created with PSP2022, was translated with PspX9 and 2020, but it can also be made using other versions of PSP.
Since version PSP X4, Image>Mirror was replaced with Image>Flip Horizontal,
and Image>Flip with Image>Flip Vertical, there are some variables.
In versions X5 and X6, the functions have been improved by making available the Objects menu.
In the latest version X7 command Image>Mirror and Image>Flip returned, but with new differences.
See my schedule here
 French Translation here French Translation here
 Your versions here Your versions here
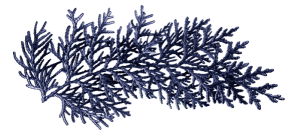
For this tutorial, you will need:

Material created from images Pinterest
(The links of the tubemakers here).

consult, if necessary, my filter section here
Filters Unlimited 2.0 here
&<Background Designers IV> - Night Shadow Pool, Slice N Dice (à importer dans Unlimited) here
Toadies - What are you here
Graphics Plus - Cross Shadow here
Filters Toadies and Graphics Plus can be used alone or imported into Filters Unlimited.
(How do, you see here)
If a plugin supplied appears with this icon  it must necessarily be imported into Unlimited it must necessarily be imported into Unlimited

You can change Blend Modes according to your colors.

Set your foreground color to #068562  . .
1. Open a new transparent image 900 x 730 pixels.
Flood Fill  the transparent image with your foreground color. the transparent image with your foreground color.
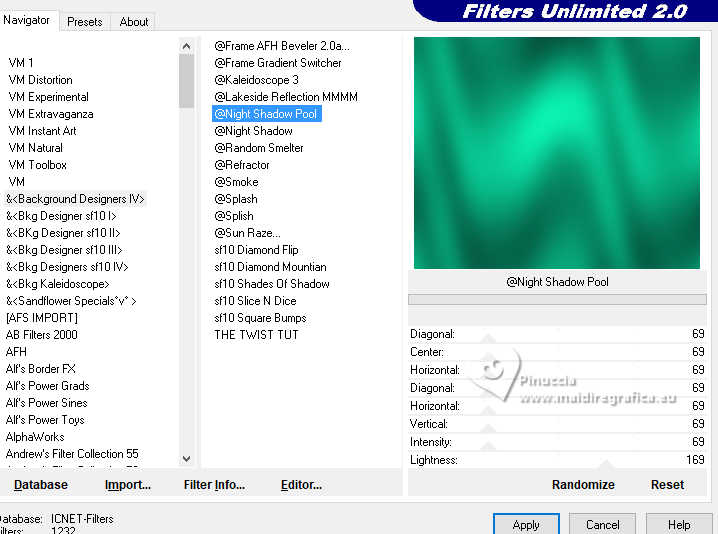
2. Effects>Plugins>Filters Unlimited 2.0 - &<Background Designers IV> - Night Shadow Pool, default settings
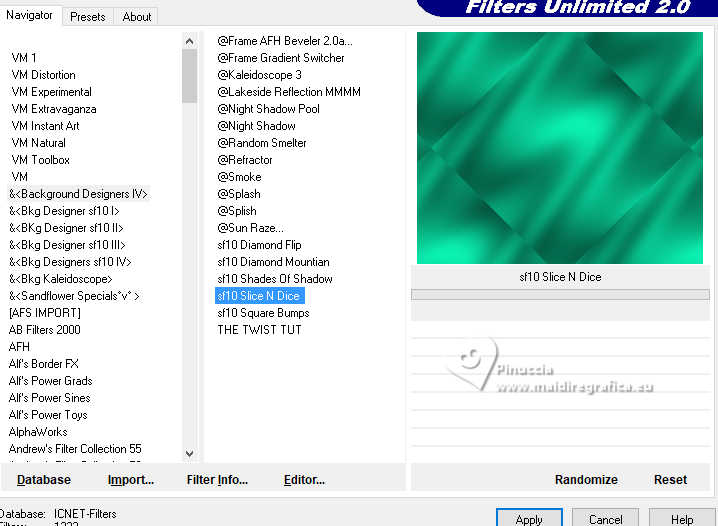
3. Effects>Plugins>Filters Unlimited 2.0 - &<Background Designers IV> - Slice N Dice
Effets>Effets de bords>Accentuer.
4. Effects>Plugins>Toadies - What are you.
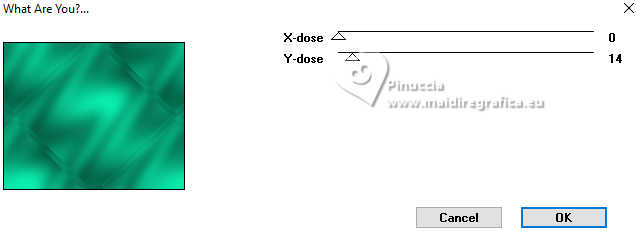
5. Open Nature1_©by Shane Wheel_28.02.2021.pspimage 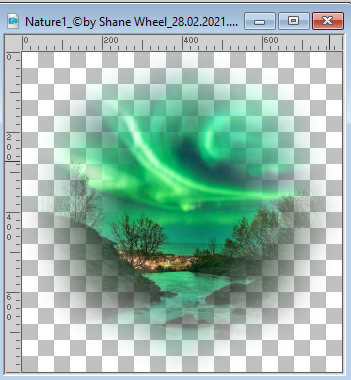
Edit>Copy.
Go back to your work and go to Edit>Paste as new layer.
Image>Resize, to 85%, resize all layers not checked.
6. Adjust>Sharpness>Sharpen.
Layers>Duplicate.
Layers>Arrange>Move Down.
7. Effects>Image Effects>Seamless Tiling, default settings.

8. Adjust>Blur>Gaussian Blur - radius 10

9. Effects>Distortion Effects>Spiky Halo
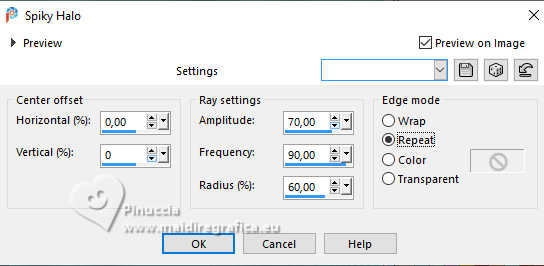
10. Adjust>Add/Remove Noise>Add Noise.
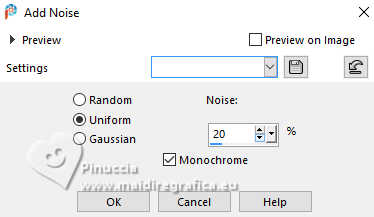
11. Activate your top layer.
Open EF-AP_Deco_1 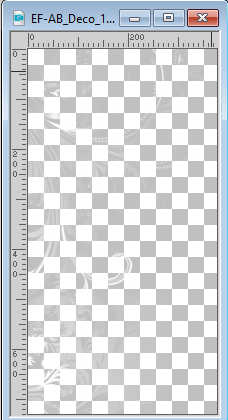
Edit>Copy.
Go back to your work and go to Edit>Paste as new layer.
12. Objects>Align>Left.
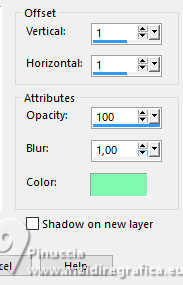
Effects>3D Effects>Drop shadow, color #7ffab1
13. Edit>Copy Special>Copy merged
Edit>Paste as new image, and minimize this image.
14. Open EF-AP_Deco_2 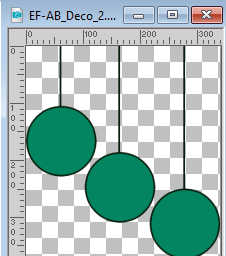
Edit>Copy.
Go back to your work and go to Edit>Paste as new layer.
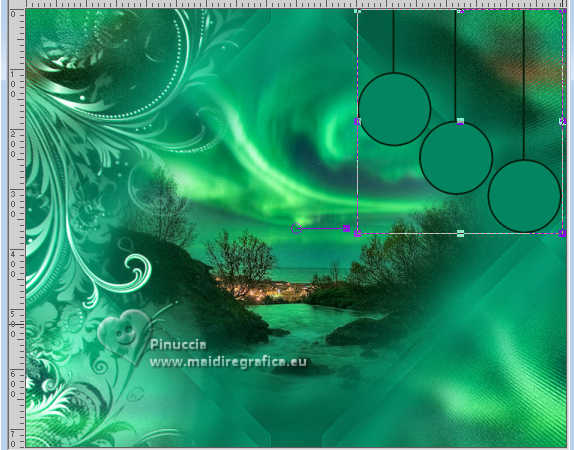
K key to activate your Pick Tool 
Position X: 552,00 - Position Y: 0,00.

M key to deselect the tool.
15. Activate your Magic Wand Tool  , tolerance and feather 0, , tolerance and feather 0,

Click in the 3 circles to select them.
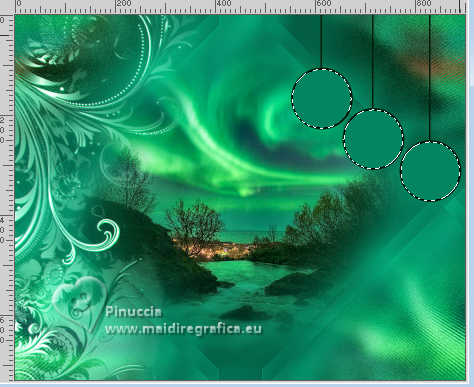
Selections>Modify>Expand - 1 pixel.
16. Layers>New Raster Layer.
Activate the image minimized at step 14 and go to Edit>Copy.
Go back to your work and go to Edit>Paste into Selection.
17. Layers>New Raster Layer.
Effects>3D Effects>Cutout.
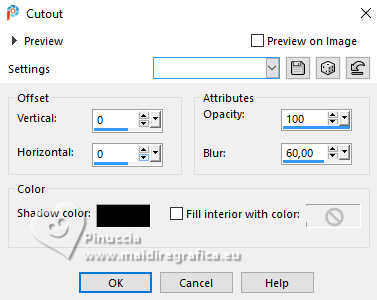
18. Layers>Merge>Merge Down - 2 times.
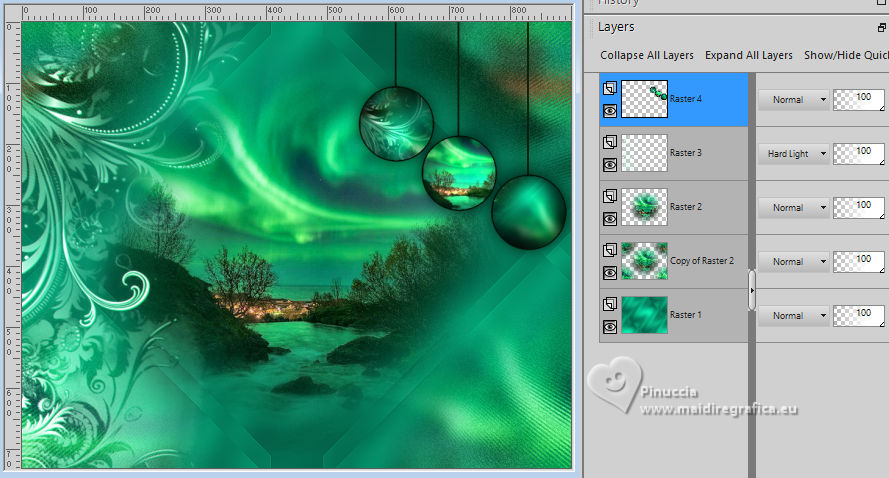
Effects>3D Effects>Drop Shadow, couleur #000000.
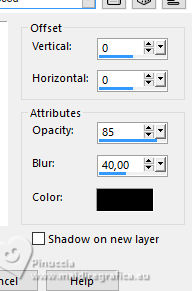
19. Effects>Plugins>Graphics Plus - Cross shadow, default settings.
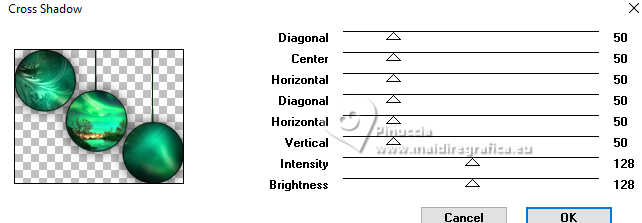
Selections>Select None.
20. Image>Add Borders, 15 pixels, symmetric, color #ffffff.
Image>Add Borders, 4 pixels, symmetric, color #03a56e  . .
Image>Add Borders, 15 pixels, symmetric, color #ffffff.
21. Activate your Magic Wand Tool 
and click in the 4 pixels border to select it.
22. Effects>Plugins>Graphics Plus - Cross shadow, default settings.
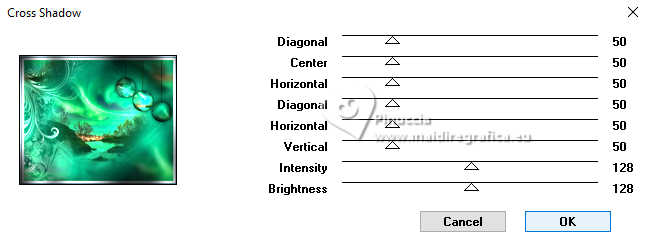
Selections>Select None.
23. Open the tube EF-Tube_Personagem 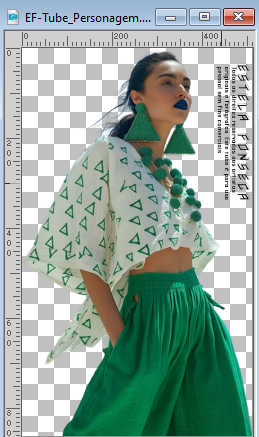
Erase the watermark and go to Edit>Copy.
Go back to your work and go to Edit>Paste as new layer.
Image>Resize, to 85%, resize all layers not checked.
Adjust>Sharpness>Sharpen.
24. Effects>3D Effects>Drop Shadow, color #000000.
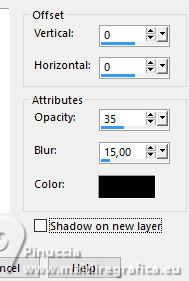
25. Sign your work.
Image>Add Borders, 1 pixel, symmetric, color #0c8b66  . .
Save as jpg.
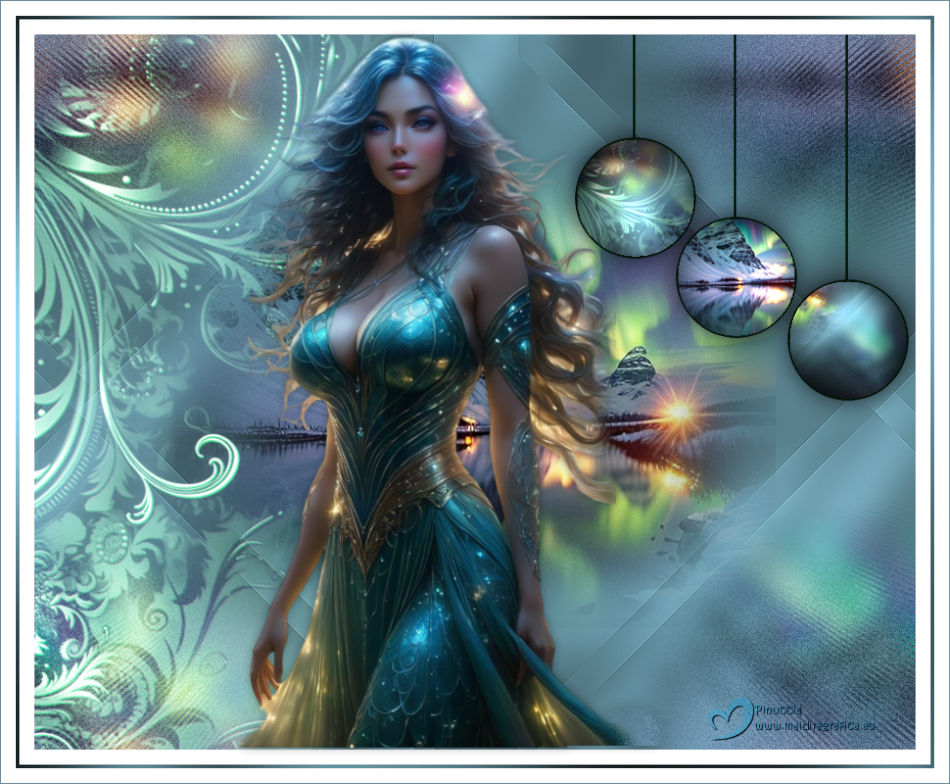
Version with my tubes from Pinterest images

If you have problems or doubts, or you find a not worked link,
or only for tell me that you enjoyed this tutorial, write to me.
25 January 2026

|

