|
BANHO


Thanks Estela for your invitation to translate your tutorials into english

This tutorial, created with PSP2022, was translated with PspX9 and 2020, but it can also be made using other versions of PSP.
Since version PSP X4, Image>Mirror was replaced with Image>Flip Horizontal,
and Image>Flip with Image>Flip Vertical, there are some variables.
In versions X5 and X6, the functions have been improved by making available the Objects menu.
In the latest version X7 command Image>Mirror and Image>Flip returned, but with new differences.
See my schedule here
 French Translation here French Translation here
 Your versions here Your versions here

For this tutorial, you will need:

For the tubes thanks Anna.br and Guismo.
(The links of the tubemakers here).

consult, if necessary, my filter section here
Filters Unlimited 2.0 ici
Filter Factory Gallery B - Bubble ici
Graphics Plus - Cross Shadow ici
Flaming Pear - Flood ici
Two Moon - FadeSpot ici
Xero - Clarity ici
Filters Factory Gallery, Graphics Plus and Two Moon can be used alone or imported into Filters Unlimited.
(How do, you see here)
If a plugin supplied appears with this icon  it must necessarily be imported into Unlimited it must necessarily be imported into Unlimited

You can change Blend Modes according to your colors.

1. Open a new transparent image 900 x 650 pixels.
Set your foreground color with a color of your landscape, for me #6770c8.
Set your background color to white #ffffff.
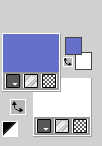
Flood Fill  the transparent image with your foreground color. the transparent image with your foreground color.
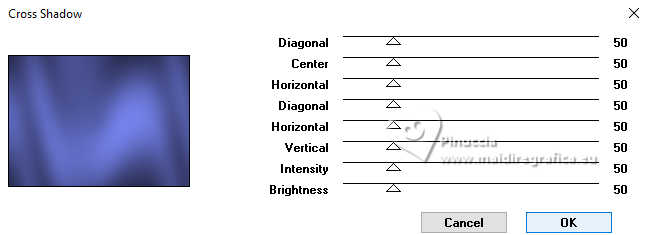
2. Effects>Plugins>Graphics Plus - Cross Shadow.
3. Open the tube calguismisted20311 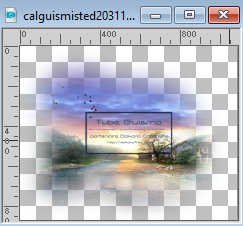
Edit>Copy.
Go back to your work and go to Edit>Paste as new layer.
Image>Resize, to 85%, resize all layers not checked.
Adjust>Sharpness>Sharpen.
4. Activate your background layer, Raster 1.
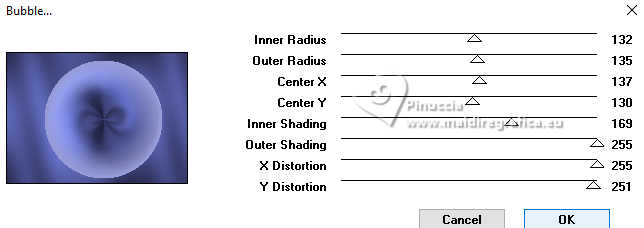
Effects>Plugins>Filter Factory Gallery B - Bubble, default settings.
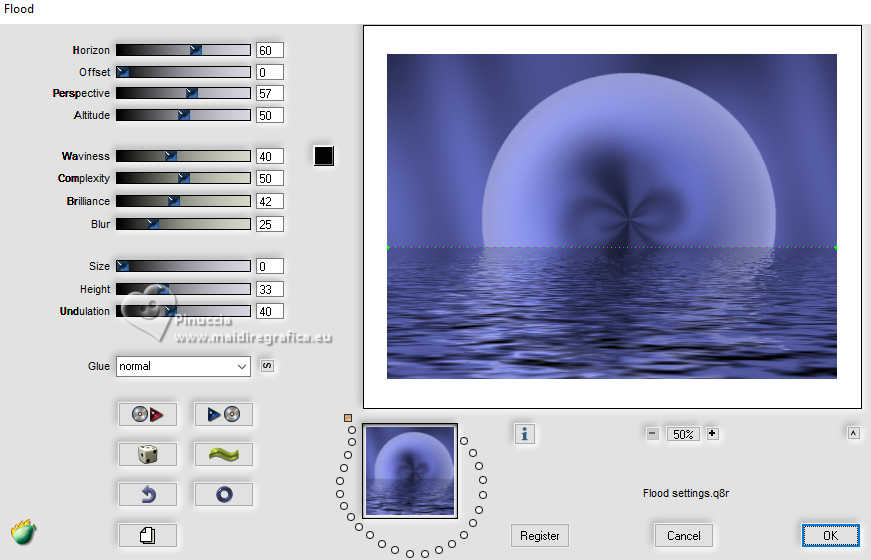
5. Effects>Plugins>Flaming Pear - Flood.
6. Activate your top layer.
Adjust>Hue and Saturation>Vibrancy.
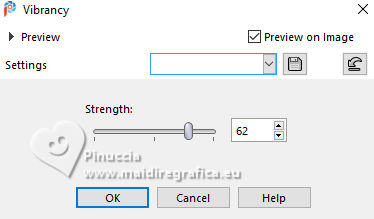
In older versions of PSP, you can't find this effect.
You can use another effect from the Adjust menu or skip this step.
7. Opent he tube anna.br-1255-banho_by.steve.r 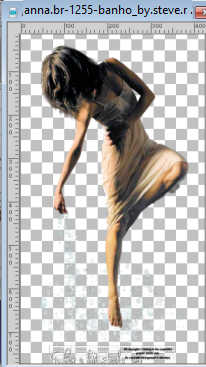
Edit>Copy.
Go back to your work and go to Edit>Paste as new layer.
Image>Resize, to 75%, resize all layers not checked.
Reduce the opacity of this layer to 71%.
Move  the tube to the left. the tube to the left.
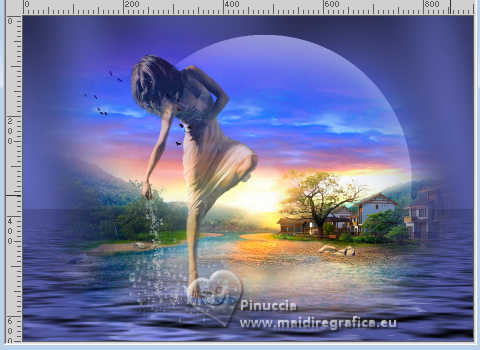
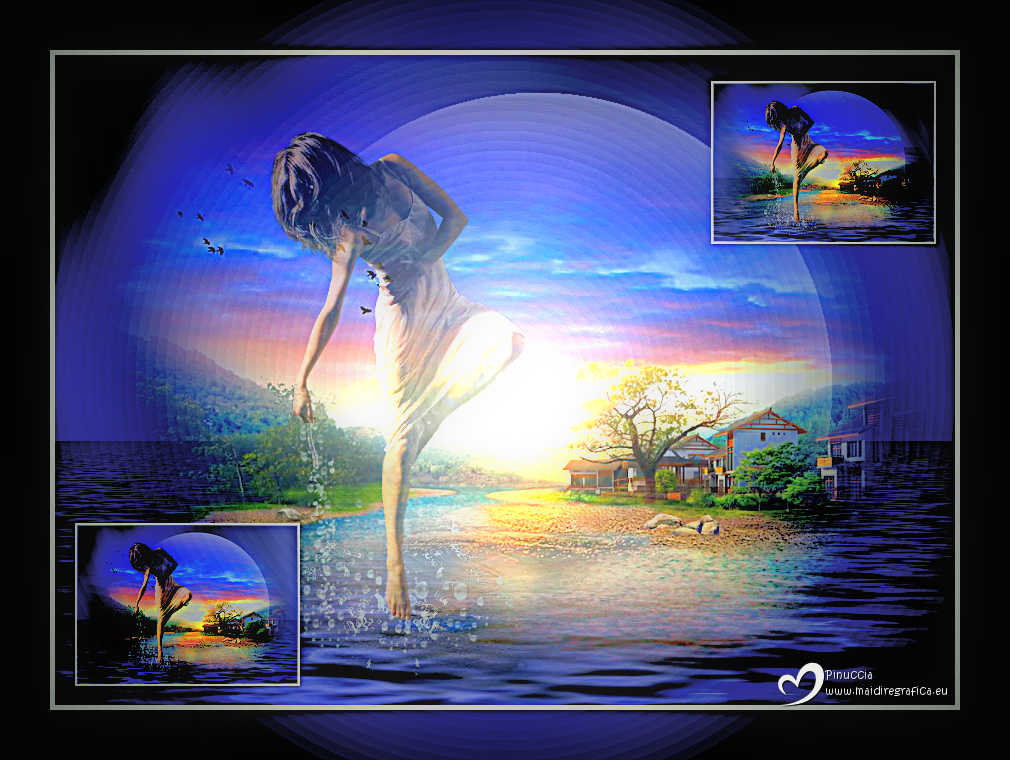
8. Layers>Merge>Merge visible.
Layers>Duplicate.
Image>Resize, 2 times to 50%, resize all layers not checked.
Adjust>Sharpness>Sharpen.
9. Selections>Select All.
Selections>Float.
Selections>Defloat.
10. Selections>Modify>Select Selection Borders.
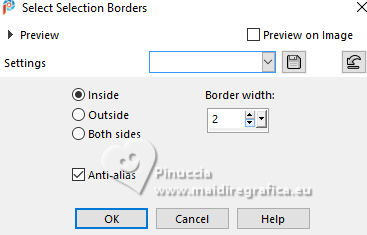
Flood Fill  the selection with color white. the selection with color white.
Selections>Select None.
11. Effects>3D Effects>Drop Shadow, color #000000.
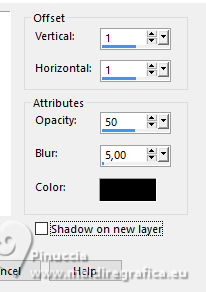
Move  the image at the upper right. the image at the upper right.
Layers>Duplicate.
Move  the image at the bottom left. the image at the bottom left.
12. Image>Add Borders, 5 pixels, symmetric, color white.
Image>Add Borders, 50 pixels, symmetric, color at your choice.
13. Effects>Plugins>Filters Unlimited 2.0 - Two Moon - FadeSpot, default settings
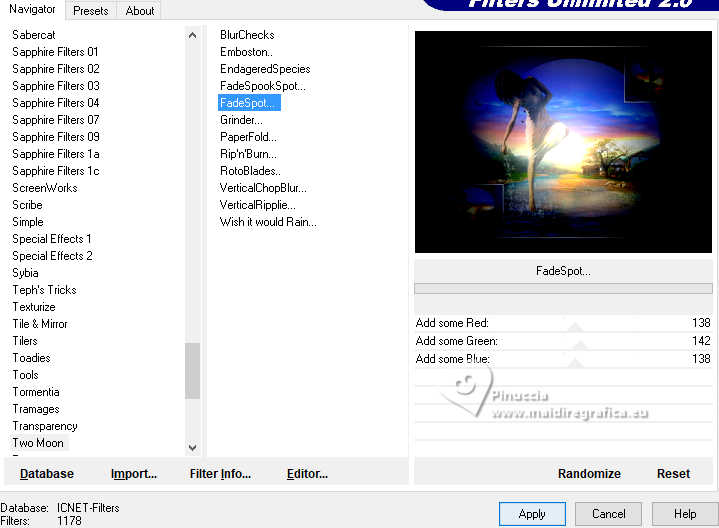
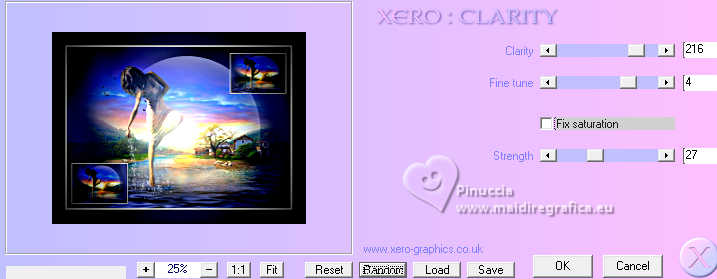
14. Effects>Plugins>Xero - Clarity
15. Adjust>Brightness and Contraste>Fill Light/Clarity.
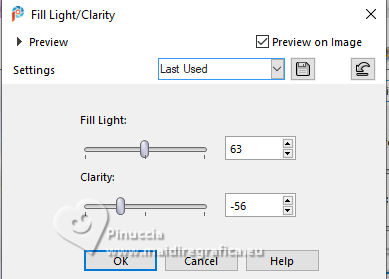
you don't find this effect before the version X14.
If you want, you can use another effect from the Adjust menu.
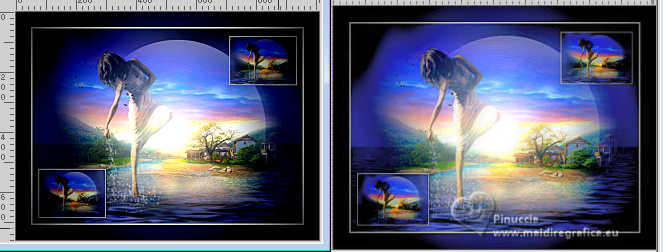
Here below the difference before and after the apply
16. Sign your work on a new layer.
Layers>Merge>Merge All and save as jpg.
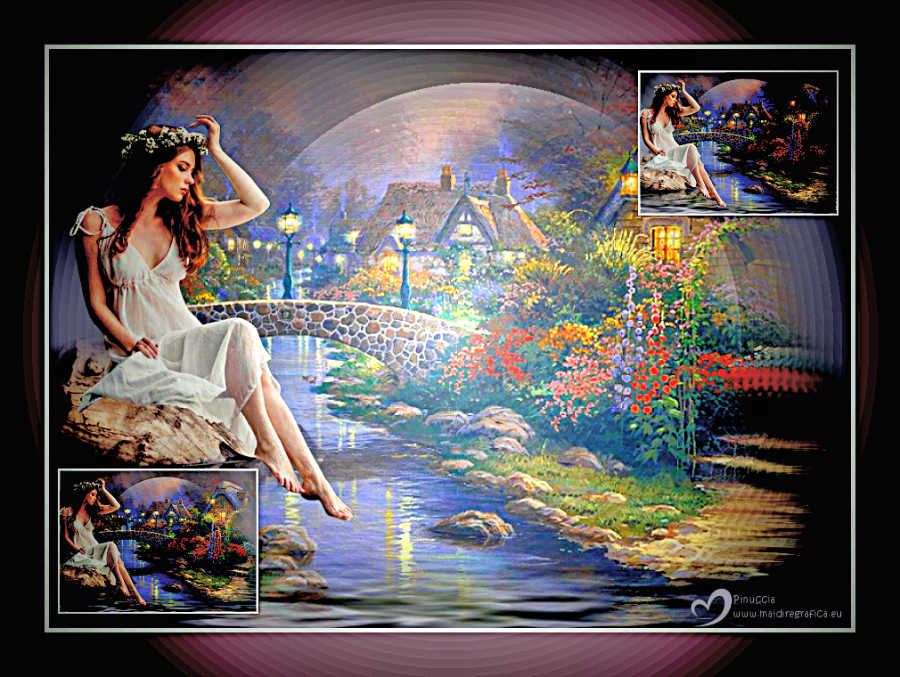
Version with images by Pinterest


If you have problems or doubts, or you find a not worked link,
or only for tell me that you enjoyed this tutorial, write to me.
5 October 2025

|

