|
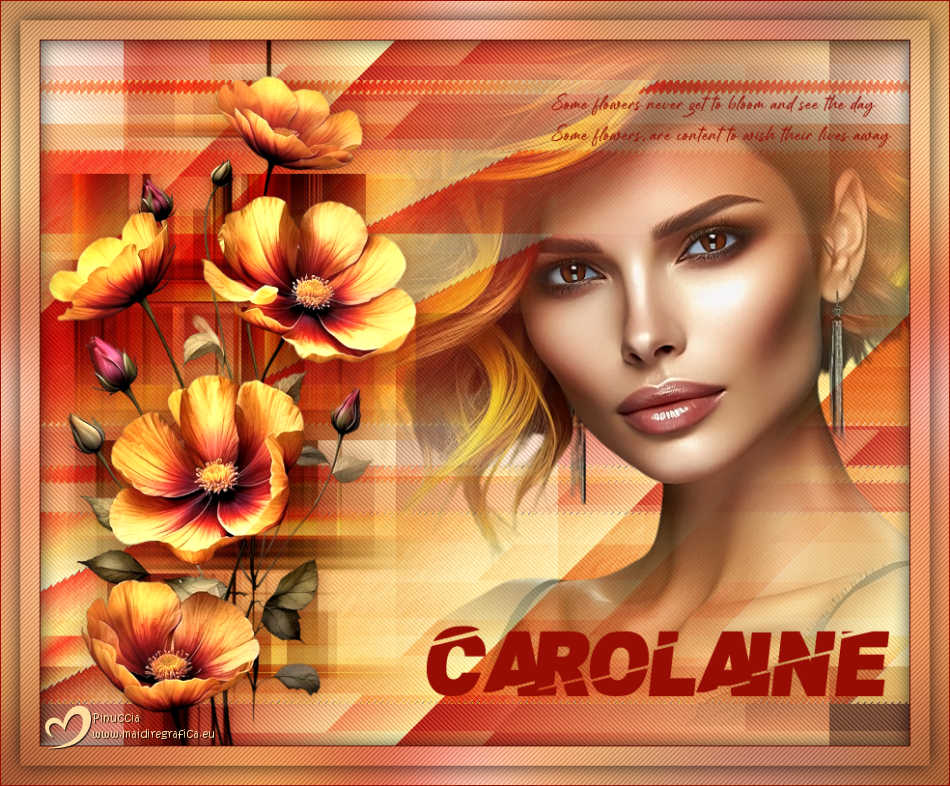
CAROLAINE


Thanks Estela for your invitation to translate your tutorials into english

This tutorial, created with PSP2022, was translated with PspX7, but it can also be made using other versions of PSP.
Since version PSP X4, Image>Mirror was replaced with Image>Flip Horizontal,
and Image>Flip with Image>Flip Vertical, there are some variables.
In versions X5 and X6, the functions have been improved by making available the Objects menu.
In the latest version X7 command Image>Mirror and Image>Flip returned, but with new differences.
See my schedule here
 French Translation here French Translation here
 Your versions here Your versions here

For this tutorial, you will need:

Images de Pinterest.
(The links of the tubemakers here).
*It is forbidden to remove the watermark from the supplied tubes, distribute or modify them,
in order to respect the work of the authors

consult, if necessary, my filter section here
Filters Unlimited 2.0 here
Italian Editors Effect - Bordo con luci here
Carolaine and Sensibility - CS-Linear-H, CS-DLines here
Simple - Top Bottom Wrap here
°v° Kiwi's Oelfilters - Zig-Zack here
Toadies - Weaver here
Filters Italian Editors, Simple, Kiwi and Toadies can be used alone or imported into Filters Unlimited.
(How do, you see here)
If a plugin supplied appears with this icon  it must necessarily be imported into Unlimited it must necessarily be imported into Unlimited

You can change Blend Modes according to your colors.
In the newest versions of PSP, you don't find the foreground/background gradient (Corel_06_029).
You can use the gradients of the older versions.
The Gradient of CorelX here

Open the mask in PSP and minimize it with the rest of the material.
Set your foreground color to #970d03,
and your background color to #fddca1.
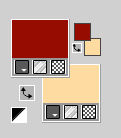
Set your foreground color to a Foreground/Background Gradient, style Radial.

1. Open a new transparent image 900 x 730 pixels.
Flood Fill  the transparent image with your Gradient. the transparent image with your Gradient.
2. Effects>Plugins>Italian Editors Effect - Bordo con Luci, default settings

3. Effects>Image Effects>Seamless Tiling.

Effects>Edge Effects>Dilate.
4. Layers>Duplicate.
Effects>Plugins>Carolaine and Sensibility - CS-Linear-H, default settings.
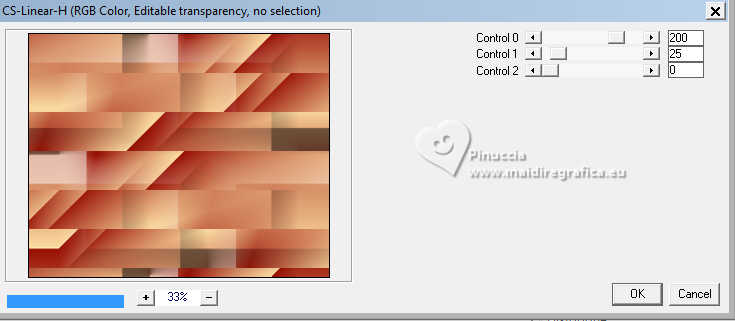
5. Change the Blend Mode of this layer to Soft Light and reduce the opacity to 79%.
Effects>Edge Effects>Dilate.
Layers>Merge>Merge Down.
6. Effects>Plugins>Carolaine and Sensibility - CS-DLines, default settings.
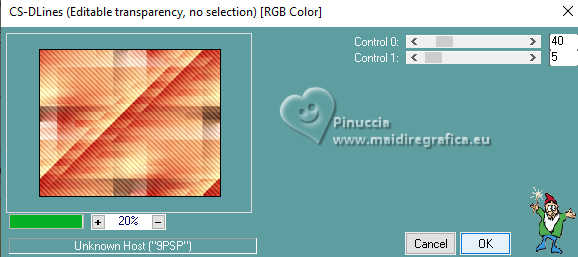
Effects>Plugins>Simple - Top Bottom Wrap
7. Layers>New Raster Layer.
Flood Fill  the layer with your Gradient. the layer with your Gradient.
Layers>New Mask layer>From image
Open the menu under the source window and you'll see all the files open.
Select the mask EF-Mask_Carolaine
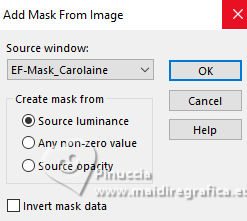
Layers>Merge>Merge Group.
Effects>Edge Effects>Enhance More.
8. Adjust>Add/Remove Noise>Add Noise
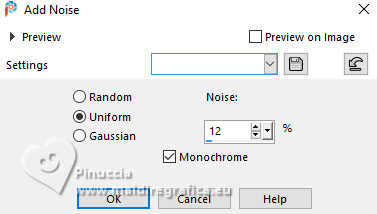
9. Effects>Plugins>°V° Kiwi's Oelfilters - Zig-Zack.
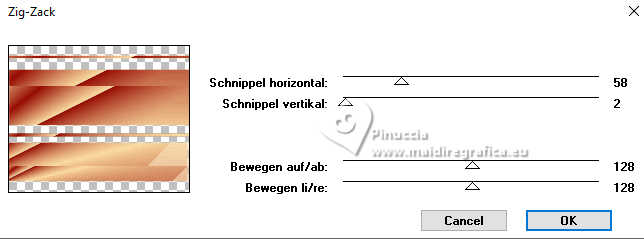
Image>Resize, to 102%, resize all layers not checked.
10. Change the Blend Mode of this layer to Hard Light,
and reduce the opacity to 73%.
11. Open the tube Floral.png 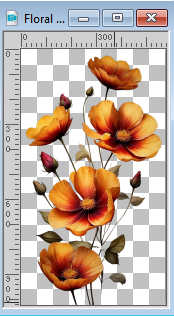
Edit>Copy.
Go back to your work and go to Edit>Paste as new layer.
Image>Resize, to 70%, resize all layers not checked.
12. K key to activate your Pick Tool 
Position X: 8,00 - Position Y: 36,00.

M key to deselect the Tool.
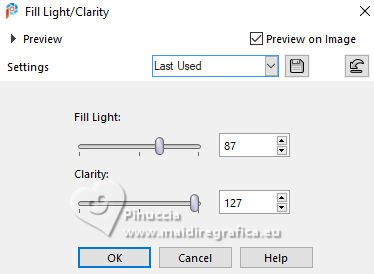
13. Adjust>Brightness and Contrast>Fill Light/Clarity
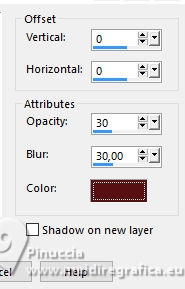
Effeets>3D Effects>Drop Shadow, color #571214.
14. Layers>Duplicate.
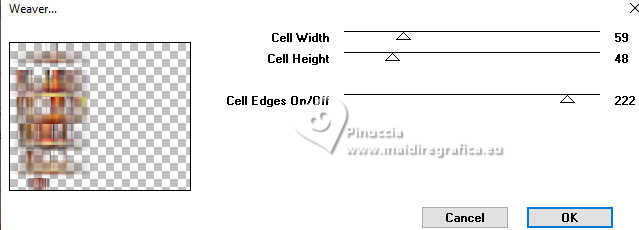
Effects>Plugins>Toadies - Weaver, default settings.
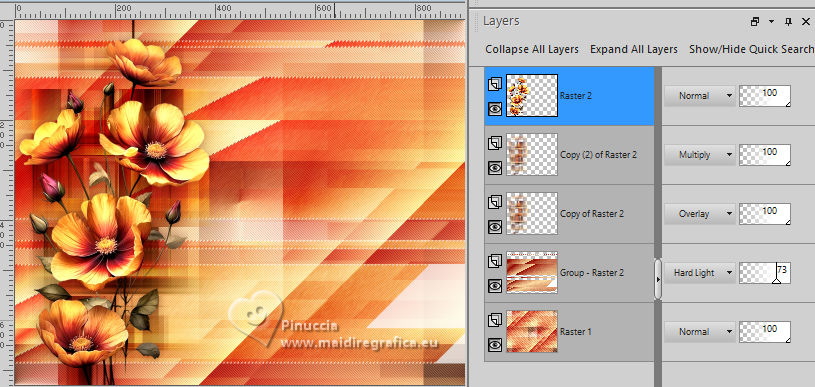
Layers>arrange>Move Down.
Change the Blend Mode of this layer to Overlay.
Layers>Duplicate.
Change the Blend Mode of this layer to Multiply.
15. Activate your top layer.
Open the tube Tube-Mulher 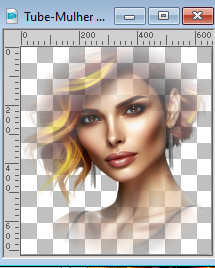
Edit>Copy.
Go back to your work and go to Edit>Paste as new layer.
K key to activate your Pick Tool 
Position X: 308,00 - Position Y: -7,00.

M key to deselect the Tool.
16. Layers>Arrange>Move Down.
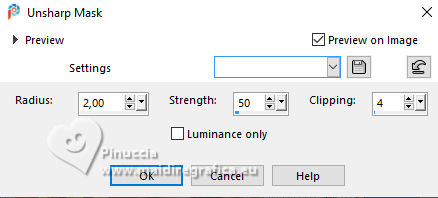
Adjust>Sharpness>Unsharp Mask.
17. Activate your top layer.
Open the tubes EF-Texto_1 e EF-Texto_2  
Edit>Copy.
Go back to your work and go to Edit>Paste as new layer.
Place  the texts to your liking or see my example. the texts to your liking or see my example.
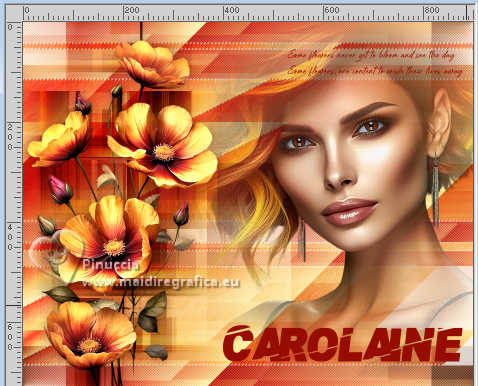
18. Image>Add Borders, 1 pixel, symmetric, color #970d03.
Selections>Select All.
Image>Add Borders, 40 pixels, symmetric, color #ffffff.
19. Effects>Image Effects>Seamless Tiling, default settings.

Selections>Invert.
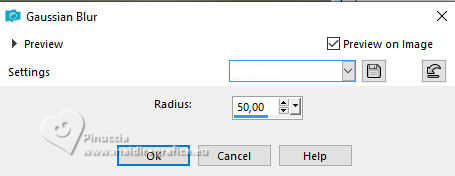
Adjust>Blur>Gaussian Blur - radius 50.
20. Effects>Plugins>Carolaine and Sensibility - CS-DLines, default settings.
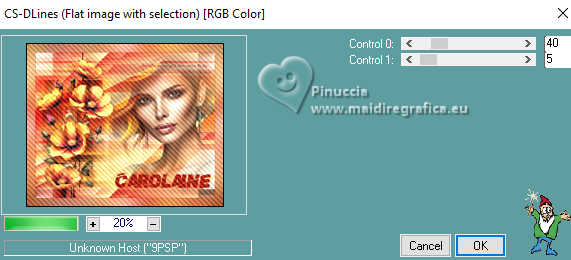
Image>Mirror>Mirror horizontal.
Effects>3D Effects>Drop Shadow, color #000000.

21. Selections>Select All.
Selections>Modify>Contract - 20 pixels.
Effects>3D Effects>Drop Shadow, last settings.

Selections>Select None.
22. Sign your work.
Image>Add Borders, 1 pixel, symmetric, color #970d03.
Image>Resize, 850 pixels width, resize all layers checked.
Save as jpg.
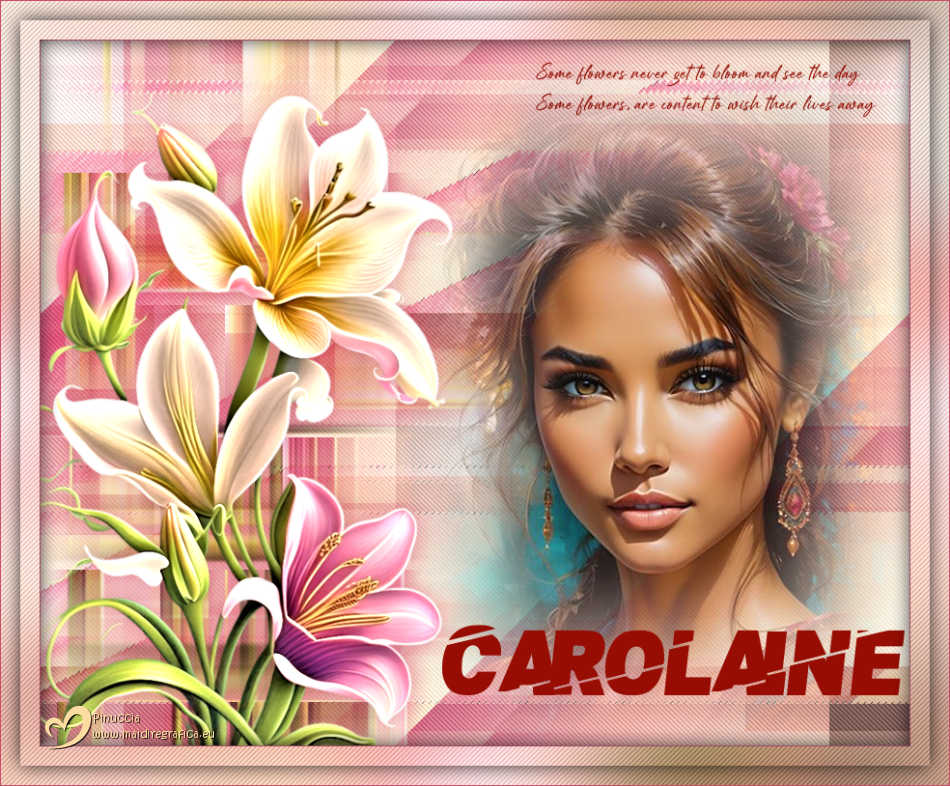
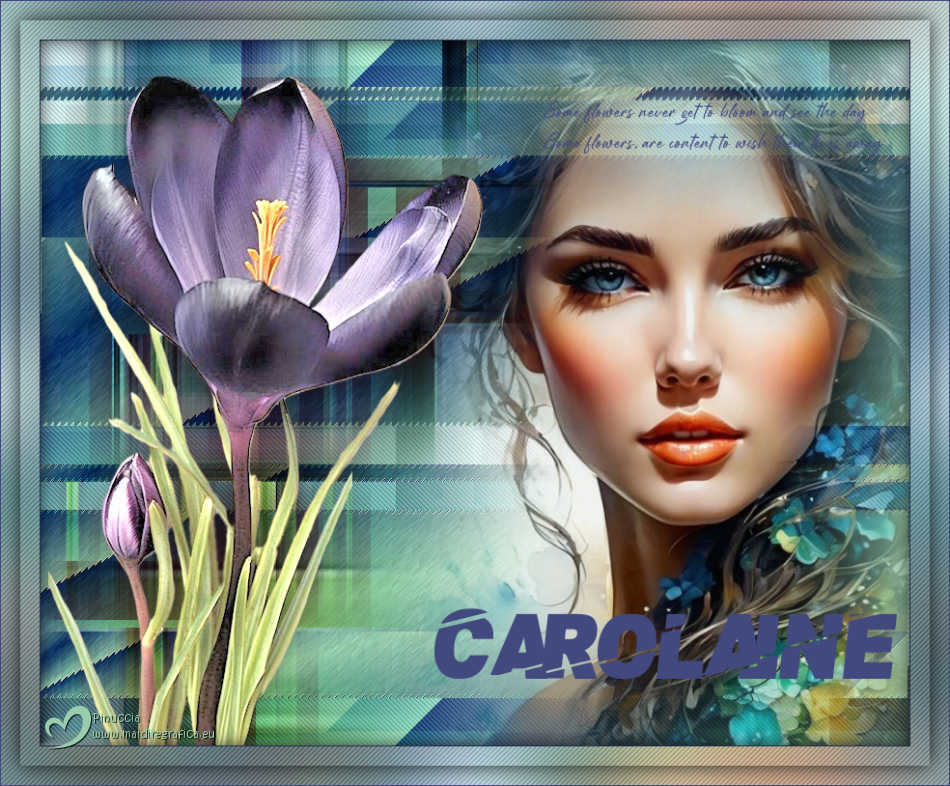
For the flowers tubes of these versions thanks Nena Silva; the faces by Pinterest


If you have problems or doubts, or you find a not worked link,
or only for tell me that you enjoyed this tutorial, write to me.
3 Juillet 2025

|

