|
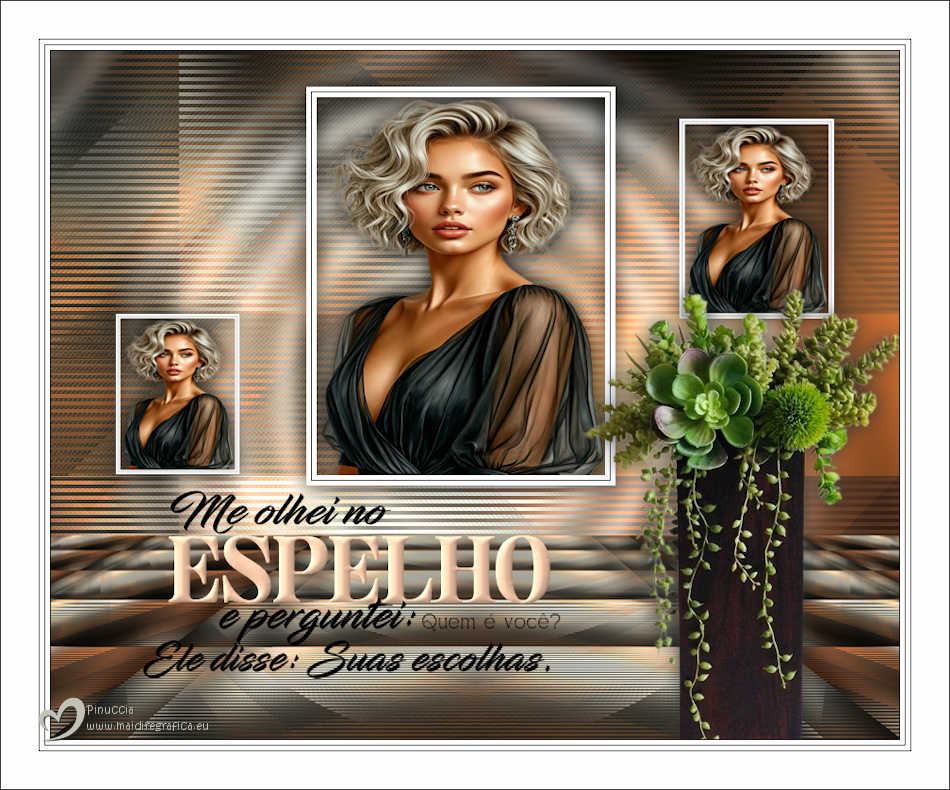
ESPELHO MEU
 MIRROR ON THE WALL MIRROR ON THE WALL

Thanks Estela for your invitation to translate your tutorials into english

This tutorial, created with PSP2022, was translated with PspX9 and 2020, but it can also be made using other versions of PSP.
Since version PSP X4, Image>Mirror was replaced with Image>Flip Horizontal,
and Image>Flip with Image>Flip Vertical, there are some variables.
In versions X5 and X6, the functions have been improved by making available the Objects menu.
In the latest version X7 command Image>Mirror and Image>Flip returned, but with new differences.
See my schedule here
 French Translation here French Translation here
 Your versions here Your versions here

For this tutorial, you will need:

Material by Estela Fonseca
(The links of the tubemakers here).
*It is forbidden to remove the watermark from the supplied tubes, distribute or modify them,
in order to respect the work of the authors

consult, if necessary, my filter section here
Filters Unlimited 2.0 here
Mehdi - Wavy Lab 1.1. here
Mehdi - Sorting Tiles here
Simple - Blintz here
DSB Flux - Linear Transmission ici
°V° Kiwi's Oelfilter - Zig Zack here
Mura's Meister - Perspective Tiling here
Graphics Plus - Horizontal Mirror, Cross Shadow here
Filters Simple and Graphics Plus can be used alone or imported into Filters Unlimited.
(How do, you see here)
If a plugin supplied appears with this icon  it must necessarily be imported into Unlimited it must necessarily be imported into Unlimited

You can change Blend Modes according to your colors.

Copy the selections in the Selections Folder.
1. Set your foreground color to #c16a57
and your background color to #c1c1b5
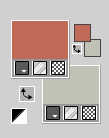
Open a new transparent image 900 x 730 pixels.
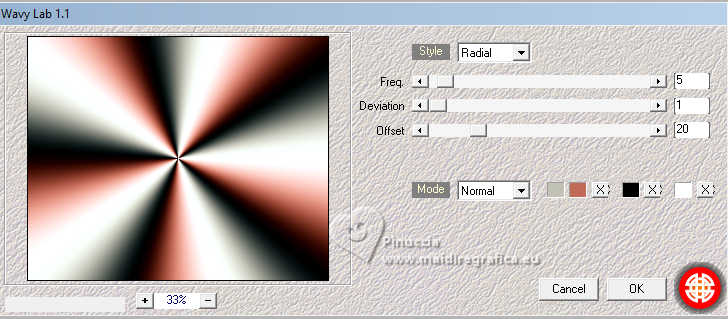
Effects>Plugins>Mehdi - Wavy Lab 1.1.
This filter creates gradients with the colors of your Materials palette.
The first is your background color, the second is your foreground color.
Change the last two colors created by the filtre:
the third color with #000000 and the fourth color with #ffffff.
2. Selections>Select All.
Open the tube EF-Personagem 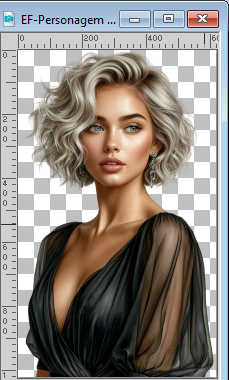
Edit>Copy.
Go back to your work and go to Edit>Paste into Selection.
Selections>Select None.
3. Effects>Image Effects>Seamless Tiling, default settings.

Adjust>Blur>Gaussian Blur - radius 50.
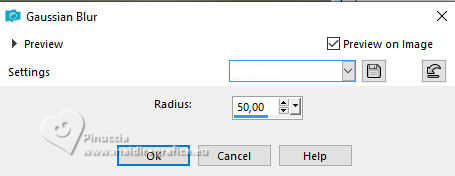
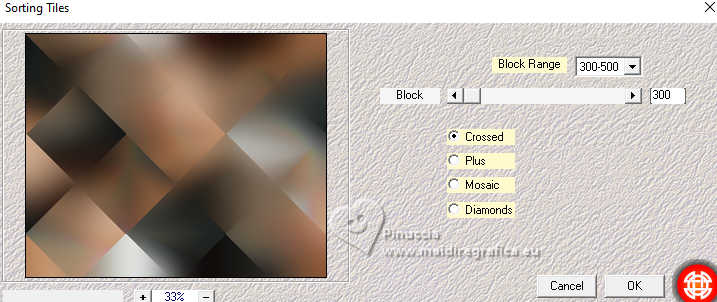
4. Effects>Plugins>Mehdi - Sorting Tiles.
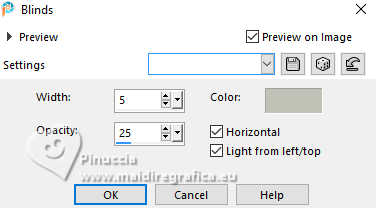
Effects>Texture Effects>Blinds - background color.
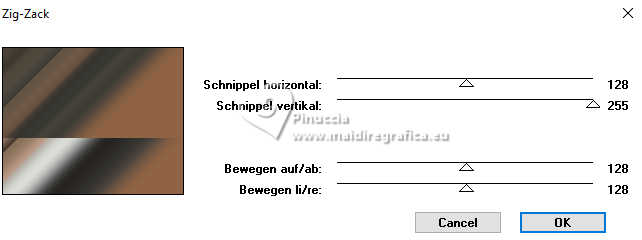
5. Effects>Plugins>°V° Kiwi's Oelfilter - Zig Zack
Effects>Plugins>Simple - Blintz
Effect without window: result
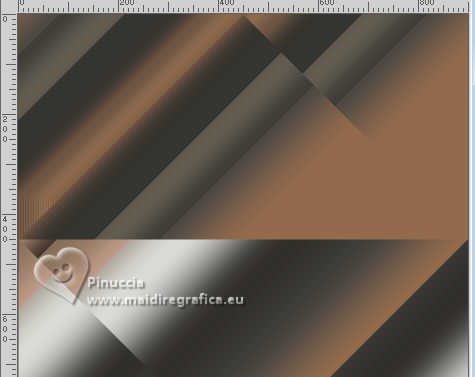
6. Layers>Duplicate.
Image>Mirror>Mirror Vertical (Image>Flip).
Change the Blend Mode of this layer to Hard Light and reduce the opacity to 50%.
7. Layers>Merge>Merge Down.
Effects>Plugins>DSB Flux - Linear Transmission
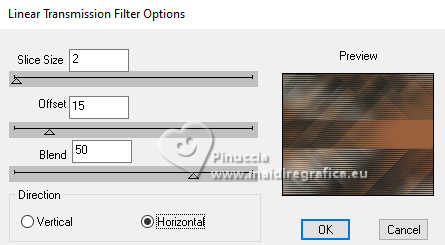
8. Effects>Plugins>Graphics Plus - Cross Shadow, default settings.
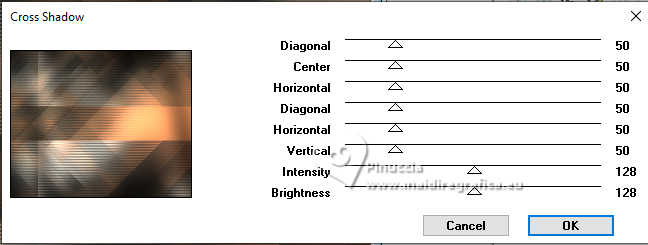
9. Activate your Selection Tool 
(no matter the type of selection, because with the custom selection your always get a rectangle)
clic on the Custom Selection 
and set the following settings.
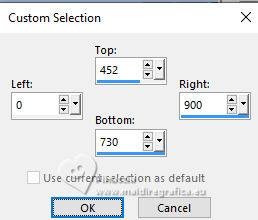
Selections>Promote Selection to Layer.
10. Effects>Plugins>Mura's Meister - Perspective Tiling.
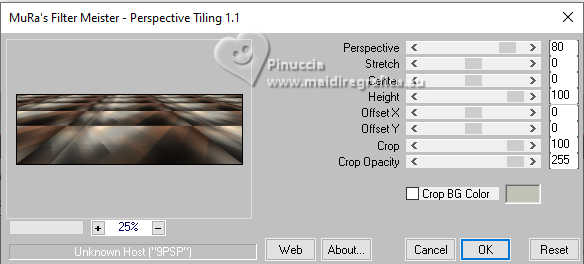
Selections>Select None.
Effects>Distortion Effects>Punch.
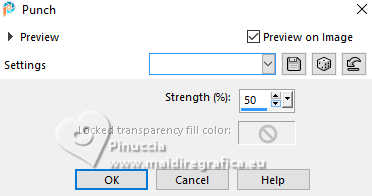
Edit>Repeat Punch.
11. Effects>Plugins>Graphics Plus - Horizontal Mirror, default settings.
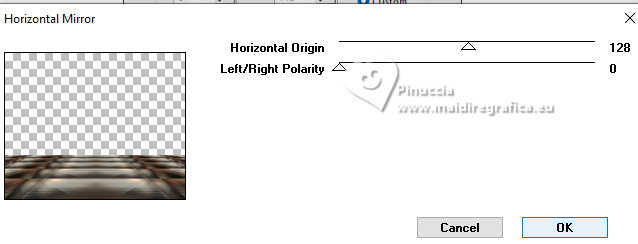
12. Open the tube EF-Espelho_Meu_Deco_1 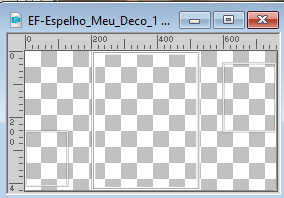
Edit>Copy.
Go back to your work and go to Edit>Paste as new layer.
Effects>Image Effects>Offset.
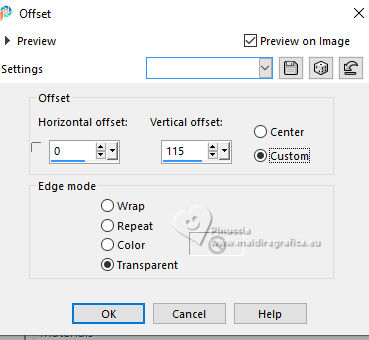
13. Selections>Load/Save Selection>Load Selection from Disk.
Look for and load the selection Espelho_Meu_1
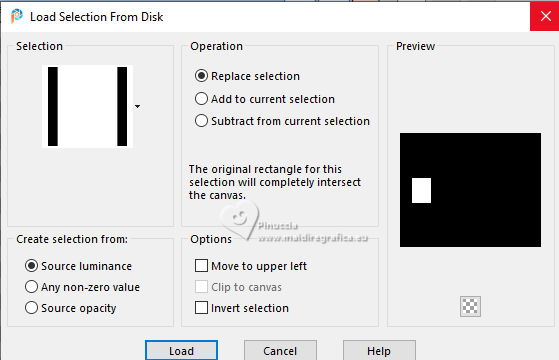
14. Layers>New Raster Layer.
Activate again the tube EF-Personagem and go to Edit>Copy.
Go back to your work and go to Edit>Paste into Selection.
Selections>Select None.
15. On the same layer.
Selections>Load/Save Selection>Load Selection from Disk.
Look for and load the selection Espelho_Meu_2
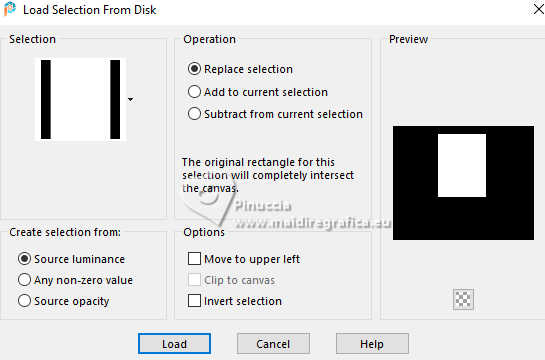
Edit>Paste into Selection - the tube is still in memory.
Selections>Select None.
16. On the same layer.
Selections>Load/Save Selection>Load Selection from Disk.
Look for and load the selection Espelho_Meu_3
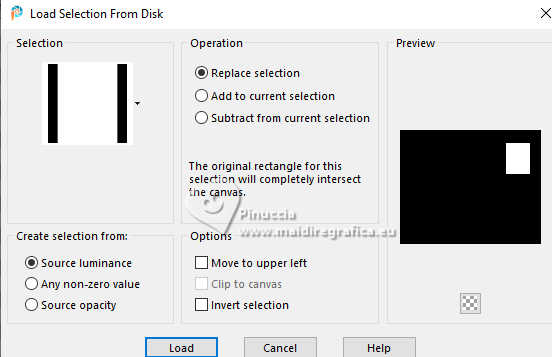
Edit>Paste into Selection - the tubes is always in memory.
Selections>Select None.
17. Adjust>Sharpness>Unsharp Mask.
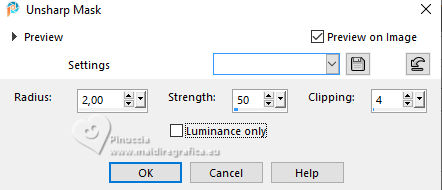
Layers>Merge>Merge Down.
Effects>3D Effects>Drop Shadow, color #000000.

18. Activate your bottom layer.
Open the tube EF-Espelho_Meu_Deco_2 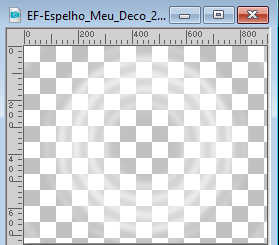
Edit>Copy.
Go back to your work and go to Edit>Paste as new layer.
Change the Blend Mode of this layer to Luminance (legacy).
19. Open the tube EF-Vaso 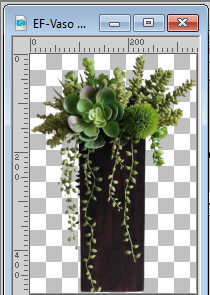
Edit>Copy.
Go back to your work and go to Edit>Paste as new layer.
Layers>Arrange>Bring to Top.
Move  the tube to the right, see my example. the tube to the right, see my example.
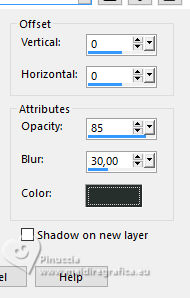
Effects>3D Effects>Drop Shadow, same settings, but color #272f2d.
20. Open the tube EF-Espelho_Meu_Texto 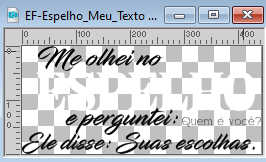
translation: I looked at myself in the mirror and asked: "who are you?".
He sais: "Your choices
Edit>Copy.
Go back to your work and go to Edit>Paste as new layer.
Move  the text to the left, see my example. the text to the left, see my example.
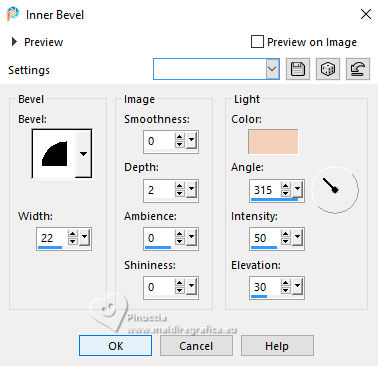
Effects>3D Effects>Inner Bevel - color #f4d1b9.
21. Image>Add Borders, 1 pixel, symmetric, color #000000.
Image>Add Borders, 5 pixels, symmetric, color #ffffff.
Image>Add Borders, 1 pixel, symmetric, color #000000.
Image>Add Borders, 5 pixels, symmetric, color #ffffff.
Image>Add Borders, 1 pixel, symmetric, color #000000.
Image>Add Borders, 40 pixels, symmetric, color #ffffff.
Image>Add Borders, 1 pixel, symmetric, color #000000.
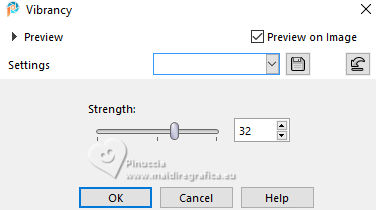
22. Adjust>Hue and Saturation>Vibrancy.
Sign your work and save as jpg.
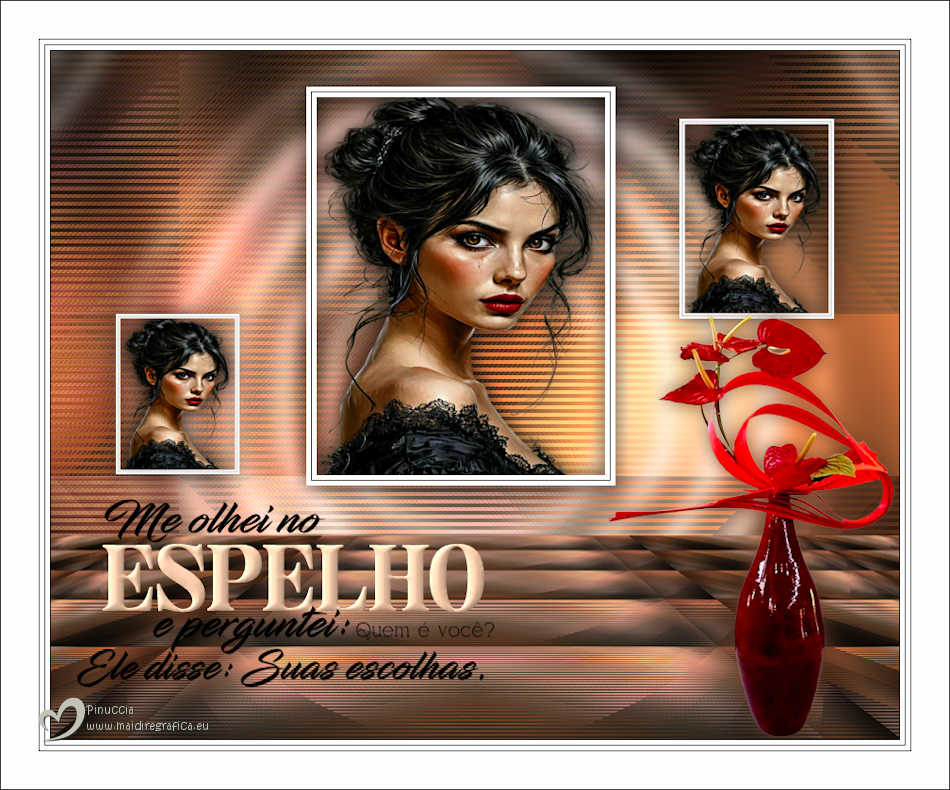
Version with my tube from a Pinterest image; for the deco tube thanks NaiseM.


If you have problems or doubts, or you find a not worked link,
or only for tell me that you enjoyed this tutorial, write to me.
11 August 2025

|
 MIRROR ON THE WALL

 MIRROR ON THE WALL