|
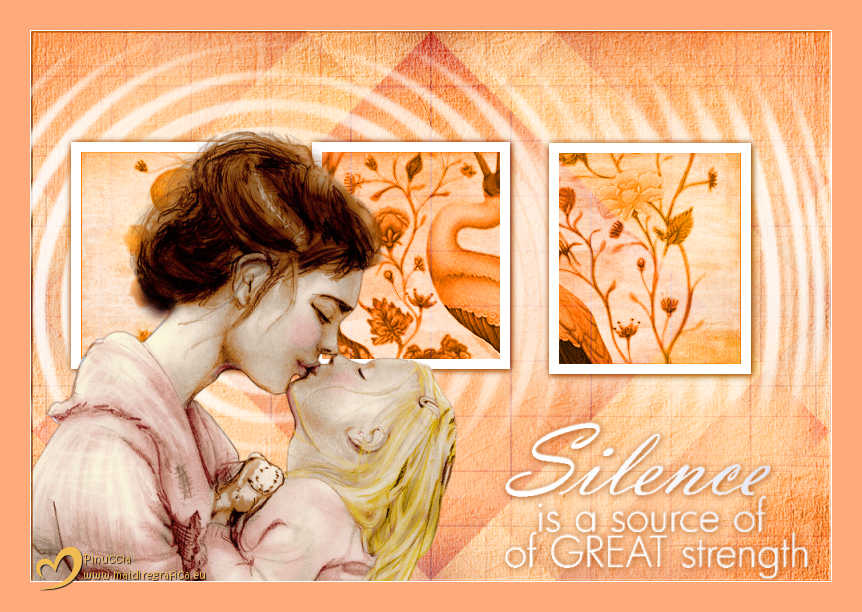
FEELING


Thanks Estela for your invitation to translate your tutorials into english

This tutorial, created with PSP2022, was translated with PspX9 and 2020, but it can also be made using other versions of PSP.
Since version PSP X4, Image>Mirror was replaced with Image>Flip Horizontal,
and Image>Flip with Image>Flip Vertical, there are some variables.
In versions X5 and X6, the functions have been improved by making available the Objects menu.
In the latest version X7 command Image>Mirror and Image>Flip returned, but with new differences.
See my schedule here
 French Translation here French Translation here
 Your versions here Your versions here

For this tutorial, you will need:

Thanks for the tubes JHanna and for the text Joka.
(The links of the tubemakers here).

consult, if necessary, my filter section here
Filters Unlimited 2.0 here
Ormentes - Miropads here
Simple - Blintz here
Filters Simple can be used alone or imported into Filters Unlimited.
(How do, you see here)
If a plugin supplied appears with this icon  it must necessarily be imported into Unlimited it must necessarily be imported into Unlimited

You can change Blend Modes according to your colors.

Copy the preset in the Presets Folder.
Copy the selection in the Selections Folder.
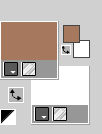
Set your foreground color with a light color of your tube; for me #a6795e,
and your background color to white #ffffff.
1. Open a new transparent image 800 x 550 pixels.
Flood Fill  the transparent image with your foreground color. the transparent image with your foreground color.
Selections>Select All.
2. Layers>New Raster Layer.
Open the image JHanna_565 background 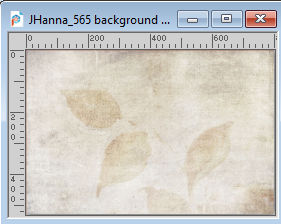
Edit>Copy.
Go back to your work and go to Edit>Paste into Selection.
Selections>Select None.
Change the Blend Mode of this layer to Luminance (legacy).
Layers>Merge>Merge visible.
3. Adjust>Blur>Gaussian Blur - radius 30.

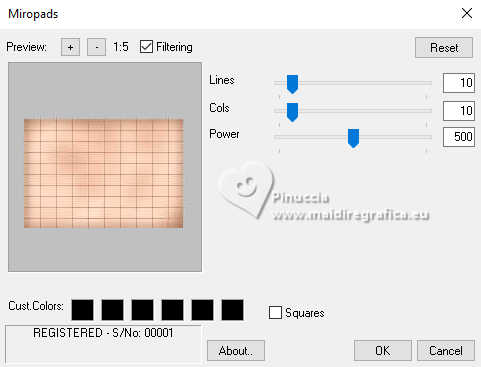
4. Effects>Plugins>Ormentes Filters - Miropads
5. Layers>Duplicate.
Effects>Geometric Effects>Skew.
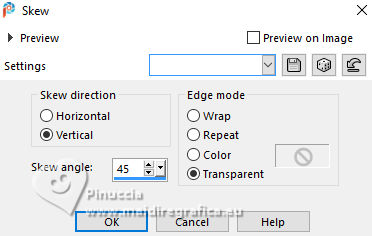
Change the Blend Mode of this layer to Multiply.
Layers>Merge>Merge visible.
6. Effects>Plugins>Filters Unlimited 2.0 - Simple - Blintz.
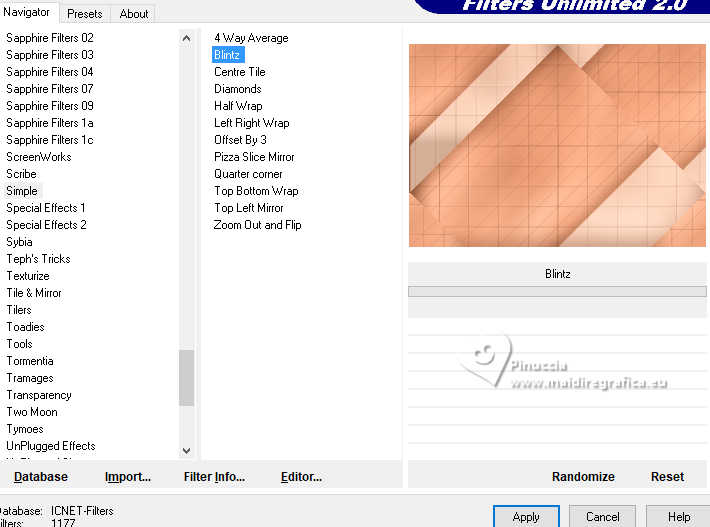
Layers>Duplicate.
Image>Mirror>Mirror vertical (Image>Flip).
Change the Blend Mode of this layer to Overlay.
Layers>Merge>Merge visible.
7. Layers>Duplicate.
Image>Mirror>Mirror Horizontal.
Change the Blend Mode of this layer to Multiply.
Layers>Merge>Merge visible.
8. Layers>New Raster Layer.
Selections>Load/Save Selection>Load Selection from Disk.
Look for and load the selection EF_sel_Feeling
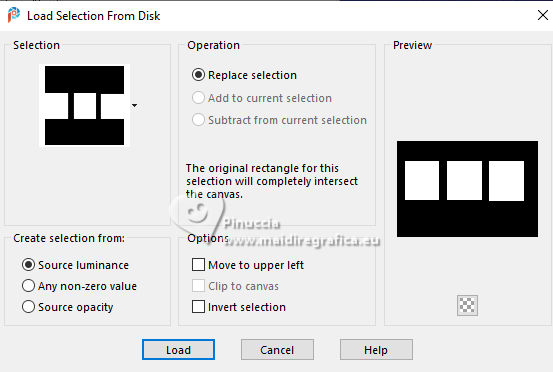
Flood Fill  the selection with color white #ffffff. the selection with color white #ffffff.
Selections>Modify>Contract - 10 pixels.
Set your foreground color to #f88f43
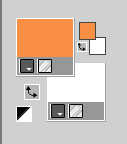
Flood Fill  the selection with your foreground color. the selection with your foreground color.
9. Layers>New Raster Layer.
Edit>Paste into Selection - the image JHanna_565 background is still in memory.
Change the Blend Mode of this layer to Luminance.
Keep selected.
10. Open the tube JHanna_568 tube 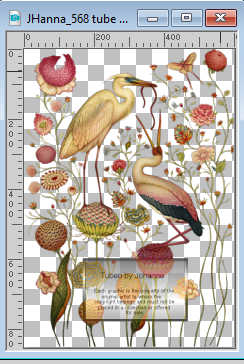
Edit>Copy.
Go back to your work and go to Edit>Paste as new layer.
Place  the tube on the selection to your liking. the tube on the selection to your liking.
Selections>Invert.
Press CANC on the keyboard 
Selections>Select None.
Layers>Merge>Merge down - 2 times.
Please note, for various reasons (PSP version, colors, tube, etc.),
Merge Down may cause the image to fade, and/or the tube to almost disappear.
In this case, I recommend closing the background layer
and to do Layers>Merge>Merge Visible.
Reopen the background layer and stay positioned on the top layer.
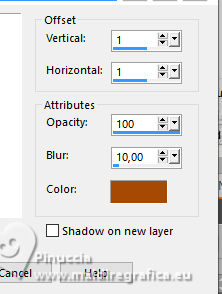
11. Effects>3D Effects>Drop Shadow, color #a64a06.
Layers>Duplicate.
Adjust>Blur>Gaussian Blur - radius 25.

Effects>Distortion Effects>Ripple.

Layers>Arrange>Move Down.
Change the Blend Mode of this layer to Screen (or other, according to your work).
12. Activate your bottom layer, Merged.
Layers>New Raster Layer.
Selections>Select All.
Activate again the image JHanna_565 background and go to Edit>Copy.
Go back to your work and go to Edit>Paste into Selection.
Selections>Select None.
Change the Blend Mode of this layer to Luminance and reduce the opacity to 53%.
Effects>User Defined Filter - select the preset Emboss 3 and ok.

13. Activate your top layer.
Open the tube JHanna_565_tube 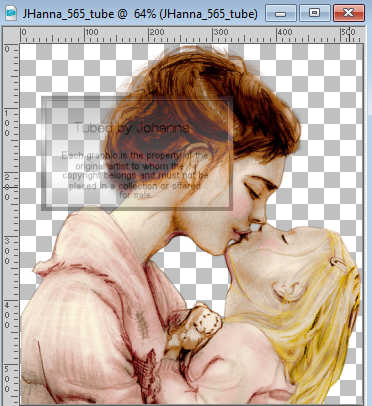
Edit>Copy.
Go back to your work and go to Edit>Paste as new layer.
Image>Resize, to 80%, resize all layers not checked.
Objects>Align>Bottom
Objects>Align>Left.
14. Open the tube Yoka-TEXT-Silence1-150815 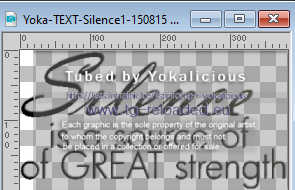
Edit>Copy.
Go back to your work and go to Edit>Paste as new layer.
Image>Resize, to 80%, resize all layers not checked.
Place  correctly the text. correctly the text.
Image>Negative image.
Effects>3D Effects>Drop shadow, color #a64a06.

15. Image>Add Borders, 1 pixel, symmetric, color white #ffffff
Image>Add Borders, 30 pixels, symmetric, color #ffaa7a.
16. Sign your work on a new layer.
Layers>Merge>Merge All and save as jpg.
Version with images by Pinterest
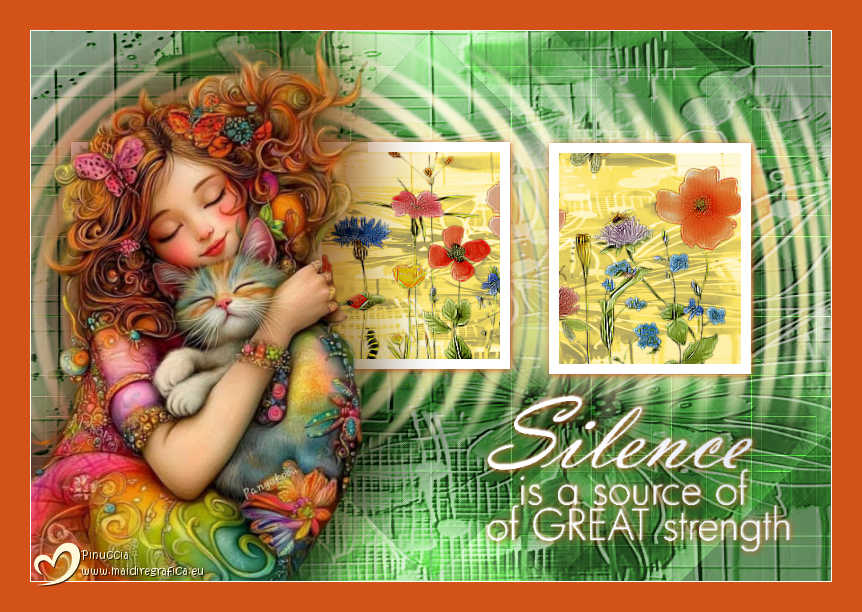


If you have problems or doubts, or you find a not worked link,
or only for tell me that you enjoyed this tutorial, write to me.
5 October 2025

|

