|
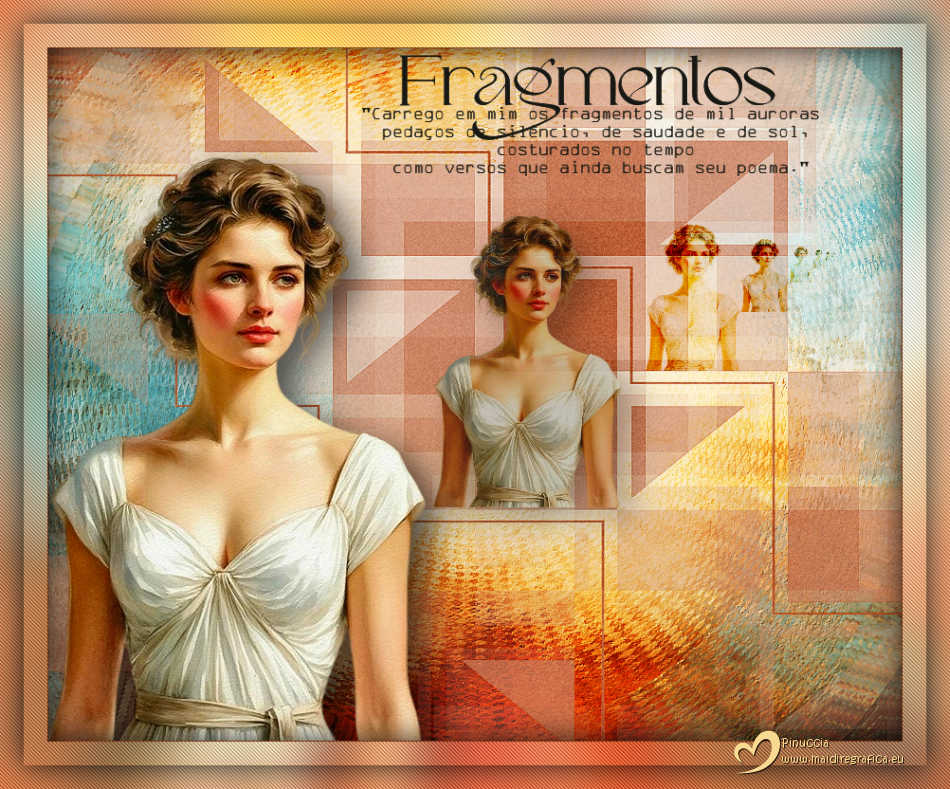
FRAGMENTOS


Thanks Estela for your invitation to translate your tutorials into english

This tutorial, created with PSP2022, was translated with PspX9 and 2020, but it can also be made using other versions of PSP.
Since version PSP X4, Image>Mirror was replaced with Image>Flip Horizontal,
and Image>Flip with Image>Flip Vertical, there are some variables.
In versions X5 and X6, the functions have been improved by making available the Objects menu.
In the latest version X7 command Image>Mirror and Image>Flip returned, but with new differences.
See my schedule here
 French Translation here French Translation here
 Your versions here Your versions here

For this tutorial, you will need:

Tube EF, Image Pinterest.
(The links of the tubemakers here).

consult, if necessary, my filter section here
Filters Unlimited 2.0 here
VM Distortion - Radial Pox, Slicer here
Penta.com - Jeans here
FM Tile Tools - Saturation Emboss here
Alien Skin Eye Candy 5 Impact - Perspective Shadow here
Filters VM Distortion and Penta.com can be used alone or imported into Filters Unlimited.
(How do, you see here)
If a plugin supplied appears with this icon  it must necessarily be imported into Unlimited it must necessarily be imported into Unlimited

You can change Blend Modes according to your colors.
Copy the preset  in the folder of the plugin Alien Skin Eye Candy 5 Impact>Settings>Shadow. in the folder of the plugin Alien Skin Eye Candy 5 Impact>Settings>Shadow.
One or two clic on the file (it depends by your settings), automatically the preset will be copied in the right folder.
why one or two clic see here

Note by Estela:
If you're working with a different tube, resize it your tube to 399 width, to avoid errors.
The tube in the my second version is 381 wide.
Adjust>Sharpness>Unsharp Mask, default settings.
1. Open a new transparent image 900 x 730 pixels.
Selections>Select All.
2. Open the image Fundo 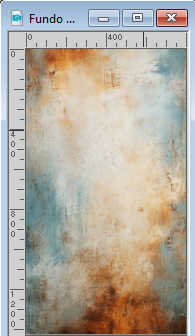
Edit>Copy.
Go back to your work and go to Edit>Paste into Selection.
Selections>Select None.
3. Layers>Duplicate.
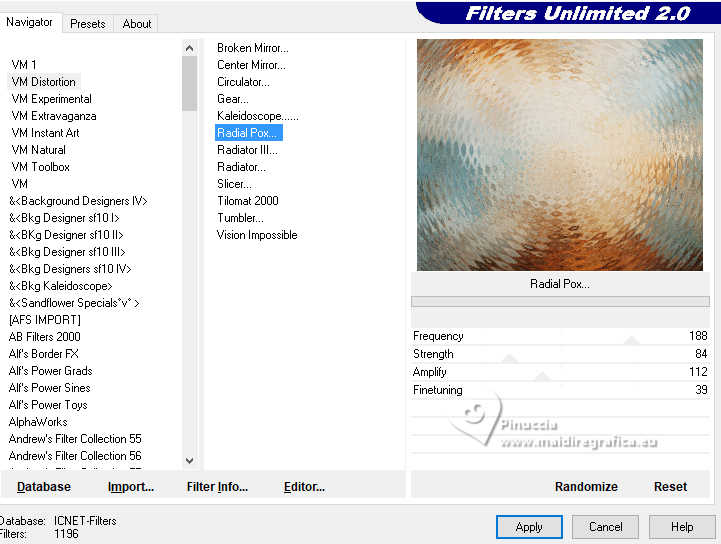
Effects>Plugins>Filters Unlimited 2.0 - VM Distortion - Radial Pox
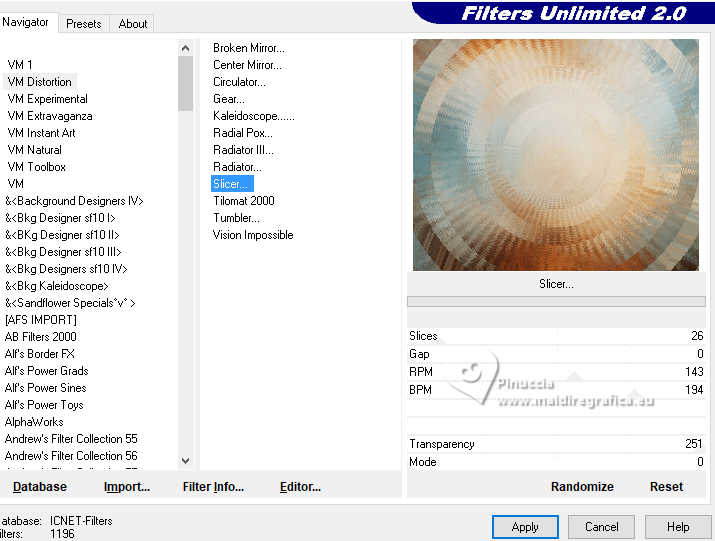
Effects>Plugins>Filters Unlimited 2.0 - VM Distortion - Slicer, default settings.
4. Change the Blend Mode of this layer to Hard Light.
Effects>Plugins>FM Tile Tools - Saturation Emboss, default settings.

5. Open EF-Fragmentos_Deco_1 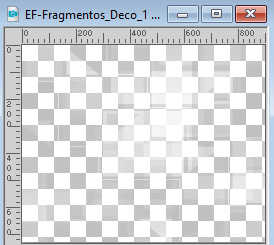
Edit>Copy.
Go back to your work and go to Edit>Paste as new layer.
Layers>Duplicate.
6. Set your foreground color to #b1410e 
Activate your Color Changer Tool 
Flood Fill the deco with your foreground color.
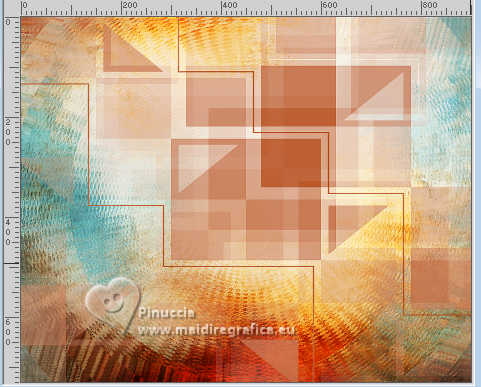
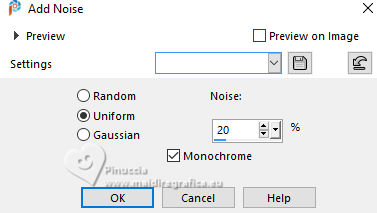
Adjust>Add/Remove Noise>Add Noise.
7. Open the woman's tube EF-1025 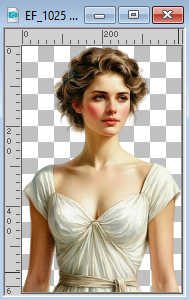
Édition>Copier.
Revenir sur votre travail et Édition>Coller comme nouveau calque.
Objets>Aligner>Bas
Objets>Aligner>Gauche
8. Adjust>Hue and Saturation>Vibrancy.
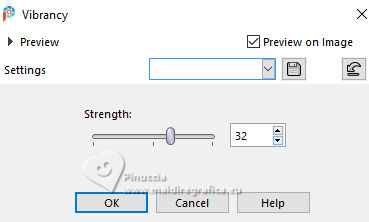
Layers>Duplicate.
Layers>Arrange>Move down.
9. Effects>Reflection Effects>Feedback.
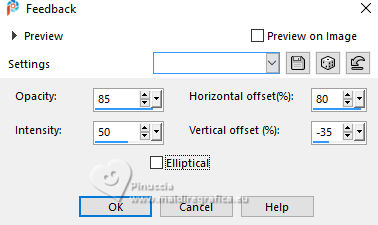
10. Activate your Selection Tool 
(no matter the type of selection, because with the custom selection your always get a rectangle)
clic on the Custom Selection 
and set the following settings.
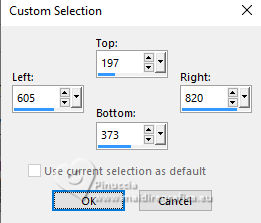
11. Edit>Cut - to keep the cutted image in memory.
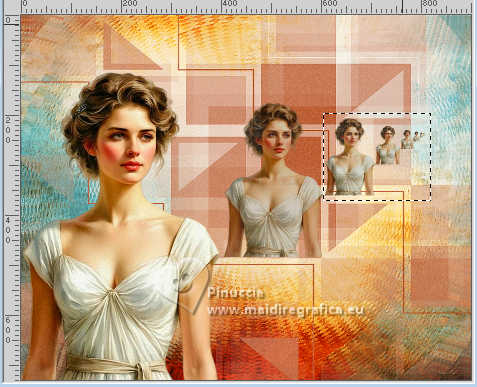
Selections>Select None.
12. Edit>Paste as new layer.
K key to activate your Pick Tool 
Position X: 629,00 - Position Y.: 185,00.

M key to deselect the Tool.
Change the Blend Mode of this layer to Burn

13. Activate your top layer, Raster 3.
Effects>Plugins>Alien Skin Eye Candy 5 Impact - Perspective Shadow.
Select the preset EF-Fragmentos
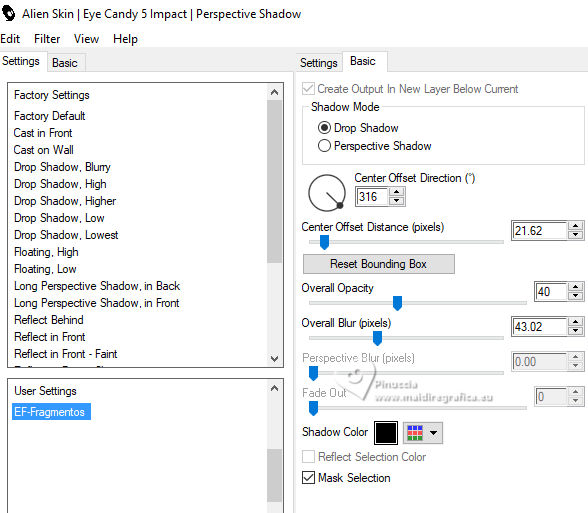
Activate the layer Copy of Raster 3.
Effects>Plugins>Alien Skin Eye Candy 5 Impact - Perspective Shadow, same settings.
14. Adjust>Hue and Saturation>Vibrancy, same settings.

Layers>Merge>Merge visible.
15. For the border, set your foreground color to #c55522 
Image>Add Borders, 1 pixel, symmetric, color #c55522.
Edit>Copy
16. Selections>Select All.
Image>Add Borders, 50 pixels, symmetric, whatever color.
Selections>Invert.
Edit>Paste into Selection
17. Adjust>Blur>Gaussian Blur - radius 25.

18. Effects>Plugins>Penta.com - Jeans, default settings.
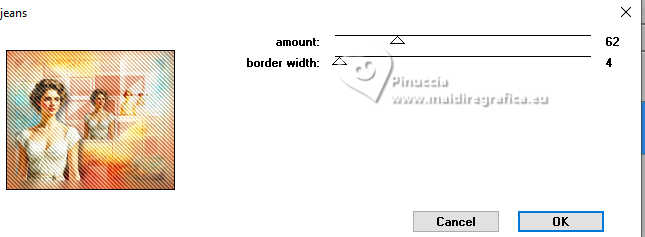
Effects>3D Effects>Drop Shadow, color #000000.

19. Selections>Select All
Selections>Modify>Contract - 25 pixels.
Effects>3D Effects>Drop Shadow, same settings.

Selections>Select None.
20. Open EF-Fragmentos_Texto 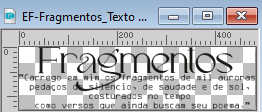
Edit>Copy.
Go back to your work and go to Edit>Paste as new layer.
Place  the text to your liking; for me the text to your liking; for me
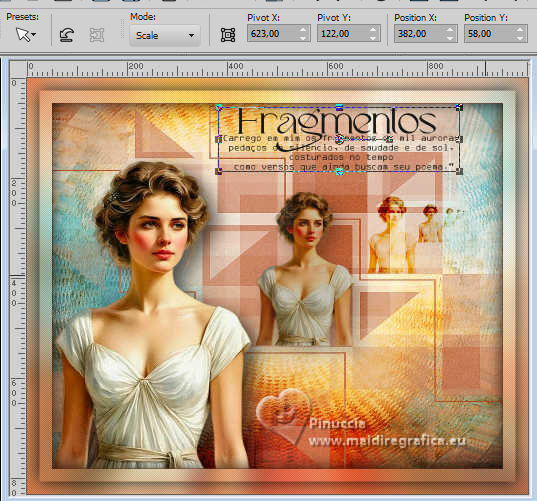
Change the Blend Mode to Dodge - for my example I left it Normal.
21. Sign your work on a new layer.
Layers>Merge>Merge All and save as jpg.
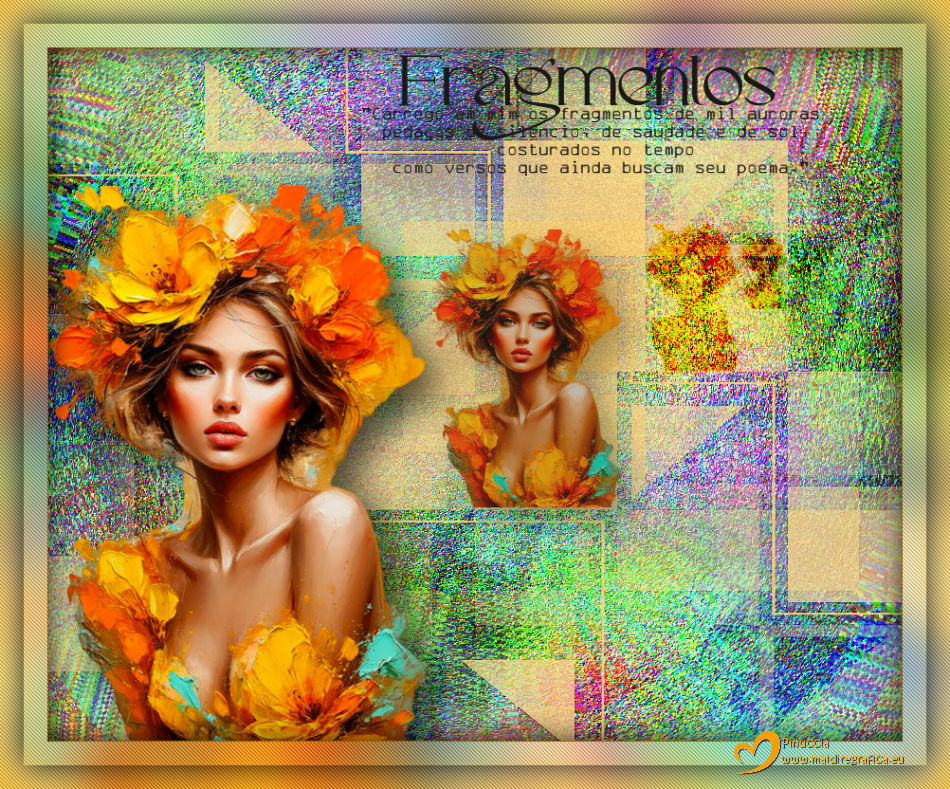
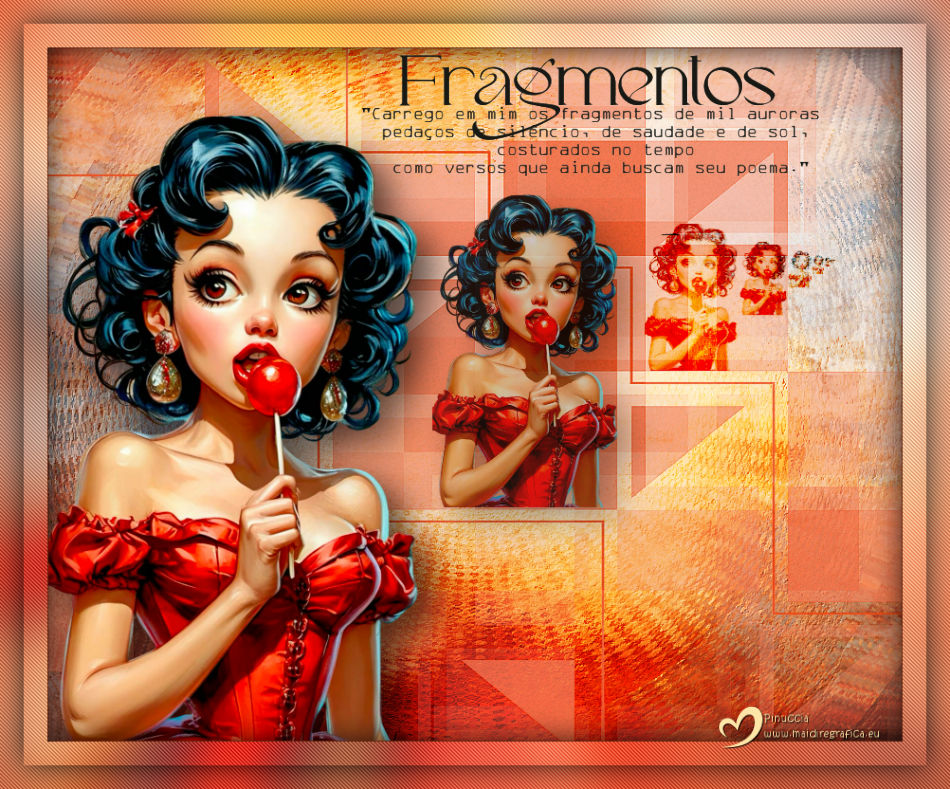
Versions with my tubes from Pinterest images.


If you have problems or doubts, or you find a not worked link,
or only for tell me that you enjoyed this tutorial, write to me.
13 November 2025

|

