|
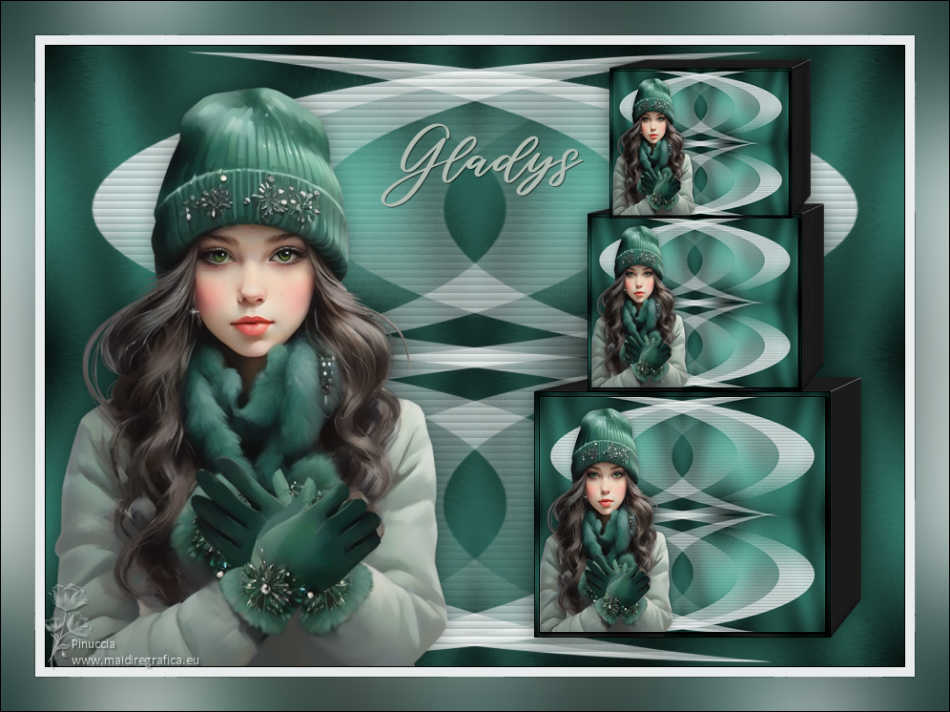
GLADYS


Thanks Estela for your invitation to translate your tutorials into english

This tutorial, created with PSP2022, was translated with PspX7, but it can also be made using other versions of PSP.
Since version PSP X4, Image>Mirror was replaced with Image>Flip Horizontal,
and Image>Flip with Image>Flip Vertical, there are some variables.
In versions X5 and X6, the functions have been improved by making available the Objects menu.
In the latest version X7 command Image>Mirror and Image>Flip returned, but with new differences.
See my schedule here
 French Translation here French Translation here
 Your versions here Your versions here

For this tutorial, you will need:

Thanks for the tube Lady Valella.
The rest of the material is by Estela Fonseca.
(The links of the tubemakers here).
*It is forbidden to remove the watermark from the supplied tubes, distribute or modify them,
in order to respect the work of the authors

consult, if necessary, my filter section here
Filters Unlimited 2.0 here
Tramages - Pool Shadow here
VM Toolbox - Instant Tile here
Alien Skin Eye Candy 5 Impact - Extrude here
AAA Frames - Foto Frame here
Filters Tramages and VM Toolbox can be used alone or imported into Filters Unlimited.
(How do, you see here)
If a plugin supplied appears with this icon  it must necessarily be imported into Unlimited it must necessarily be imported into Unlimited

You can change Blend Modes according to your colors.

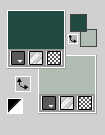
Set your foreground color to #204941,
and your background color to #b1bdb2.
1. Open a new transparent image 900 x 650 pixels.
Flood Fill  the transparent image with your foreground color. the transparent image with your foreground color.
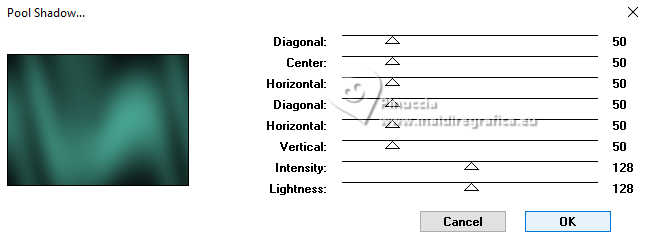
2. Effects>Plugins>Tramages / Pool Shadow, default settings.
.
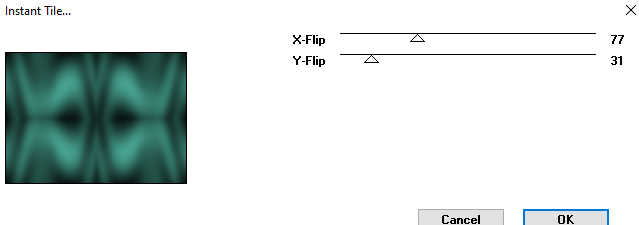
Effects>Plugins>VM Toolbox / Instant Tile, default settings.
.
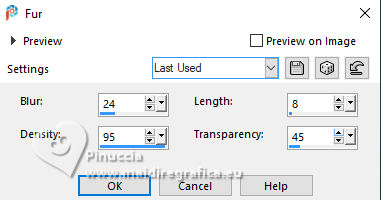
3. Effects>Texture Effects>Fur.
4. Open EF-Gladys_Deco_1 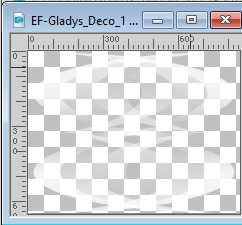
Edit>Copy.
Go back to your work and go to Edit>Paste as new layer.
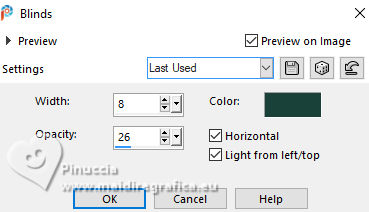
5. Effects>Texture Effects>Blinds - color #1a413a.
6. Open the tube A.I.@LValellaTD2023-1447 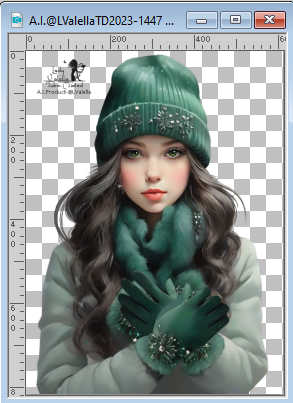
Erase the watermark and go to Edit>Copy.
Go back to your work and go to Edit>Paste as new layer.
Image>Resize, 75%, resize all layers not checked.
K key to activate your Pick Tool 
Position X: -12,00 - Position Y: 37,00.

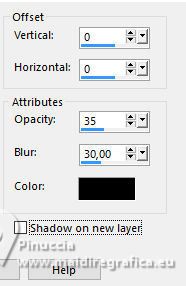
7. Effects>3D Effects>Drop Shadow, color #000000.
8. Edit>Copy Special>Copy Merged.
Layers>New Raster Layer.
9. Selection Tool 
(no matter the type of selection, because with the custom selection your always get a rectangle)
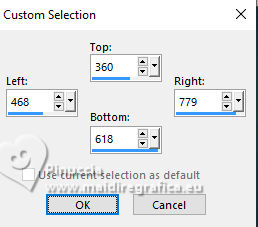
clic on the Custom Selection 
and set the following settings.
Edit>Paste into Selection
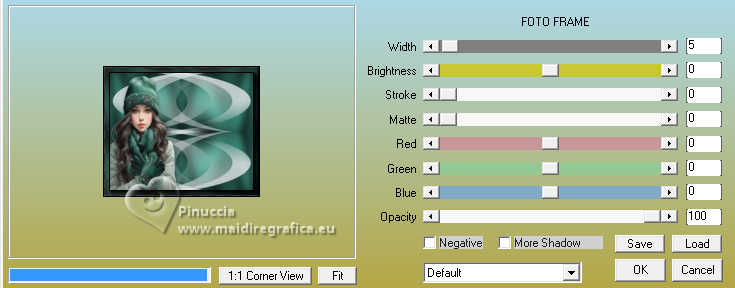
10. Effects>Plugins>AAA Frame - Foto Frame
Selections>Select None
11. Effects>Plugins>Alien Skin Eye Candy 5 Impact - Extrude
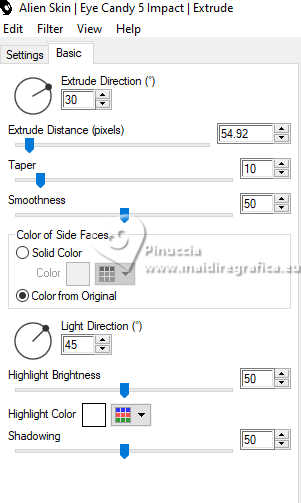
Position X: 512,00 - Position Y: 347,00.
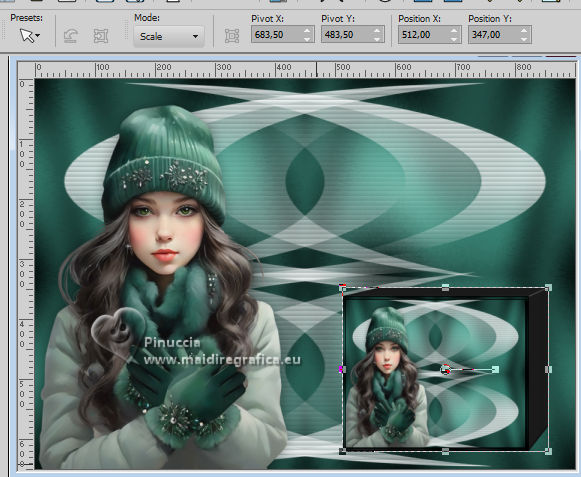
Adjust>Sharpness>Sharpen.
12. Calques>Dupliquer.
Image>Resize, 2 times to 85%, resize all layers not checked
Position X: 568,00 - Position Y: 165,00.

Adjust>Sharpness>Sharpen.
13. Layers>Duplicate.
Image>Resize, to 85%, resize all layers not checked.
Position X: 591,00 - Position Y: 14,00.

Adjust>Sharpness>Sharpen.
14. Layers>Merge>Merge Down - 2 times.
15. Effects>3D Effects>Drop Shadow, color #000000.

16. Open EF-Gladys_Texto 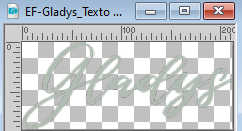
Edit>Copy.
Go back to your work and go to Edit>Paste as new layer.
Place  the text to your liking. the text to your liking.
if you prefer, write a name with a font at your choice
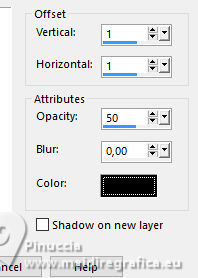
17. Effects>3D Effects>Drop Shadow, couleur #000000.
18. Image>Add borders, 1 pixel, symmetric, color #000000.
Image>Add borders, 10 pixels, symmetric, color #e8ecec1.
Image>Add borders, 1 pixel, symmetric, color #000000.
Image>Add borders, 35 pixels, symmetric, color #e8ecec1.
19. Activate your Magic Wand Tool 
and click in the last border to select it.
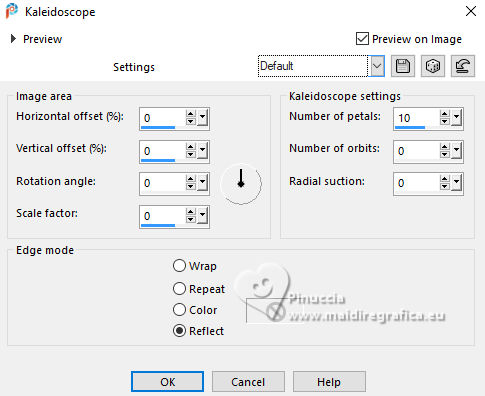
20. Effects>Reflection Effects>Kaleidoscope, default settings.
21. Adjust>Blur>Gaussian Blur - radius 55.
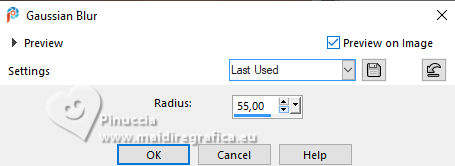
Selections>Select None
22. Sign your work.
Image>Add borders, 1 pixel, symmetric, color #000000.
Save as jpg.
For the tube of this version thanks Aprilshareables
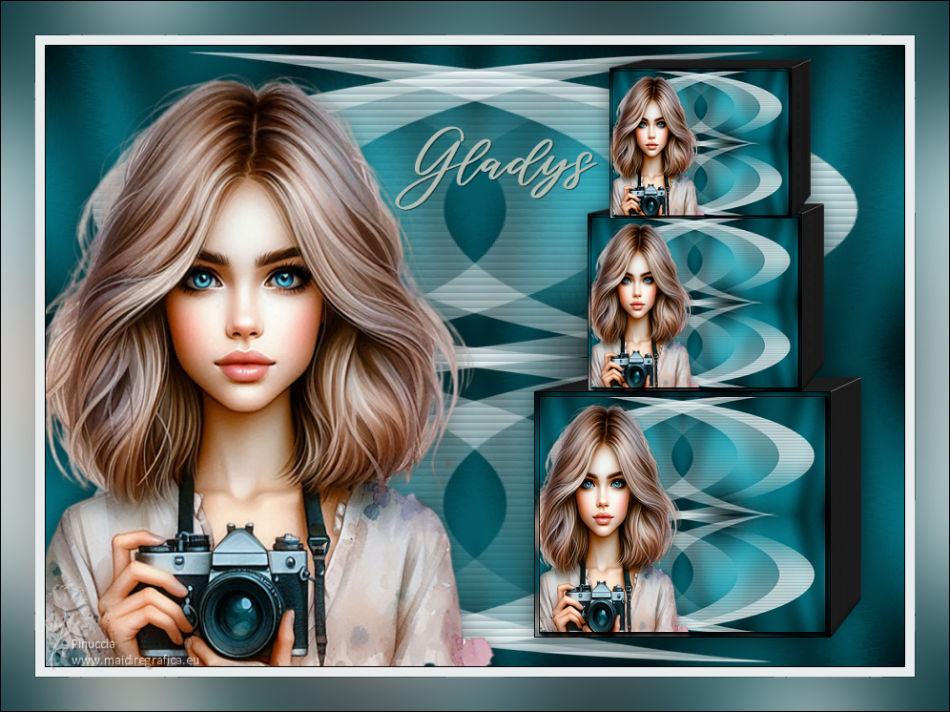


If you have problems or doubts, or you find a not worked link,
or only for tell me that you enjoyed this tutorial, write to me.
6 January 2025

|

