|
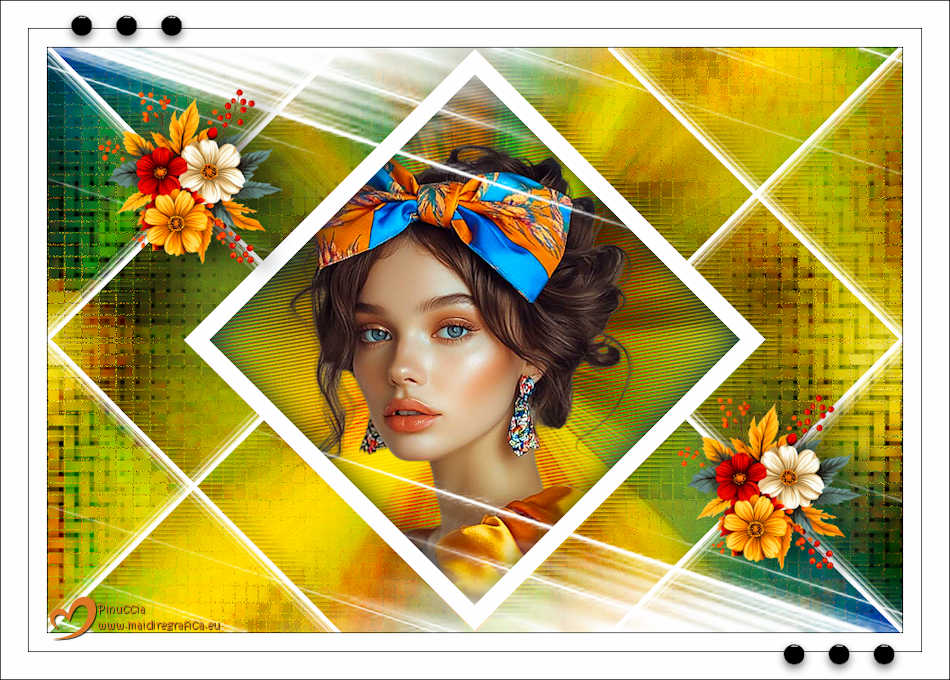
JOIA


Thanks Estela for your invitation to translate your tutorials into english

This tutorial, created with PSP2022, was translated with PspX9 and 2020, but it can also be made using other versions of PSP.
Since version PSP X4, Image>Mirror was replaced with Image>Flip Horizontal,
and Image>Flip with Image>Flip Vertical, there are some variables.
In versions X5 and X6, the functions have been improved by making available the Objects menu.
In the latest version X7 command Image>Mirror and Image>Flip returned, but with new differences.
See my schedule here
 French Translation here French Translation here
 Your versions here Your versions here

For this tutorial, you will need:

Material by Estela Fonseca
(The links of the tubemakers here).
*It is forbidden to remove the watermark from the supplied tubes, distribute or modify them,
in order to respect the work of the authors

consult, if necessary, my filter section here
Filters Unlimited 2.0 here
Simple - Blintz here
Simple - Top Bottom Wrap (bonus) here
Alien Skin Eye Candy 5 Impact - Backlight here
VanDerLee - Unplugged-X here
Graphics Plus - Vertical Mirror here
Alien Skin Eye Candy 5 Textures - Weave here
Filters Simple and Graphics Plus can be used alone or imported into Filters Unlimited.
(How do, you see here)
If a plugin supplied appears with this icon  it must necessarily be imported into Unlimited it must necessarily be imported into Unlimited

You can change Blend Modes according to your colors.
In the newest versions of PSP, you don't find the foreground/background gradient (Corel_06_029).
You can use the gradients of the older versions.
The Gradient of CorelX here
Copy the preset  in the folder of the plugin Alien Skin Eye Candy Textures>Settings>Weave. in the folder of the plugin Alien Skin Eye Candy Textures>Settings>Weave.
One or two clic on the file (it depends by your settings), automatically the preset will be copied in the right folder.
why one or two clic see here

Copy the selection in the Selections Folder.
Set your foreground color to #035698,
and your background color to #fadc26.
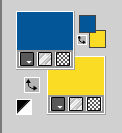
Set your foreground color to a Foreground/Background Gradient, style Linear.
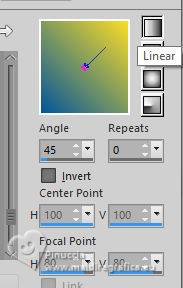
1. Open a new transparent image 950 x 650 pixels.
Flood Fill  the transparent image with your Gradient. the transparent image with your Gradient.
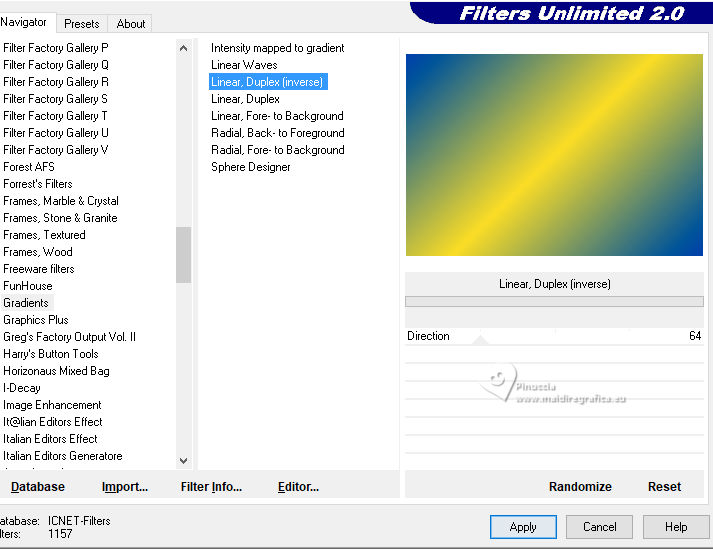
2. Effects>Plugins>Filters Unlimited 2.0 - Gradients - Linear,Duplex(inverse).
3. Open your main tube EF-Tube_Personagem 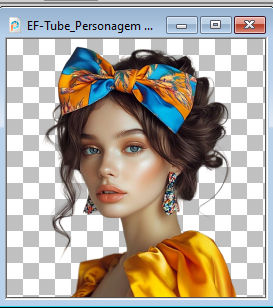
Edit>Copy.
Go back to your work and go to Edit>Paste as new layer.
Don't move it.
4. Adjust>Blur>Radial Blur.
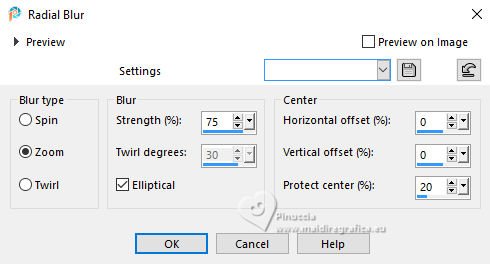
Edit>Repeat Radial Blu.
5. Effects>Edge Effects>Enhance More.
Change the Blend Mode of this layer to Hard Light.
Layers>Merge>Merge visible.
6. Layers>Duplicate.
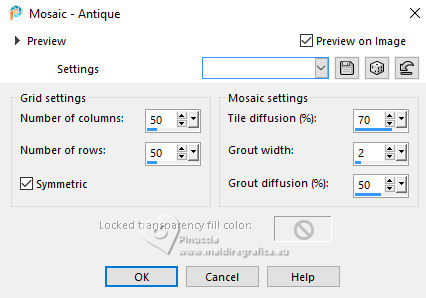
Effects>Texture Effects>Mosaic Antique
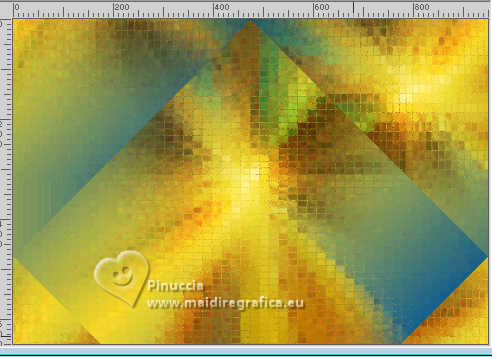
7. Effects>Plugins>Simple - Blintz.
Effect without window: result
8. Effects>Plugins>Graphics Plus - Vertical Mirror, default settings.
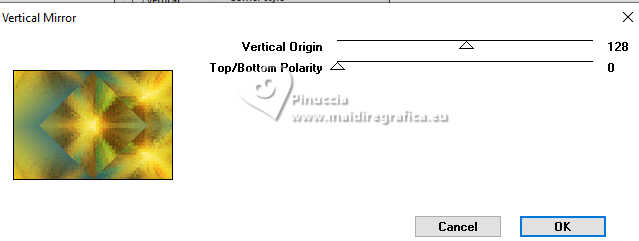
9. Effects>Image Effects>Seamless Tiling.

Adjust>Sharpness>Sharpen.
10. Open EF-Joia_Deco_1 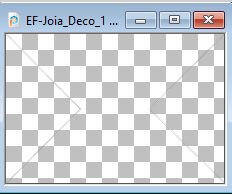
Edit>Copy.
Go back to your work and go to Edit>Paste as new layer.
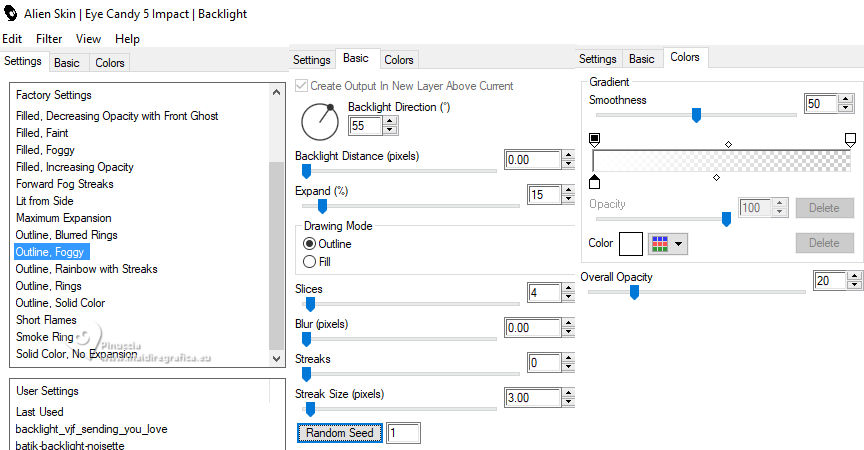
11. Effects>Plugins>Alien Skin Eye Candy 5 Impact - Backlight.
preset Outline Foggy - Colors: white.
12. Layers>Duplicate.
Effects>Plugins>Simple - Top Bottom Wrap.
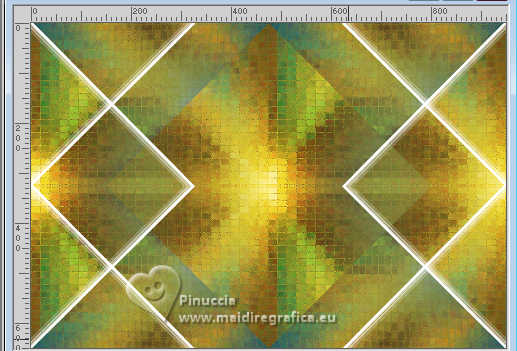
Layers>Merge>Merge Down.
13. Layers>New Raster Layer.
Effects>Plugins>VanDerLee - Unplugged-X - 45° Rectangle.
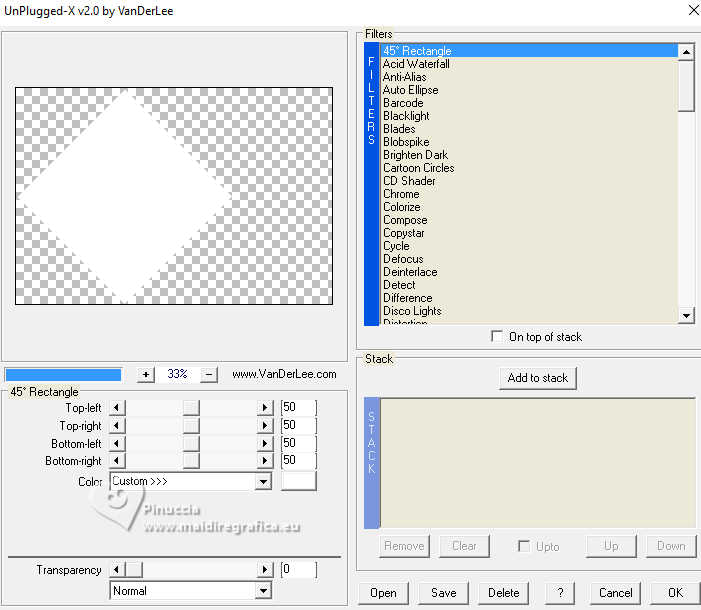
Objects>Align>Center in Canvas.
14. Selections>Load/Save Selection>Load Selection from Disk.
Look for and load the selection Joia_1
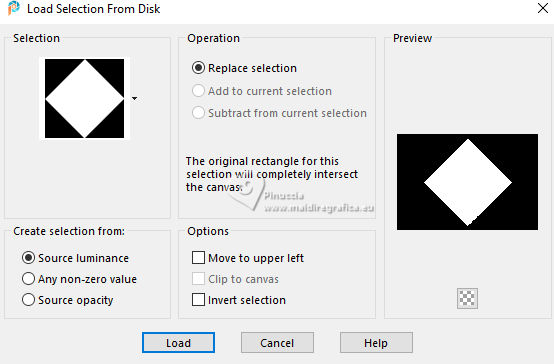
Press CANC on the keyboard 
15. Activate the layer Raster 1.
Again press CANC on the keyboard.
16. Activate your top layer, Raster 2.
Layers>Merge>Merge Down.
17. Activate your bottom layer, Merged.
Selections>Promote Selection to Layer.
Layers>Arrange>Bring to Top.
18. Effects>Artistic Effects>Halftone.
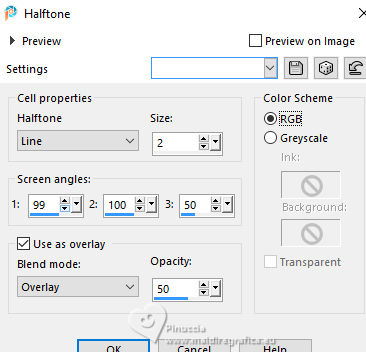
19. Activate again your main tube and go to Edit>Copy.
Go back to your work and go to Edit>Paste as new layer.
Image>Resize, to 75%, resize all layers not checked.
Place  the tube to your liking. the tube to your liking.
Selections>Invert.
Press CANC on the keyboard.
20. Selections>Invert.
Adjust>Sharpness>Sharpen.
21. Layers>New Raster Layer.
Effects>3D Effects>Cutout.
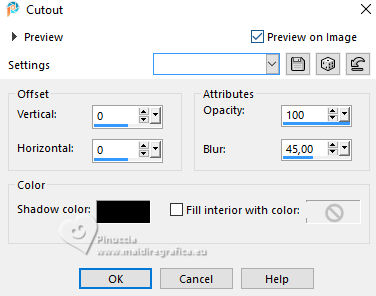
Selections>Select None.
22. Activate the layer of the tube, Raster 2.
Layers>Duplicate.
Layers>Arrange>Move Down - 3 times.
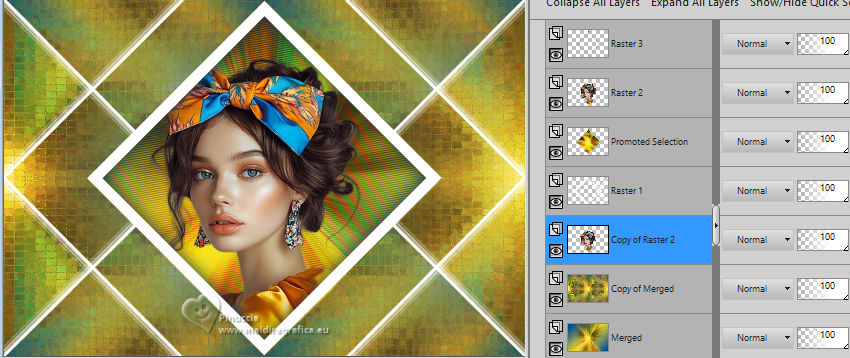
23. Effects>Image Effects>Seamless Tiling, same settings.

Adjust>Blur>Gaussian Blur - radius 30.

24. Effects>Plugins>Alien Skin Eye Candy 5 Textures - Weave
preset EF-Joia
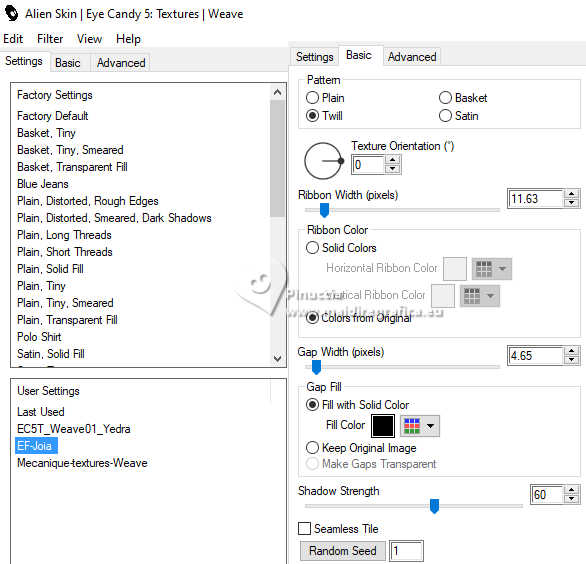
Change the Blend Mode of this layer to Overlay.
25. Activate the layer Raster 1.
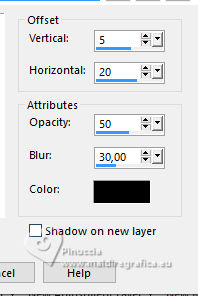
Effects>3D Effects>Drop Shadow, color #000000,
shadow on new layer checked.
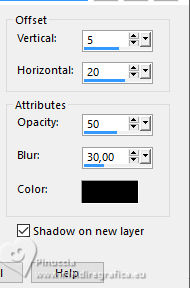
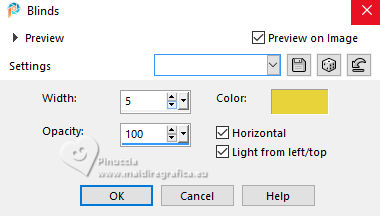
26. Stay on the shadow's layer.
Effects>Texture Effects>Blinds - background color.
27. Activate the layer Copy of Merged.
Change the Blend Mode of this layer to Hard Light and reduce the opacity to 81%.
28. Activate your top layer, Raster 3.
Open EF-Joia_Deco_2 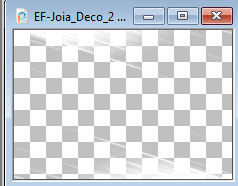
Edit>Copy.
Go back to your work and go to Edit>Paste as new layer.
29. Image>Add Borders, 1 pixel, symmetric, color black.
Image>Add Borders, 20 pixels, symmetric, color white.
Image>Add Borders, 1 pixel, symmetric, color black.
Image>Add Borders, 30 pixels, symmetric, color white.
30. Open the tube EF-Joia_Deco_3 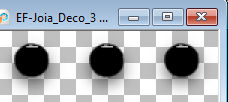
Edit>Copy.
Go back to your work and go to Edit>Paste as new layer.
Move  the tube at the upper left. the tube at the upper left.
Layers>Duplicate.
Move  this tube at the bottom right. this tube at the bottom right.
31. Open the tube EF-Tube_Floral 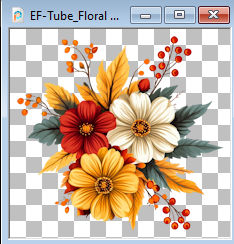
Edit>Copy.
Go back to your work and go to Edit>Paste as new layer.
K key to activate your Pick Tool 
Position X: 108,00 - Position Y: 98,00

32. Effects>3D Effects>Drop shadow, same settings,
but shadow on new layer not checked.
33. Layers>Duplciate.
Position X: 752,00 - Position Y: 425,00.

M key to deselect the Tool.
34. Image>Add Borders, 1 pixel, symmetric, color #000000.
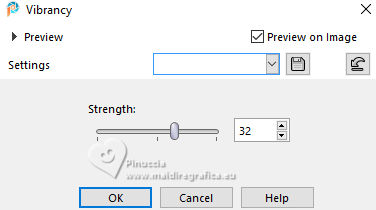
Adjust>Hue and Saturation>Vibrancy.
Sign your work and save as jpg.
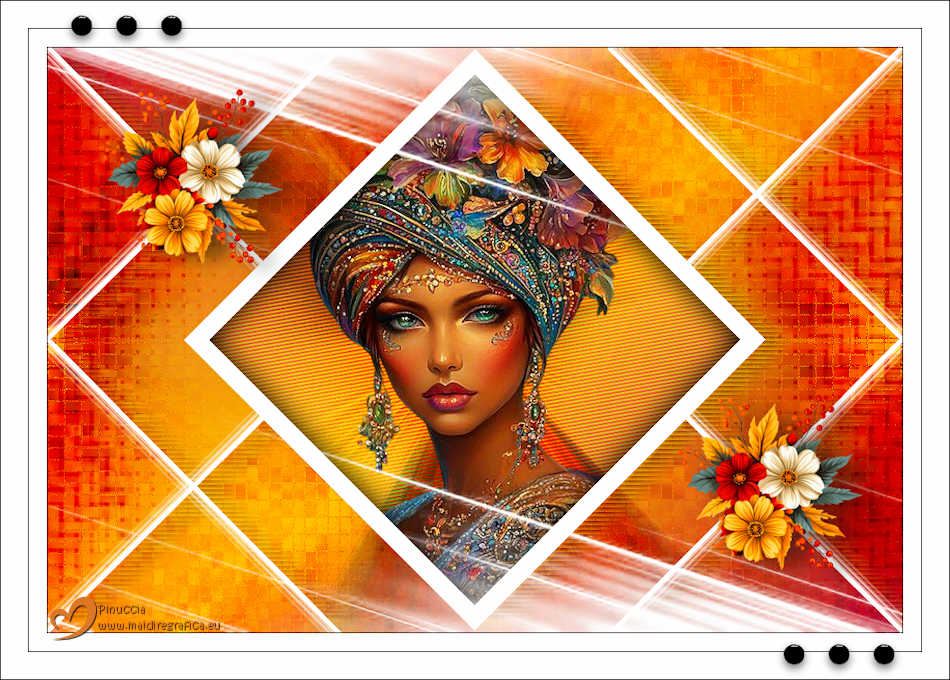
Version with my tube, from an image by Pinterest.


If you have problems or doubts, or you find a not worked link,
or only for tell me that you enjoyed this tutorial, write to me.
11 August 2025

|

