|
LISA T.


Thanks Estela for your invitation to translate your tutorials into english

This tutorial, created with PSP2022, was translated with PspX7, but it can also be made using other versions of PSP.
Since version PSP X4, Image>Mirror was replaced with Image>Flip Horizontal,
and Image>Flip with Image>Flip Vertical, there are some variables.
In versions X5 and X6, the functions have been improved by making available the Objects menu.
In the latest version X7 command Image>Mirror and Image>Flip returned, but with new differences.
See my schedule here
 French Translation here French Translation here
 Your versions here Your versions here

For this tutorial, you will need:

Thanks for the tubes LisaT.
The rest of the material is by Estela Fonseca
(The links of the tubemakers here).
*It is forbidden to remove the watermark from the supplied tubes, distribute or modify them,
in order to respect the work of the authors

consult, if necessary, my filter section here
Filters Unlimited 2.0 here
Funhouse - Loom here
Toadies - Weaver here
AAA Frames - Texture Frame here
Filters Funhouse et Toadies can be used alone or imported into Filters Unlimited.
(How do, you see here)
If a plugin supplied appears with this icon  it must necessarily be imported into Unlimited it must necessarily be imported into Unlimited

You can change Blend Modes according to your colors.
In the newest versions of PSP, you don't find the foreground/background gradient (Corel_06_029).
You can use the gradients of the older versions.
The Gradient of CorelX here

Set your foreground color to #a4183f,
and your background color to #fcba25.
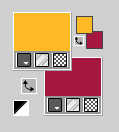
Set your foreground color to a Foreground/Background Gradient, style Radial
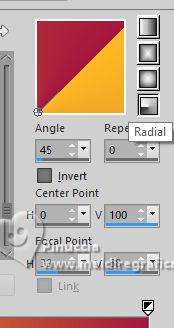
1. Open EF-LisaT-Alpha
Window>Duplicate or, on the keyboard, shift+D to make a copy.

Close the original.
The copy, that will be the basis of your work, is not empty,
but contains the selections saved to alpha channel.
Flood Fill  the transparent image with your Gradient. the transparent image with your Gradient.
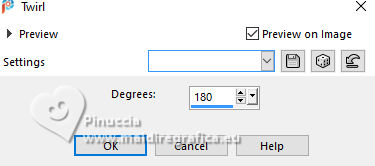
Effets>Effets de distorsion>Torsion
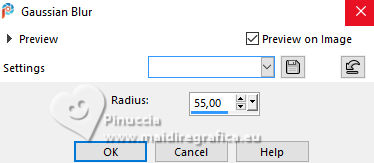
Adjust>Blur>Gaussian Blur - rayon 55.
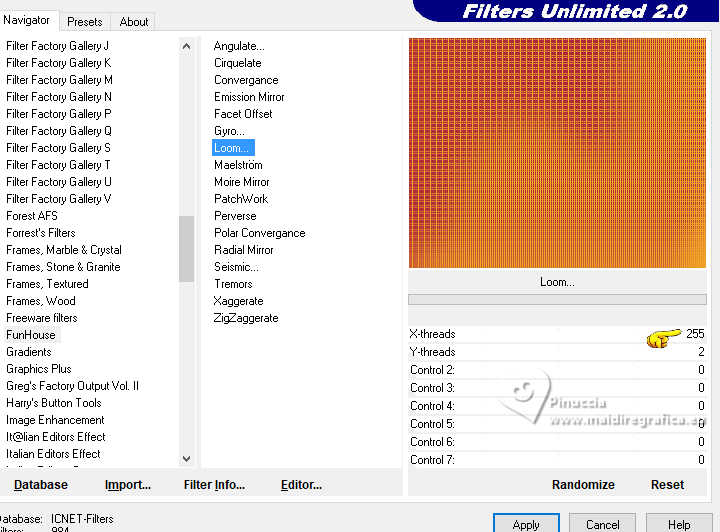
2. Effects>Plugins>Filters Unlimited 2.0 - FunHouse - Loom
3. Open the tube paysages_0237_lisat 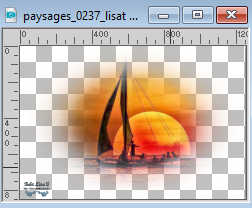
Effacer le watermark et Edit>Copy.
Minimiser le tube.
Go back to your work and go to Edit>Paste as new layer.
Don't move it
4. Effects>Plugins>Toadies - Weaver.
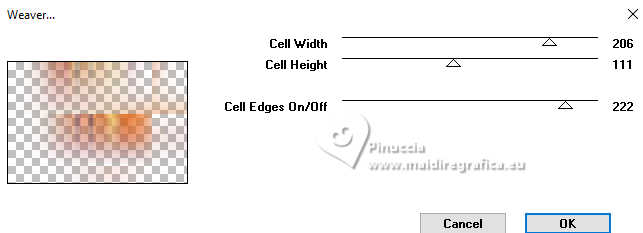
Adjust>Sharpness>Sharpen More.
5. Layers>Duplicate.
Layers>Merge>Merge Down.
Layers>Duplicate.
Effects>Geometric Effects>Skew.
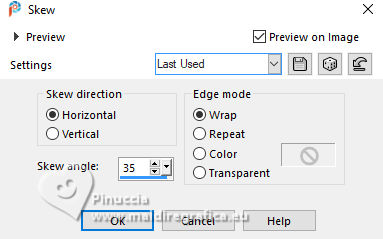
Layers>Duplicate.
Image>Miroir>Miroir horizontal.
Layers>Merge>Merge Down.
Adjust>Sharpness>Sharpen.
6. Layers>Duplicate.
Image>Miroir>Miroir Vertical.
Effects>Reflection Effects>Rotating Mirror.
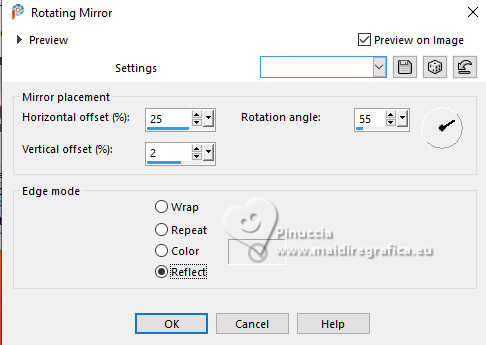
Change the Blend Mode of this layer to Dodge, or according to your colors.
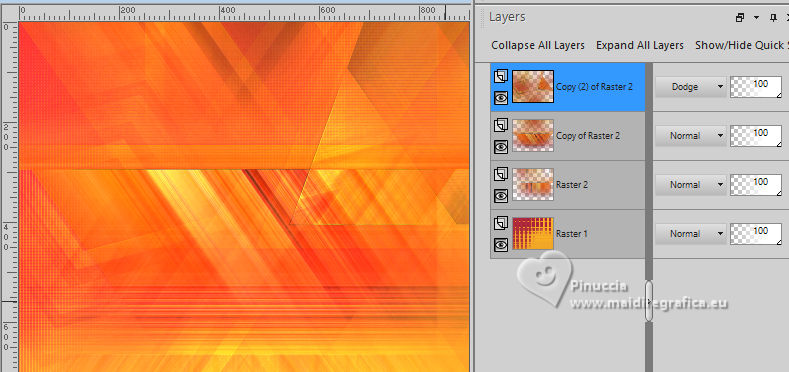
Layers>Merge>Merge visible.
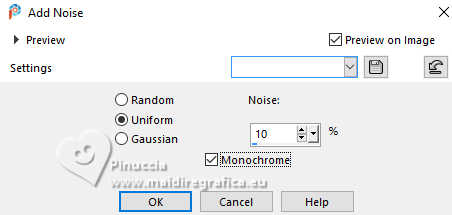
7. Adjust>Add/Remove Noise>Add Noise.
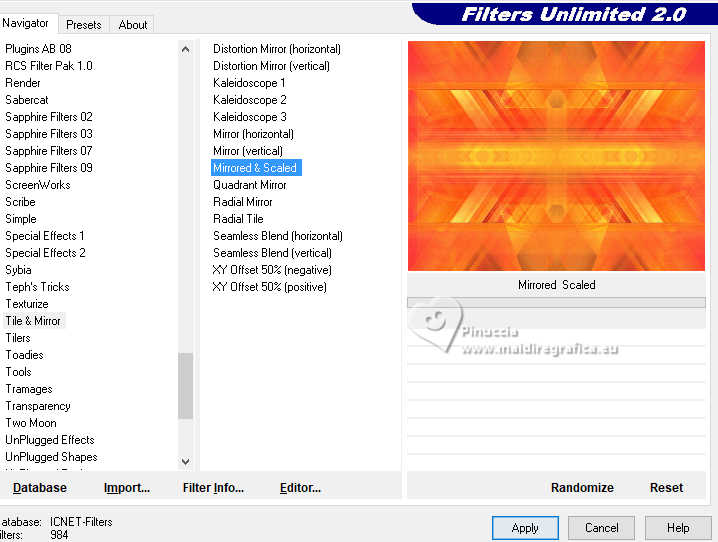
8. Effects>Plugins>Filters Unlimited 2.0 - Tile &Mirror - Mirrored & Scaled.
9. Open EF-Lisa_T_Deco_1 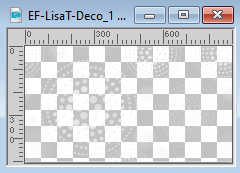
Edit>Copy.
Go back to your work and go to Edit>Paste as new layer.
Don't move it.
Layers>Duplicate.
Layers>Merge>Merge Down.
Adjust>Sharpness>Sharpen.
10. Open EF-Lisa_T_Deco_2 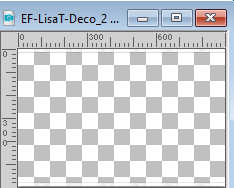
Edit>Copy.
Go back to your work and go to Edit>Paste as new layer.
Don't move it.
11. Selections>Load/Save Selection>Load Selection from Alpha Channel.
The selection Selection #1 is immediately available. You just have to click Load.
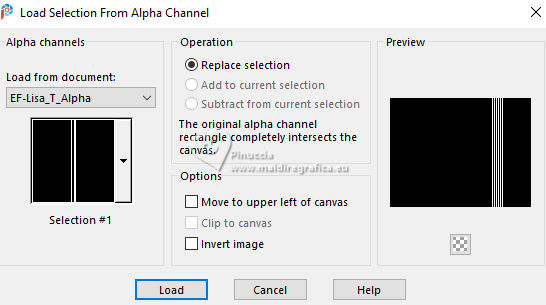
12. Set your foreground color to white #ffffff.
Layers>New Raster Layer.
Flood Fill  the layer with color white. the layer with color white.
Selections>Select None.
13. Selections>Load/Save Selection>Load Selection from Alpha Channel.
Open the selections menu and load the selection selection #2
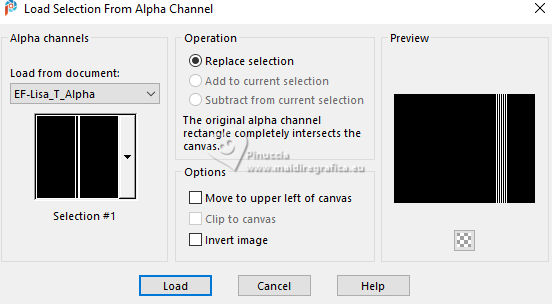
Flood Fill  with color #ffffff. with color #ffffff.
Selections>Modify>Contract - 7 pixels.
Press CANC on the keyboard 
Keep selected.
14. Activate again the tube paysages_0237_lisat and go to Edit>Copy.
Go back to your work and go to Edit>Paste as new layer.
Image>Resize, to 60%, resize all layers not checked.
Place  correctly the tube on the selection. correctly the tube on the selection.
Adjust>Sharpness>Sharpen More.
15. Selections>Invert.
Press CANC on the keyboard
Selections>Select None.
16. Layers>Merge>Merge Down - 2 fois.
Effects>3D Effects>Drop Shadow, color #000000.

17. Open EF-LisaT_Deco_3 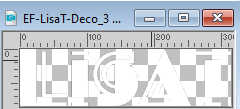
Edit>Copy.
Go back to your work and go to Edit>Paste as new layer.
K key to activate your Pick Tool 
Position X: 27,00 - Position vert.: 5,00.

M key to deselect the Tool.
18. Effects>3D Effects>Drop Shadow, color #000000.
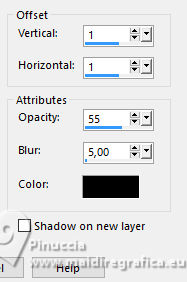
19. Selection Tool 
(no matter the type of selection, because with the custom selection your always get a rectangle)
clic on the Custom Selection 
and set the following settings.
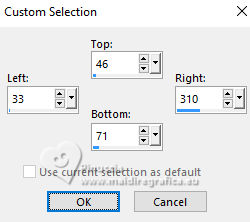
Press CANC on the keyboard 
Selections>Select None.
20. You should have this
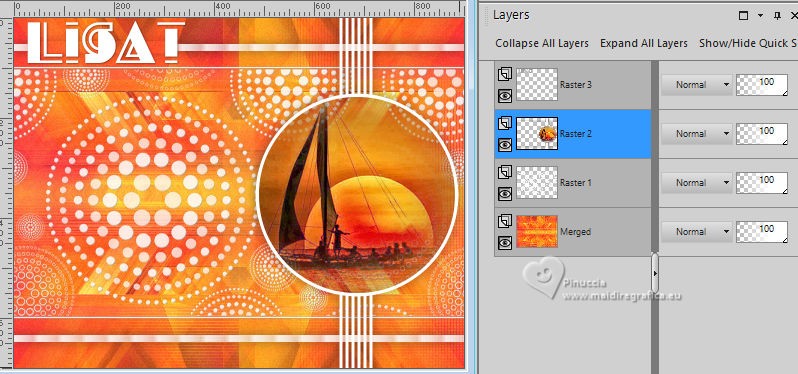
21. Layers>Merge>Merge visible.
Optional
Adjust>Hue and Saturation>Vibrancy
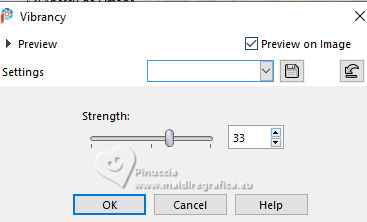
22. Image>Add borders, 1 pixel, symmetric, color #ffffff.
Image>Add borders, 3 pixels, symmetric, dark color.
Image>Add borders, 1 pixel, symmetric, color ffffff.
Image>Add borders, 55 pixels, symmetric, color claire.
23. Activate your Magic Wand Tool  , tolerance and feather 0, , tolerance and feather 0,

Click in the border of 55 pixels, to select it.
24. Effects>Reflection Effects>Rotating Mirror.
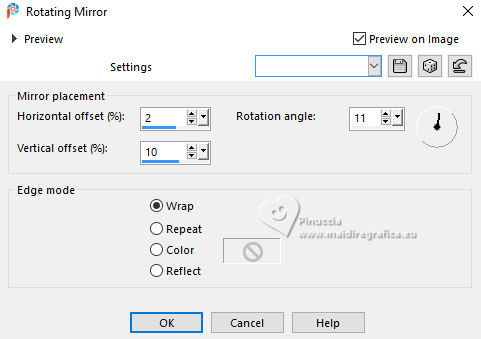
Selections>Promote Selection to Layer.
25. Image>Mirror>Mirror horizontal.
Image>Mirror>Mirror Vertical.
Selections>Select None.
26. Activate your Magic Wand Tool 
and click on the flat color in the left corner.
Press CANC on the keyboard
Layers>Merge>Merge Down.
27. Selections>Select All.
Selections>Modify>Contract - 55 pixels.
Selections>Invert.
28. Adjust>Add/Remove Noise>Add Noise, same settings.

29. Effects>Plugins>FM Tile Tools - Saturation Emboss, default settings.

Selections>Select None.
30. Open the woman's tube femmes_0471_lisat 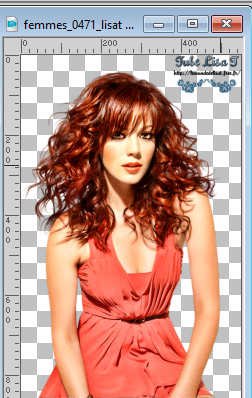
Erase the watermark et Edit>Copy.
Go back to your work and go to Edit>Paste as new layer.
Image>Resize, to 90%, resize all layers not checked.
Adjust>Sharpness>Sharpen.
Optional:
Adjust>Hue and Saturation>Vibrancy.

Place  the tube to your liking. the tube to your liking.
31. Effects>3D Effects>Drop Shadow, color #000000.
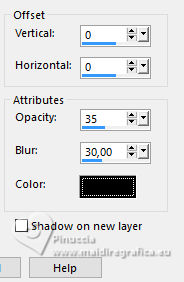
32. Layers>Merge>Merge visible.
33. Effects>Plugins>AAA Frames - Texture Frame
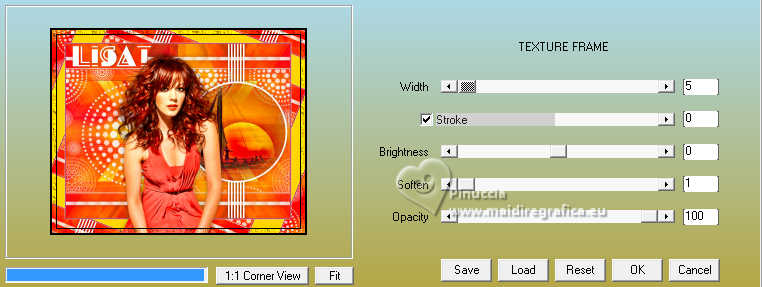
34. Sign your work on a new layer.
Image>Resize, 1000 pixels width, resize all layers checked.
Save as jpg.
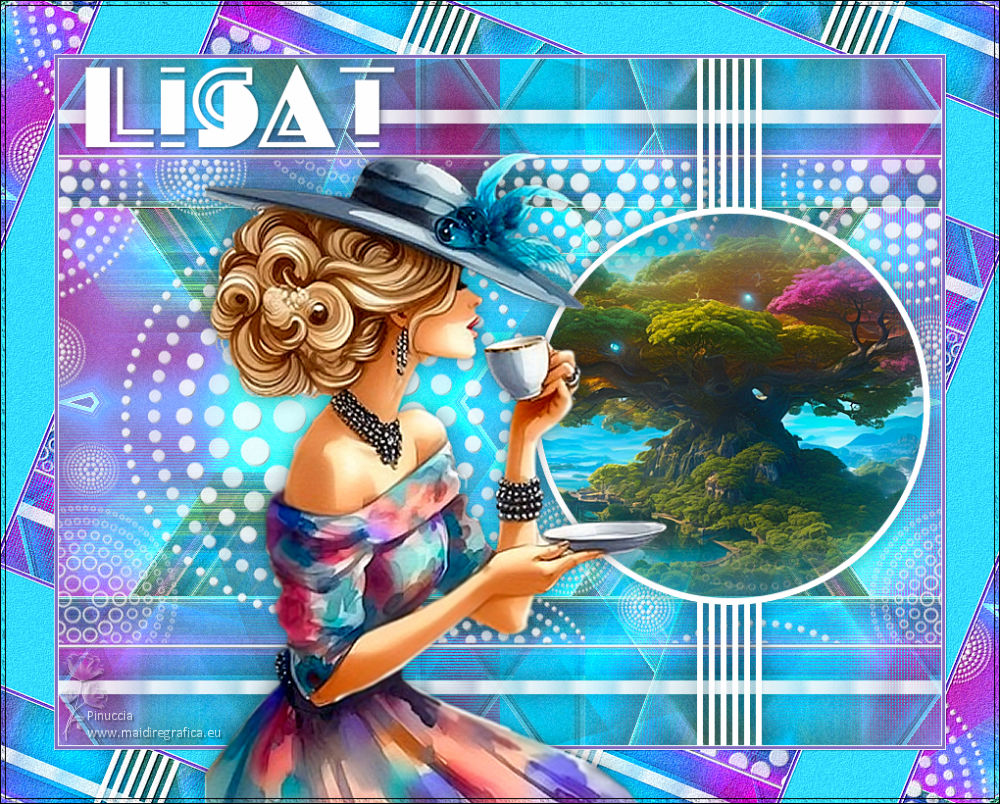
For the tubes of this versions thanks Luz Cristina and Mentali


If you have problems or doubts, or you find a not worked link,
or only for tell me that you enjoyed this tutorial, write to me.
3 November 2024

|


