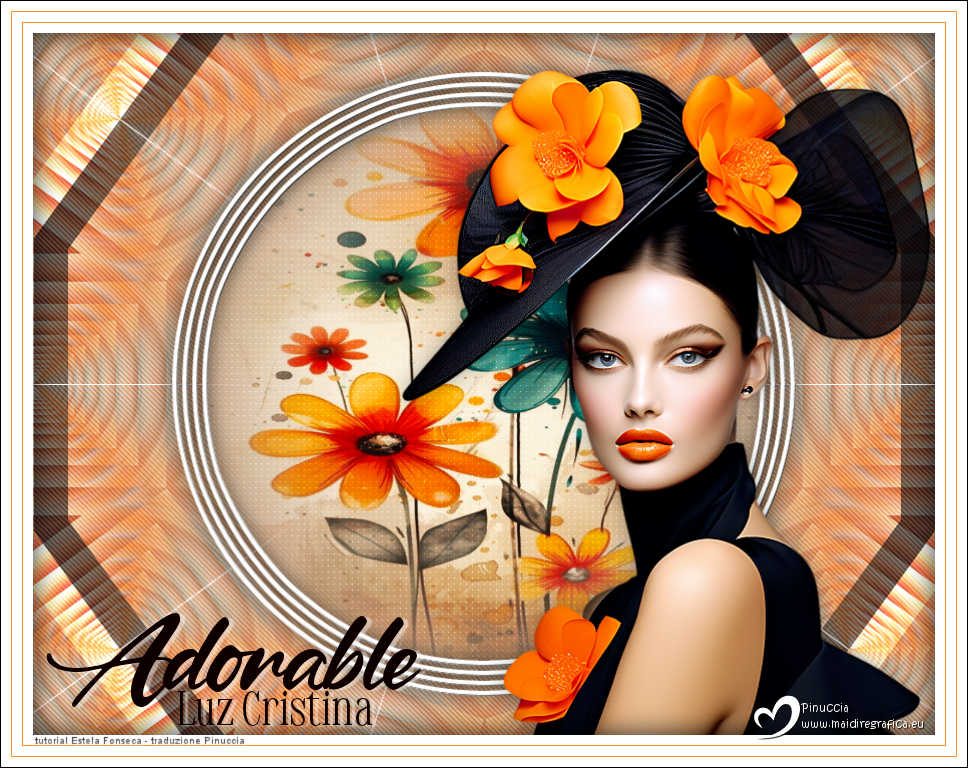
|
LUZ CRISTINA


Thanks Estela for your invitation to translate your tutorials into english

This tutorial, created with PSP2022, was translated with PspX9 and 2020, but it can also be made using other versions of PSP.
Since version PSP X4, Image>Mirror was replaced with Image>Flip Horizontal,
and Image>Flip with Image>Flip Vertical, there are some variables.
In versions X5 and X6, the functions have been improved by making available the Objects menu.
In the latest version X7 command Image>Mirror and Image>Flip returned, but with new differences.
See my schedule here
 French Translation here French Translation here
 Your versions here Your versions here

For this tutorial, you will need:

Tubes by Mentali and Estela Fonseca; Image de Pinterest.
(The links of the tubemakers here).
*It is forbidden to remove the watermark from the supplied tubes, distribute or modify them,
in order to respect the work of the authors

consult, if necessary, my filter section here
Filters Unlimited 2.0 here
Mock - Bevel here
Carolaine and Sensibility - CS-DLines here
Simple - Top Left Mirror here
Mura's Seamless - Emboss at Alpha here
Filters Mock, Simple and Mura's Seamless can be used alone or imported into Filters Unlimited.
(How do, you see here)
If a plugin supplied appears with this icon  it must necessarily be imported into Unlimited it must necessarily be imported into Unlimited

You can change Blend Modes according to your colors.

1. Open a new transparent image 900 x 700 pixels.
Selections>Select All.
2. Open the image grafico 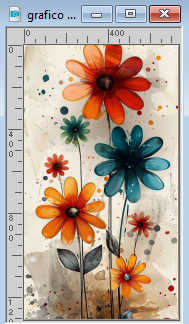
Edit>Copy.
Go back to your work and go to Edit>Paste into Selection.
Selections>Select None.
3. Effects>Image Effects>Seamless Tiling.

4. Adjust>Blur>Radial Blur.
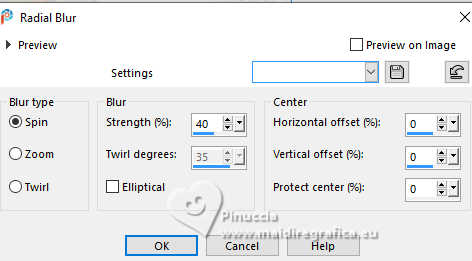
Adjust>Sharpness>Sharpen More.
5. Effects>Reflection Effects>Feedback.
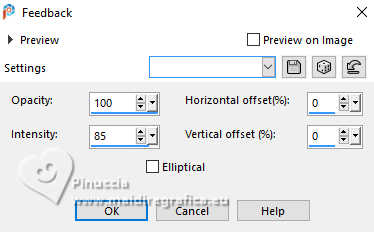
6. Effects>Image Effects>Seamless Tiling.

7. Effects>Reflection Effects>Rotaging Mirror.

8. Effects>Plugins>Simple - Top Left Mirror.
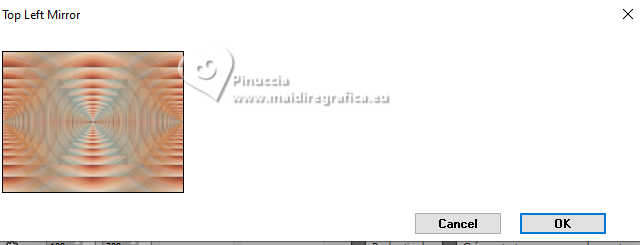
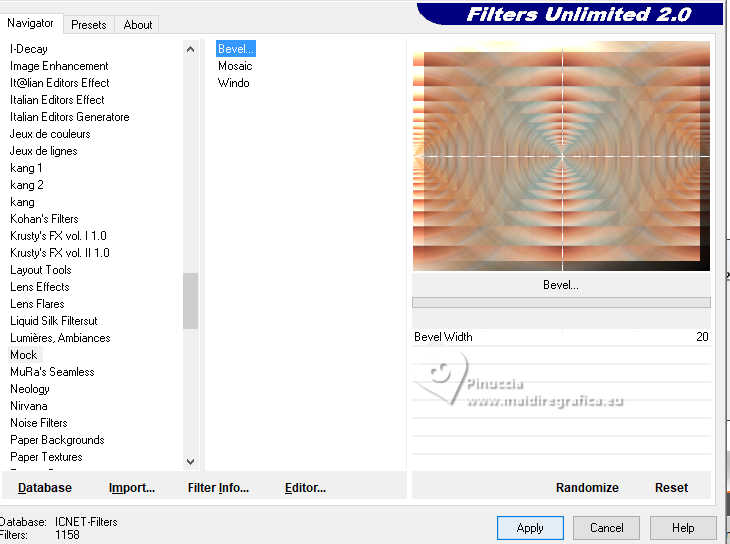
9. Effects>Plugins>Filters Unlimited 2.0 - Mock - Bevel.
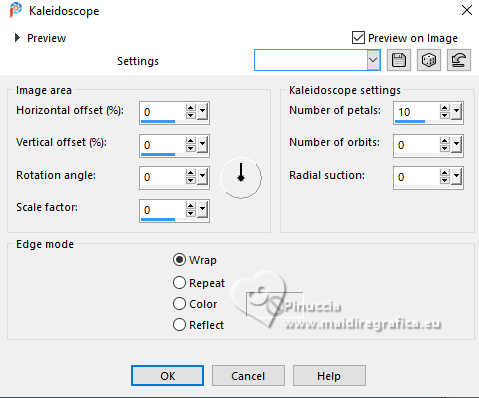
10. Effects>Reflection Effects>Kaleidoscope.
11. Open EF-Luz_Cristina_Deco_1 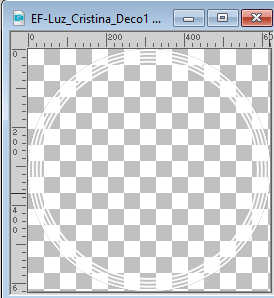
Edit>Copy.
Go back to your work and go to Edit>Paste as new layer.
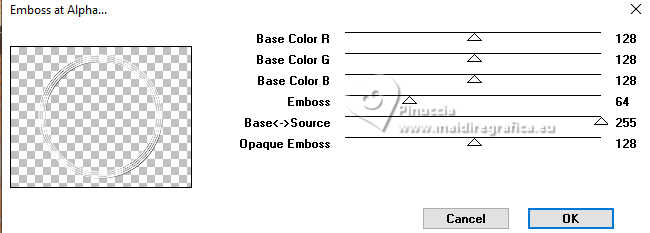
12. Effects>Plugins>Mura's Seamless - Emboss at Alpha, default settings.
13. Activate your Magic Wand Tool 
and click in the circle to select it.
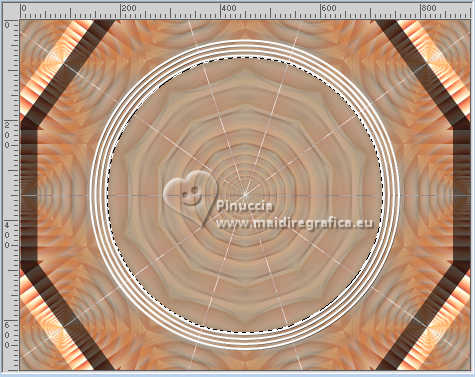
14. Activate the layer Raster 1.
Selections>Promote Selection to Layer.
Adjust>Blur>Gaussian Blur - radius 30.

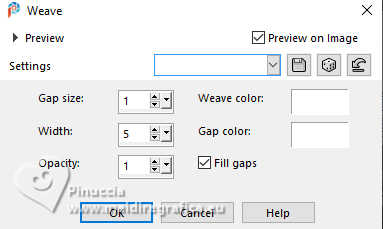
15. Effects>Texture Effects>Weave
both colors: white
Keep selected.
16. Layers>New Raster Layer.
Open the tube misted 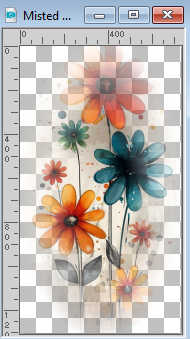
Edit>Copy.
Go back to your work and go to Edit>Paste into Selection.
Change the Blend Mode of this layer to Hard Light.
Selections>Select None.
17. Activate your top layer, Raster 2.
Effects>3D Effects>Drop Shadow, color #000000.
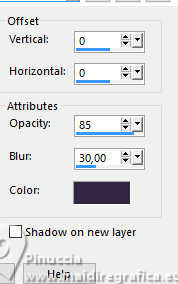
18. Activate your bottom layer.
Effects>Plugins>Carolaine and Sensibility - CS-DLines.
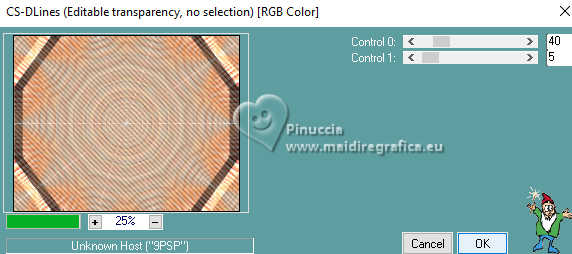
19. Open the tube mentali-femme1596 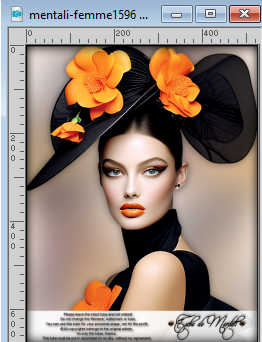
Edit>Copy.
Go back to your work and go to Edit>Paste as new layer.
Layers>Arrange>Bring to top.
Move  the tube at the bottom right. the tube at the bottom right.
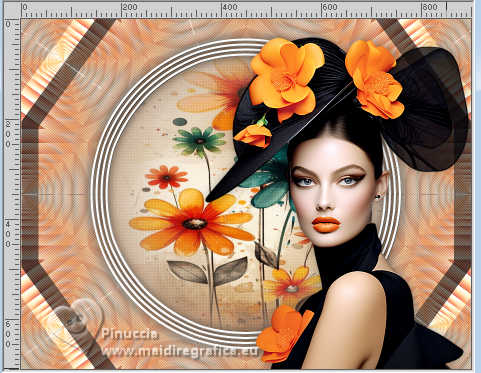
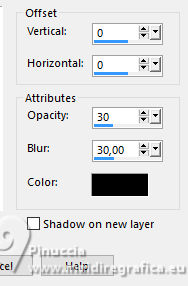
20. Effects>3D Effects>Drop Shadow, color #000000.
21. Layers>Merge>Merge visible.
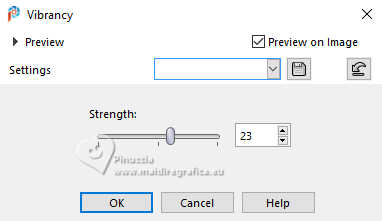
22. Adjust>Hue and Saturation>Vibrancy (optional).
Edit>Copy
23. Open EF-Luz_Cristina_Deco_2 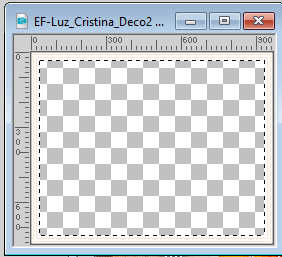
The tube has an active selection; stay on the Raster 1.
Edit>Paste into Selection
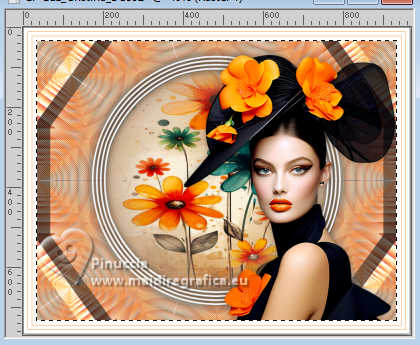
Activate the layer above, Raster 2.
Effects>3D Effects>Cutout.
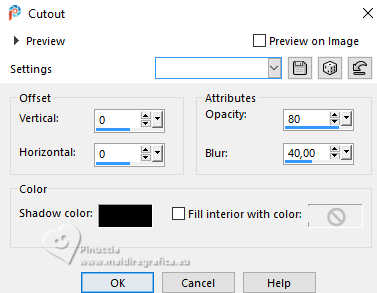
Selections>Select None.
24. Open EF-Luz_Cristina_Texto 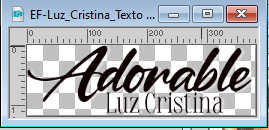
Edit>Copy.
Go back to your work and go to Edit>Paste as new layer.
Move  the text to your liking. the text to your liking.
25. Sign your work on a new layer.
Layers>Merge>Merge All and save as jpg.
For the tube of this version thanks Luz Cristina
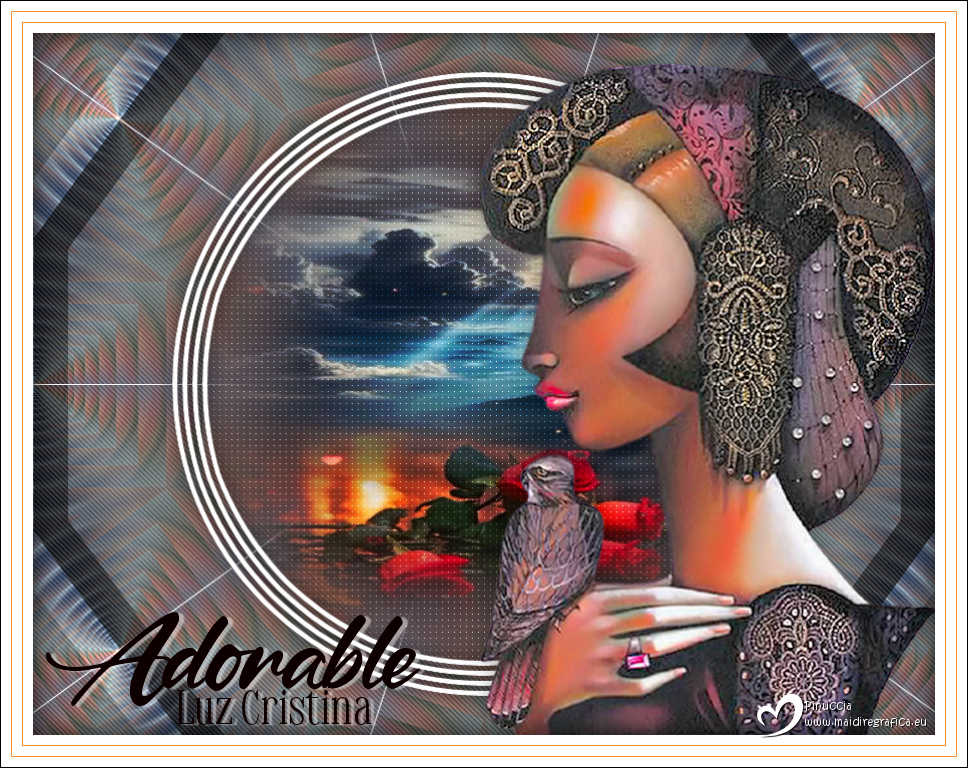


If you have problems or doubts, or you find a not worked link,
or only for tell me that you enjoyed this tutorial, write to me.
18 August 2025

|

