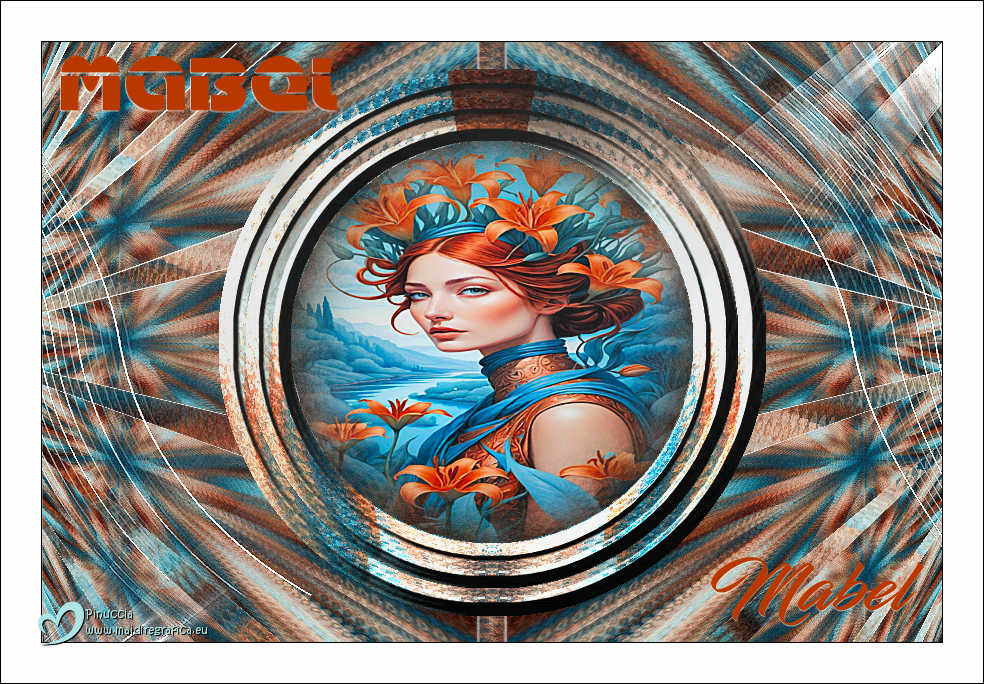
|
MABEL


Thanks Estela for your invitation to translate your tutorials into english

This tutorial, created with PSP2022, was translated with PspX7, but it can also be made using other versions of PSP.
Since version PSP X4, Image>Mirror was replaced with Image>Flip Horizontal,
and Image>Flip with Image>Flip Vertical, there are some variables.
In versions X5 and X6, the functions have been improved by making available the Objects menu.
In the latest version X7 command Image>Mirror and Image>Flip returned, but with new differences.
See my schedule here
 French Translation here French Translation here
 Your versions here Your versions here

For this tutorial, you will need:

For the mask thanks Tine.
The rest of the material is by Estela Fonseca.
(The links of the tubemakers here).
*It is forbidden to remove the watermark from the supplied tubes, distribute or modify them,
in order to respect the work of the authors

consult, if necessary, my filter section here
Filters Unlimited 2.0 here
VM Texture - Tile a GoGo here
Graphics Plus - Cross Shadow here
VM Distortion - Center Mirror, Radial Pox, Circulator here
Filters Graphics Plus can be used alone or imported into Filters Unlimited.
(How do, you see here)
If a plugin supplied appears with this icon  it must necessarily be imported into Unlimited it must necessarily be imported into Unlimited

You can change Blend Modes according to your colors.

Open the mask in PSP and minimize it with the rest of the material.
1. Open a new transparent image 900 x 600 pixels.
Selections>Select All.
2. Open Gráfico_Mulher 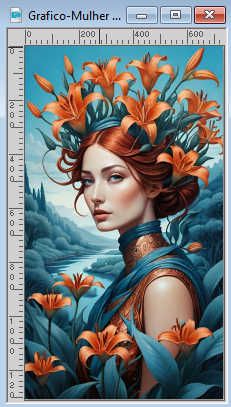
Edit>Copy.
Go back to your work and go to Edit>Paste into Selection.
Selections>Select None.
3. Effects>Image Effects>Seamless Tiling, default settings.

Adjust>Blur>Gaussian Blur - radius 25.

4. Adjust>Add/Remove Noise>Add Noise.
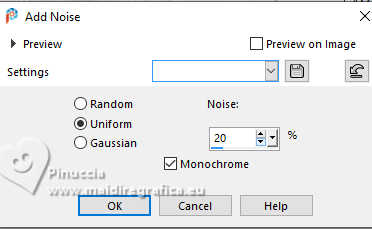
5. Effects>Plugins>VM Texture - Tiles a GoGo
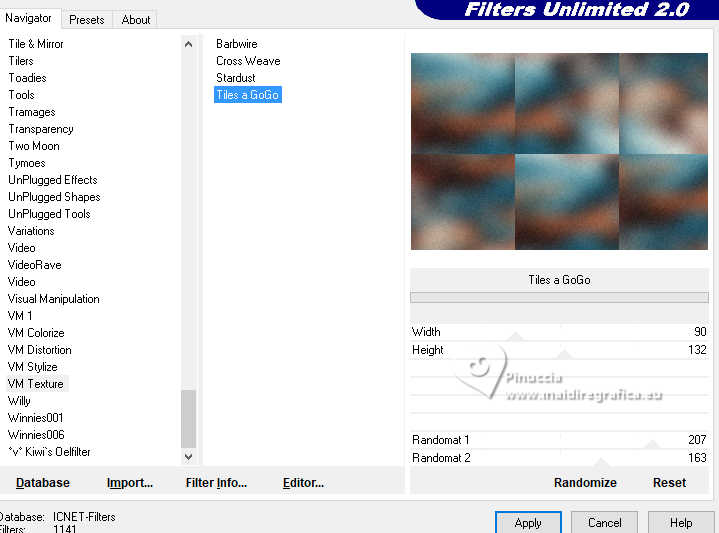
6. Effects>Plugins>Filters Unlimited 2.0 - VM Distortion - Center Mirror, default settings.
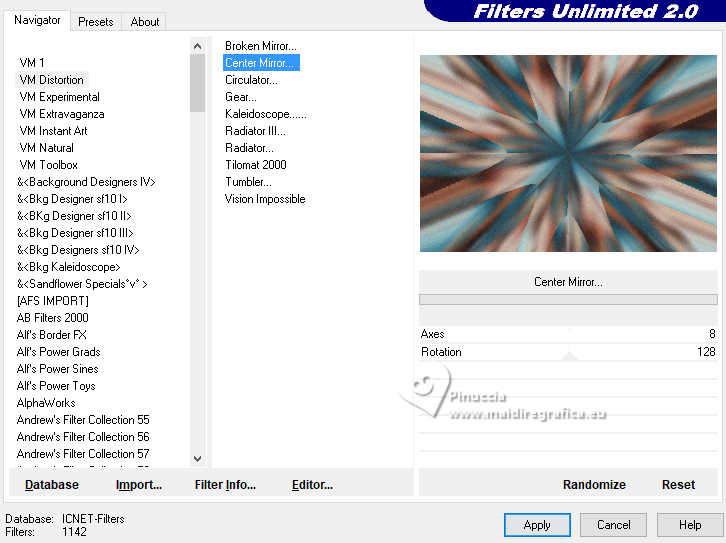
Layers>Duplicate.
7. Effects>Plugins>Filters Unlimited 2.0 - VM Distortion - Radial Pox, default settings.
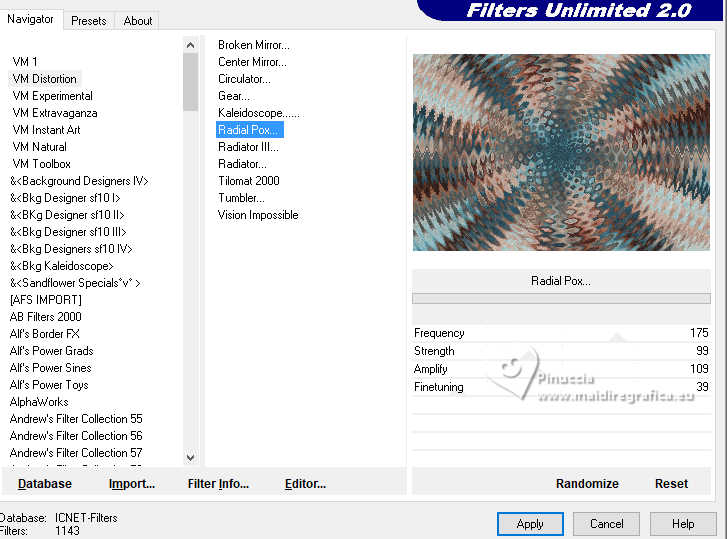
Change the Blend Mode of this layer to Hard Light and reduce the opacity to 59%.
Layers>Merge>Merge Down.
8. Layers>Duplicate.
Effects>Plugins>Filters Unlimited 2.0 - VM Distortion - Circulator.
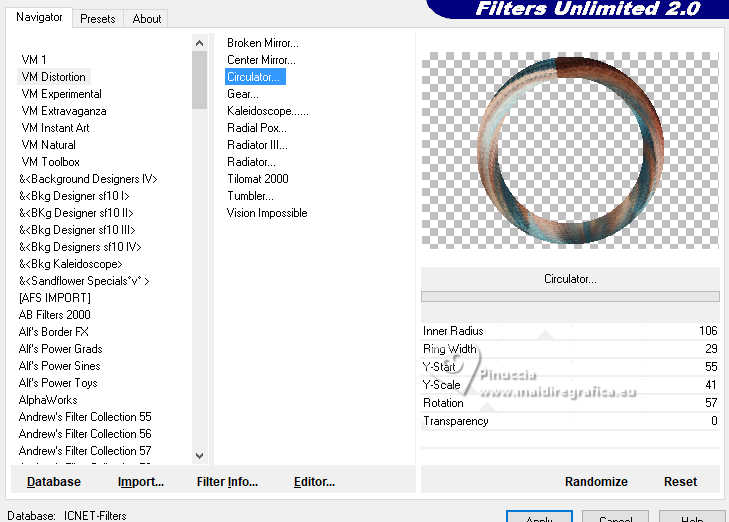
9. Activate your Magic Wand Tool  , tolerance and feather 0, , tolerance and feather 0,
and click in the circle to select it.
Selections>Modify>Expand - 50 pixels.
Selections>Invert.
Press CANC on the keyboard 
Selections>Select None.
10. Effects>Reflection Effects>Rotating Mirror.

11. Effects>3D Effects>Inner Bevel.
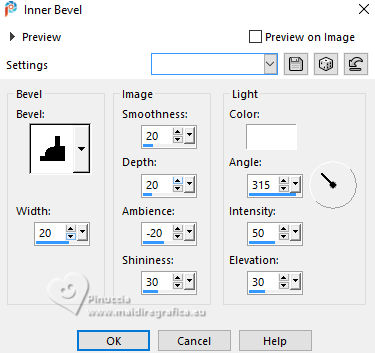
12. Layers>Duplicate.
Image>Resize, to 90%, resize all layers not checked.
Adjust>Sharpness>Sharpen.
Layers>Merge>Merge Down.
13. Activate your bottom layer.
Layers>Duplicate.
Image>Resize, to 80%, resize all layers not checked.
Effects>Geometric Effects>Perspective horizontal.
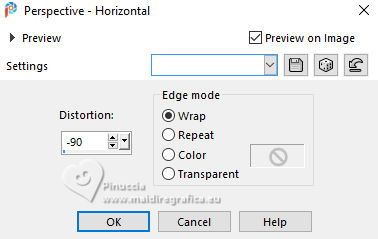
Objects>Alig>Left.
14. Effects>3D Effects>Drop Shadow, color #ffffff.
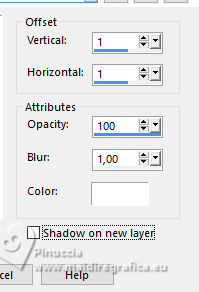
Repeat Drop Shadow, vertical and horizontal -1.
15. Layers>Duplicate.
Image>Mirror>Mirror horizontal.
Layers>Merge>Merge Down.
16. Activate your top layer.
Activate your Magic Wand Tool 
and click in the circle to select it.
Activate the layer below.
Press CANC on the keyboard.
Keep selected.
17. Layers>New Raster Layer.
Open the woman's misted Misted 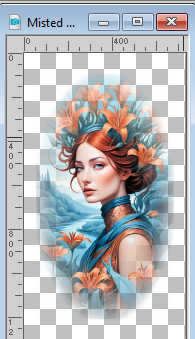
Edit>Copy.
Go back to your work and go to Edit>Paste into Selection.
Layers>Duplicate.
Adjust>Sharpness>Sharpen More.
Keep always selected.
18. Layers>New Raster Layer.
Effects>3D Effects>Cutout.
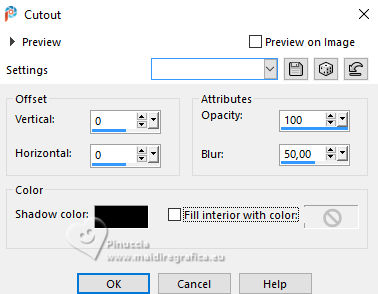
Selections>Select None.
19. Activate your top layer, Copy of Raster 1.
Effects>Plugins>Graphics Plus - Cross Shadow, default settings.
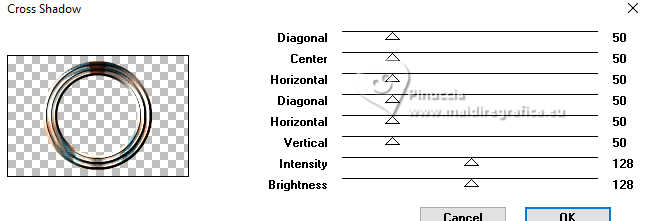
20. Layers>Merge>Merge visible.
21. Set your foreground color to white #ffffff.
Layers>New Raster Layer.
Flood Fill  the layer with the color white #ffffff. the layer with the color white #ffffff.
Layers>New Mask layer>From image
Open the menu under the source window and you'll see all the files open.
Select the mask creation.tine_masque334.
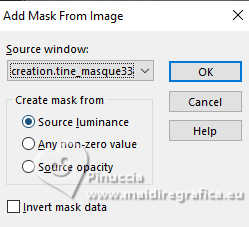
Layers>Merge>Merge Group.
22. Effects>Distortion Effects>Punch.
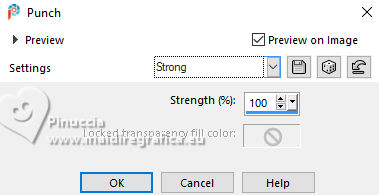
Effects>Edge Effects>Enhance.
Layers>Duplicate.
Change the Blend Mode of this layer to Dodge.
Layers>Merge>Merge Down.
23. Open EF-Mabel_Deco-1 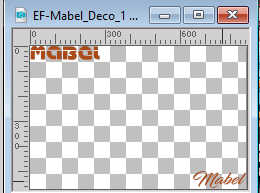
Edit>Copy.
Go back to your work and go to Edit>Paste as new layer.
24. Image>Add borders, 1 pixel, symmetric, color #000000.
Image>Add borders, 40 pixels, symmetric, color #ffffff.
25. Sign your work.
26. Image>Add borders, 1 pixel, symmetric, color #000000.
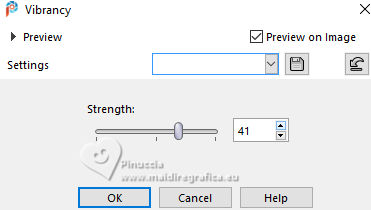
27. Adjust>Hue and Saturation>Vibrancy.
28. Save as jpg.
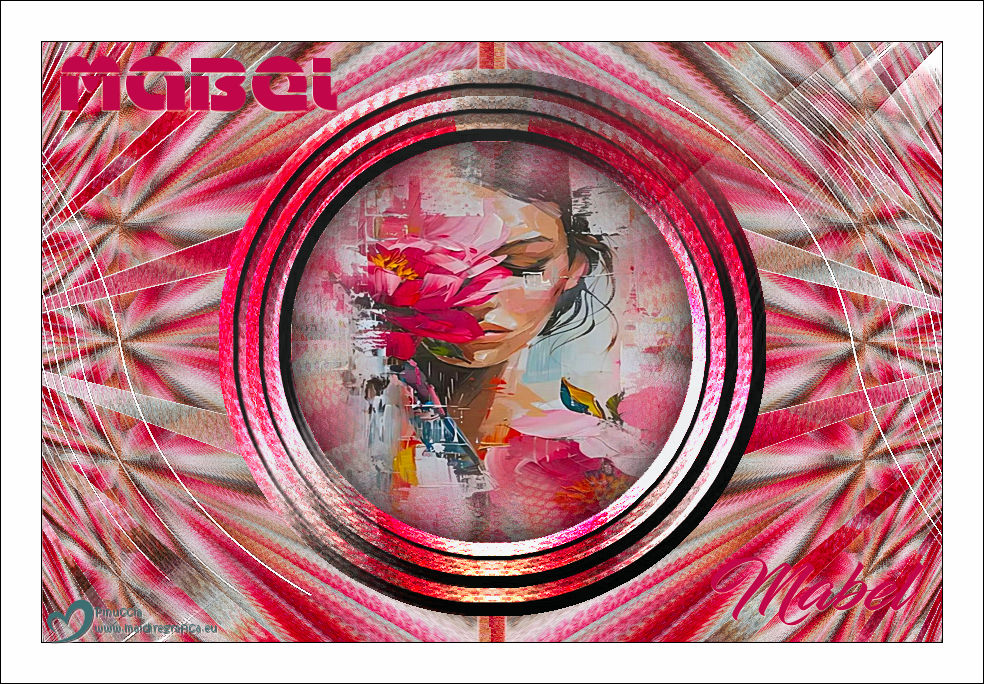
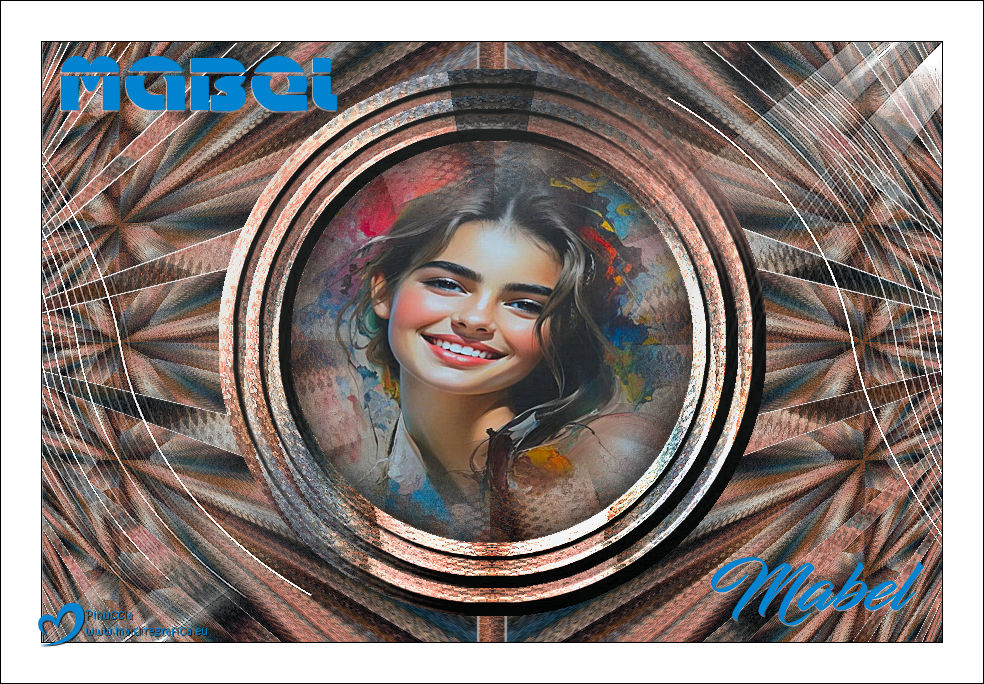


If you have problems or doubts, or you find a not worked link,
or only for tell me that you enjoyed this tutorial, write to me.
7 June 2025

|

