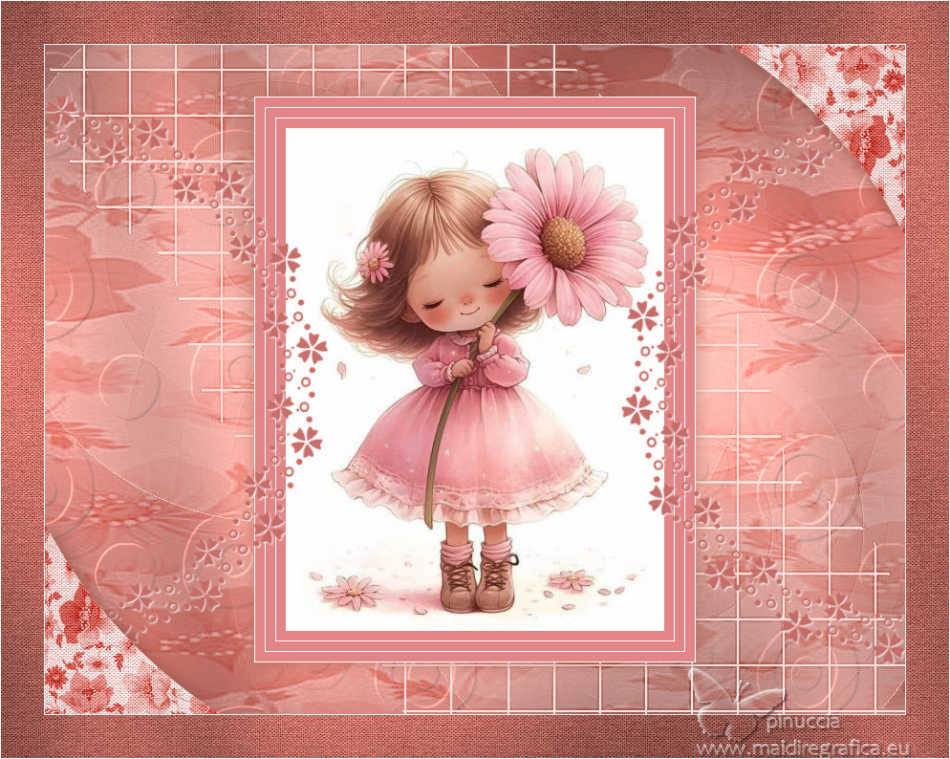
|
PEQUEÑA


Thanks Estela for your invitation to translate your tutorials into english

This tutorial, created with PSP2022, was translated with PspX7, but it can also be made using other versions of PSP.
Since version PSP X4, Image>Mirror was replaced with Image>Flip Horizontal,
and Image>Flip with Image>Flip Vertical, there are some variables.
In versions X5 and X6, the functions have been improved by making available the Objects menu.
In the latest version X7 command Image>Mirror and Image>Flip returned, but with new differences.
See my schedule here
 French Translation here French Translation here
 Your versions here Your versions here

For this tutorial, you will need:

For the mask thanks Tine.
The rest of the material is by Estela Fonseca.
(The links of the tubemakers here).
*It is forbidden to remove the watermark from the supplied tubes, distribute or modify them,
in order to respect the work of the authors

consult, if necessary, my filter section here
Filters Unlimited 2.0 here
Simple - Left Right Wrap here
Adjust - Variations here
Graphics Plus - Cross Shadow here
Filters Graphics Plus and Simple can be used alone or imported into Filters Unlimited.
(How do, you see here)
If a plugin supplied appears with this icon  it must necessarily be imported into Unlimited it must necessarily be imported into Unlimited

You can change Blend Modes according to your colors.

Copy the texture (Corel_08_070 or Abstract02) in the Textures Folder.
actually, series 08 is applied to patterns - textures have series 15.
If necessary, also put it in the Patterns folder.
Open the mask in PSP and minimize it with the rest of the material.
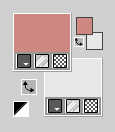
1. Set your foreground color to #cf8881,
and your background color to #e7e8e8.
Open a new transparent image 900 x 700 pixels.
Flood Fill  the transparent image with your foreground color. the transparent image with your foreground color.
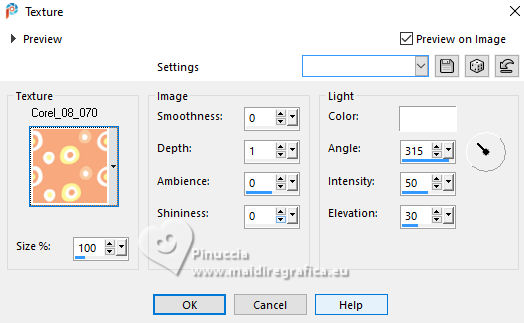
2. Effects>Texture Effects>Texture - select the Texture Corel_08_070 or Abstract02
Layers>New Raster Layer.
Selections>Select All.
3. Open the image Gráfico-2 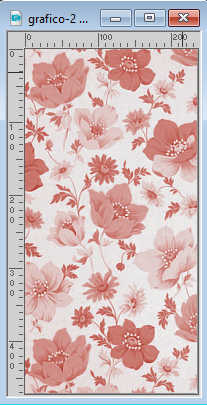
Edit>Copy.
Go back to your work and go to Edit>Paste into Selection.
Selections>Select None.
Adjust>Sharpness>Sharpen More.
Change the Blend Mode of this layer to Soft Light and reduce the opacity to 55%.
4. Adjust>Add/Remove Noise>Add Noise.
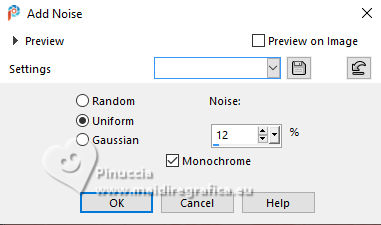
Layers>Merge>Merge Down.
5. Open Gráfico-1 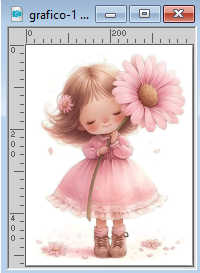
Window>Duplicate; close the original and work on the copy.
Note: the image is 396 pixels wide and 526 high.
Resize, if you use another image.
6. Image>Add Borders, 10 pixels, symmetric, color #e90900.
Image>Add Borders, 1 pixel, symmetric, color #ffffff.
Repeat the borders again 2 times, to get this
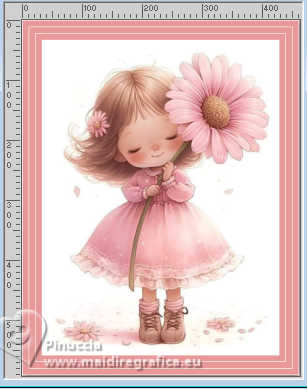
7. Edit>Copy.
Go back to your work and go to Edit>Paste as new layer.
Don't move.
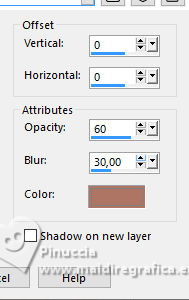
Effects>3D Effects>Drop Shadow, color #ae7564.
8. Activate your bottom layer, Raster 1.
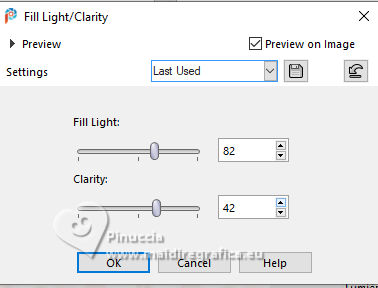
Adjust>Fill Light/Clarity
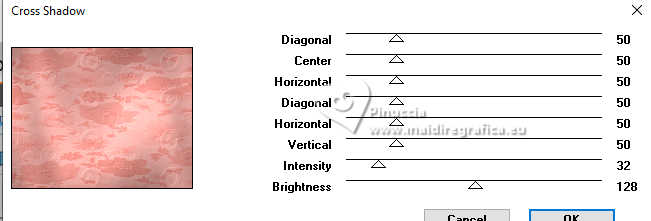
Effects>Plugins>Graphics Plus - Cross Shadow.
9. Layers>New Raster Layer.
Set your foreground color to #fde9e2 
Flood Fill  the layer with the foreground color #fde9e2. the layer with the foreground color #fde9e2.
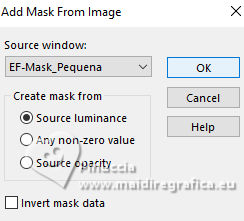
Layers>New Mask layer>From image
Open the menu under the source window and you'll see all the files open.
Select the mask EF Mask_Pequena.
Effects>Edge Effects>Enhance More.
Layers>Merge>Merge Group.
11. Activate your top layer.
Open EF-Pequena_Deco_1 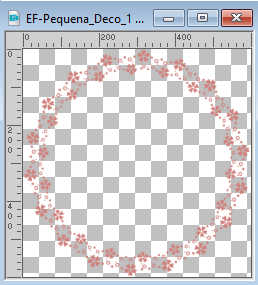
Edit>Copy.
Go back to your work and go to Edit>Paste as new layer.
Effects>Plugins>Simple - Left Right Wrap.
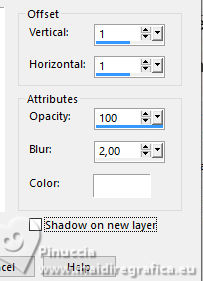
Effects>3D Effects>Drop Shadow, color #ffffff.
12. Open EF-Pequena_Deco_2 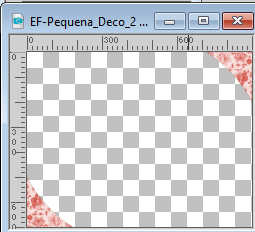
Edit>Copy.
Go back to your work and go to Edit>Paste as new layer.
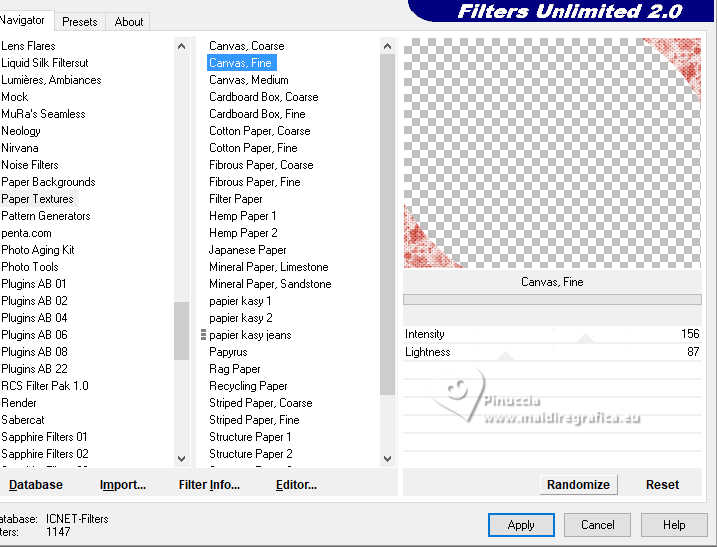
Effects>Plugins>Filters Unlimited 2.0 - Paper Textures - Canvas Fine, default settings.
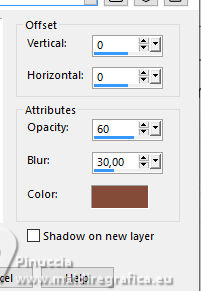
Effects>3D Effects>Drop Shadow, color #834b39.
13. Image>Add Borders, 1 pixel, symmetric, color #ffffff.
Image>Add Borders, 45 pixels, symmetric, color #c87f76.
Activate your Magic Wand Tool  , tolerance and feather 0, , tolerance and feather 0,
and click in the last border to select it.
14. Effects>Plugins>Graphics Plus - Cross Shadow, same settings.
Adjust>Add/Remove Noise>Add Noise, same settings.
Effects>Plugins>Filters Unlimited 2.0 - Paper Textures - Canvas Fine, default settings.
Selections>Select None.
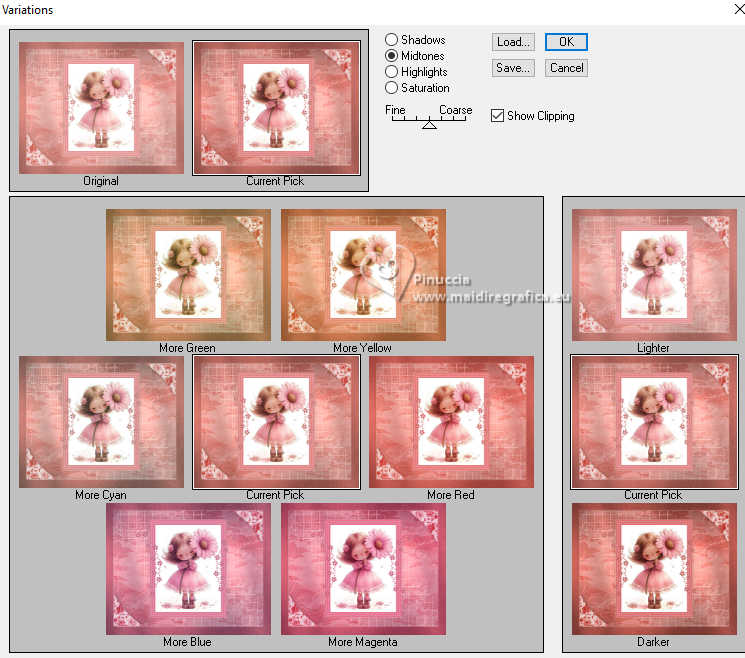
15. Effects>Plugins>Adjust - Variations
1 click on Original, 1 click on Darker and ok.
Sign your work.
Image>Add Borders, 1 pixel, symmetric, color #ffffff.
Save as jpg.
Images from Pinterest
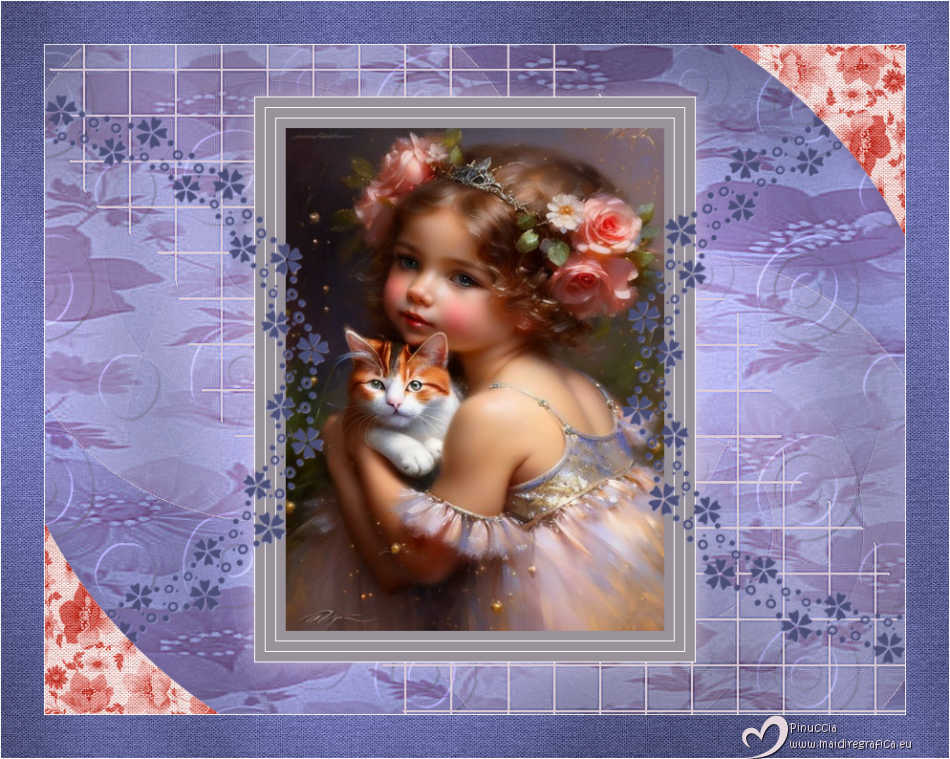
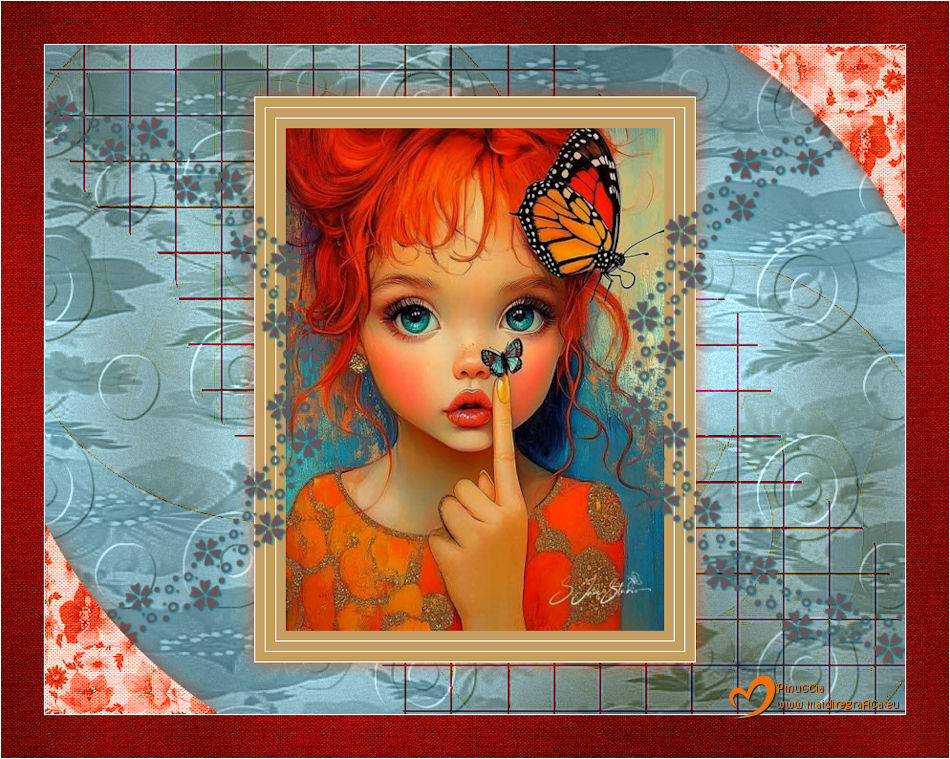


If you have problems or doubts, or you find a not worked link,
or only for tell me that you enjoyed this tutorial, write to me.
18 June 2025

|

