|
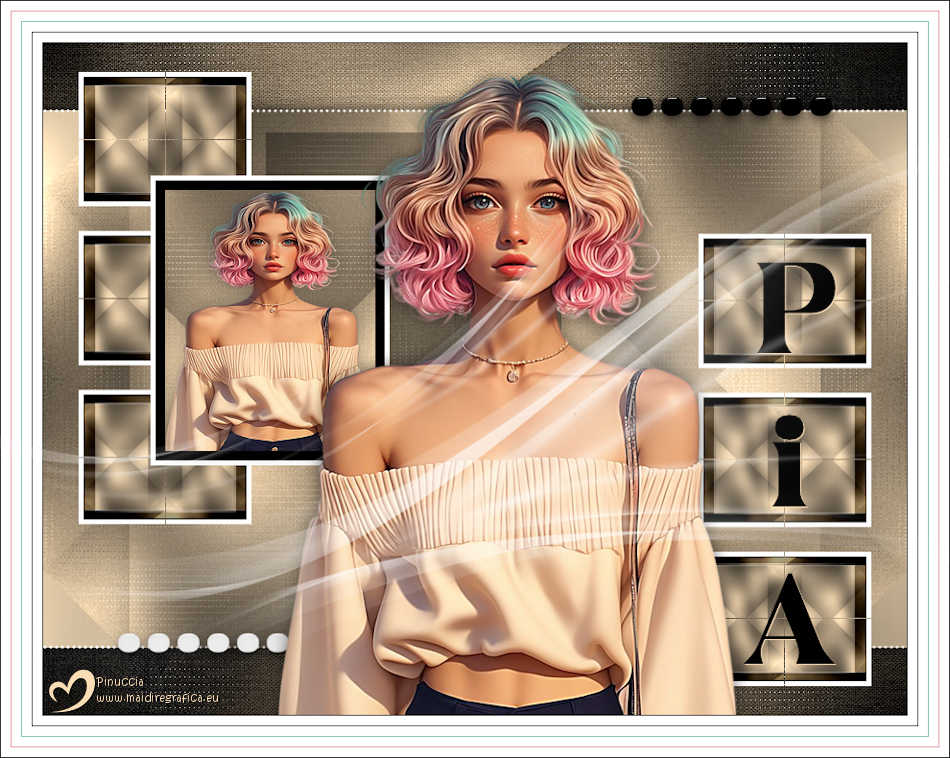
PIA


Thanks Estela for your invitation to translate your tutorials into english

This tutorial, created with PSP2022, was translated with PspX9 and 2020, but it can also be made using other versions of PSP.
Since version PSP X4, Image>Mirror was replaced with Image>Flip Horizontal,
and Image>Flip with Image>Flip Vertical, there are some variables.
In versions X5 and X6, the functions have been improved by making available the Objects menu.
In the latest version X7 command Image>Mirror and Image>Flip returned, but with new differences.
See my schedule here
 French Translation here French Translation here
 Your versions here Your versions here

For this tutorial, you will need:

Tube Estela Fonseca; Image de Pinterest.
(The links of the tubemakers here).
*It is forbidden to remove the watermark from the supplied tubes, distribute or modify them,
in order to respect the work of the authors

consult, if necessary, my filter section here
Filters Unlimited 2.0 here
&<Background Designers IV> (to import in Unlimited) here
L&K's - L&K's Zitah here
Mock - Windo here
DC Special - PerssianRug here
Simple - Blintz here
Mura's Meister - Copies here
AAA Frames - Foto Frame here
Filters Mock, DC Special and Simple can be used alone or imported into Filters Unlimited.
(How do, you see here)
If a plugin supplied appears with this icon  it must necessarily be imported into Unlimited it must necessarily be imported into Unlimited

You can change Blend Modes according to your colors.
In the newest versions of PSP, you don't find the foreground/background gradient (Corel_06_029).
You can use the gradients of the older versions.
The Gradient of CorelX here

1. Set your foreground color to #000000,
and your background color to #faddb5.
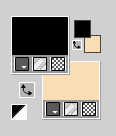
Set your foreground color to a Foreground/Background Gradient, style Rectangular.
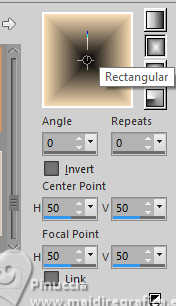
2. Open a new transparent image 900 x 700 pixels.
Flood Fill  the transparent image with your Gradient. the transparent image with your Gradient.
3. Adjust>Blur>Gaussian Blur - radius 40.

4. Effects>Image Effects>Seamless Tiling, default settings.

5. Effects>Plugins>L&K's - L&K's Zitah
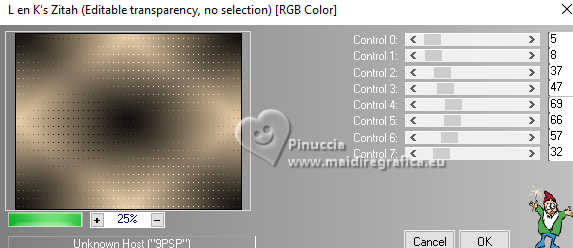
6. Adjust>Add/Remove Noise>Add Noise.
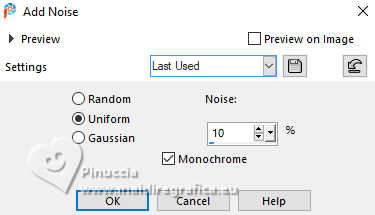
Layers>Duplicate.
7. Effects>Plugins>Simple - Blintz.
Edit>Repeat Blintz.
Result:
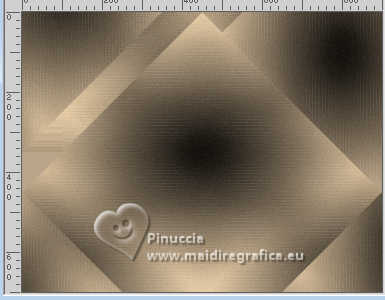
8. Effects>Reflection Effects>Rotating Mirror.

9. Effects>Plugins>Filters Unlimited 2.0 - DC Special - PerssianRug
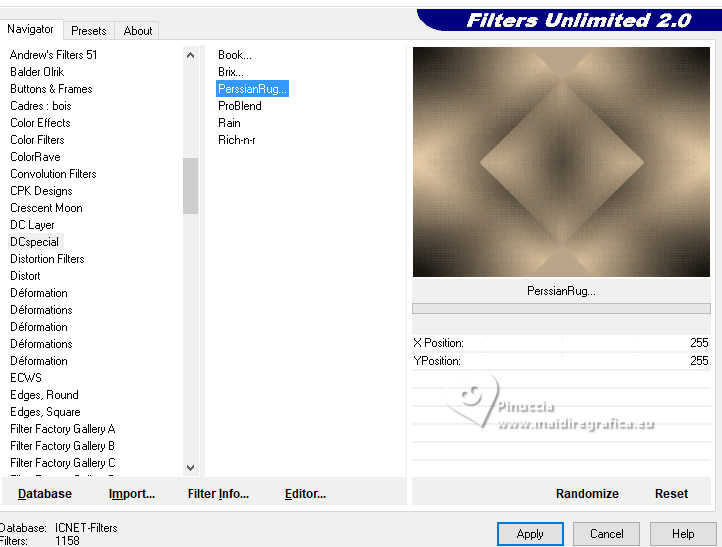
Image>Resize, to 80%, resize all layers not checked.
10. Effects>Image Effects>Seamless Tiling.

11. Open EF-Pia_Deco1 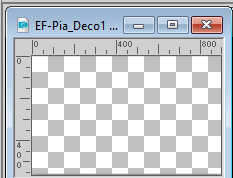
Edit>Copy.
Go back to your work and go to Edit>Paste as new layer.
12. Activate your background layer.
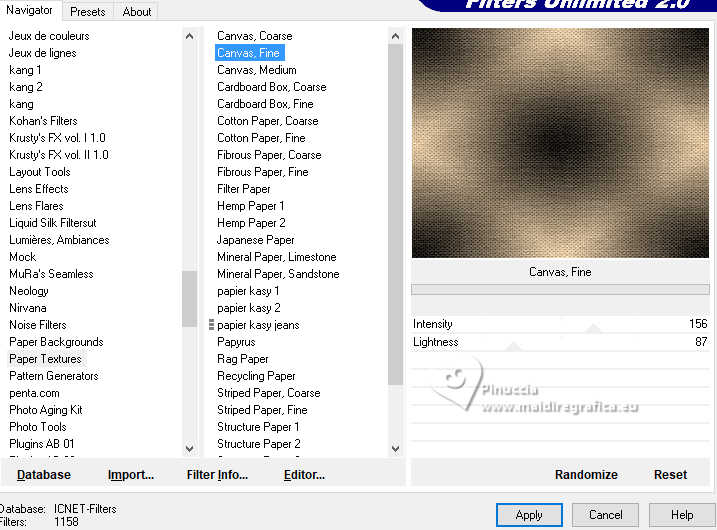
Effects>Plugins>Filters Unlimited 2.0 - Paper Textures - Canvas Fine, default settings.
13. Activate the central layer.
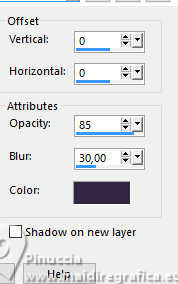
Effects>3D Effects>Drop shadow, color #000000.
14. Activate your top layer.
Layers>Merge>Merge Down.
Layers>Duplicate.
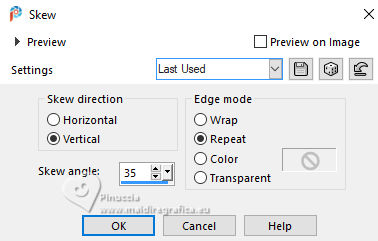
14. Activate the central layer.
Effects>Geometric Effects>Skew.
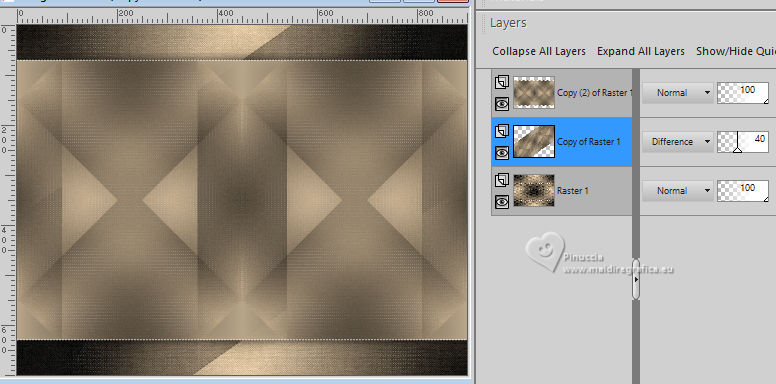
Change the Blend Mode of this layer to Difference or other to get a better result,
and reduce the opacity to 40%.
In her second version, Estela used Screen, opacity 100.
15. Layers>Merge>Merge Visible.
16. Effects>Plugins>Filters Unlimited 2.0 - &<Background Designers IV> - @Night Shadow, default settings.
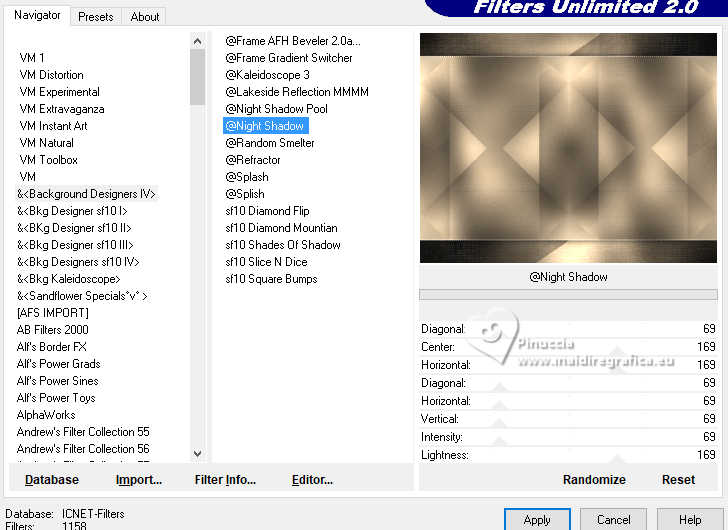
17. Window>Duplicate and stay on this image.
Image>Resize, to 20%, resize all layers checked.
18. Effects>Plugins>Filters Unlimited 2.0 - Mock - Windo, default settings.
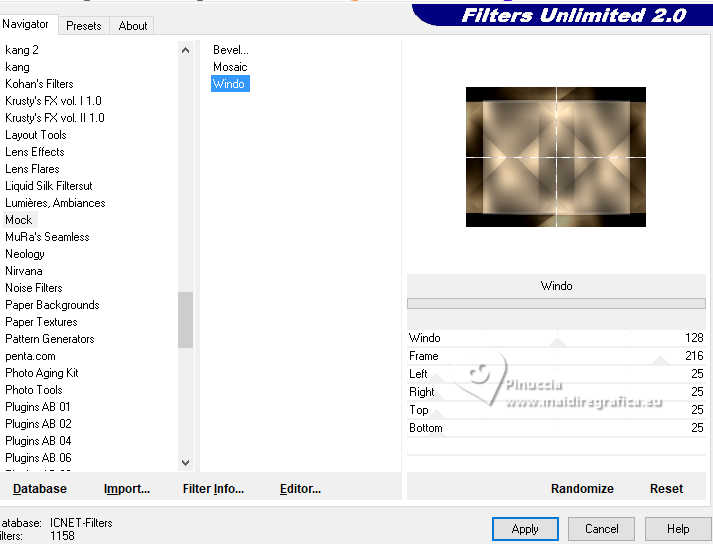
19. Effects>Plugins>AAA Frames - Foto Frame.
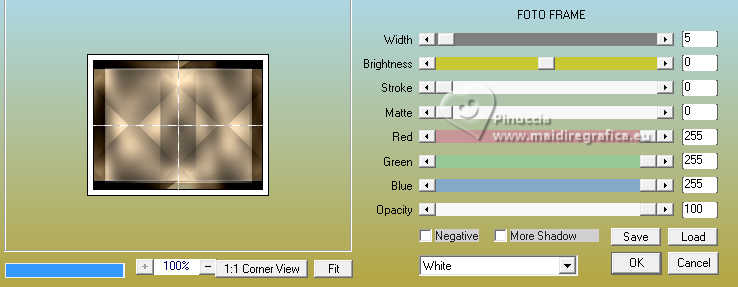
20. Edit>Copy.
Go back to your main work and go to Edit>Paste as new layer.
21. K key to activate your Pick Tool 
Position X: 37,00 - Position Y: 30,00.

M key to deselect the Tool.
22. Effects>Plugins>Mura's Meister - Copies.
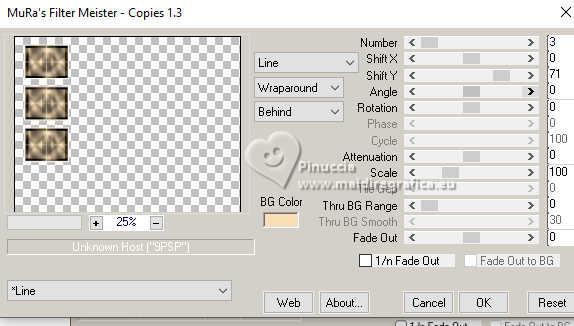
23. Layers>Duplicate.
Image>Mirror>Mirror Horizontal (Image>Mirror).
Image>Mirror>Mirror Vertical (Image>Flip).
Layers>Merge>Merge Down.
24. Layers>New Raster Layer.
Activate your Selection Tool 
(no matter the type of selection, because with the custom selection your always get a rectangle)
clic on the Custom Selection 
and set the following settings.
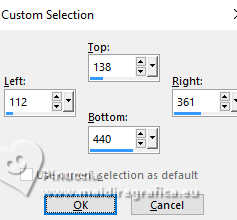
25. Set your foreground color to Color,
and set your background color to white.
Flood Fill  the selection with the color white. the selection with the color white.
Selections>Modify>Contract - 5 pixels.
Press CANC on the keyboard 
26. Flood Fill  the selection with your black foreground color. the selection with your black foreground color.
Selections>Modify>Contract - 10 pixels.
Press CANC on the keyboard.
Keep selected.
27. Activate your bottom layer.
Selections>Promote Selection to Layer.
Layers>Arrange>Bring to Top.
28. Layers>New Raster Layer.
Open the tube EF-Personagem 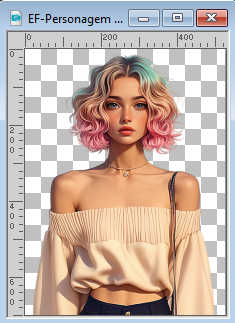
Edit>Copy.
Go back to your work and go to Edit>Paste into Selection.
Adjust>Sharpness>Sharpen.
Selections>Select None.
29. Effects>3D Effects>Drop Shadow, color #000000.
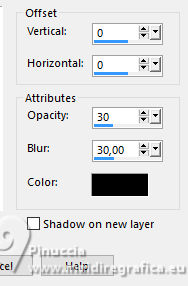
30. Close the two bottom layers.
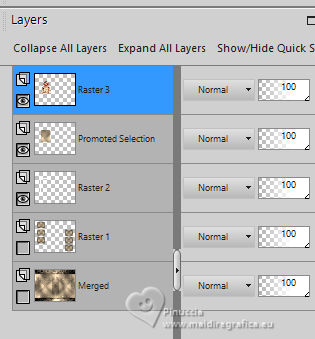
Layers>Merge>Merge visible.
Layers>View>All
31. On the top layer, Merged:
Effects>3D Effects>Drop Shadow, color black,
shadow on new layer checked.
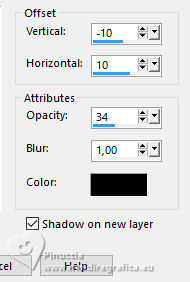
Stay on the shadow's layer:
Effects>Image Effects>Offset.
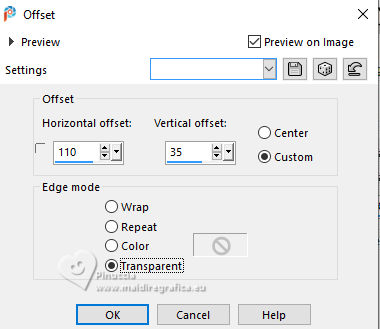
32. Édition>Coller comme nouveau calque - the woman's tube is still in memory.
Layers>Arrange>Bring to Top.
Place  correctly the tube. correctly the tube.
Effects>3D Effects>Drop Shadow, color #000000,
shadow on new layer not checked.
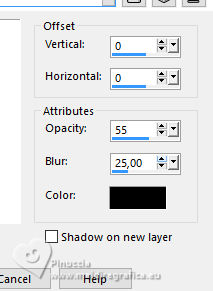
33. Open EF-Pia_Deco2 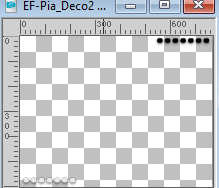
Edit>Copy.
Go back to your work and go to Edit>Paste as new layer.
Layers>Arrange>Move Down.
34. Open EF-Pia_Deco3 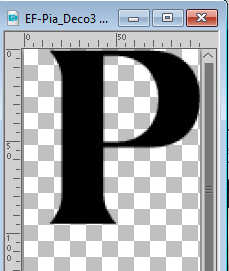
Edit>Copy.
Go back to your work and go to Edit>Paste as new layer.
Layers>Arrange>Bring to Top.
35. K key to activate your Pick Tool 
Position X: 730,00 - Position Y: 228,00.

M key to deselect the Tool.
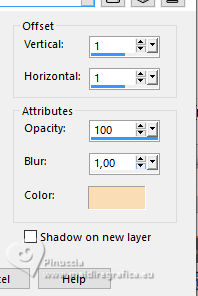
36. Effects>3D Effects>Drop Shadow, background color (color 2 #faddb5).
37. Image>Add Borders, 1 pixel, symmetric, color #000000.
Image>Ajouter des bordurse, 10 pixels, symmetric, color #ffffff.
Image>Add Borders, 1 pixels, symmetric, color #000000.
Image>Add Borders, 10 pixels, symmetric, color #ffffff.
Image>Add Borders, 1 pixels, symmetric, color #80c1a9  . .
Image>Add Borders, 10 pixels, symmetric, color #ffffff.
Image>Add Borders, 1 pixel, symmetric, color #e88b95 
Image>Add Borders, 10 pixels, symmetric, color #ffffff.
Image>Add Borders, 1 pixel, symmetric, color #000000.
38. Open EF-Pia_Deco4 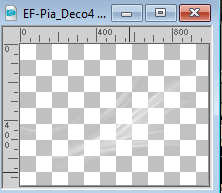
Edit>Copy.
Go back to your work and go to Edit>Paste as new layer.
Image>Resize, to 850 pixels width, resize all layers checked.
Sign your work on a new layer.
Layers>Merge>Merge All and save as jpg.
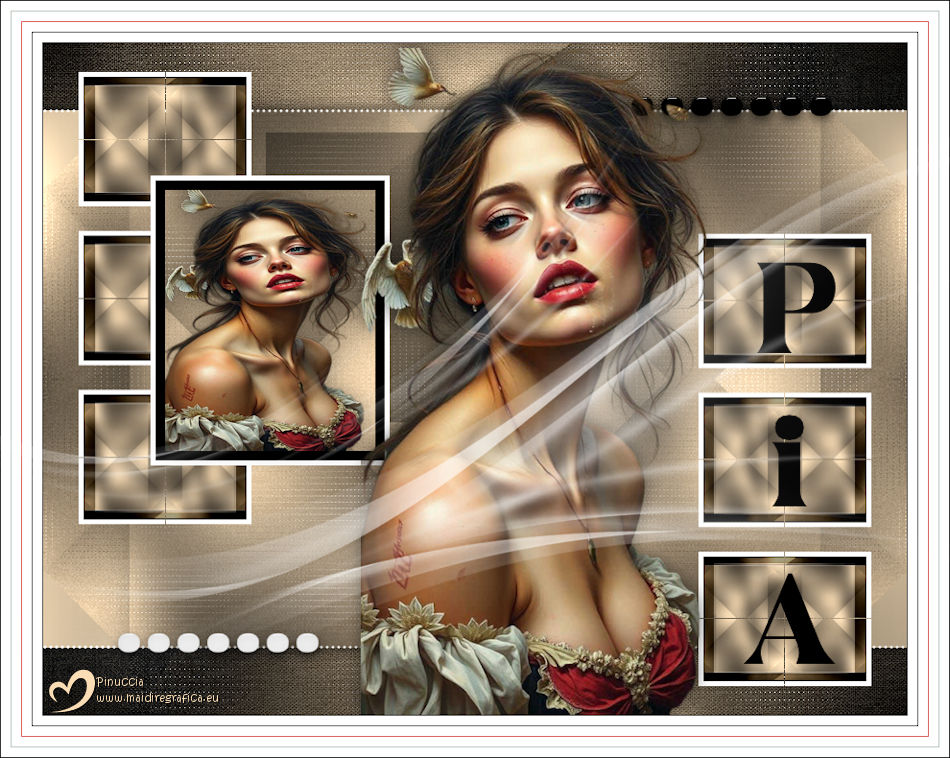
Image de Pinterest


If you have problems or doubts, or you find a not worked link,
or only for tell me that you enjoyed this tutorial, write to me.
18 August 2025

|

