|
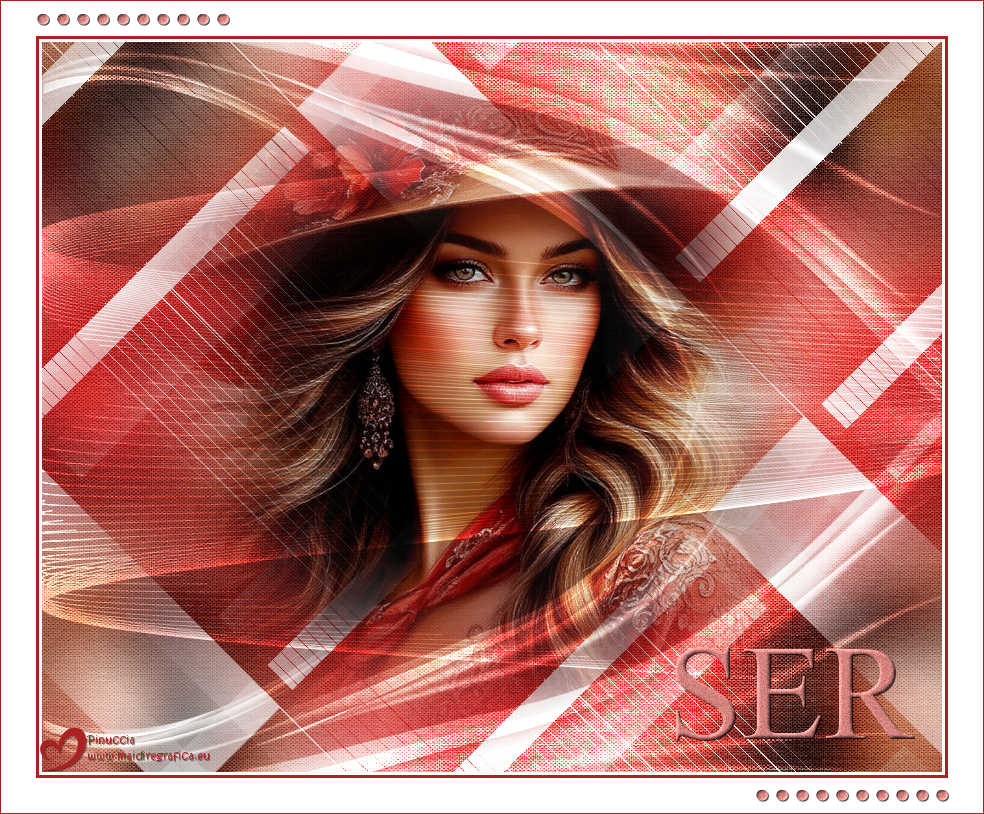
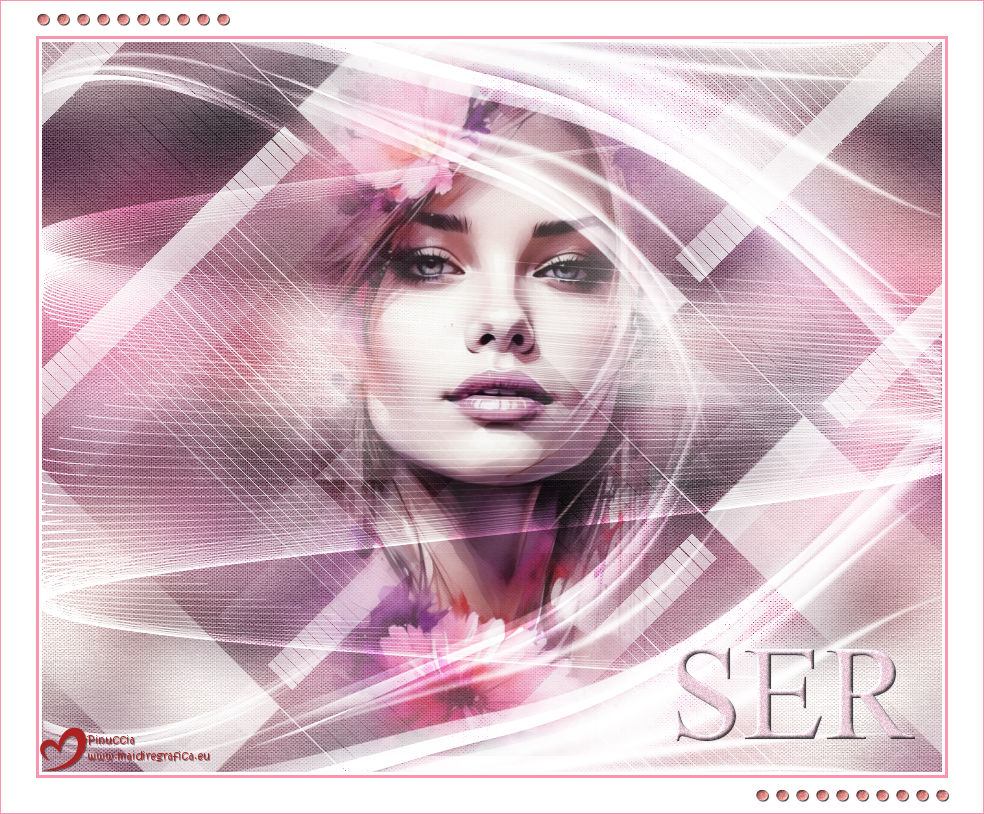
SER


Thanks Estela for your invitation to translate your tutorials into english

This tutorial, created with PSP2022, was translated with PspX9 and 2020, but it can also be made using other versions of PSP.
Since version PSP X4, Image>Mirror was replaced with Image>Flip Horizontal,
and Image>Flip with Image>Flip Vertical, there are some variables.
In versions X5 and X6, the functions have been improved by making available the Objects menu.
In the latest version X7 command Image>Mirror and Image>Flip returned, but with new differences.
See my schedule here
 French Translation here French Translation here
 Your versions here Your versions here

For this tutorial, you will need:

Misted de Image by Ingrid Jean AI Art (Pinterest).
The rest of the material is by Estela Fonseca
(The links of the tubemakers here).

consult, if necessary, my filter section here
Filters Unlimited 2.0 here
Tramages - Glass here
Graphics Plus - Cross Shadow here
Simple - Diamond here
Filters Tramages, Graphics Plus and Simple can be used alone or imported into Filters Unlimited.
(How do, you see here)
If a plugin supplied appears with this icon  it must necessarily be imported into Unlimited it must necessarily be imported into Unlimited

You can change Blend Modes according to your colors.

Copy the mask 20-20 in the Masks Folder.
Open the second mask in PSP and minimize it with the rest of the material.
1. Open a new transparent image 900 x 730 pixels.
Set your foreground color to #ab2222,
and your background color to white #ffffff.
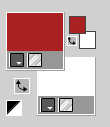
Flood Fill  the transparent image with your foreground color. the transparent image with your foreground color.
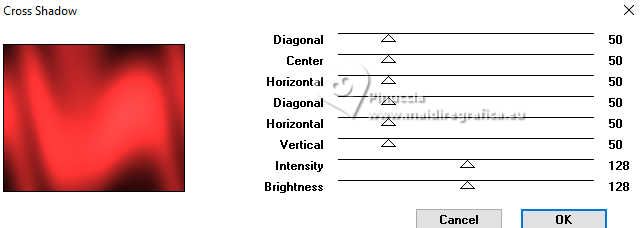
2. Effects>Plugins>Graphics Plus - Cross Shadow, default settings.
3. Selections>Select All.
Open the tube EF-Misted-Mulher 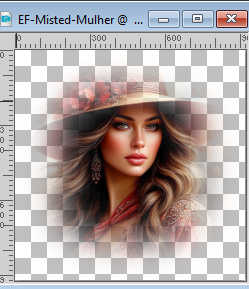
Edit>Copy.
Go back to your work and go to Edit>Paste into Selection.
Selections>Select None.
4. Effects>Image Effects>Seamless Tiling - default settings.

5. Adjust>Blur>Gaussian Blur - radius 25.

6. Layers>Duplicate.
Effects>Plugins>Tramages - Glass, default settings.
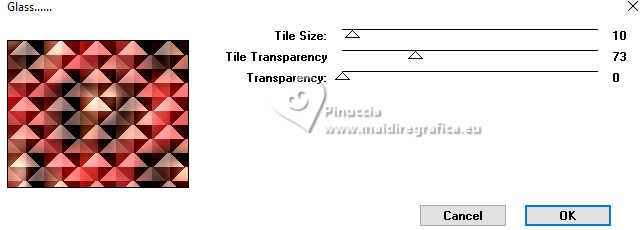
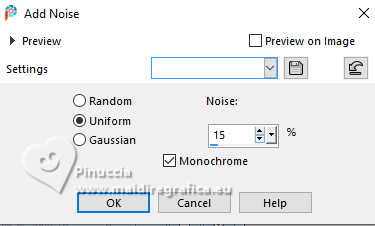
7. Adjust>Add/Remove Noise>Add Noise.
8. Layers>Load/Save Mask>Load Mask from Disk.
Look for and load the mask 20-20
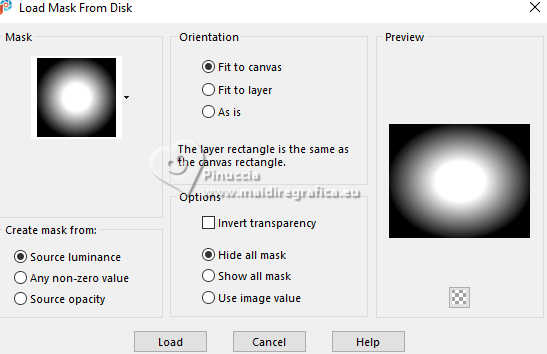
Layers>Duplicate - 3 times.
Layers>Merge>Merge Group.
Change the Blend Mode of this layer to Soft Light.
Layers>Merge>Merge Down.
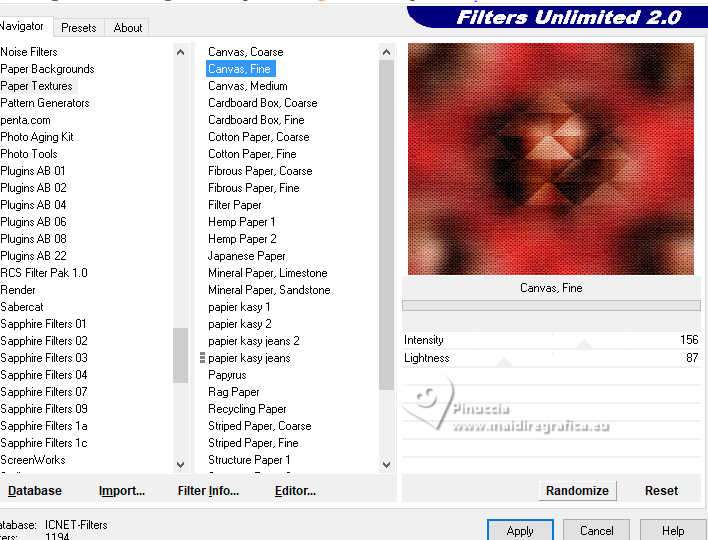
9. Effects>Plugins>Filters Unlimited 2.0 - Paper Textures - Canvas Fine, default settings.
10. Layers>New Raster Layer.
Flood Fill  the layer with color white. the layer with color white.
11. Layers>New Mask layer>From image
Open the menu under the source window and you'll see all the files open.
Select the mask EF-Mas_243.
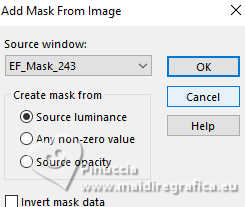
Layers>Merge>Merge Group.
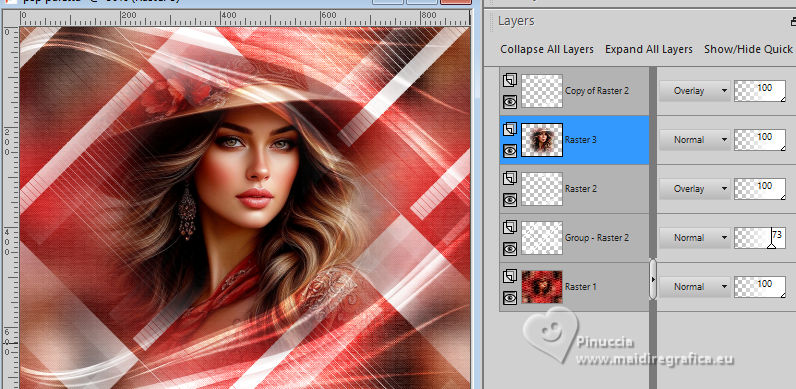
Reduce the opacity of this layer to 73%.
12. Effects>Plugins>Simple - Diamonds
This effect works without window; result:
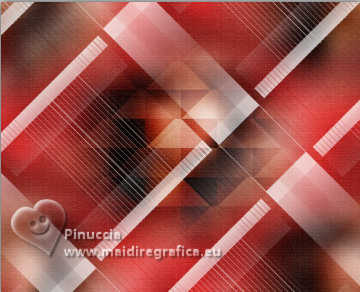
13. Open EF-Ser_Deco_1 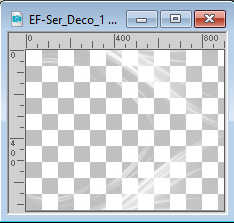
Edit>Copy.
Go back to your work and go to Edit>Paste as new layer.
14. Effects>Distortion Effects>Punch.
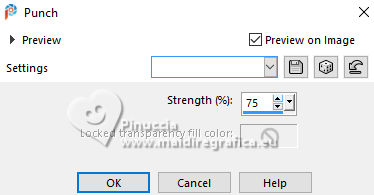
Change the Blend Mode of this layer to Overlay.
Layers>Duplicate.
15. Activate again your woman's tube EF-Misted-Mulher and go to Edit>Copy.
Go back to your work and go to Edit>Paste as new layer.
Image>Resize, to 85%, resize all layers not checked.
Layers>Arrange>Move Down.
16. Open EF-Ser_Deco_2 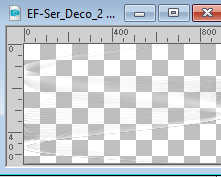
Edit>Copy.
Go back to your work and go to Edit>Paste as new layer.
Change the Blend Mode of this layer to Overlay.
17. Image>Add Borders, 3 pixels, symmetric, color #ffffff.
Image>Add Borders, 3 pixels, symmetric, color #ab22222.
Image>Add Borders, 35 pixels, symmetric, color #ffffff.
18. Open EF-Ser_Texto 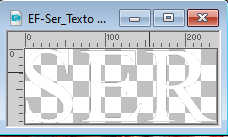
Edit>Copy.
Go back to your work and go to Edit>Paste as new layer.
Place  the text to your liking. the text to your liking.
19. Effetcs>3D Effects>Drop Shadow, with a color of your image; for me #d4837f.
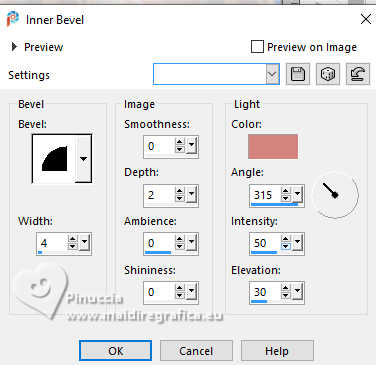
20. Adjust>Add/Remove Noise>Add Noise, same settings.

21. Effects>3D Effects>Drop Shadow, color #000000.
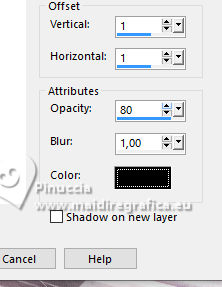
22. Open EF-Ser_Deco_3 
Edit>Copy.
Go back to your work and go to Edit>Paste as new layer.
Move  the tube at the bottom right. the tube at the bottom right.
Layers>Duplicate.
Move  this tube at the upper left. this tube at the upper left.
23. Layers>Merge>Merge Down.
Effects>3D Effects>Drop Shadow, same settings.

24. Sign your work.
25. Image>Add Borders, 1 pixel, symmetric, color #ab2222.
Save as jpg.


If you have problems or doubts, or you find a not worked link,
or only for tell me that you enjoyed this tutorial, write to me.
7 November 2025

|

