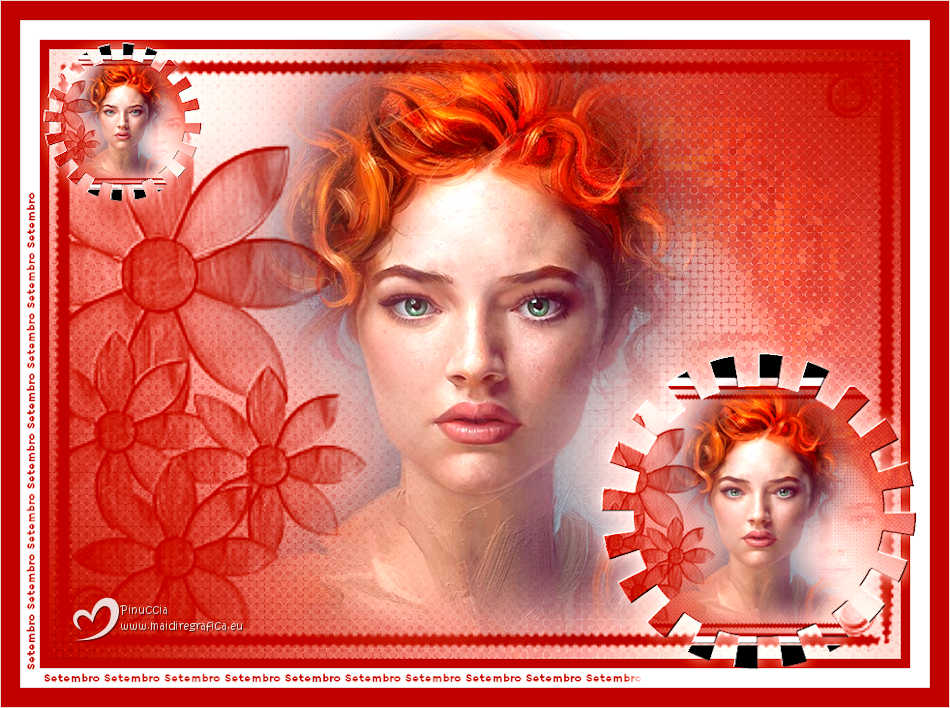
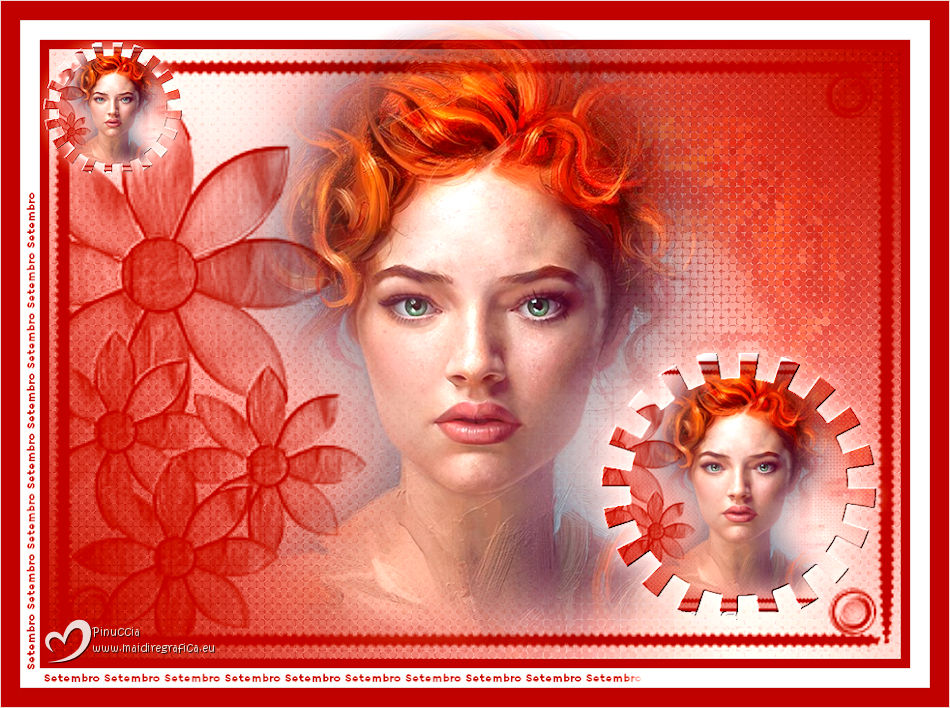
|
SETEMBRO


Thanks Estela for your invitation to translate your tutorials into english

This tutorial, created with PSP2022, was translated with PspX9 and 2020, but it can also be made using other versions of PSP.
Since version PSP X4, Image>Mirror was replaced with Image>Flip Horizontal,
and Image>Flip with Image>Flip Vertical, there are some variables.
In versions X5 and X6, the functions have been improved by making available the Objects menu.
In the latest version X7 command Image>Mirror and Image>Flip returned, but with new differences.
See my schedule here
 French Translation here French Translation here
 Your versions here Your versions here

For this tutorial, you will need:

Tube Estela Fonseca; Image de Pinterest.
(The links of the tubemakers here).

consult, if necessary, my filter section here
Filters Unlimited 2.0 here
Richard Rosenman - Halftone here
Alf's Border FX - Gear here
Transparency - Eliminate Black here
Mura's Seamless - Emboss at Alpha here
Filters Alf's Border FX and Mura's Seamless can be used alone or imported into Filters Unlimited.
(How do, you see here)
If a plugin supplied appears with this icon  it must necessarily be imported into Unlimited it must necessarily be imported into Unlimited

You can change Blend Modes according to your colors.
In the newest versions of PSP, you don't find the foreground/background gradient (Corel_06_029).
You can use the gradients of the older versions.
The Gradient of CorelX here

Open the mask in PSP and minimize it with the rest of the material.
1. Set your foreground color to #a92113,
and your background color to #eedbd7.
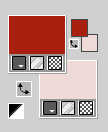
Set your foreground color to a Foreground/Background Gradient, style Linear.
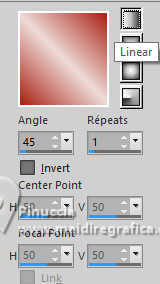
2. Open a new transparent image 900 x 650 pixels.
Flood Fill  the transparent image with your Gradient. the transparent image with your Gradient.
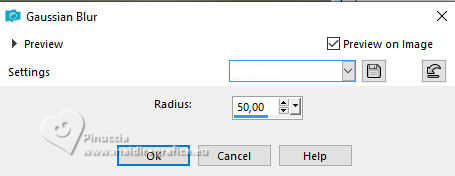
3. Adjust>Blur>Gaussian Blur - radius 50.
4. Layers>Duplicate.
Open the tube Yoka-misted-OrangeHair-5418 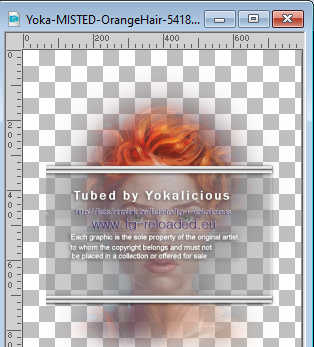
Edit>Copy.
Go back to your work and go to Edit>Paste as new layer.
Move  the tube to the right, the tube to the right,
or K key to activate your Pick Tool 
Position X:: 241,00 - Position Y: -137,00

5. Change the Blend Mode of this layer to Soft Light.
Layers>Merge>Merge Down.
6. Effects>Plugins>Richard Rosenman - Halftone
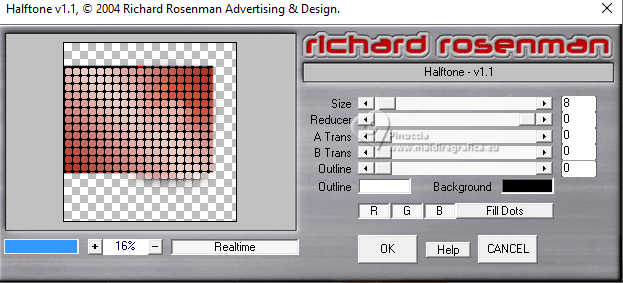
Result:
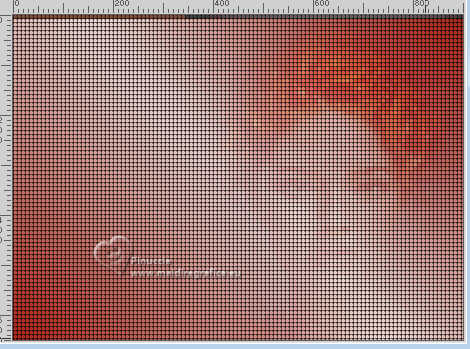
7. Effects>Plugins>Transparency - Eliminate Black
This effect works without window; result:
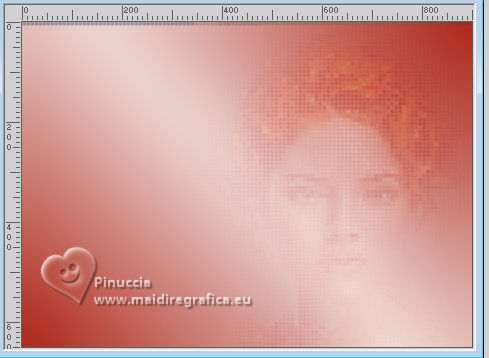
8. Activate your bottom layer, Raster 1.
Effects>Artistic Effects>Halftone
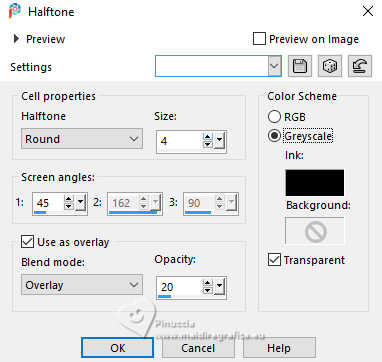
Effects>Edge Effects>Enhance.
Layers>Merge>Merge visible.
9. Layers>New Raster Layer.
Set your foreground color to Color.
Flood Fill  the layer with your foreground color. the layer with your foreground color.
Layers>New Mask layer>From image
Open the menu under the source window and you'll see all the files open.
Select the mask atag7dworisch, Invert mask data checked.
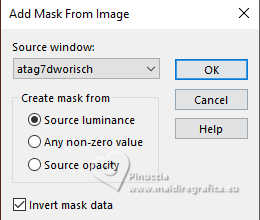
Adjust>Sharpness>Sharpen More.
Layers>Merge>Merge Group.
10. Layers>New Raster Layer.
Flood Fill  the layer with your foreground color. the layer with your foreground color.
Selections>Select All.
Selections>Modify>Contract - 10 pixels.
Press CANC on the keyboard 
Selections>Select None.
11. Image>Add borders, 20 pixels, symmetric, background color
(for my versions, I did with color white)
12. Edit>Paste as new layer - the tube Yoka-MISTED-OrangeHair-5418 is still in memory.
Image>Resize, to 90%, resize all layers not checked.
Image>Mirror>Mirror horizontal.
Don't move it.
Attention: before to go on, look at the Gear filter result at step 13
If you don't like seeing the black areas at the top and bottom
(this depends on the tube used, which extends a bit beyond the edges),
do this:
Activate your bottom layer.
Selections>Select All.
Image>Crop to selection.
Activate again your top layer
13. Layers>Merge>Merge Down.
Layers>Duplicate.
Effects>Plugins>Filters Unlimited 2.0 - Alf's Border FX - Gear
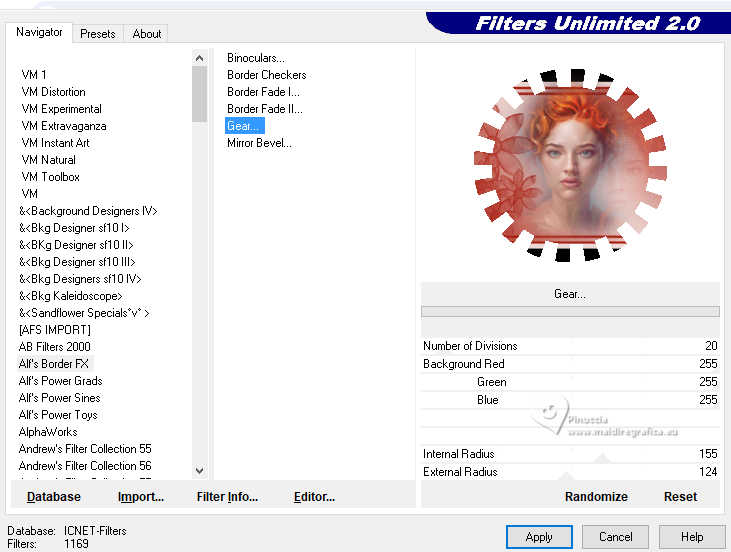
If you followed the advice in step 12
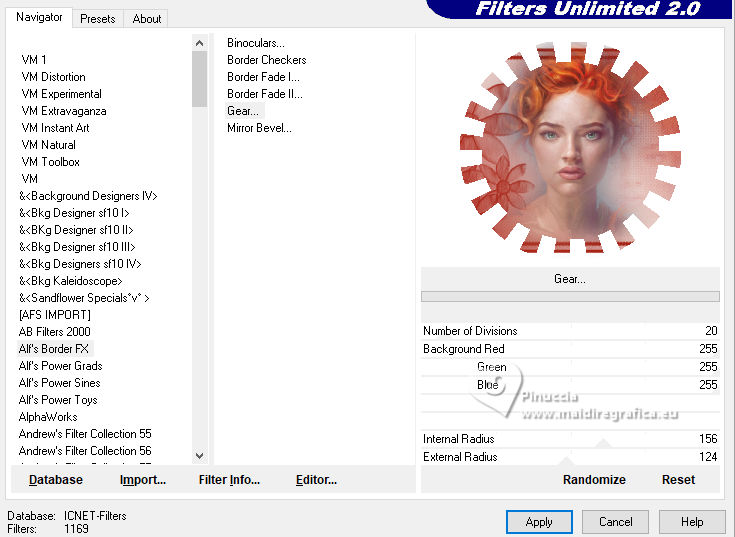
Image>Resize, to 50%, resize all layers not checked.
14. Activate your Magic Wand Tool 
and click in the white areas to select them.
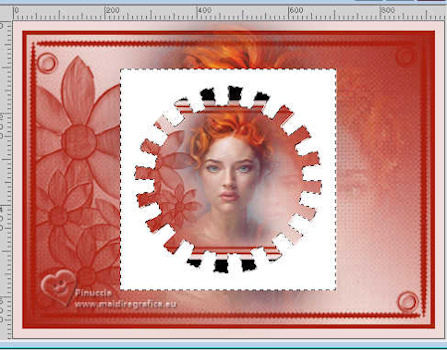 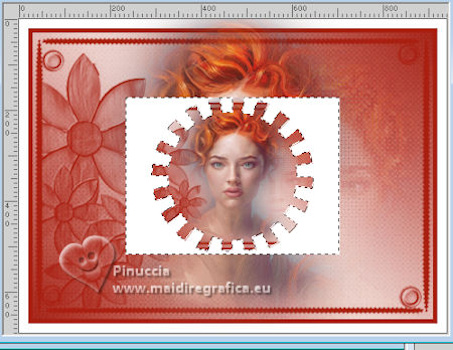
Press CANC on the keyboard.
Selections>Select None.
15. Image>Resize, to 80%, resize all layers not checked.
Effects>Plugins>Mura's Seamless - Emboss at Alpha
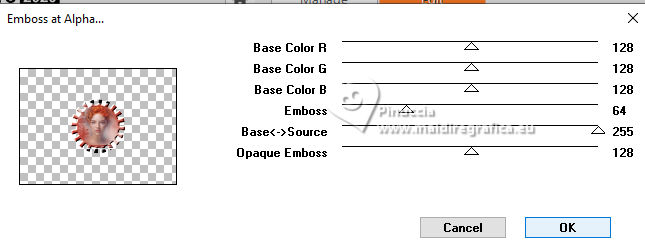
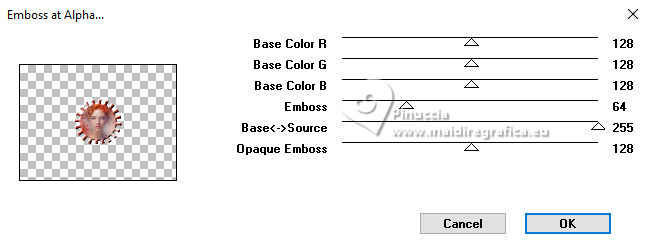
16. Move  the image at the bottom right, the image at the bottom right,
or Pick Tool 
Position X:: 600,00 - Position Y: 344,00

17. Layers>Duplicate.
Image>Resize, to 50%, resize all layers not checked.
Move  the image at the upper left, the image at the upper left,
or Pick Tool 
Position X:: 24,00 - Position Y: 23,00

Adjust>Sharpness>Sharpen.
Layers>Merge>Merge Down.
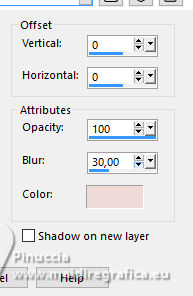
18. Effects>3D Effects>Drop shadow, background color.
19. Open Texto 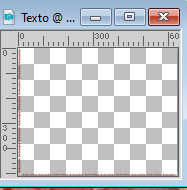
Edit>Copy.
Go back to your work and go to Edit>Paste as new layer.
Move  the texte at the bottom left, the texte at the bottom left,
or Pick Tool 
Position X:: 6,00 - Position Y: 173,00

M key to deselect the tool.
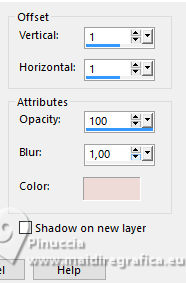
20. Effects>3D Effects>Drop shadow, background color.
21. Image>Add Borders, 20 pixels, symmetric, foreground color.
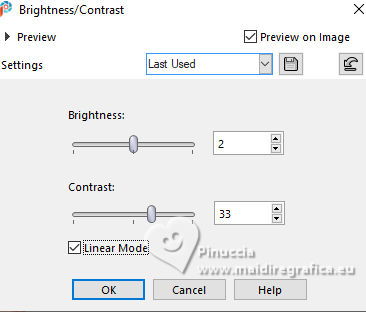
22. Adjust>Brightness and Contrast>Brightness and Contrast (optional)
23. Sign your work.
Image>Add Borders, 1 pixel, symmetric, background color.
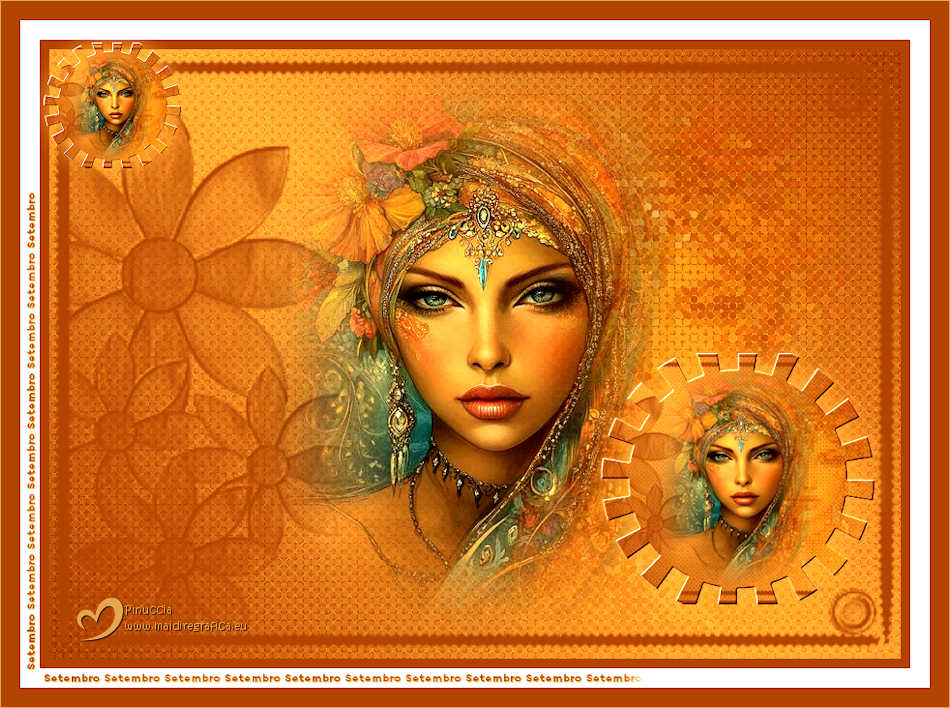
Save as jpg.
Image de Pinterest


If you have problems or doubts, or you find a not worked link,
or only for tell me that you enjoyed this tutorial, write to me.
20 September 2025

|

