|
SPIRIT


Thanks Estela for your invitation to translate your tutorials into english

This tutorial, created with PSP2022, was translated with PspX9 and 2020, but it can also be made using other versions of PSP.
Since version PSP X4, Image>Mirror was replaced with Image>Flip Horizontal,
and Image>Flip with Image>Flip Vertical, there are some variables.
In versions X5 and X6, the functions have been improved by making available the Objects menu.
In the latest version X7 command Image>Mirror and Image>Flip returned, but with new differences.
See my schedule here
 French Translation here French Translation here
 Your versions here Your versions here

For this tutorial, you will need:

Material created from images Google and Pinterest
(The links of the tubemakers here).

consult, if necessary, my filter section here
Filters Unlimited 2.0 here
Graphics Plus - Cross Shadow here
Funhouse - ZigZaggerate here
Filters Graphics Plus and Funhouse can be used alone or imported into Filters Unlimited.
(How do, you see here)
If a plugin supplied appears with this icon  it must necessarily be imported into Unlimited it must necessarily be imported into Unlimited
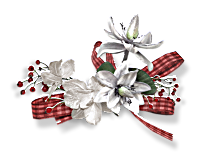
You can change Blend Modes according to your colors.

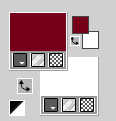
1. Set your foreground color to #77011a
and your background color to #ffffff.
1. Open a new transparent image 900 x 550 pixels.
Flood Fill  with your foreground color. with your foreground color.
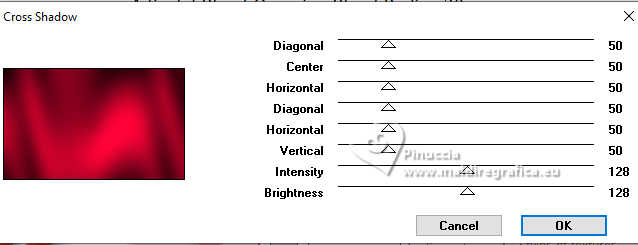
2. Effects>Plugins>Graphics Plus - Cross Shadow, default settings.
3. Adjust>Blur>Gaussian Blur - radius 20.

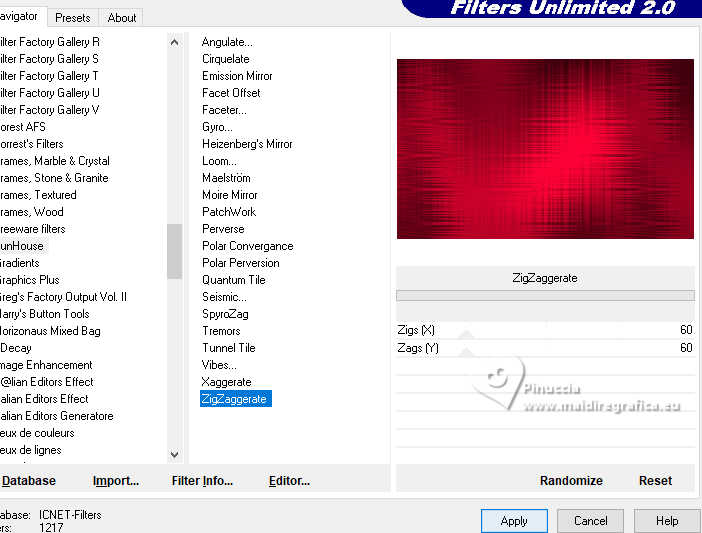
4. Effects>Plugins>Filters Unlimited 2.0 - Funhouse - ZigZaggerate, default settings.
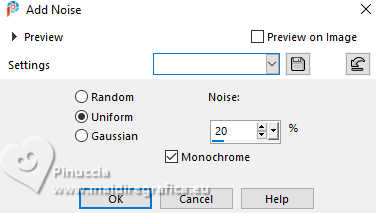
5. Adjust>Add/Remove Noise>Add Noise
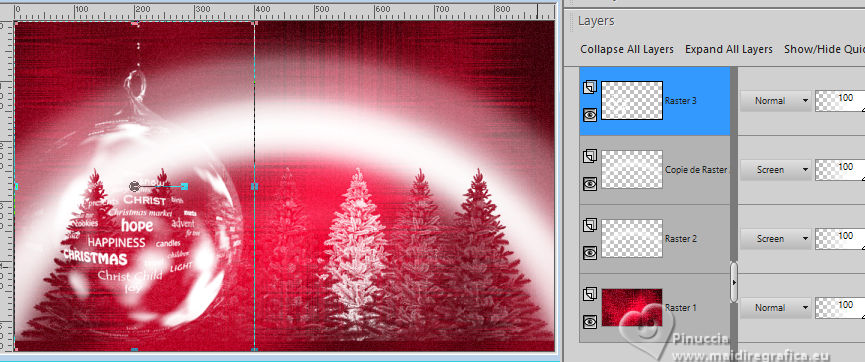
6. Open Deco-Spirit-1 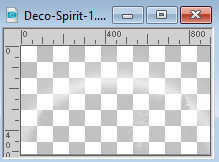
Edit>Copy.
Go back to your work and go to Edit>Paste as new layer.
Change the Blend Mode of this layer to Screen.
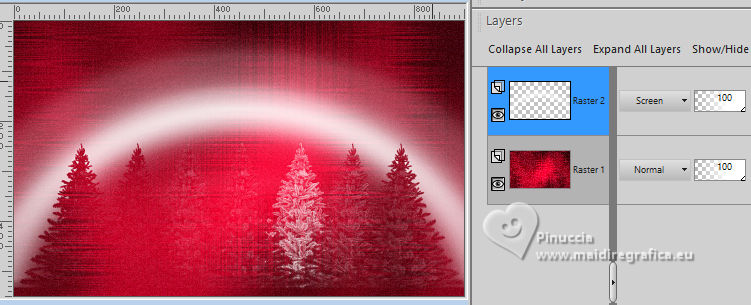
Layers>Duplicate.
7. Open Deco-Spirit-2 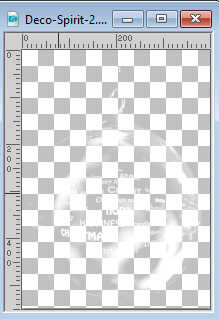
Edit>Copy.
Go back to your work and go to Edit>Paste as new layer.
Objects>Align>Left
8. Image>Add Borders, 20 pixels, symmetric, background color #ffffff.
Image>Add Borders, 20 pixels, symmetric, foreground color #77011a.
9. Open EF-Tube 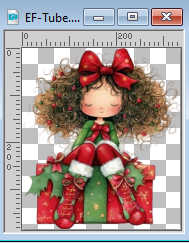
Edit>Copy.
Go back to your work and go to Edit>Paste as new layer.
Move  the tube down, a bit to the left, or to your liking the tube down, a bit to the left, or to your liking
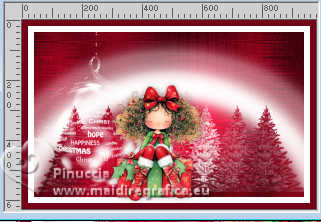
Adjust>One Step Photo Fix.
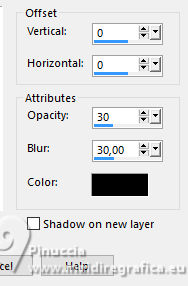
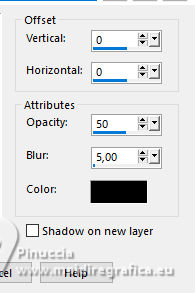
10. Effects>3D Effects>Drop Shadow, color #000000.
11. Open the tube EF-Spirit>_Texto 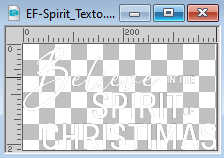
Edit>Copy.
Go back to your work and go to Edit>Paste as new layer.
Move  the text at the upper right. the text at the upper right.
12. Effects>3D Effects>Drop Shadow, color #000000.
13. Open EF-Tube_2 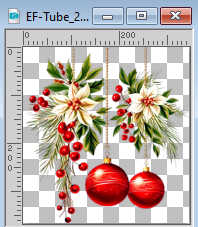
Edit>Copy.
Go back to your work and go to Edit>Paste as new layer.
Move  the tube at the upper left. the tube at the upper left.
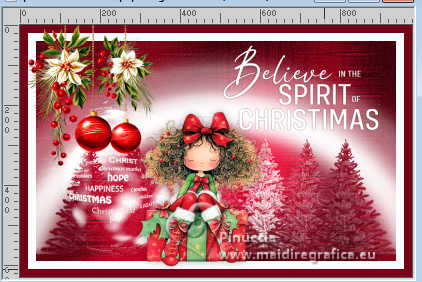
14. Image>Add Borders, 2 pixels, symmetric, background color #ffffff.
Image>Add Borders, 2 pixels, symmetric, foreground color #77011a.
15. Sign your work on a new layer.
Layers>Merge>Merge All and save as jpg.



If you have problems or doubts, or you find a not worked link,
or only for tell me that you enjoyed this tutorial, write to me.
16 December 2025

|

