|
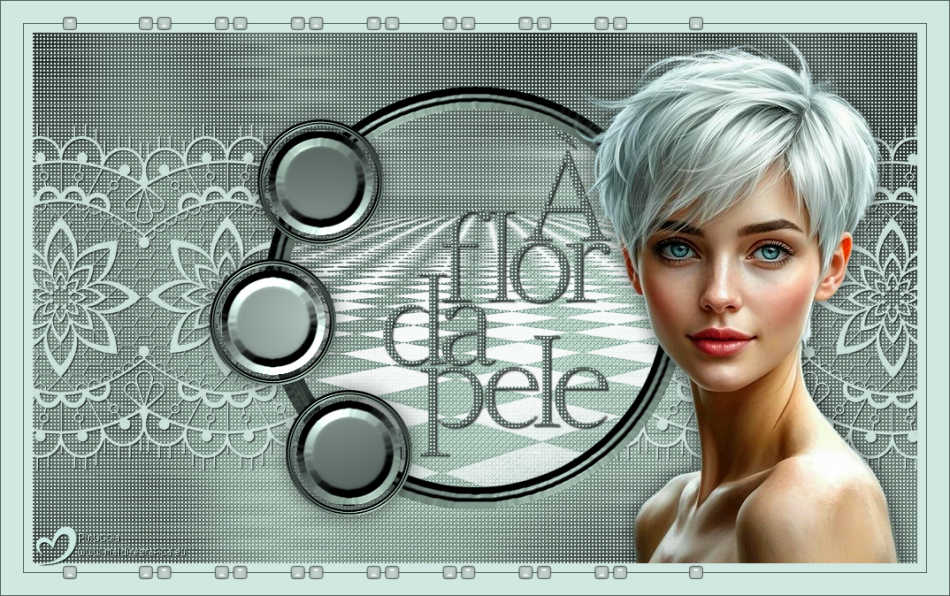
A FLOR DA PELE
 ON THE SKIN ON THE SKIN

Thanks Estela for your invitation to translate your tutorials into english

This tutorial, created with PSP2022, was translated with PspX7, but it can also be made using other versions of PSP.
Since version PSP X4, Image>Mirror was replaced with Image>Flip Horizontal,
and Image>Flip with Image>Flip Vertical, there are some variables.
In versions X5 and X6, the functions have been improved by making available the Objects menu.
In the latest version X7 command Image>Mirror and Image>Flip returned, but with new differences.
See my schedule here
 French Translation here French Translation here
 Your versions here Your versions here

For this tutorial, you will need:

Images by Pinterest.
(The links of the tubemakers here).

consult, if necessary, my filter section here
Filters Unlimited 2.0 here
Graphics Plus - Cross Shadow here
VM Tooboox - Blast ici
DSB Flux - Linear Transmission ici
Filters Graphics Plus and VM Toolbox can be used alone or imported into Filters Unlimited.
(How do, you see here)
If a plugin supplied appears with this icon  it must necessarily be imported into Unlimited it must necessarily be imported into Unlimited

You can change Blend Modes according to your colors.
In the newest versions of PSP, you don't find the foreground/background gradient (Corel_06_029).
You can use the gradients of the older versions.
The Gradient of CorelX here

Open the masks in PSP and minimize it with the rest of the material.
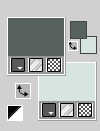
Set your foreground color to #57625c
and your background color to #d6e5e0
1. Open a new transparent image 1000 x 600 pixels.
Flood Fill  the transparent image with your foreground color. the transparent image with your foreground color.
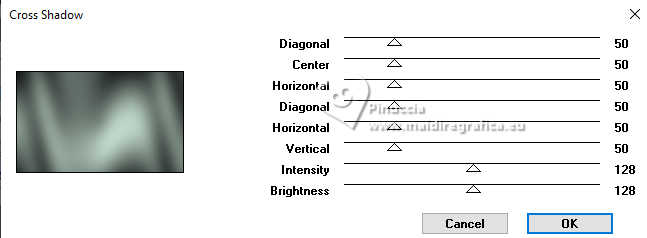
2. Effects>Plugins>Graphics Plus - Cross Shadow, default settings.
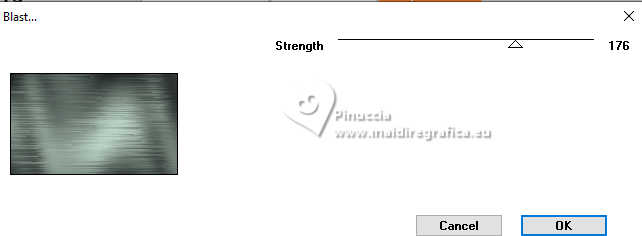
3. Effects>Plugins>VM Toolbox - Blast, default settings.
4. Layers>New Raster Layer.
Flood Fill  the layer with your background color. the layer with your background color.
5. Layers>New Mask layer>From image
Open the menu under the source window and you'll see all the files open.
Select the mask img-pinterest .
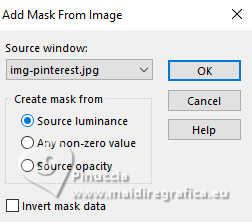
Layers>Merge>Merge Group.
Adjust>Sharpness>Sharpen More.
6. Effects>Plugins>Graphics Plus - Cross Shadow, default settings.
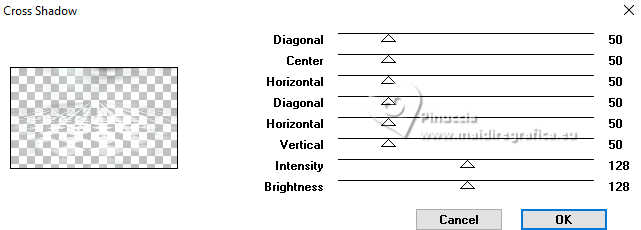
7. Layers>New Raster Layer.
Flood Fill  the layer with your foreground color. the layer with your foreground color.
8. Effects>Geometric Effects>Circle.
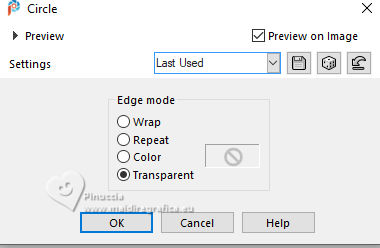
Image>Resize, to 80%, resize all layers not checked.
9. Selections>Select All.
Selections>Float.
Selections>Defloat.
10. Selections>Modify>Contract - 25 pixels.
Press CANC on the keyboard 
Selections>Invert.
Activate the layer below, Group Raster 2.
Press CANC on the keyboard.
Selections>Select None.
11. Activate your top layer.
Effects>3D Effects>Inner Bevel.
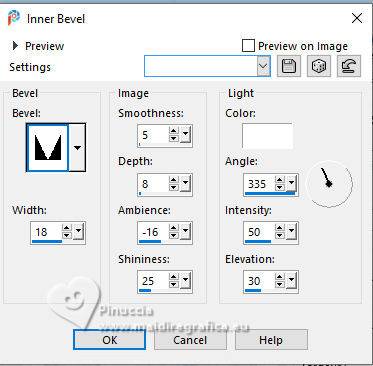
12. Layers>Duplicate.
Image>Resize, to 30%, resize all layers not checked.
Adjust>Sharpness>Sharpen.
13. K key to activate your Pick Tool 
Position X: 254,00 - Position Y: 98,00.

12. Layers>Duplicate.
Position X: 200,00 - Position Y: 256,00.

13. Layers>Duplicate.
Position X: 286,00 - Position Y: 404,00.

M key to deselect the Tool.
Layers>Merge>Merge Down - 2 times.
14. Activate your Magic Wand Tool  , tolerance and feather 0, , tolerance and feather 0,
and click in the 3 circles to select them.
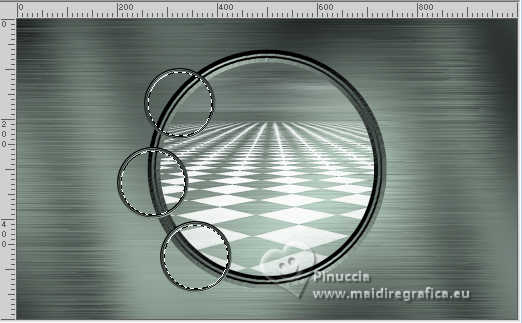
Selections>Modify>Contract - 4 pixels.
15. Set your foreground color to a Foreground/Background Gradient, style Sunburst.
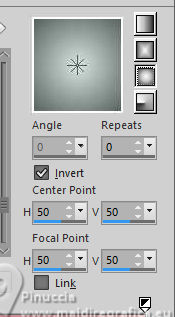
Layers>New Raster Layer.
Flood Fill  the layer with your Gradient. the layer with your Gradient.
16. Effects>3D Effects>Inner Bevel, same settings.

Selections>Select None.
Layers>Arrange>Move Down.
17. Activate your top layer.
Layers>Merge>Merge Down.
18. Effects>3D Effects>Drop Shadow, color #000000.

19. Activate the layer Group-Raster 2
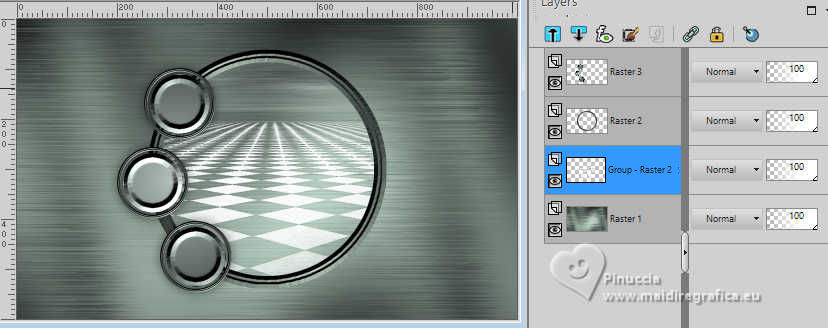
20. Layers>New Raster Layer.
Flood Fill  the layer with your background color. the layer with your background color.
note by the author: in my second version I used the color white
21. Layers>New Mask layer>From image
Open the menu under the source window
and select the mask EF-Mask_A_Flor_de_Pele .
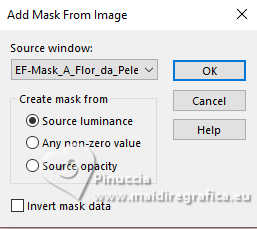
Layers>Merge>Merge Group.
22. Effects>3D Effects>Drop Shadow, color #000000.
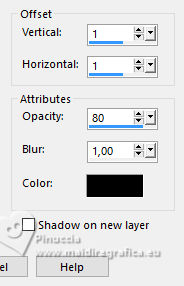
23. Activate the layer Raster 2.
Activate your Magic Wand Tool  , same settings, , same settings,
and click in the circle to select it.

24. Activate the layer Group-Raster 4.
Press CANC on the keyboard.
Selections>Select None.
25. Activate your bottom layer.
Effects>Texture Effects>Weave
weave color: foreground color
gap color: background color.
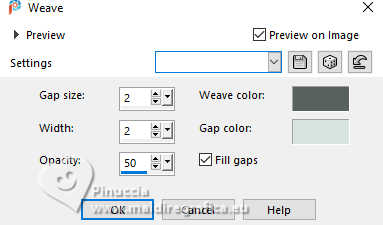
26. Activate the layer Raster 2.
Layers>Duplicate.
Layers>Arrange>Move Down.
27. Effects>Image Effects>Seamless Tiling.
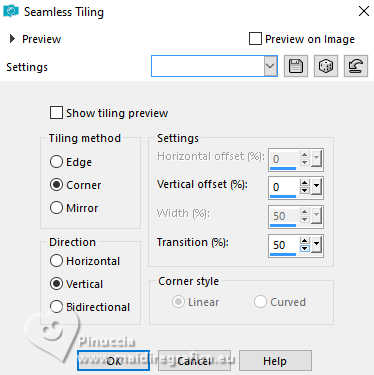
28. Adjust>Blur>Gaussian Blur - radius 25

Change the Blend Mode of this layer to Screen.
29. Effects>Plugins>DSB Flux - Linear Transmission.

30. Layers>Merge>Merge visible.
31. Open the texte EF-A_Flor_de_Pele_Texto.pspimage 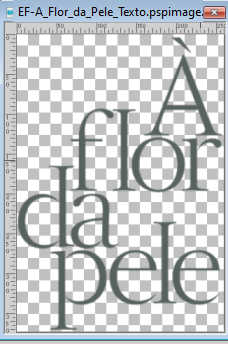
Edit>Copy.
Go back to your work and go to Edit>Paste as new layer.
Place  correctly the text in the circle, see my example. correctly the text in the circle, see my example.
32. Effects>Texture Effects>Weave, same settings.

33. Effects>3D Effects>Drop Shadow, same settings.

Edit>Repeat Drop Shadow.
34. Open your main tube EF-Tube_Mulher.png 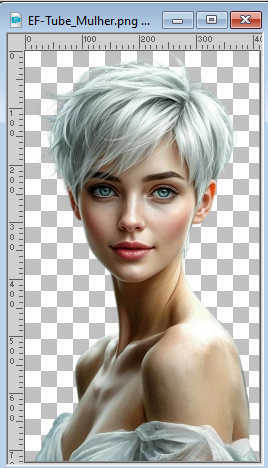
Edit>Copy.
Go back to your work and go to Edit>Paste as new layer.
Move  the tube to the right side. the tube to the right side.
35. Effects>3D Effects>Drop Shadow, color #000000.

36. Image>Add Borders, 10 pixels, symmetric, background color.
Image>Add Borders, 1 pixel, symmetric, foreground color.
Image>Add Borders, 25 pixels, symmetric, background color.
Image>Add Borders, 1 pixel, symmetric, foreground color.
37. Open EF-A_Flor_da_Pele_Deco_1 
Edit>Copy.
Go back to your work and go to Edit>Paste as new layer.
Position X: 70,00 - Position Y: 18,00

Layers>Duplicate.
Image>Mirror>Mirror vertical (Image>Flip).
Sign your work on a new layer.
Layers>Merge>Merge All.
Adjust>Hue and Saturation>Vibrancy
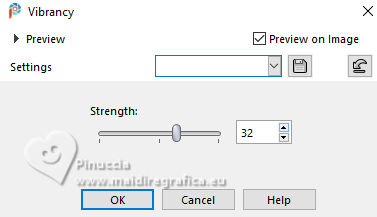
Image>Resize, to 85%, resize all layers checked.
Save as jpg.
Version with my tube from a Pinterest image
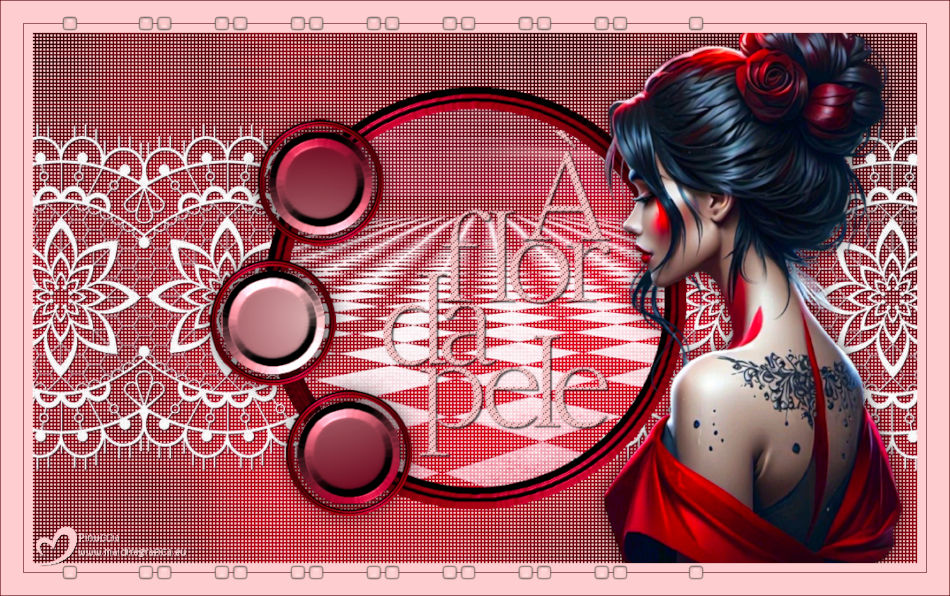

If you have problems or doubts, or you find a not worked link,
or only for tell me that you enjoyed this tutorial, write to me.
23 November 2025

|
 ON THE SKIN

 ON THE SKIN