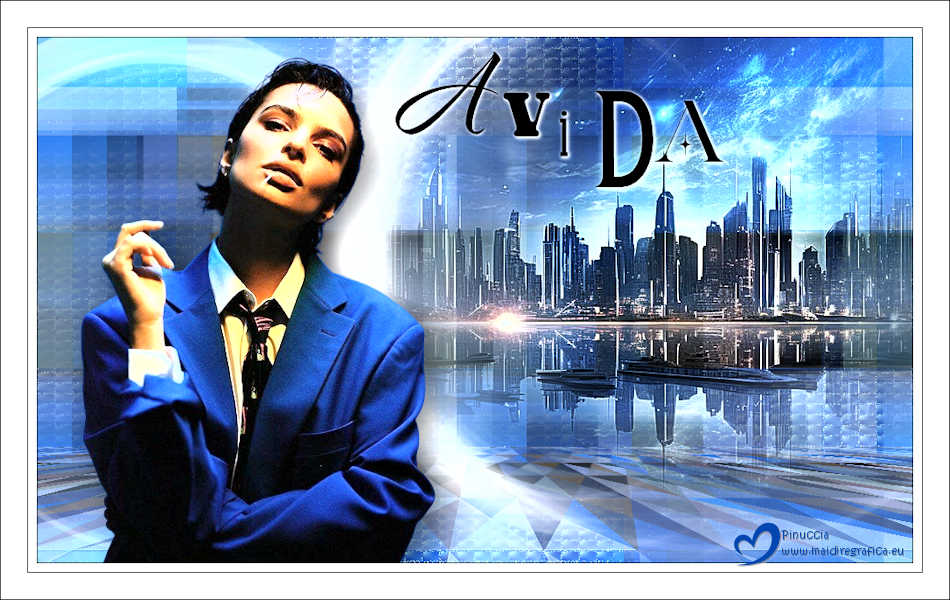
|
AVIDA
 LIFE LIFE

Thanks Estela for your invitation to translate your tutorials into english

This tutorial, created with PSP2022, was translated with PspX7, but it can also be made using other versions of PSP.
Since version PSP X4, Image>Mirror was replaced with Image>Flip Horizontal,
and Image>Flip with Image>Flip Vertical, there are some variables.
In versions X5 and X6, the functions have been improved by making available the Objects menu.
In the latest version X7 command Image>Mirror and Image>Flip returned, but with new differences.
See my schedule here
 French Translation here French Translation here
 Your versions here Your versions here

For this tutorial, you will need:

Material by EF.
(The links of the tubemakers here).
*It is forbidden to remove the watermark from the supplied tubes, distribute or modify them,
in order to respect the work of the authors

consult, if necessary, my filter section here
Filters Unlimited 2.0 here
[AFS IMPORT] - sqborder2 here
Graphics Plus - Cross Shadow, Vertical Mirror here
Toadies - Weaver here
VM Toolbox - Trimosaic here
Mura's Meister - Perspective Tiling here
Nik Software - Color Efex Pro here
Filters [AFS IMPORT], Graphics Plus, Toadies, VM Toolbox can be used alone or imported into Filters Unlimited.
(How do, you see here)
If a plugin supplied appears with this icon  it must necessarily be imported into Unlimited it must necessarily be imported into Unlimited

You can change Blend Modes according to your colors.

1. Open a new transparent image 1000 X 600 pixels.
Set your foreground color to #0346b1
and your background color to #ffffff
(does not matter for the tutorial, with black color, will be used for borders)
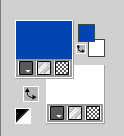
Flood Fill  the transparent image with your foreground color. the transparent image with your foreground color.
2. Effects>Plugins>Graphics Plus - Cross Shadow, default settings.
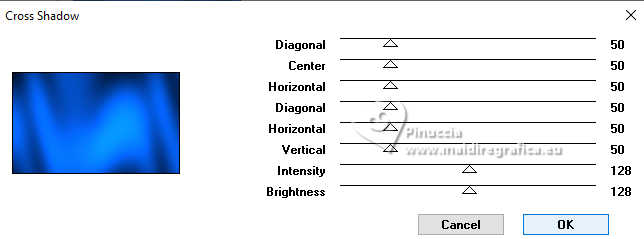
Be careful, if the color gives an unpleasant result,
adjust the settings Intensity/Brightness according to your work
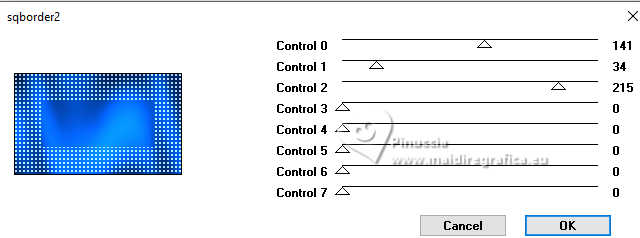
3. Effects>Plugins>[AFS IMPORT] - sqborder2
4. Effects>Texture Effects>Mosaic Antique
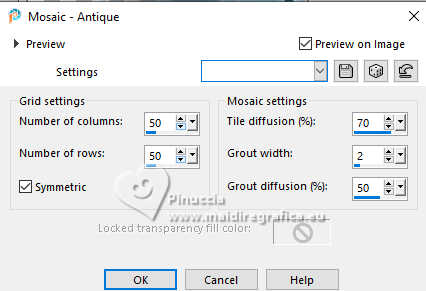
5. Effects>Image Effects>Seamless Tiling.

6. Open the tube EF-Tube 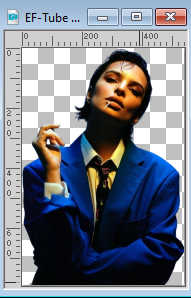
Edit>Copy.
Minimize the tube.
Go back to your work and go to Edit>Paste as new layer.
7. Image>Free Rotate - 90 degrees to left.
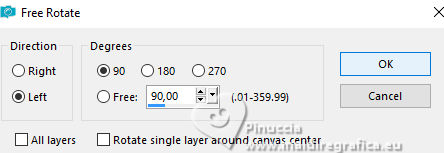
8. Effects>Plugins>Toadies - Weaver.
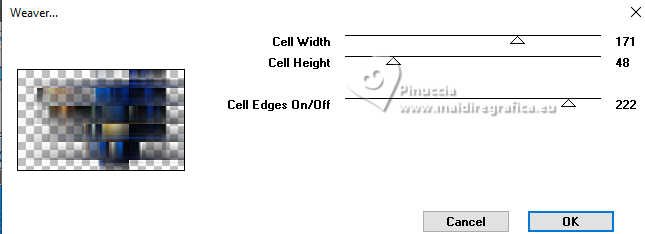
Adjust>One Step Photo Fix.
9. Effects>Image Effects>Seamless Tiling.

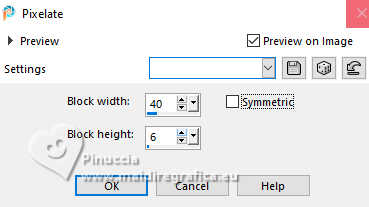
10. Effects>Distortion Effects>Pixelate.
11. Effects>Plugins>Graphics Plus - Vertical Mirror
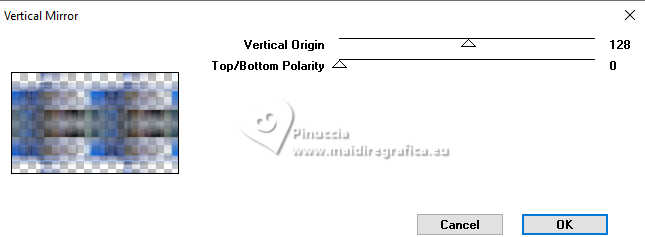
Effects>Edge Effects>Erode.
12. Layers>Duplicate.
Effects>Plugins>VM Toolbox - Trimosaic
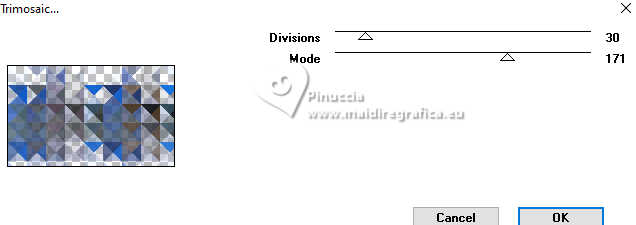
Adjust>Sharpness>Sharpen More.
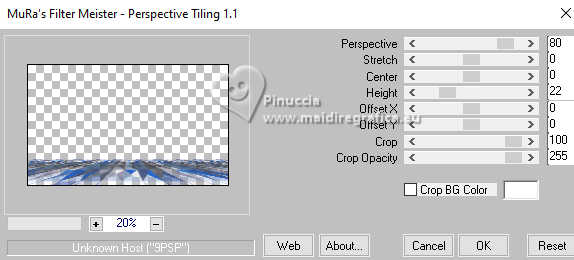
13. Effects>Plugins>Mura's Meister - Perspective Tiling.
14. Open EF-Avida_Deco_1 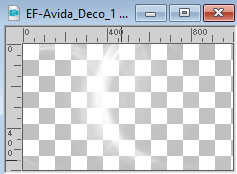
Edit>Copy.
Go back to your work and go to Edit>Paste as new layer.
14. Open EF-Misted 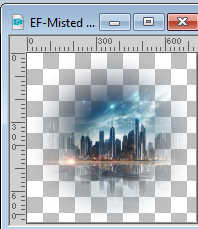
Edit>Copy.
Go back to your work and go to Edit>Paste as new layer.
Pick Tool (K) 
Position X: 346,00 - Position Y: -146,00.

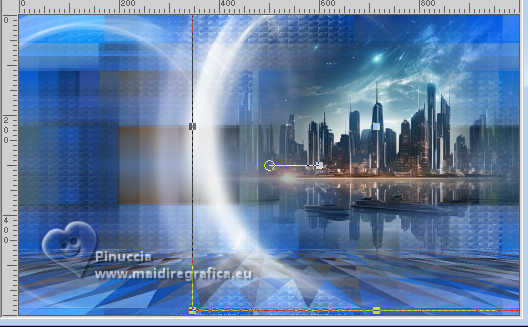
Adjust>Sharpness>Sharpen More.
Change the Blend Mode of this layer to Hard Light.
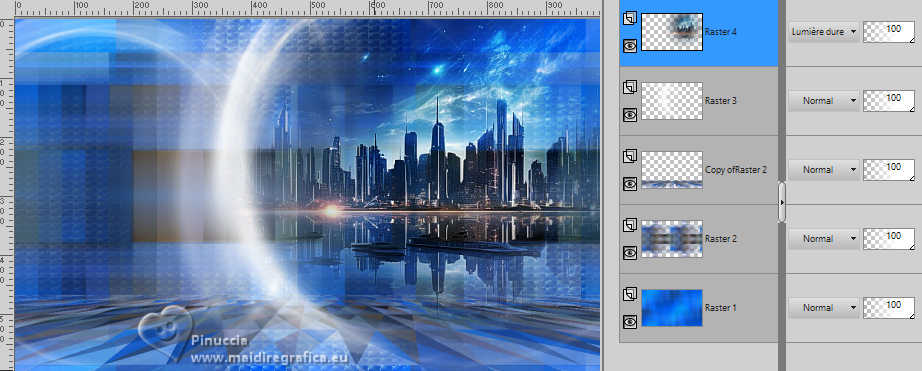
15. Layers>Merge>Merge visible.
16. Activate again the tube EF-Tube and go to Edit>Copy.
Go back to your work and go to Edit>Paste as new layer.
Image>Resize, to 75%, resize all layers not checked.
Move  the tube to the left side. the tube to the left side.
Adjust>One Step Photo Fix.
17. Effects>Plugins>Alien Skin eye Candy 5 Impact - Perspective Shadow.
Preset Drop Shadow,Blurry with these settings.
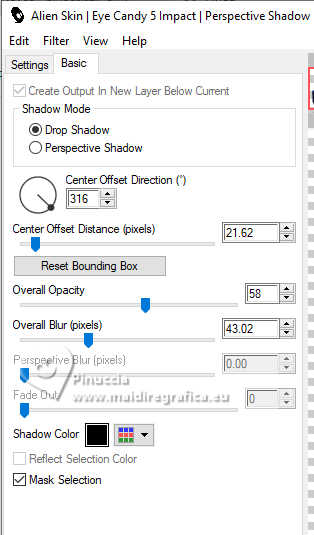
18. Open EF-Avida_Deco_2 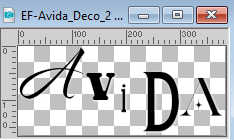
Edit>Copy.
Go back to your work and go to Edit>Paste as new layer.
Place  the tube to your liking. the tube to your liking.
19. Image>Add Borders, 1 pixel, symmetric, color #000000.
Image>Add Borders, 10 pixels, symmetric, color #ffffff.
Image>Add Borders, 1 pixel, symmetric, color #000000.
Image>Add Borders, 30 pixels, symmetric, color #ffffff.
20. Effects>Plugins>Nik Software - Color Efex Pro 3 - Contrast Only (optional).
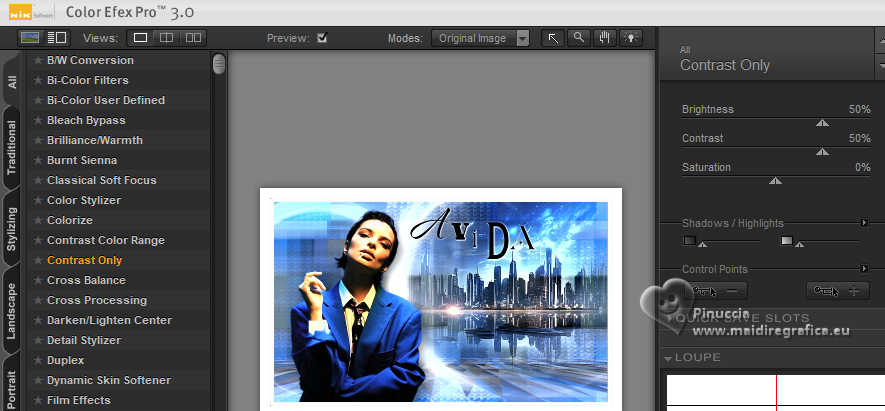
21. Image>Add Borders, 1 pixel, symmetric, color #000000.
22. Sign your work and save as jpg.
For the tube of this version thanks Luz Cristina (the misted is mine from an image of Pinterest)
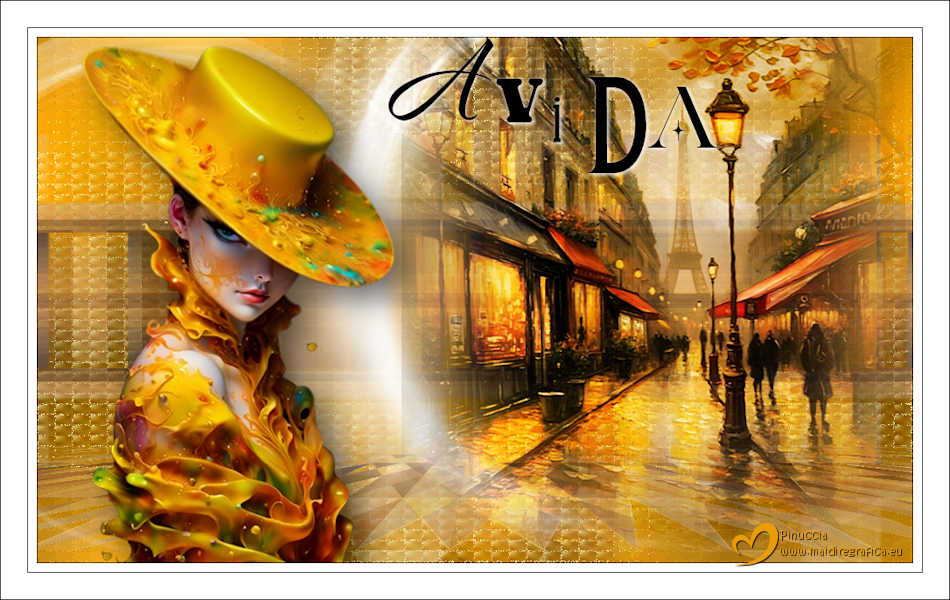

If you have problems or doubts, or you find a not worked link,
or only for tell me that you enjoyed this tutorial, write to me.
31 August 2025

|
 LIFE
LIFE

 LIFE
LIFE