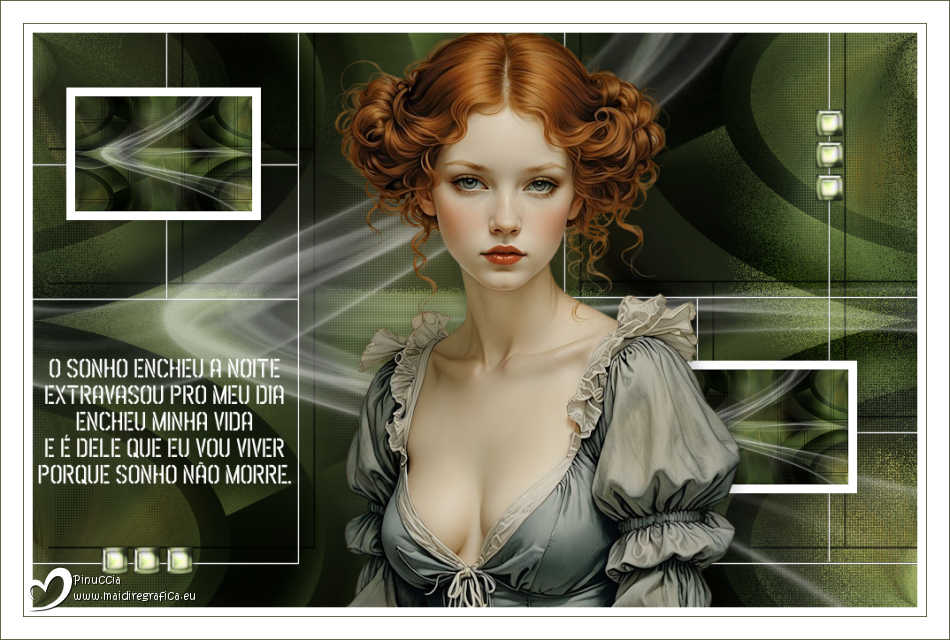
|
CARMEN DARDER


Thanks Estela for your invitation to translate your tutorials into english

This tutorial, created with PSP2022, was translated with PspX7, but it can also be made using other versions of PSP.
Since version PSP X4, Image>Mirror was replaced with Image>Flip Horizontal,
and Image>Flip with Image>Flip Vertical, there are some variables.
In versions X5 and X6, the functions have been improved by making available the Objects menu.
In the latest version X7 command Image>Mirror and Image>Flip returned, but with new differences.
See my schedule here
 French Translation here French Translation here
 Your versions here Your versions here

For this tutorial, you will need:

For the mask thanks Silvie.
Image Pinterest
The rest of the material is by EF.
(The links of the tubemakers here).

consult, if necessary, my filter section here
Filters Unlimited 2.0 here
Scribe - 4 Way Mirror here
Mehdi - Sorting Tiles here
Filters Scribe can be used alone or imported into Filters Unlimited.
(How do, you see here)
If a plugin supplied appears with this icon  it must necessarily be imported into Unlimited it must necessarily be imported into Unlimited

You can change Blend Modes according to your colors.

Open the mask in PSP and minimize it with the rest of the material.
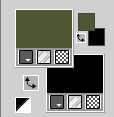
Set your foregrond color with a color of your image; for me #4c5734,
and your background color to black #000000
1. Open a new transparent image 1000 x 650 pixels.
Selections>Select All.
2. Open the image EF-Carmen_Darder_Fundo 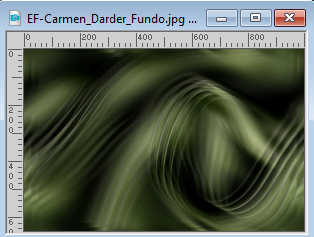
Edit>Copy.
Go back to your work and go to Edit>Paste into Selection.
Selections>Select None.
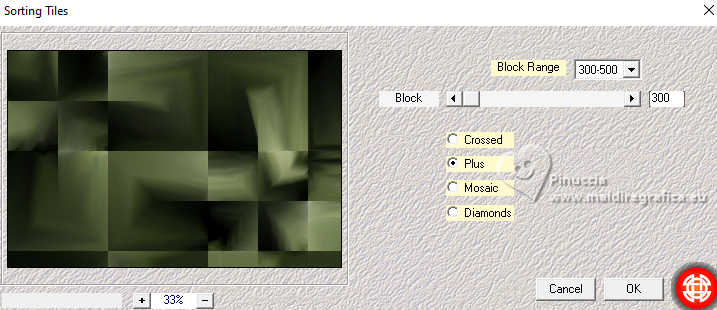
3. Effects>Plugins>Mehdi - Sorting Tiles
4. Layers>New Raster Layer.
Flood Fill  the layer with color black #000000 the layer with color black #000000
Layers>New Mask layer>From image
Open the menu under the source window and you'll see all the files open.
Select the mask EF-Mask_Carmen_Darder_1
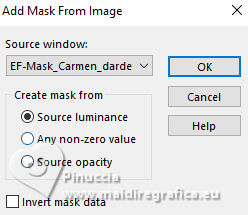
Layers>Merge>Merge Group.
5. Layers>Duplicate.
Layers>Merge>Merge Down.
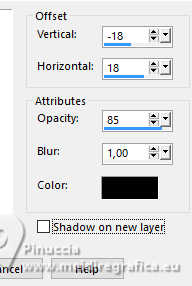
6. Effects>3D Effects>Drop Shadow, color #000000.
7. Open EF-Carmen_Darder_Deco_1 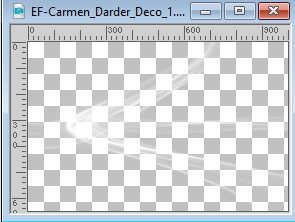
Edit>Copy.
Go back to your work and go to Edit>Paste as new layer.
Don't move it.
Change the Blend Mode of this layer to Screen and reduce the opacity to 56%.
8. Activate your background layer.
Layers>Duplicate.
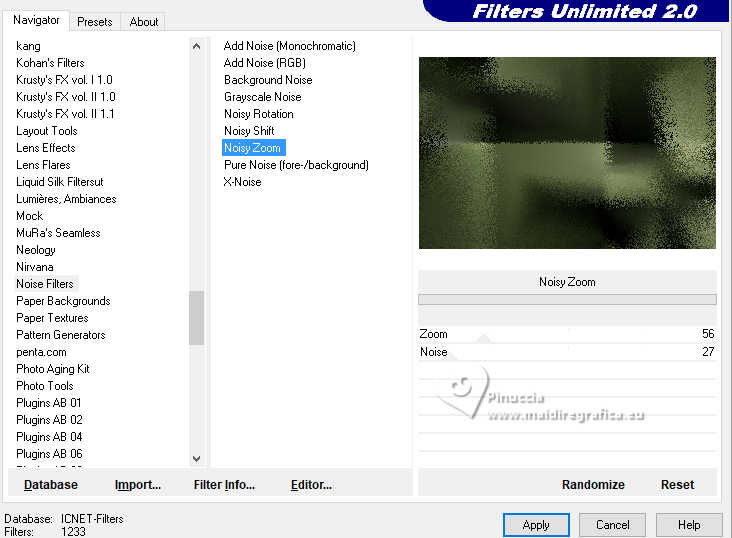
Effects>Plugins>Filters Unlmited 2.0 - Noise Filters - Noisy Zoom.
9. Change the Blend Mode of this layer to Hard Light and reduce the opacity to 67%.
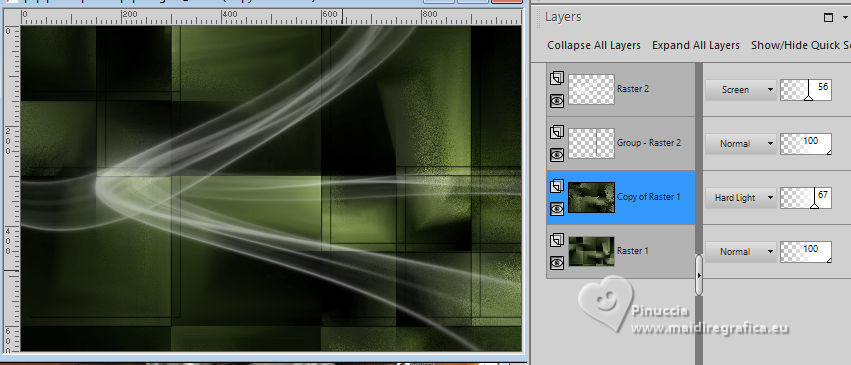
10. Activate again your background layer, Raster 1.
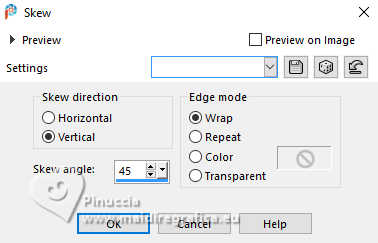
Effects>Geometric Effects>Skew.
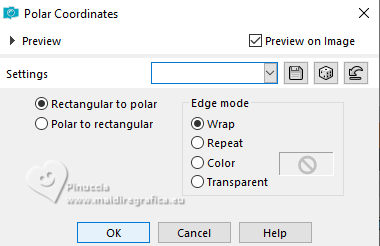
11. Effects>Distortion Effects>Polar Coordinate.
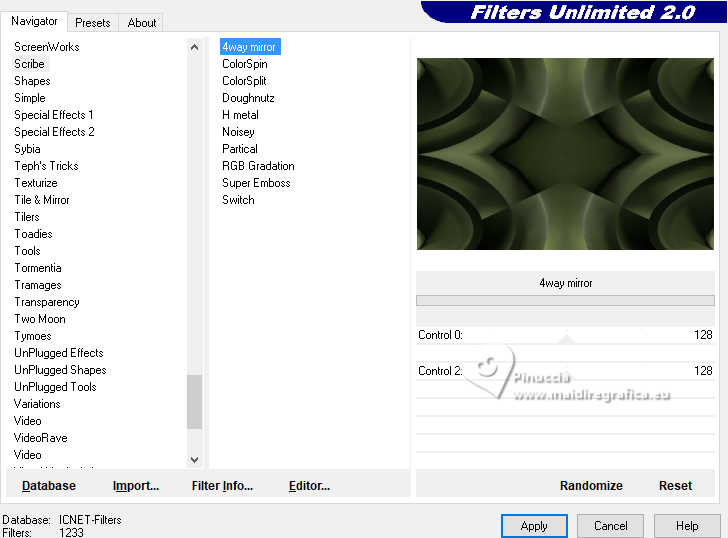
12. Effects>Plugins>Filters Unlimited 2.0 - Scribe - 4Way Mirror.
13. Open the tube EF-Misted 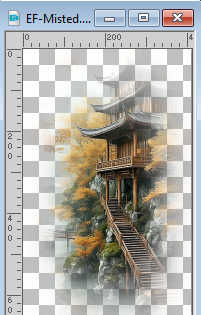
Edit>Copy.
Go back to your work and go to Edit>Paste as new layer.
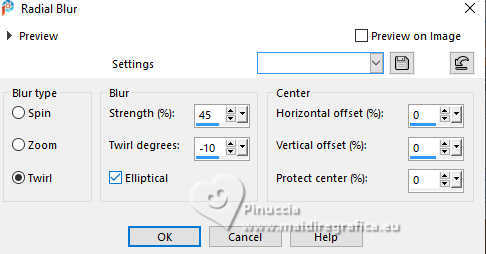
14. Adjust>Blur>Radial Blur.
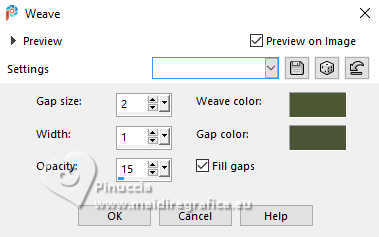
15. Effects>Texture Effects>Weave
both colors: your foreground color #4c5734
16. Effects>Image Effects>Seamless Tiling, default settings.

Change the Blend Mode of this layer to Screen.
17. Edit>Copy Special>Copy Merged.
Edit>Paste as new image.
Stay on this image.
Imgae>Resize, 200 pixels width, resize all layers checked.
Image>Add Borders, 10 pixels, symmetric, color white #ffffff.
18. Edit>Copy.
Go back to your work.
Activate your top layer.
Edit>Paste as new layer.
19. K key to activate your Pick Tool 
Position X: 38,00 - Position Y: 62,00.

20. Layers>Duplicate.
Position X:712,00 - Position Y: 371,00.

21. Layers>Merge>Merge Down.
Adjust>Sharpness>Sharpen.
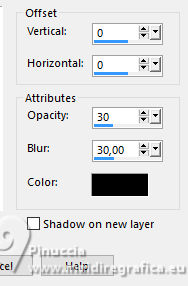
Effects>3D Effects>Drop Shadow, color black.
22. Open EF-Carmen_Darder_Deco_2 
Edit>Copy.
Go back to your work and go to Edit>Paste as new layer.
Objects>Align>Top.
Layers>Arrange>Move Down.
Activate your top layer.
23. Open EF-Tube_1050 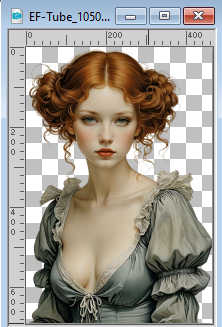
Edit>Copy.
Go back to your work and go to Edit>Paste as new layer.
Move  the tube to your liking. the tube to your liking.
24. Effects>3D Effects>Drop Shadow, color #000000.

25. Open EF-Carmen_Darder_Deco_3 
Edit>Copy.
Go back to your work and go to Edit>Paste as new layer.
Position X: 75,00 - Position Y: 84,00.

26. Open EF-Carmen_Darder_Deco_4 
Edit>Copy.
Go back to your work and go to Edit>Paste as new layer.
Position X: 6,00 - Position Y: 368,00.

Reduce the opacity of this layer to 34%.
27. Image>Add Borders, 10 pixels, simmetric, color white.
Image>Add Borders, symétrique, 1 pixel, symmetric, foreground color #4c5734
Image>Add Borders, symétrique, 25 pixels, symmetric, color white.
28. Sign your work.
29. Image>Add Borders, 1 pixel, symmetric, foreground color #4c5734
Enregistrer en jpg.
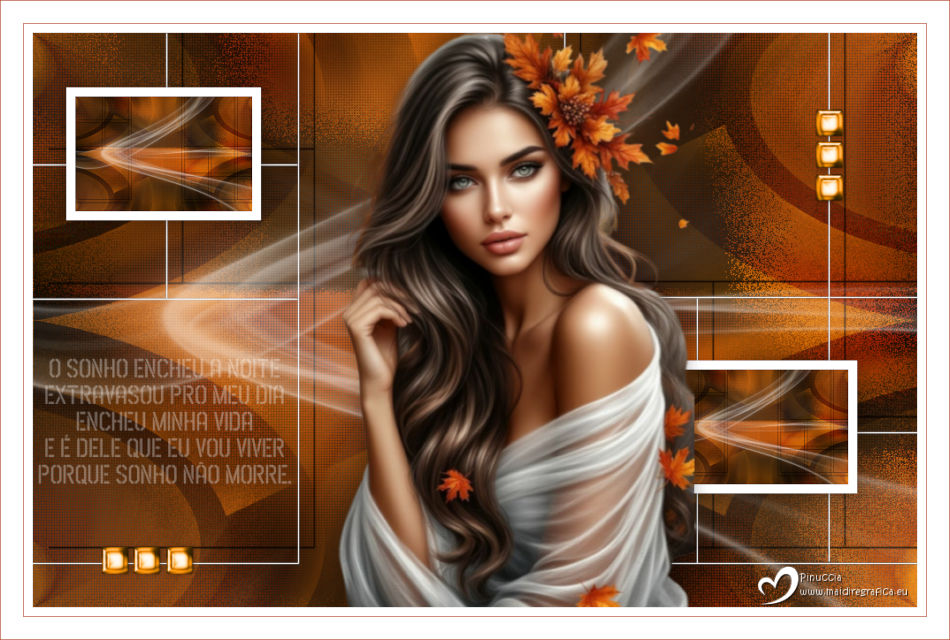
Image from Internet

If you have problems or doubts, or you find a not worked link,
or only for tell me that you enjoyed this tutorial, write to me.
25 January 2026

|

