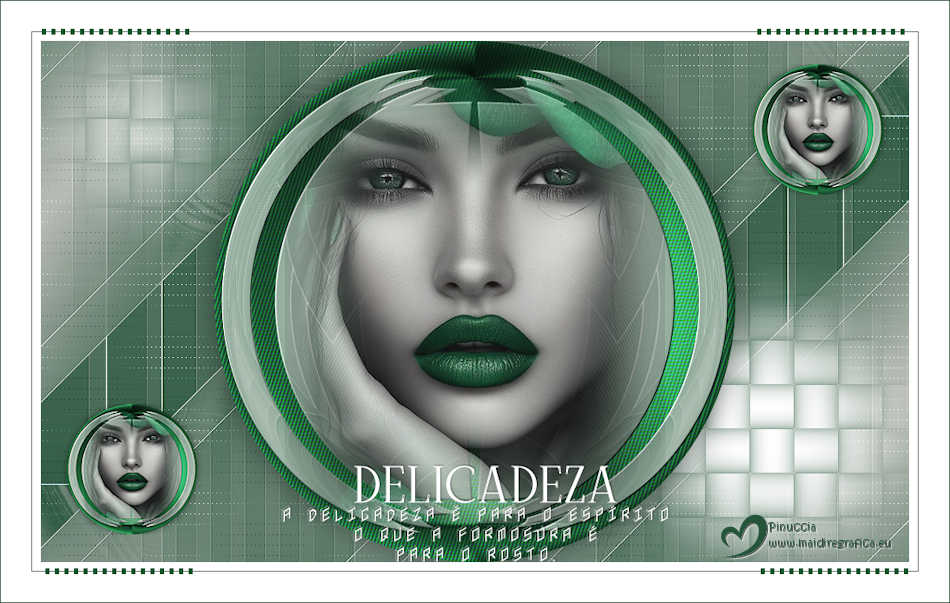
|
DELICADEZA


Thanks Estela for your invitation to translate your tutorials into english

This tutorial, created with PSP2022, was translated with PspX7, but it can also be made using other versions of PSP.
Since version PSP X4, Image>Mirror was replaced with Image>Flip Horizontal,
and Image>Flip with Image>Flip Vertical, there are some variables.
In versions X5 and X6, the functions have been improved by making available the Objects menu.
In the latest version X7 command Image>Mirror and Image>Flip returned, but with new differences.
See my schedule here
 French Translation here French Translation here
 Your versions here Your versions here

For this tutorial, you will need:

Material by EF.
(The links of the tubemakers here).

consult, if necessary, my filter section here
Filters Unlimited 2.0 here
Funhouse - Radial ZigZag here
FunhouseOld - Gyro here
Filter Factory Gallery B - Button DeLuxe here
Graphics Plus - Cross Shadow here
Simple - Center Tile here
Simple - Top Bottom Wrap (bonus) here
Penta.com - Jeans here
Flaming Pear - Flexify 2 here
Mura's Seamless - Emboss at Alpha here
L&K's - L&K's - Zitah here
Filters Graphics Plus, Funhouse, Penta.com and Simple can be used alone or imported into Filters Unlimited.
(How do, you see here)
If a plugin supplied appears with this icon  it must necessarily be imported into Unlimited it must necessarily be imported into Unlimited

You can change Blend Modes according to your colors.
In the newest versions of PSP, you don't find the foreground/background gradient (Corel_06_029).
You can use the gradients of the older versions.
The Gradient of CorelX here

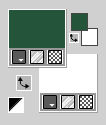
Set your foreground color to #24543a,
and your background color to #c5c6c1.
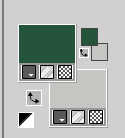
Set your foreground color to a Foreground/Background Gradient, style Sunburst

1. Open a new transparent image 1000 X 600 pixels.
Flood fill  the transparent image with your Gradient. the transparent image with your Gradient.
2. Activate your Selection Tool 
(no matter the type of selection, because with the custom selection your always get a rectangle)
clic on the Custom Selection 
and set the following settings.
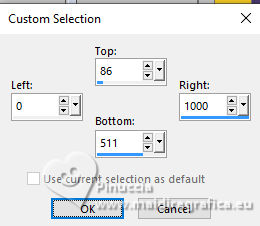
Selections>Promote Selection to Layer.
3. Effects>Distortion Effects>Pixelate.
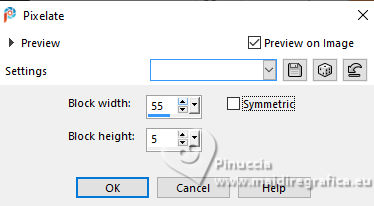
Selections>Select None.
Effects>Edge Effects>Enhance More.
4. Activate your bottom layer, Raster 1.
Effects>Plugins>Filters Unlimited 2.0 - Funhouse - Radial ZigZag
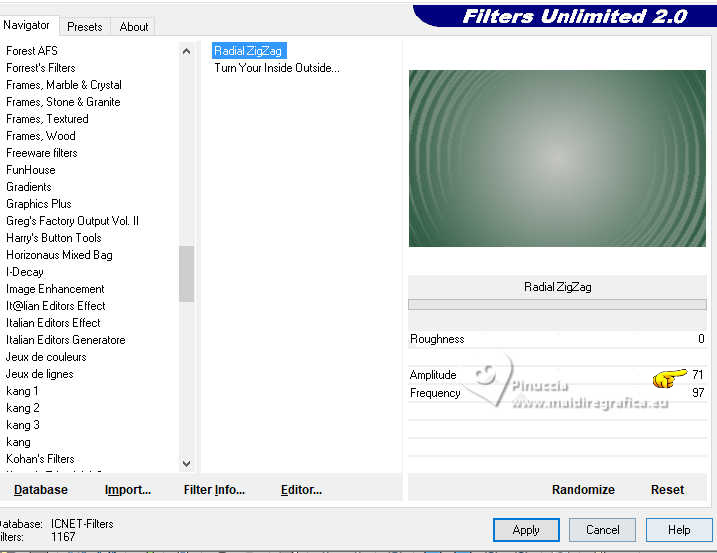
Attention please: if Unlimited refuses to import the effect into the Funhouse filter list,
check if it's in the Distort filter list.
For more information on this peculiarity of the Radial ZigZag effect,
see here under Funhouse
and here under Distort
5. Effects>Plugins>Filters Unlimited 2.0 - Funhouse - Gyro, default settings
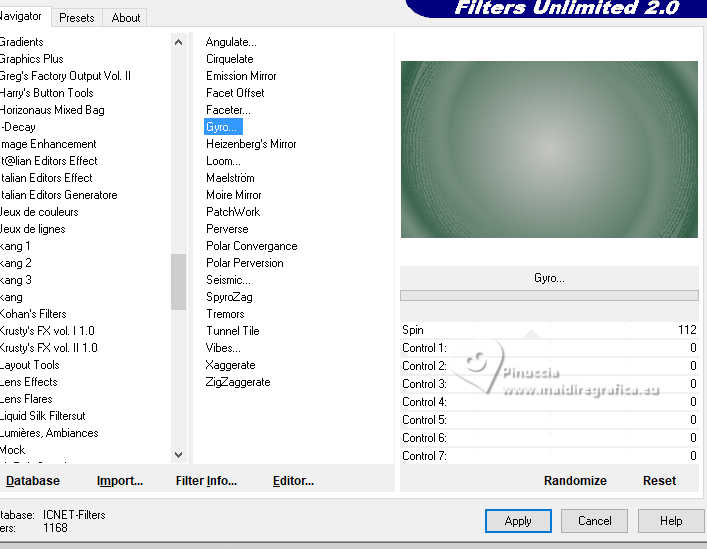
This effect is found in an older version of Funhouse;
the link is before the tutorial.
6. Activate your top layer.
Layers>Merge>Merge Down.
7. Layers>Duplicate.
Image>Resize, to 85%, resize all layers not checked.
8. Activate your Selection Tool 
and click on Layer opaque
and the layer will be selected
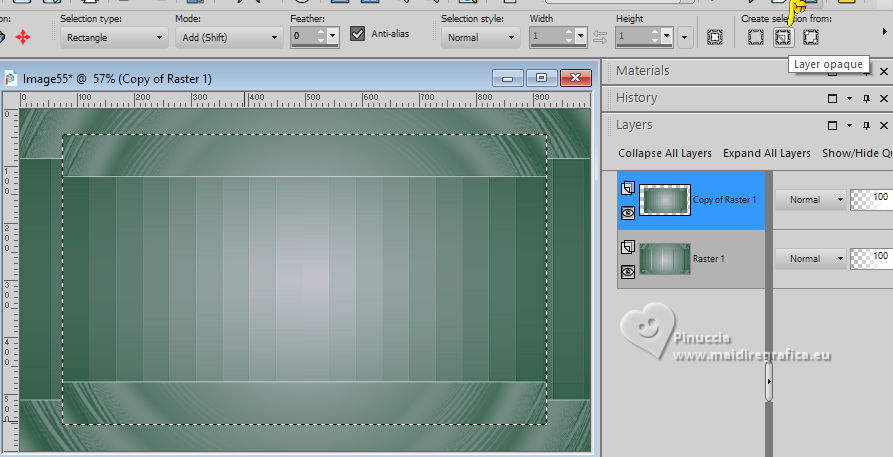
Selections>Modify>Select Selection Borders.
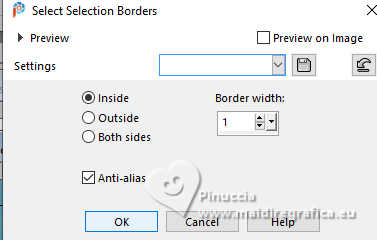
9. Set your foreground color to Color
and change the background color with the color 3 #ffffff.
Flood Fill  the selection with color white. the selection with color white.
Selections>Select None.
10. Layers>Duplicate.
Image>Resize, to 85%, resize all layers not checked.
Adjust>Sharpness>Sharpen More.
11. Layers>Duplicate.
Effects>Image Effects>Seamless Tiling.

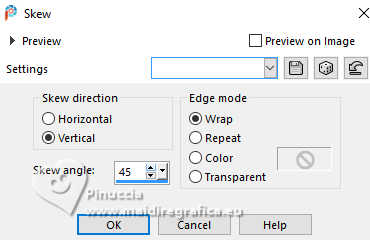
12. Effects>Geometric Effects>Skew.
13. Layers>Merge>Merge visible.
Layers>Duplicate.
Image>Resize, to 85%, resize all layers not checked.
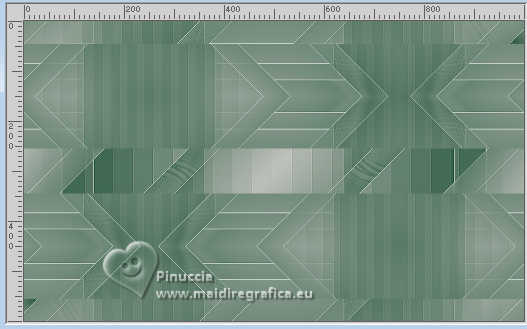
14. Effects>Plugins>Simple - Top Bottom Wrap.
Effects>Plugins>Simple - Centre Tile.
Both these effects work without window; the result at this step
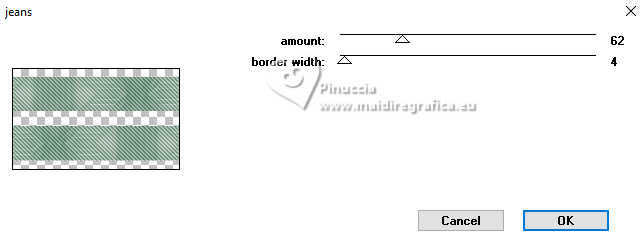
15. Effects>Plugins>Penta.com - Jeans, default settings.
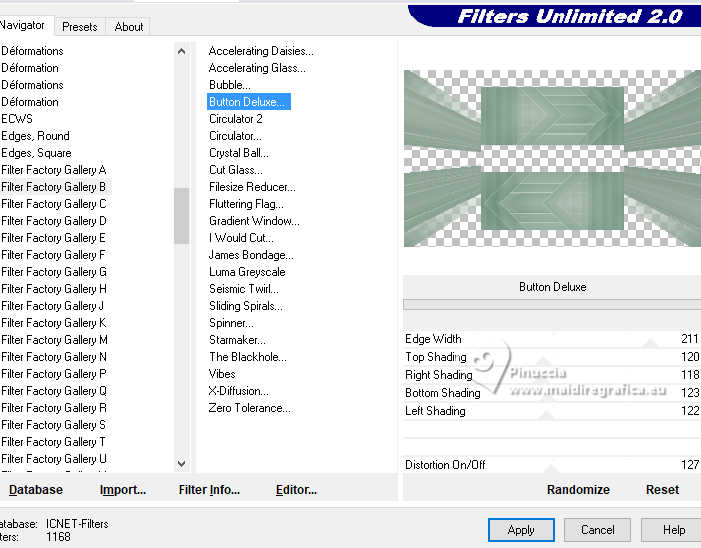
16. Effects>Plugins>Filters Unlimited 2.0 - Filter Factory Gallery B - Button DeLuxe, default settings - 2 fois
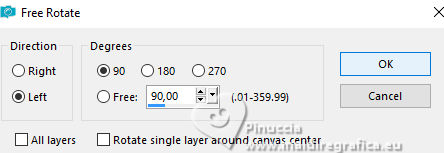
17. Image>Free Rotate - 90 degrees to left
18. Custom Selection 
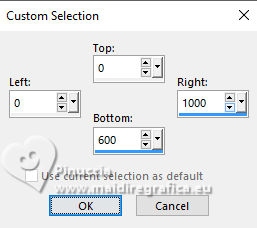
Image>Crop to Selection.
19. Objects>Align>Left.
Layers>Duplicate.
Image>Mirror>Mirror horizontal.
Layers>Merge>Merge Down.
20. Image>Resize, to 85%, resize all layers not checked.
Effects>Plugins>Flaming Pear - Flexify 2.
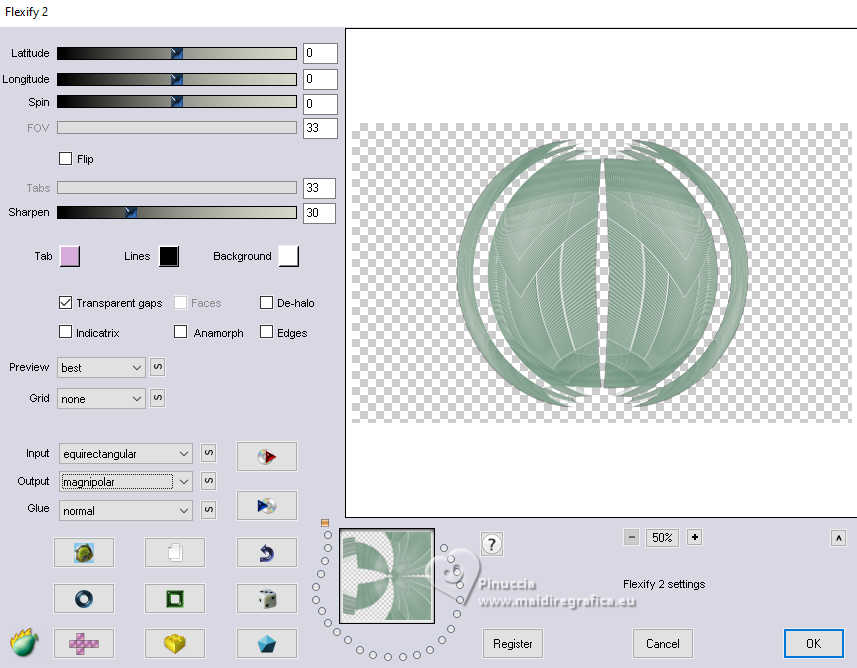
Can't find Magnipolar?
Go to the first preset in the list,
click on the letter M three times on the keyboard,
and voila, Magnipolar

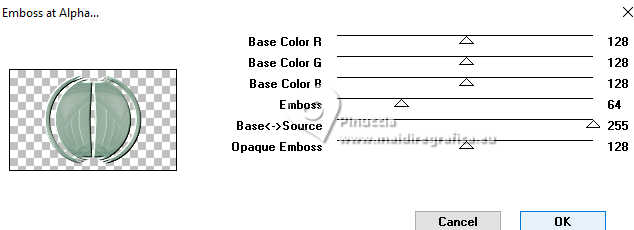
21. Effects>Plugins>Mura's Seamless - Emboss at Alpha, default settings.
22. Open the woman's tube EF-Misted_Personagem 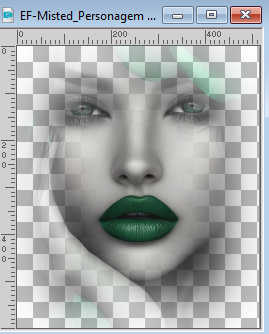
Edit>Copy.
Go back to your work and go to Edit>Paste as new layer.
Image>Resize, to 85%, resize all layers not checked.
Adjust>Sharpness>Sharpen.
23. Layers>Duplicate (in my second version I skipped this step).
Layers>Merge>Merge Down.
24. Activate your bottom layer.
Layers>New Raster Layer.
Flood Fill  the layer with your foreground color. the layer with your foreground color.
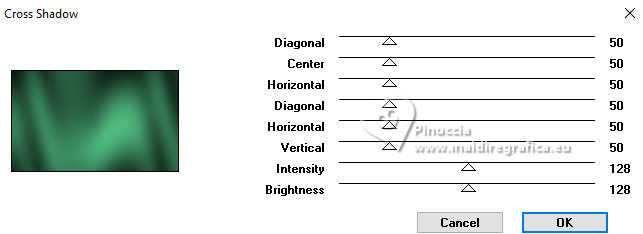
25. Effects>Plugins>Graphics Plus - Cross Shadow, default settings.
26. Effects>Plugins>Flaming Pear - Flexify 2, same settings.

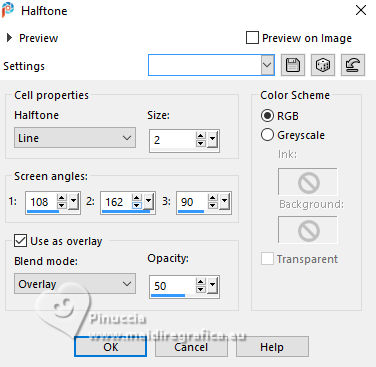
27. Effects>Artistic Effects>Halftone.
28. Activate your bottom layer.
Effects>Plugins>L&K's - L&K's Zitah
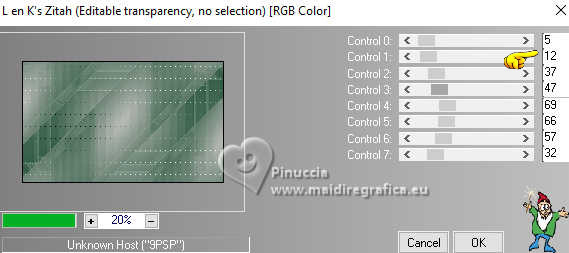
Stay on this layer.
29. Open EF-Delicadeza_Deco_1 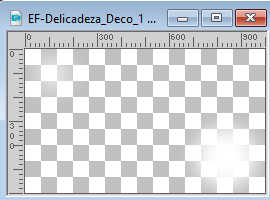
Edit>Copy.
Go back to your work and go to Edit>Paste as new layer.
30. Effects>Texture Effects>Weave
weave color: foreground color
gap color: background color white
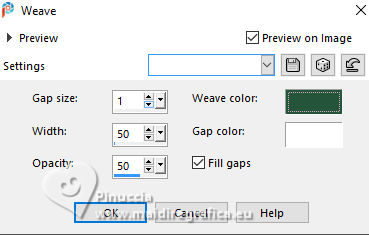
31. Activate your top layer.
Open EF-Delicadeza_Deco_2 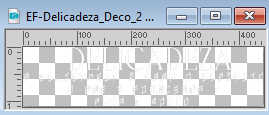
Edit>Copy.
Go back to your work and go to Edit>Paste as new layer.
Objects>Align>Bottom
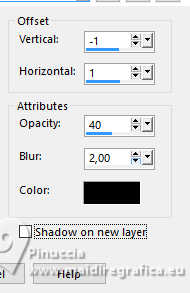
32. Effects>3D Effects>Drop Shadow.
33. Activate the layer Raster 1.
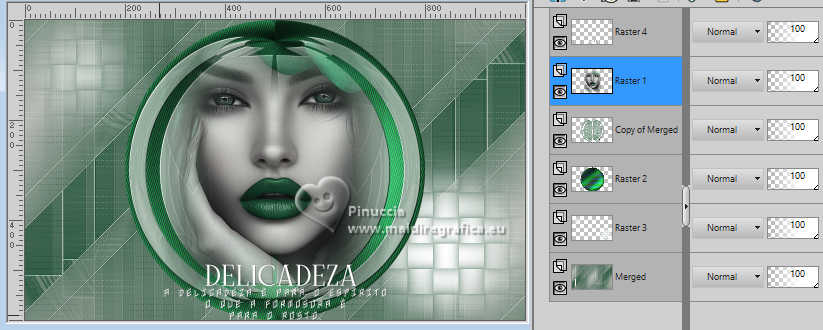
Layers>Merge>Merge Down - 2 times.
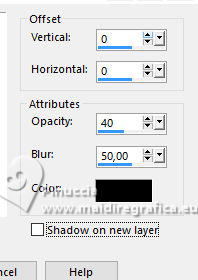
34. Effects>3D Effects>Drop Shadow, color #000000.
35. Layers>Duplicate.
Image>Resize, to 25%, resize all layers not checked.
36. K key to activate your Pick Tool 
Position X: 22,00 - Position Y: 418,00.

Adjust>Sharpness>Sharpen More.
37. Layers>Duplicate.
Position X: 812,00 - Position Y: 27,00.

M key to deselect the tool.
38. Image>Add borders, 10 pixels, symmetric, color 3 #ffffff.
Image>Add borders, 1 pixel, symmetric, foreground color #24543a.
Image>Add borders, 35 pixels, symmetric, color 3 #ffffff.
39. Open EF-Delicadeza_Deco_3 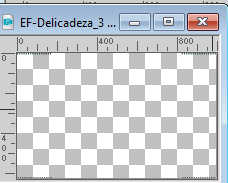
Edit>Copy.
Go back to your work and go to Edit>Paste as new layer.
40. Image>Add Borders, 1 pixel, symmetric, foreground color #24543a.
41. Sign your work.
Image>Resize, 850 pixels width, resize all layers checked.
Save as jpg.
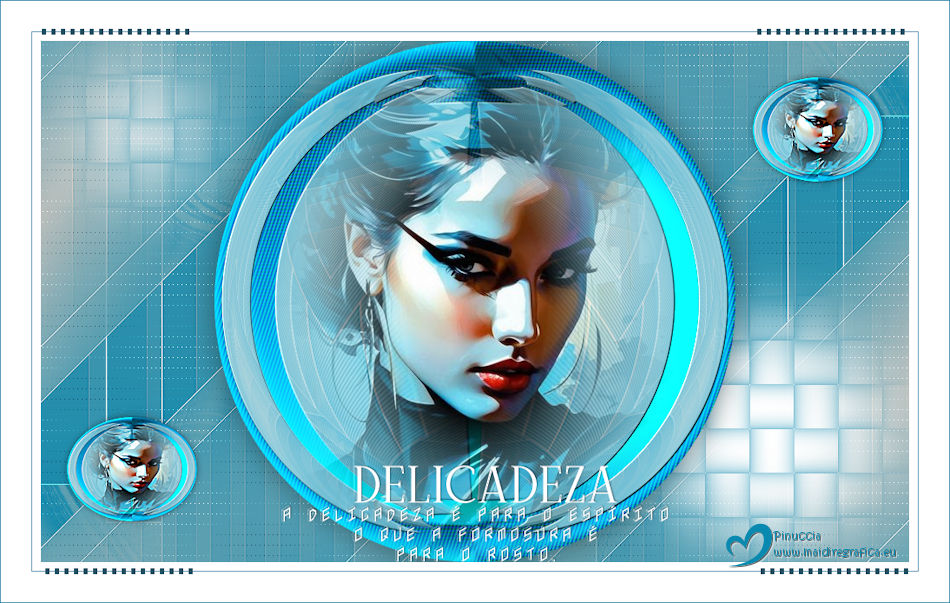
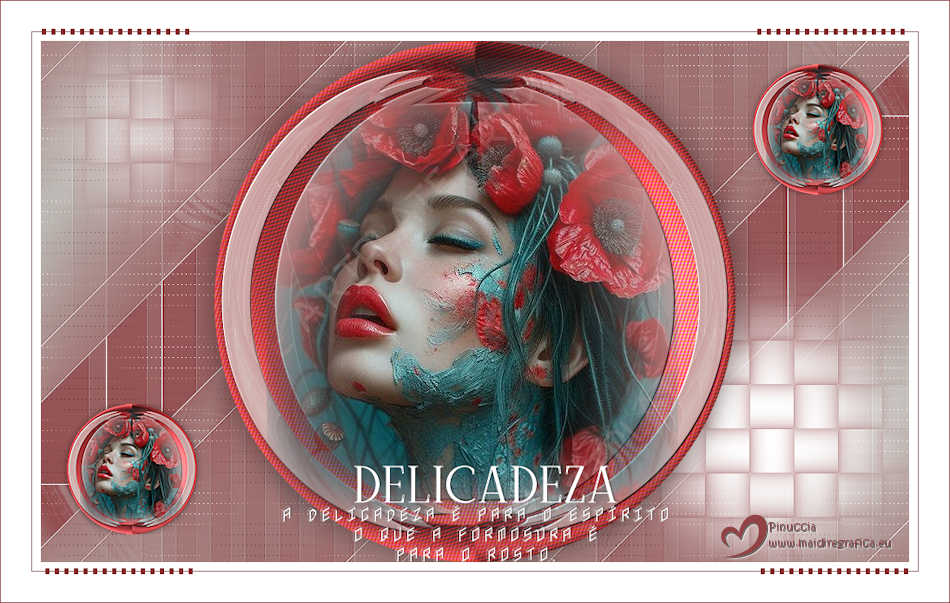
Versions with images by Pinterest

If you have problems or doubts, or you find a not worked link,
or only for tell me that you enjoyed this tutorial, write to me.
17 September 2025

|

