|
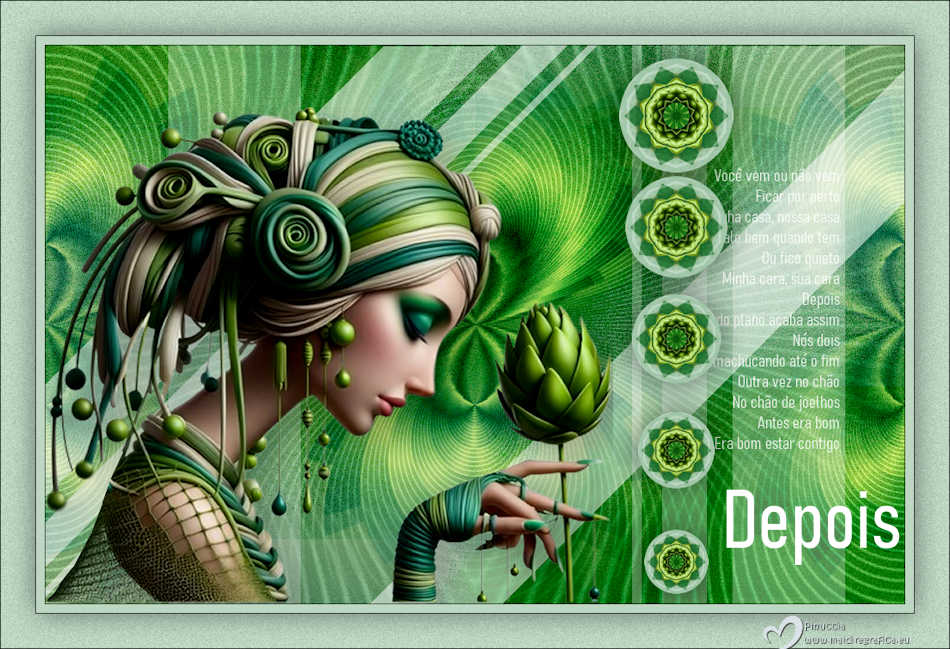
DEPOIS
 AFTER AFTER

Thanks Estela for your invitation to translate your tutorials into english

This tutorial, created with PSP2022, was translated with PspX7, but it can also be made using other versions of PSP.
Since version PSP X4, Image>Mirror was replaced with Image>Flip Horizontal,
and Image>Flip with Image>Flip Vertical, there are some variables.
In versions X5 and X6, the functions have been improved by making available the Objects menu.
In the latest version X7 command Image>Mirror and Image>Flip returned, but with new differences.
See my schedule here
 French Translation here French Translation here
 Your versions here Your versions here

For this tutorial, you will need:

For the tube thanks Luz Cristina.
The rest of the material is by Estela Fonseca.
(The links of the tubemakers here).
*It is forbidden to remove the watermark from the supplied tubes, distribute or modify them,
in order to respect the work of the authors

consult, if necessary, my filter section here
Filters Unlimited 2.0 here
Filter Factory Gallery B - Button Deluxe here
Filter Factory Gallery C - Emission Mirror, Speed here
Carolaine and Sensibility - CS-Texture here
Flaming Pear - Flexify 2 here
Simple - Left Right Wrap here
AAA Frames - Foto Frame here
Alien Skin Eye Candy 5 Impact here
Mura's Meister - Copies here
Filters Factory Gallery and Simple can be used alone or imported into Filters Unlimited.
(How do, you see here)
If a plugin supplied appears with this icon  it must necessarily be imported into Unlimited it must necessarily be imported into Unlimited

You can change Blend Modes according to your colors.
In the newest versions of PSP, you don't find the foreground/background gradient (Corel_06_029).
You can use the gradients of the older versions.
The Gradient of CorelX here

Copy the Selections in the Selections Folder.
Copy the mask 2020 in the Masks Folder.
1. Set your foreground color to the light color #c6dc8e,
and your background color to the dark color #005e46.
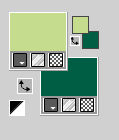
Set your foreground color to a Foreground/Background Gradient, style Linear.
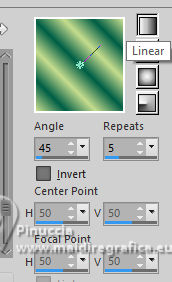
2. Open a new transparent image 1000 x 650 pixels.
Flood Fill  the transparent image with your Gradient. the transparent image with your Gradient.
3. Effects>Plugins>Filter Factory Gallery B - Button Deluxe, default settings.
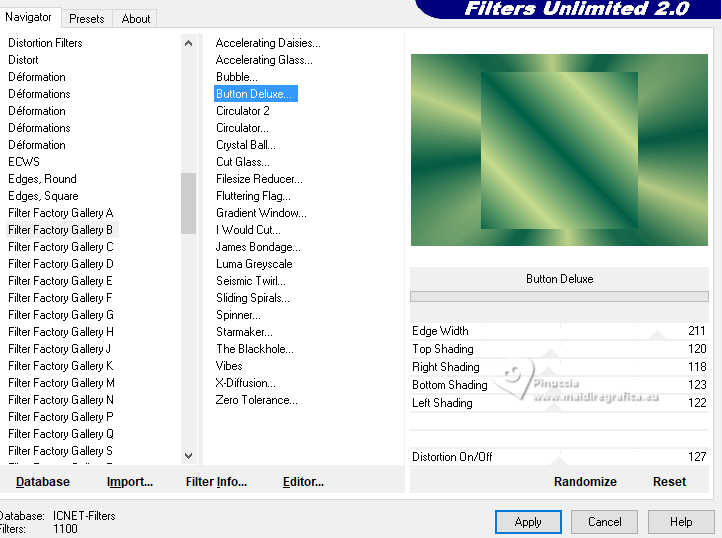
4. Effects>Plugins>Filter Factory Gallery C - Emission Mirror, default settings.
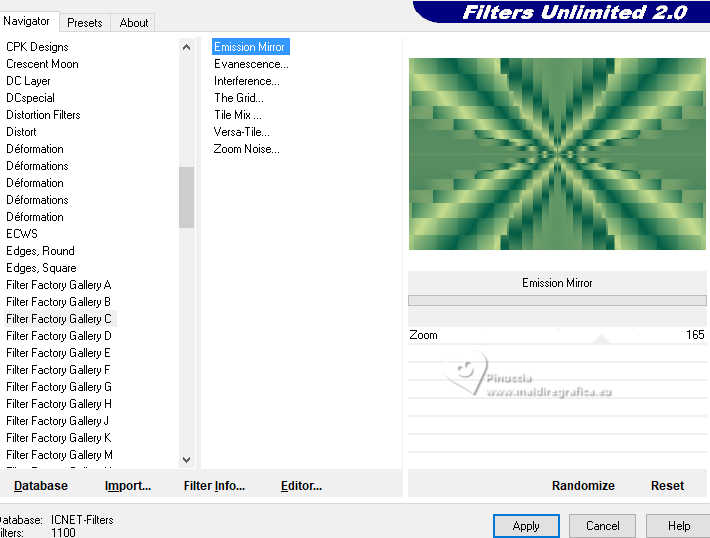
5. Effects>Plugins>Carolaine and Sensibility - CS-Texture, default settings.
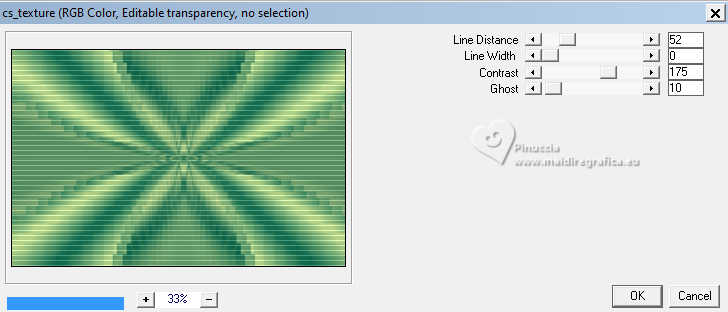
6. Effects>Plugins>Flaming Pear - Flexify 2.
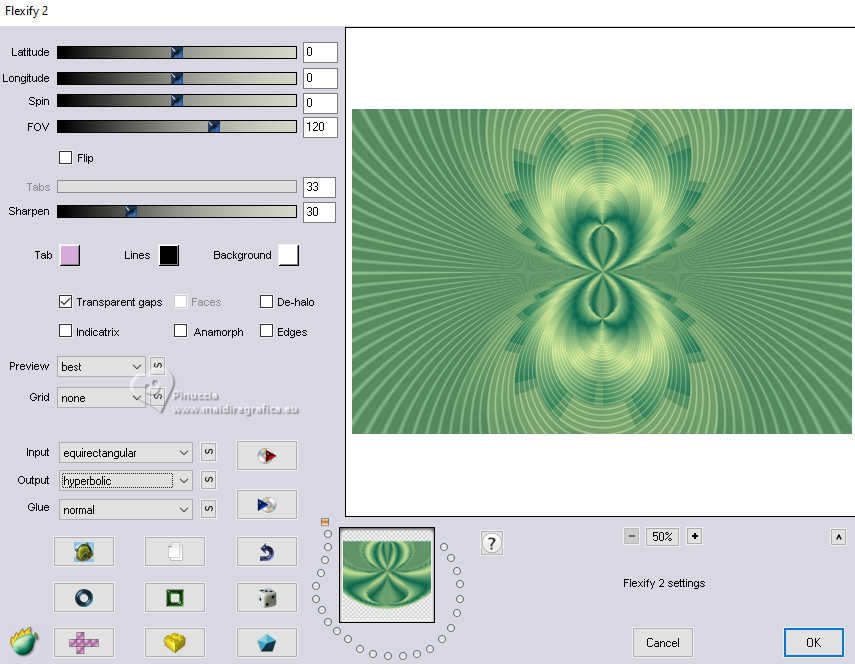
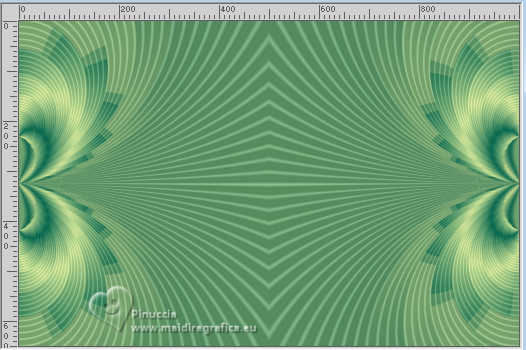
7. Layers>Duplicate.
Effects>Plugins>Simple - Left Right Wrap
This Effect works without window; result
8. Layers>Load/Save Mask>Load Mask from Disk.
Look for and load the mask 2020.
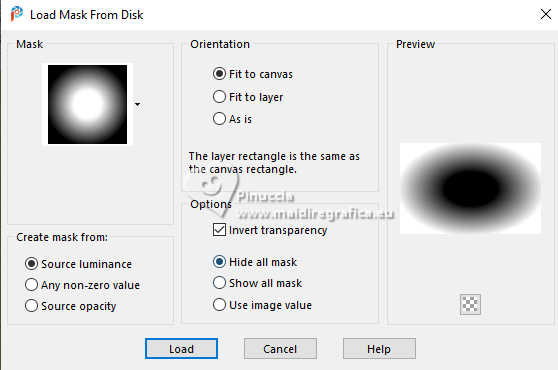
Layers>Duplicate.
Layers>Merge>Merge Group.
9. Adjust>Add/Remove Noise>Add Noise.

10. Layers>Merge>Merge visible.
11. Selection Tool 
(no matter the type of selection, because with the custom selection your always get a rectangle)
clic on the Custom Selection 
and set the following settings.
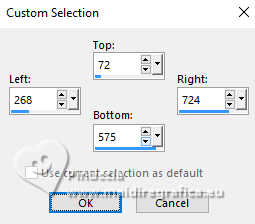
Selections>Promote Selection to Layer.
Keep selected.
12. Effects>Plugins>AAA Frames - Foto Frame.

Selections>Select None.
13. Effects>Image Effects>Seamless Tiling, default settings.

14. Effects>Geometric Effects>Skew.
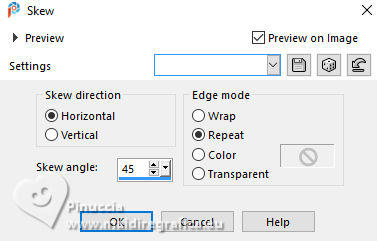
15. Effects>Plugins>Filter Factory Gallery C - Speed
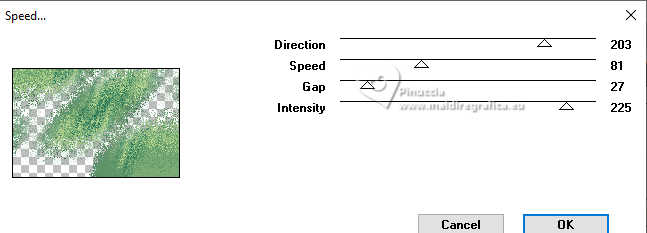
Change the Blend Mode of this layer to Burn and reduce the opacity to 73%.
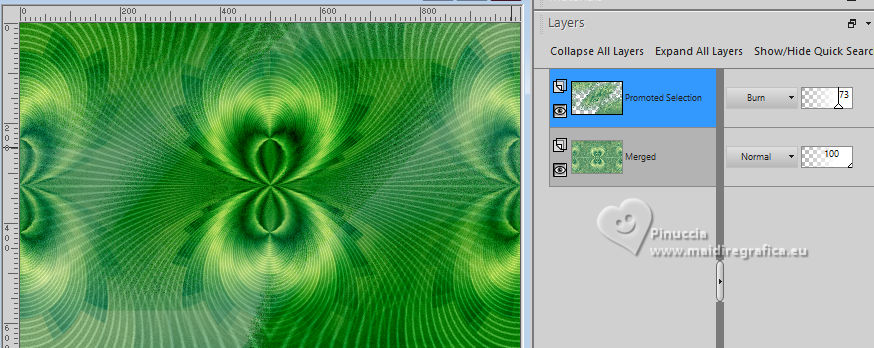
16. Set your foreground color to the color white #ffffff.
Layers>New Raster Layer.
Selections>Load/Save Selection>Load Selection from Disk.
Look for and load the selection Depois_1_Sel
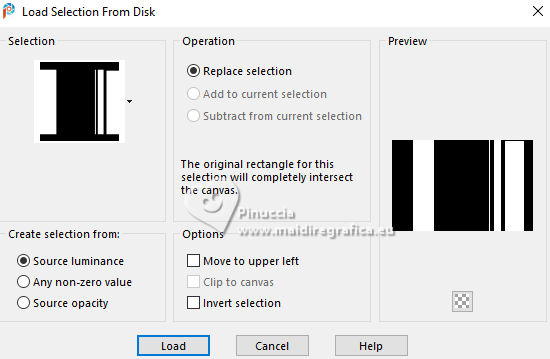
Reduce the opacity of your Flood Fill Tool to 32
Flood Fill  the selection with color white. the selection with color white.
Selections>Select None.
Set again the opacity of your Flood Fill Tool to 100.
17. Layers>Duplicate.
Image>Mirror>Mirror Horizontal (Image>Mirror).
18. Effects>Geometric Effects>Skew, same settings.

Change the Blend Mode of this layer to Screen.
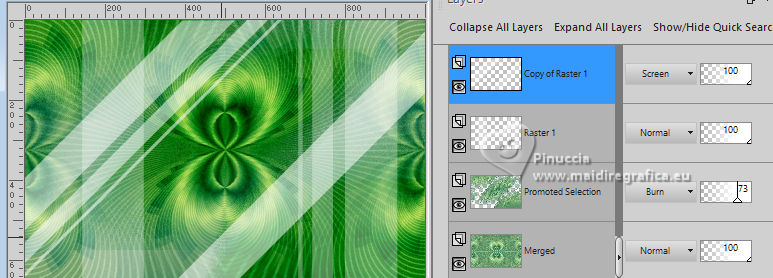
19. Open the tube 8878-LuzCristina 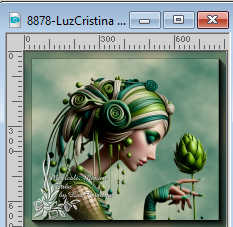
Edit>Copy.
Go back to your work and go to Edit>Paste as new layer.
Objects>Align>Bottom
Objects>Align>Left.
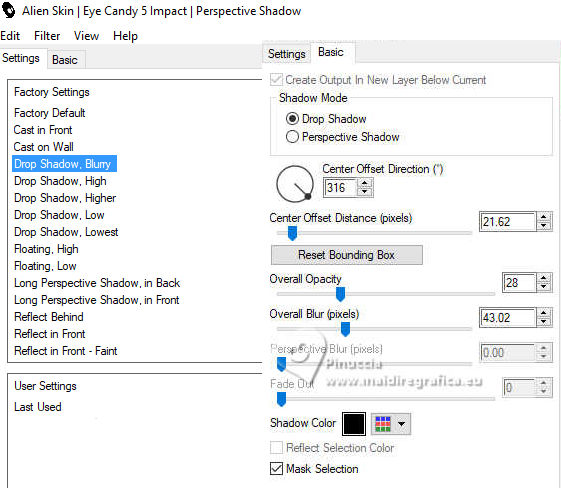
20. Effects>Plugins>Alien Skin Eye Candy 5 Impact - Perspective Shadow.
Preset Drop Shadow,Blurry, with these settings.
21. Open poesia_depois_zé_pi 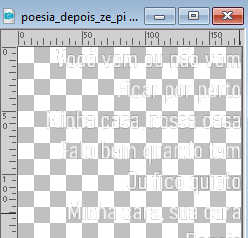
Edit>Copy.
Go back to your work and go to Edit>Paste as new layer.
K key to activate your Pick Tool 
Position X: 749,00 - Position Y: 142,00.

M key to deselect the Tool.
Reduce the opacity of this layer to 85%.
22. Layers>Merge>Merge visible.
23. Window>Duplicate and work on this image.
Effects>Reflection Effects>Kaleidoscope.
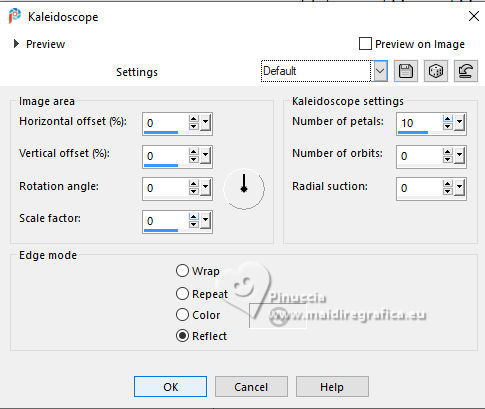
Note: The Deco will not be the same, don't worry, as this is not important.
24. Selections>Load/Save Selection>Load Selection from Disk.
Look for and load the selection Depois_2_Sel
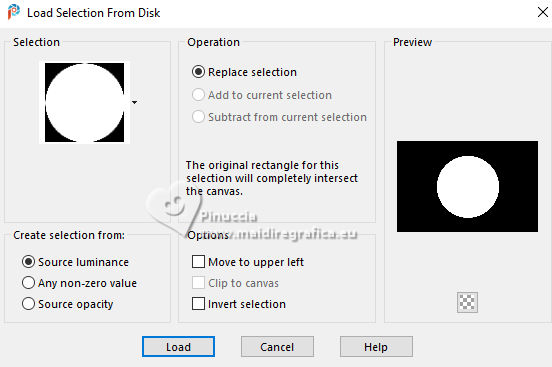
Image>Crop to Selection.
25. Edit>Copy.
Go back to your work and go to Edit>Paste as new layer.
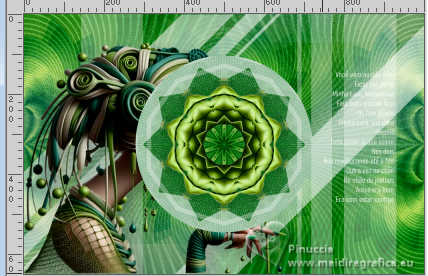
Image>Resize, to 30%, resize all layers not checked.
26. K key to activate your Pick Tool 
Position X: 668,00 - Position Y: 15,00.

M key to deselect the Tool.
27. Effects>Plugins>Mura's Meister - Copies
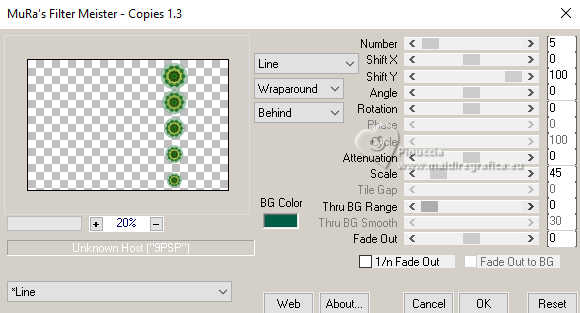
28. Effects>3D Effects>Drop Shadow, color #000000.

29. Open the tube Texto-titulo 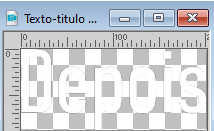
Edit>Copy.
Go back to your work and go to Edit>Paste as new layer.
Move  the text at the bottom right. the text at the bottom right.
30. Image>Add Borders, 1 pixel, symmetric, color #000000.
Image>Add Borders, 10 pixels, symmetric, color #bdd7c2  . .
image>Add Borders, 1 pixel, symmetric, color #000000.
Image>Add Borders, 40 pixels, symmetric, color #bdd7c2  . .
30. Activate your Magic Wand Tool  , Tolerance and Feather 0, , Tolerance and Feather 0,
click on the last border to select it.
Ajust>Add/Remove Noise>Add Noise, same settings.

Selections>Invert.
Effects>3D Effects>Drop Shadow, same settings.

Selections>Select None.
31. Sign your work.
Image>Add Borders, 1 pixel, symmetric, #000000.
32. Image>Resize, 850 pixels width, resize all layers checked.
Sign your work and save as jpg.
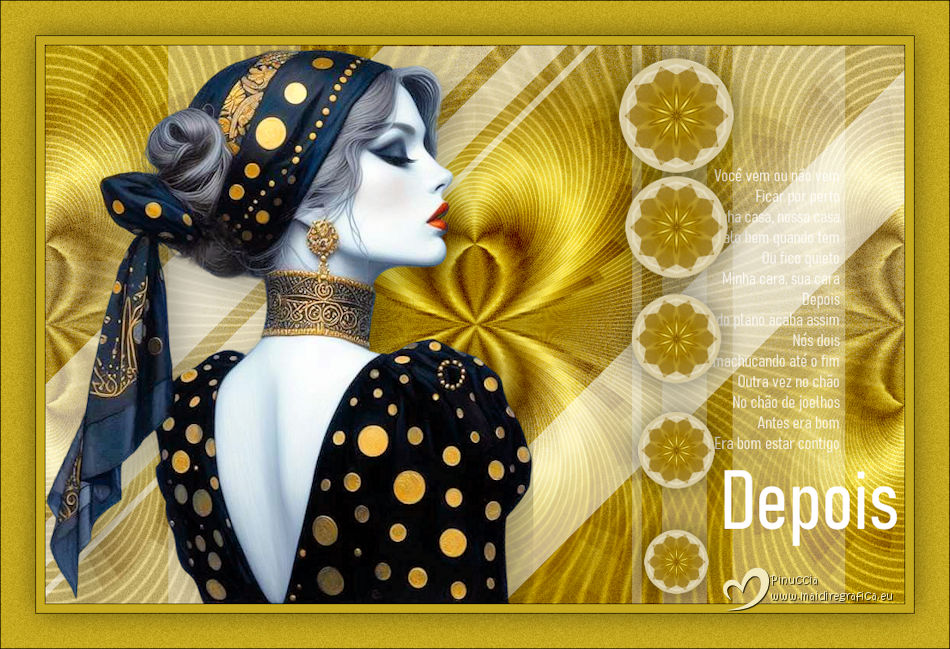
For the tube of this version thanks Renée

If you have problems or doubts, or you find a not worked link,
or only for tell me that you enjoyed this tutorial, write to me.
4 April 2025

|
 AFTER
AFTER

 AFTER
AFTER