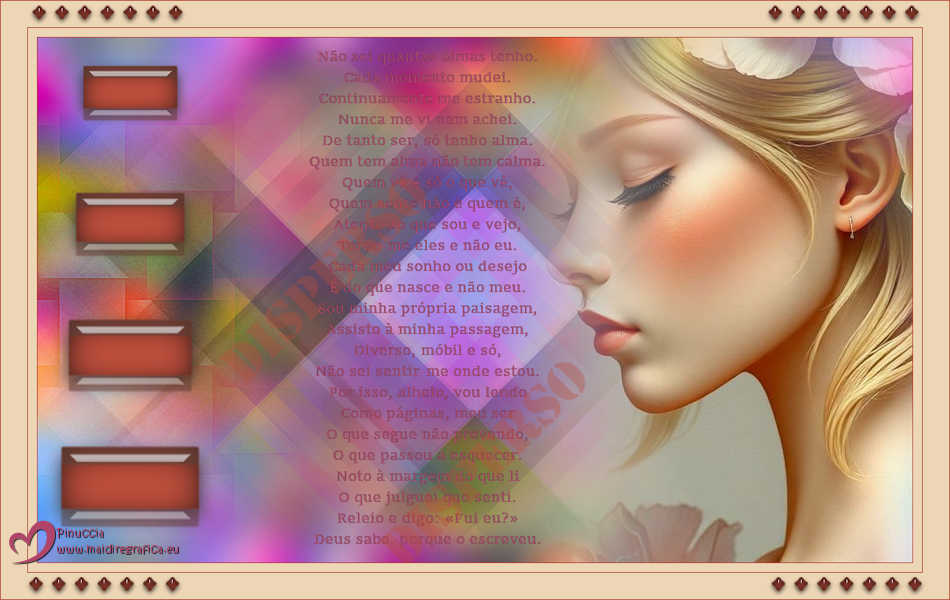
|
DISPERSO


Thanks Estela for your invitation to translate your tutorials into english

This tutorial, created with PSP2022, was translated with PspX7, but it can also be made using other versions of PSP.
Since version PSP X4, Image>Mirror was replaced with Image>Flip Horizontal,
and Image>Flip with Image>Flip Vertical, there are some variables.
In versions X5 and X6, the functions have been improved by making available the Objects menu.
In the latest version X7 command Image>Mirror and Image>Flip returned, but with new differences.
See my schedule here
 French Translation here French Translation here
 Your versions here Your versions here

For this tutorial, you will need:

Misted EF (Image Pinterest)
Poem by Fernando Pessoa
(The links of the tubemakers here).
*It is forbidden to remove the watermark from the supplied tubes, distribute or modify them,
in order to respect the work of the authors

consult, if necessary, my filter section here
Filters Unlimited 2.0 here
Italian Editors Effects - Effetto Fantasma here
Simple - Diamonds here
Simple - Left Right Wrap (Bonus) here
Filters Italian Editors and Simple can be used alone or imported into Filters Unlimited.
(How do, you see here)
If a plugin supplied appears with this icon  it must necessarily be imported into Unlimited it must necessarily be imported into Unlimited

You can change Blend Modes according to your colors.

Copy the mask in the Masks Folder.
1. Open a new transparent image 1000 X 600 pixels.
Selections>Select All.
2. Open the tube Gráfico-1 
Activate the bottom layer and go to Edit>Copy.
Minimize the tube.
Go back to your work and go to Edit>Paste into Selection.
Selections>Select None.
3. Effecs>Image Effects>Seamless Tiling.

Adjust>Blur>Gaussian Blura - radius 20

4. Adjust>Hue and Saturation>Vibrancy.
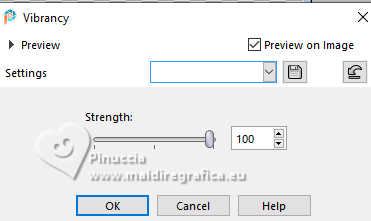
5. Layers>Duplicate.
Effects>Texture Effects>Fur.
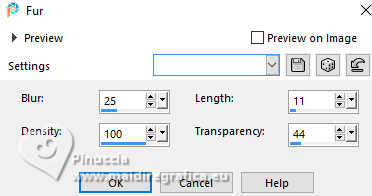
6. Activate your Selection Tool 
(no matter the type of selection, because with the custom selection your always get a rectangle)
clic on the Custom Selection 
and set the following settings.
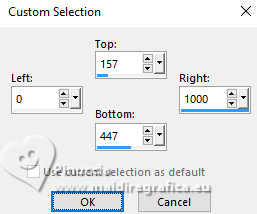
Selections>Invert.
Press CANC on the keyboard 
Selections>Select None.
You don't see anything; it is normal
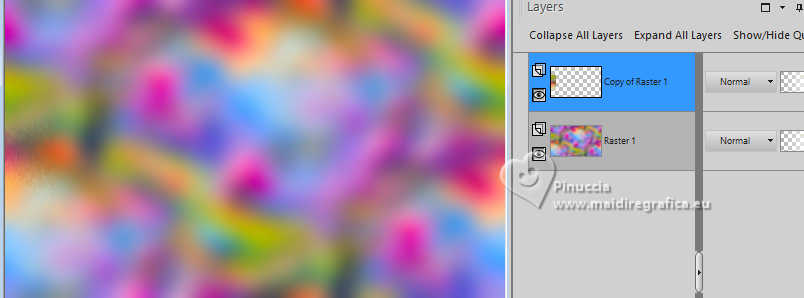
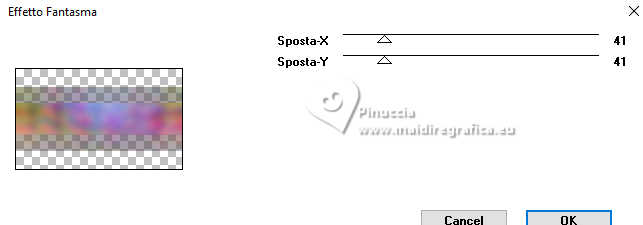
7. Effects>Plugins>Italian Editors Effect - Effetto Fantasma, default settings.
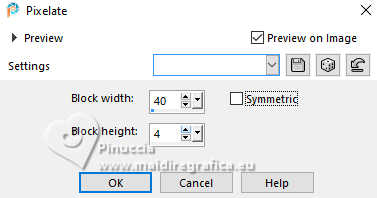
8. Effects>Distortion Effects>Pixelate.
Adjust>Sharpness>Sharpen.
9. Effects>Plugins>Simple - Diamonds
this effect works without window; result

10. Layers>Load/Save Mask>Load Mask from Disk.
Look for and load the mask 20-20
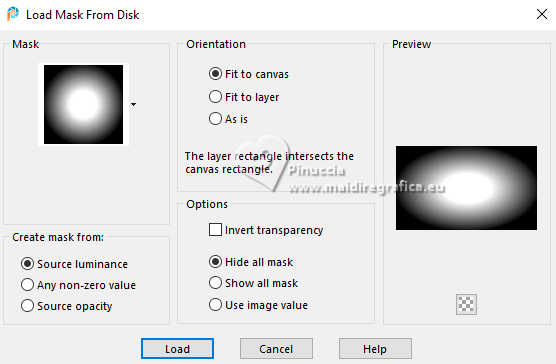
Layers>Merge>Merge Group.
11. Layers>Duplicate.
Image>Mirror>Mirror Horizontal.
Change the Blend Mode of this layer to Hard Light.
Layers>Merge>Merge Down.
12. Layers>Duplicate.
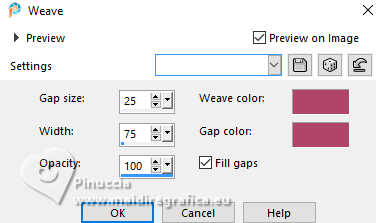
Effects>Texture Effects>Weave
both colors: #b04459.
13. Effects>Plugins>Simple - Left Right Wrap
also this effect works without window: result
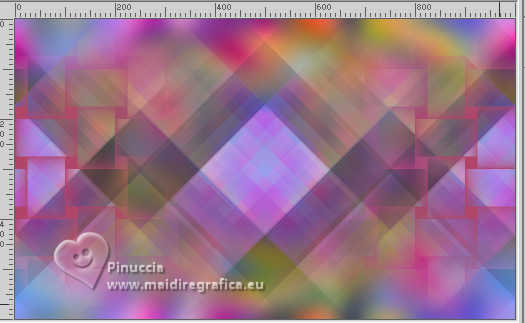
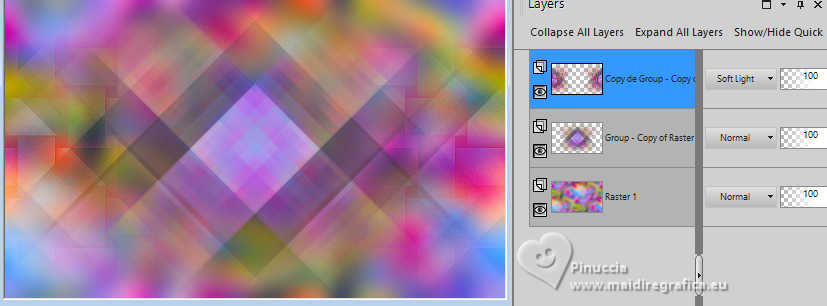
Change the Blend Mode of this layer to Soft Light.
Adjust>Sharpness>Sharpen More.
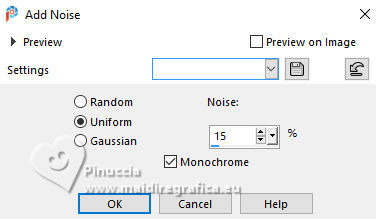
14. Adjust>Add/Remove Noise>Add Noise
15. Open the tube EF-Tube 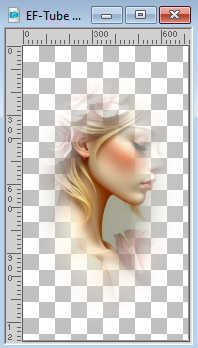
Edit>Copy.
Go back to your work and go to Edit>Paste as new layer.
Image>Mirror>Mirror horizontal.
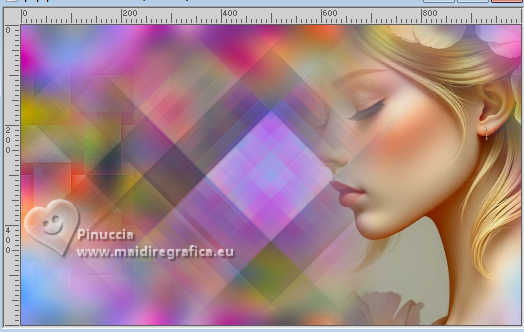
Move  the tube to the right side, see my example. the tube to the right side, see my example.
Layers>Duplicate (optional).
16. Open EF-Disperso_Texto_Poesia 
Edit>Copy.
Go back to your work and go to Edit>Paste as new layer.
17. K key to activate your Pick Tool 
Position X: 311,00 - Position Y: 14,00.

19. Activate your Color Changer Tool 

Set your foreground color to #b04469 
Colorize with the color #b04469, or to your liking.
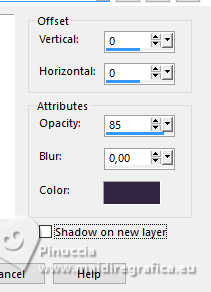
20. Effects>3D Effects>Drop Shadow, color #000000 (optional).
21. Open the tube EF-Disperso_Deco_1 
Edit>Copy.
Go back to your work and go to Edit>Paste as new layer.
Don't move.
22. Open the tube EF-Disperso_Deco_2 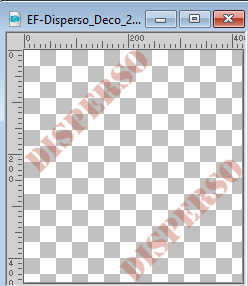
Edit>Copy.
Go back to your work and go to Edit>Paste as new layer.
Pick Tool 
Position X: 207,00 - Position Y: 160,00.

23. Image>Add borders, 1 pixel, symmetric, color #b74c3a.
Image>Add borders, 10 pixels, symmetric, color #edd6b5.
Image>Add borders, 1 pixel, symmetric, color #b74c3a.
Image>Add borders, 30 pixels, symmetric, color #edd6b5.
Image>Add borders, 1 pixel, symmetric, color #b74c3a.
24. Open the tube EF-Disperso_Deco_3 
Edit>Copy.
Go back to your work and go to Edit>Paste as new layer.
25. Layers>Merge>Merge visible.
26. Sign your work.
Image>Resize, 850 pixels width, resize all layers checked.
Save as jpg.
Version with image by Pinterest
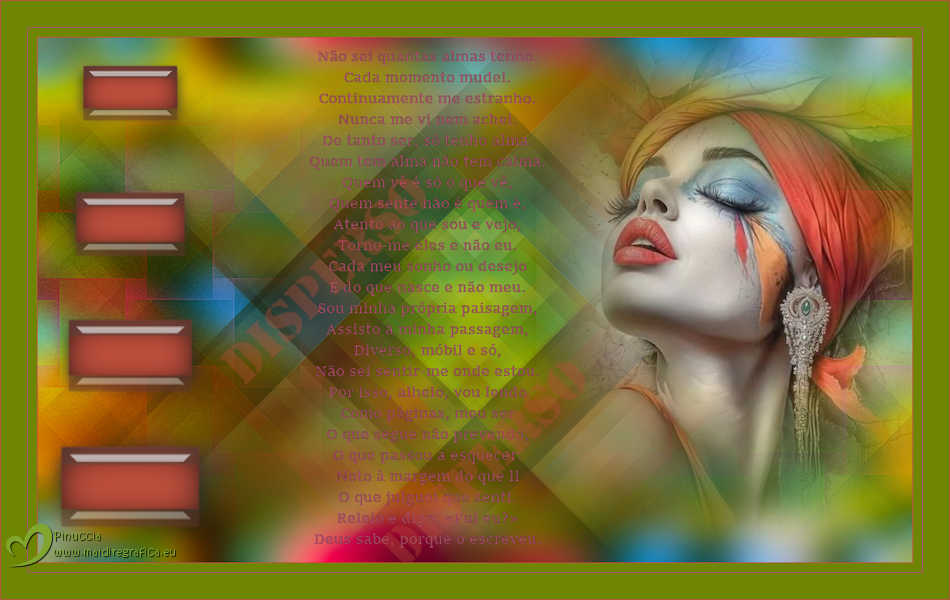

If you have problems or doubts, or you find a not worked link,
or only for tell me that you enjoyed this tutorial, write to me.
24 July 2025

|

