|
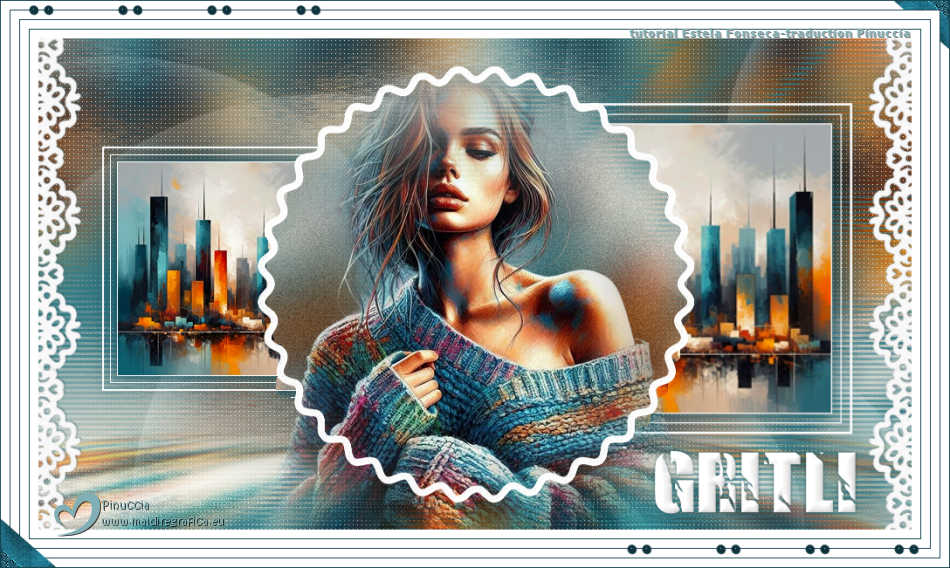
GRITLI
 Gritli german diminutive of the name Margaret Gritli german diminutive of the name Margaret

Thanks Estela for your invitation to translate your tutorials into english

This tutorial, created with PSP2022, was translated with PspX7, but it can also be made using other versions of PSP.
Since version PSP X4, Image>Mirror was replaced with Image>Flip Horizontal,
and Image>Flip with Image>Flip Vertical, there are some variables.
In versions X5 and X6, the functions have been improved by making available the Objects menu.
In the latest version X7 command Image>Mirror and Image>Flip returned, but with new differences.
See my schedule here
 French Translation here French Translation here
 Your versions here Your versions here

For this tutorial, you will need:

Material EF.
(The links of the tubemakers here).

consult, if necessary, my filter section here
Filters Unlimited 2.0 here
Tramages - Wee Scratches here
DSB Flux - Linear Transmission here
Mura's Meister - Copies, Perspective Tiling here

You can change Blend Modes according to your colors.

Copy the preset in the Presets Folder.
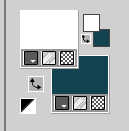
Set your foreground color to #ffffff
and your background color to #144350
1.Open EF-Gritli_Alpha.
Window>Duplicate or, on the keyboard, shift+D to make a copy.

Close the original.
The copy, that will be the basis of your work, is not empty,
but contains the selections saved to alpha channel.
2. Selections>Select All.
Open the image grafico 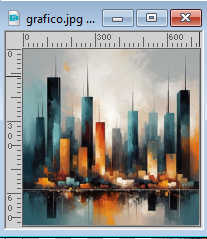
Edit>Copy.
Go back to your work and go to Edit>Paste into Selection.
Selections>Select None.
3. Effects>Image Effects>Seamless Tiling, default settings.

4. Adjust>Blur>Gaussian Blur - radius 25.

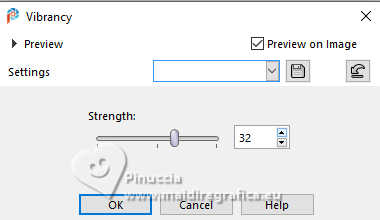
5. Adjust>Hue and Saturation>Vibrancy
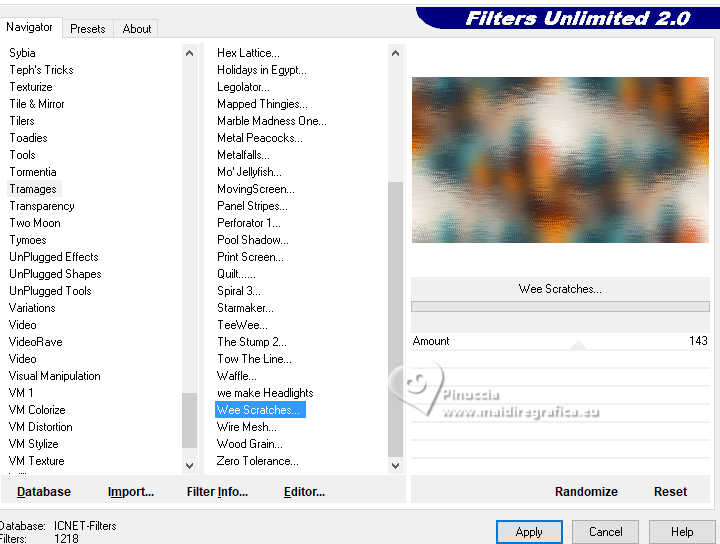
6. Effects>Plugins>Filters Unlimited 2.0 - Tramages - Wee Scratches
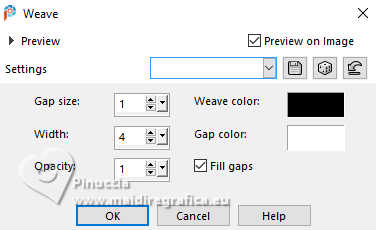
7. Effects>Texture Effects>Weave
weave color: black
gap color: white
8. Open EF-Gritli_Deco_1 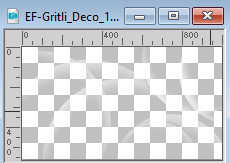
Edit>Copy.
Go back to your work and go to Edit>Paste as new layer.
Change the Blend Mode of this layer to Soft Light.
9. Layers>New Raster Layer.
Activate your Selection Tool 
(no matter the type of selection, because with the custom selection your always get a rectangle)
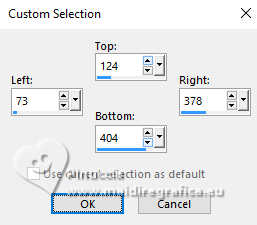
clic on the Custom Selection 
and set the following settings.
Flood Fill  the selection with the color white #ffffff. the selection with the color white #ffffff.
Selections>Modify>Contract - 2 pixels.
Press CANC on the keyboard 
Selections>Modify>Contract - 7 pixels.
Flood Fill  the selection with the color white #ffffff. the selection with the color white #ffffff.
10. Selections>Modify>Contract - 1 pixel.
Press CANC on the keyboard 
Selections>Modify>Contract - 7 pixels.
Flood Fill  the selection with the color white #ffffff. the selection with the color white #ffffff.
Selections>Modify>Contract - 1 pixel.
Press CANC on the keyboard 
11. Keep selected.
Layers>New Raster Layer.
Activate again the image grafico and go to Edit>Copy.
Go back to your work and go to Edit>Paste into Selection.
Adjust>Sharpness>Sharpen.
Selections>Select None.
Layers>Merge>Merge Down.
12. Effects>Plugins>Mura's Meister - Copies.
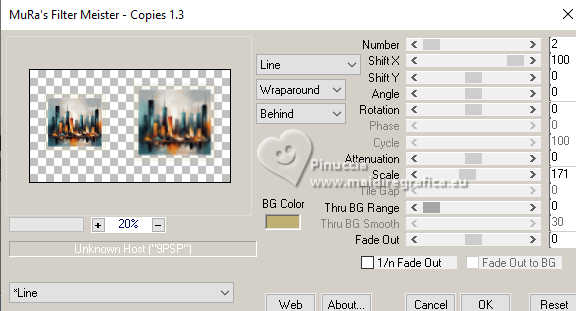
13. Effects>3D Effects>Drop Shadow, color #144350.
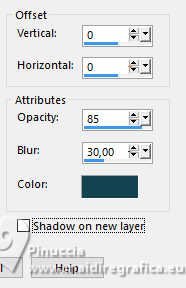
14. Optional: Adjust>Hue and Saturation>Vibrancy

15. Activate your bottom layer.
Layers>Duplicate.
Effects>Plugins>Mura's Meister - Perspective Tiling.
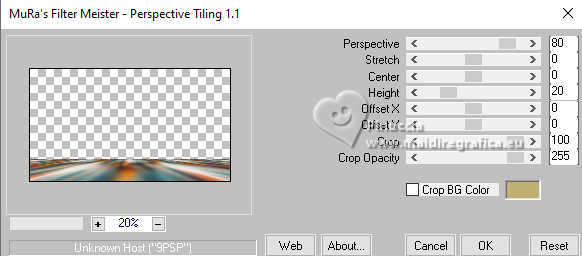
16. Selections>Load/Save Selection>Load Selection from Alpha Channel.
The selection Selection #1 is immediately available. You just have to click Load.
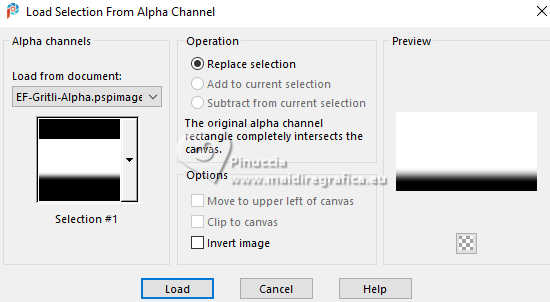
Press 4 times CANC on the keyboard.
Selections>Select None.
Change the Blend Mode of this layer to Hard Light.
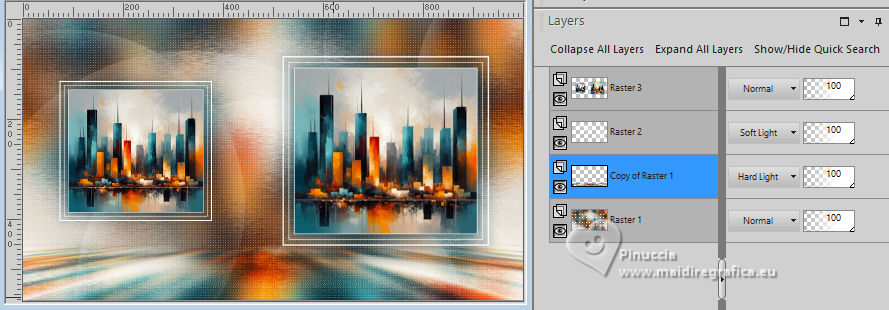
17. Open EF-Gritli>Deco_2 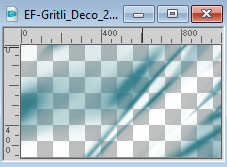
Edit>Copy.
Go back to your work and go to Edit>Paste as new layer.
Don't move it.
18. Effects>Plugins>DSB Flux - Linear Transmission.
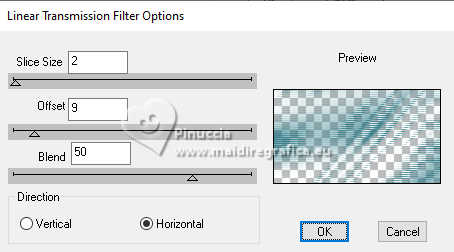
Blend Mode to Normal (or other according to your colors) opacity 100.
for my second version I did Luminance (legacy)
19. Activate your top layer, Raster 3.
Open EF-Gritli>Deco_3 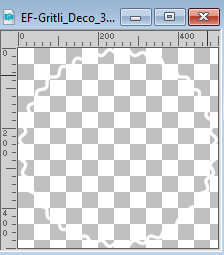
Edit>Copy.
Go back to your work and go to Edit>Paste as new layer.
Don't move it.
20. Effects>User Defined Filter - preset Emboss 3

21. Selections>Load/Save Selection>Load Selection from Alpha Channel.
Open the selections menu and load the selection Selection #2
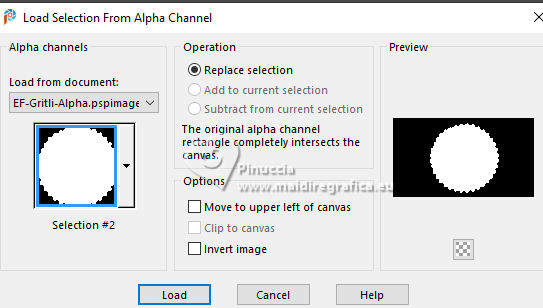
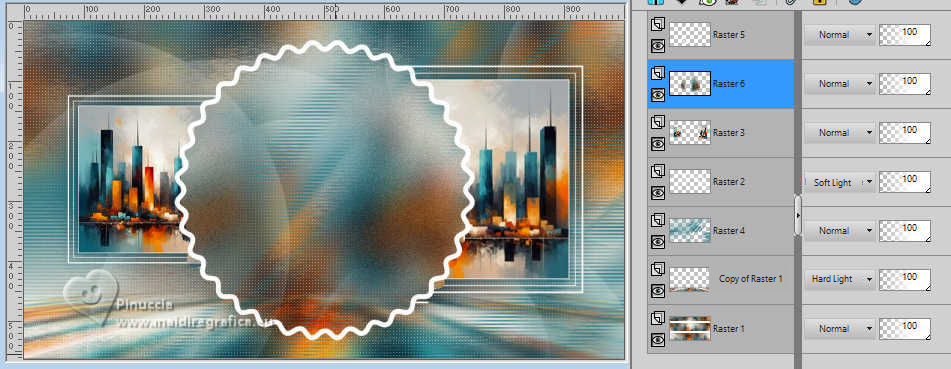
Activate the layer below, Raster 3.
Edit>Cut.
Edit>Paste as new layer.
22. Adjust>Blur>Gaussian Blur - radius 25.

Selections>Select None.
23. Adjust>Add/Remove Noise>Add Noise.
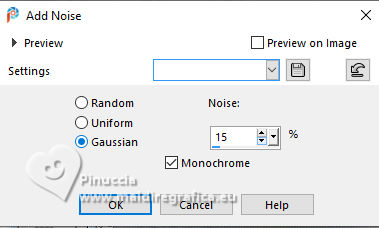
24. Open the woman's tube EF-Misted 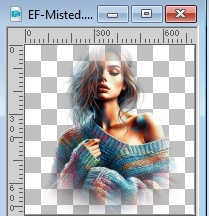
Edit>Copy.
Go back to your work and go to Edit>Paste as new layer.
Image>Resize, to 80%, resize all layers not checked.
Adjust>Sharpness>Sharpen.
25. K key to activate your Pick Tool 
Position X: 253,00 - Position Y: 32,00.

M key to deselect the Tool.
26. Open EF-Gritli>Deco_4 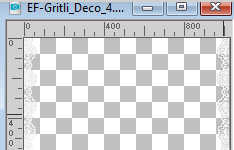
Edit>Copy.
Go back to your work and go to Edit>Paste as new layer.
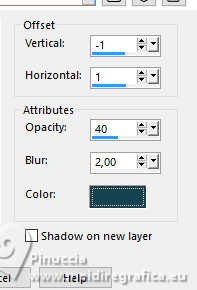
27. Effects>3D Effects>Drop Shadow, color #144350.
28. Open EF-Gritli>Deco_5 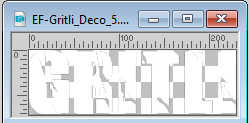
Edit>Copy.
Go back to your work and go to Edit>Paste as new layer.
Move  the tube to the right, or to your liking. the tube to the right, or to your liking.
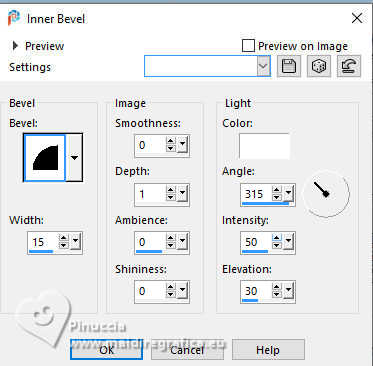
29. Effects>3D Effects>Inner Bevel.
30. Effects>3D Effects>Drop Shadow, color #144350.
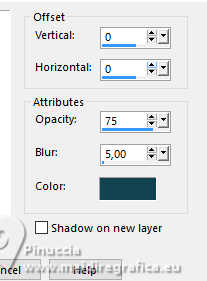
31. Image>Add Borders, 10 pixels, symmetric, color #ffffff.
Image>Add Borders, 1 pixel, symmetric, color #144350.
Image>Add Borders, 10 pixels, symmetric, color #ffffff.
Image>Add Borders, 1 pixel, symmetric, color #144350.
Image>Add Borders, 10 pixels, symmetric, color #ffffff.
Image>Add Borders, 1 pixel, symmetric, color #144350.
Image>Add Borders, 30 pixels, symmetric, color #ffffff.
32. Open EF-Gritli>Deco_6 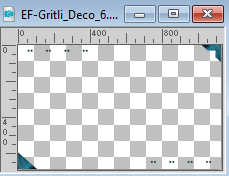
Edit>Copy.
Go back to your work and go to Edit>Paste as new layer.
33. Image>Add Borders, 1 pixel, symmetric, color #144350.
34. Image>Resize, 850 pixels width, resize all layers checked.
Save as jpg.
Version with mon tube from Pinterest image
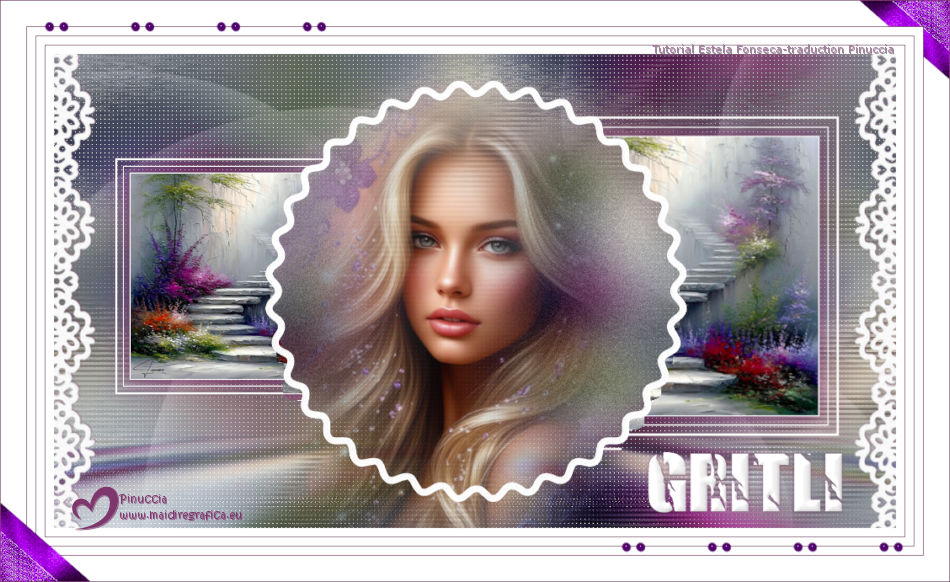

If you have problems or doubts, or you find a not worked link,
or only for tell me that you enjoyed this tutorial, write to me.
19 December 2025

|
 Gritli german diminutive of the name Margaret

 Gritli german diminutive of the name Margaret