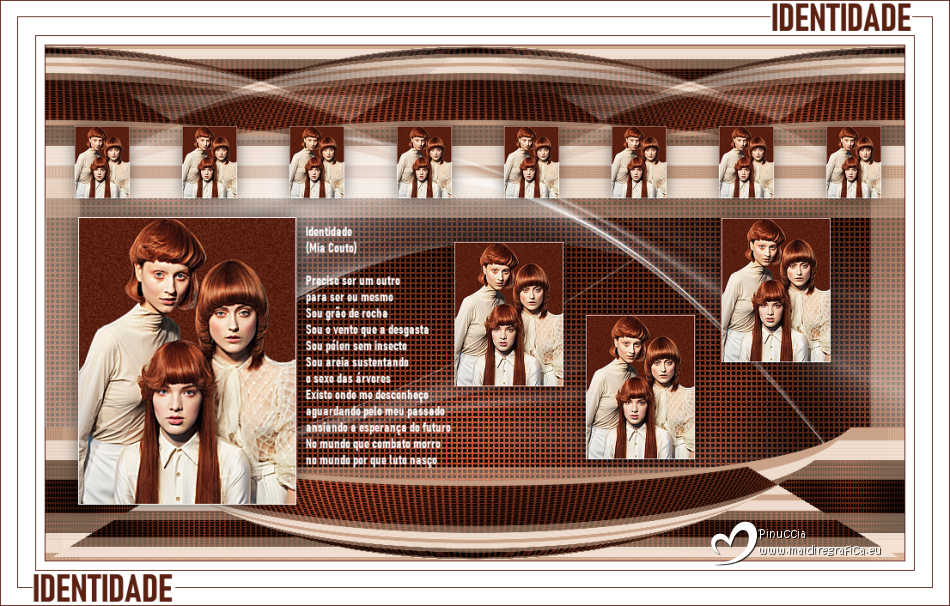
|
IDENTIDADE


Thanks Estela for your invitation to translate your tutorials into english

This tutorial, created with PSP2022, was translated with PspX7, but it can also be made using other versions of PSP.
Since version PSP X4, Image>Mirror was replaced with Image>Flip Horizontal,
and Image>Flip with Image>Flip Vertical, there are some variables.
In versions X5 and X6, the functions have been improved by making available the Objects menu.
In the latest version X7 command Image>Mirror and Image>Flip returned, but with new differences.
See my schedule here
 French Translation here French Translation here
 Your versions here Your versions here

For this tutorial, you will need:

Image Pinterest.
Mask and Material EF.
(The links of the tubemakers here).

consult, if necessary, my filter section here
Filters Unlimited 2.0 here
&<Bkg Designer sf10I> - (to import in Unlimited) here
Graphics Plus - Cross Shadow here
Toadies - What are you here
Mura's Meister - Copies here
Filters Graphics Plus and Toadies can be used alone or imported into Filters Unlimited.
(How do, you see here)
If a plugin supplied appears with this icon  it must necessarily be imported into Unlimited it must necessarily be imported into Unlimited

You can change Blend Modes according to your colors.

Copy the selections in the Selections Folder.
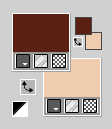
Set your foreground color to #5a2113,
and your background color to #edccad
1. Open a new transparent image 1000 x 600 pixels.
2. Selections>Load/Save Selection>Load Selection from Disk.
Look for and load the selection Identidade_1
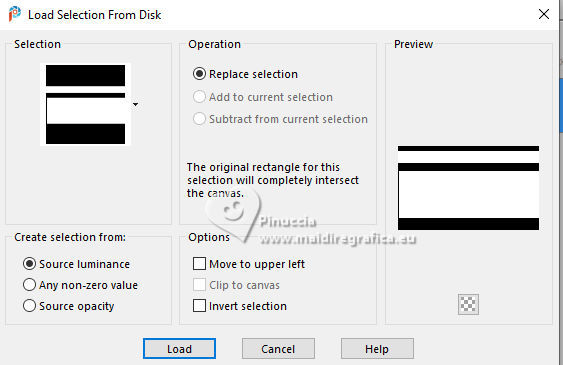
Flood Fill  the selection with your foreground color #5a2113. the selection with your foreground color #5a2113.
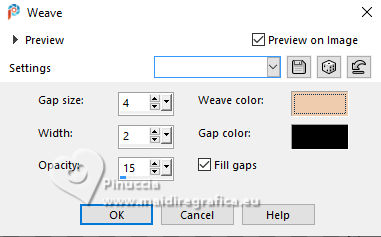
3. Effects>Texture Effects>Weave
weave color: background color
gap color: black
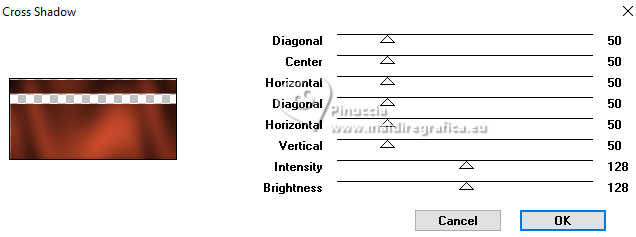
4. Effects>Plugins>Graphics Plus - Cross Shadow, default settings.
5. Selections>Invert.
Layers>New Raster Layer
Flood Fill  the selection with your background color #edccad. the selection with your background color #edccad.
Selections>Select None.
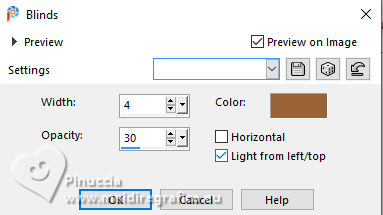
6. Effects>Texture Effects>Blinds, foreground color
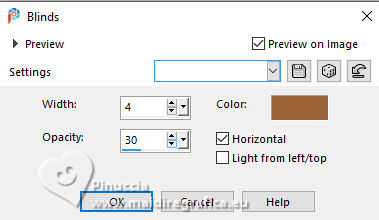
7. Repeat Effects>Texture Effects>Blinds - Horizontal checked.
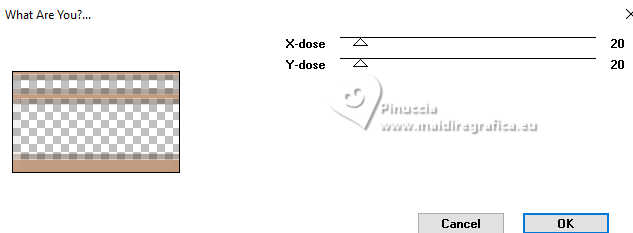
8. Effects>PluginsToadies - What are you
9. Layers>Merge>Merge All.
Layers>Promote Background Layer.
10. Layers>Duplicate.
Image>Mirror>Mirror Horizontal.
Image>Mirror>Mirror Vertical (Image>Flip).
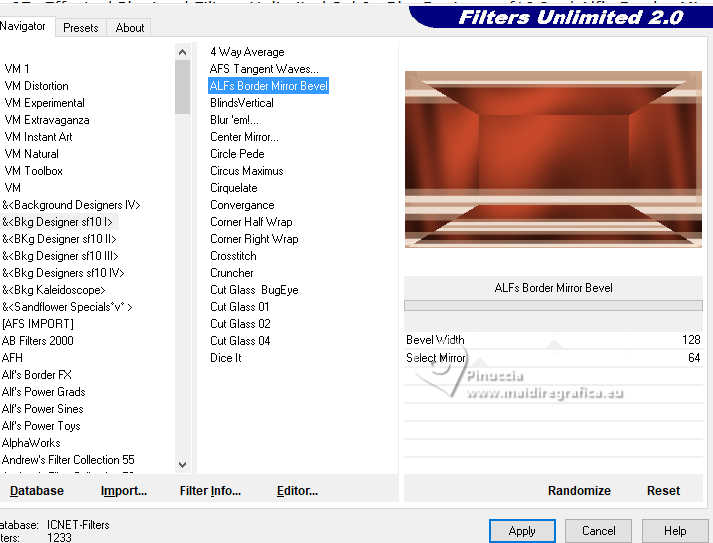
11. Effects>Plugins>Filters Unlimited 2 - &<Bkg Designer sf10 I> - Alf's Border Mirror Bevel, default settings.
12. Activate your Selection Tool 
(no matter the type of selection, because with the custom selection your always get a rectangle)
clic on the Custom Selection 
and set the following settings.
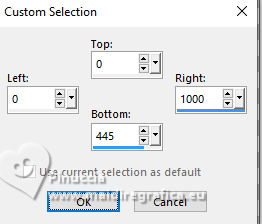
Press CANC on the keyboard 
Selections>Select None.
13. Activate the layer Raster 1.
Effects>Reflection Effects>Rotating Mirror.

14. Activate your top layer.
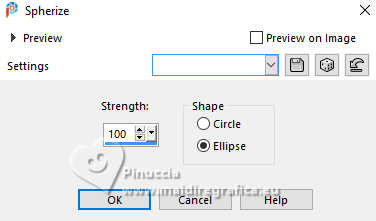
Effects>Geometric Effects>Spherize.
15. Layers>Duplicate
Image>Mirror>Mirror Vertical (Image>Flip).
16. Effects>Image Effects>Seamless Tiling.

17. Activate the layer Raster 1.
Open EF-Identidade_Deco_1 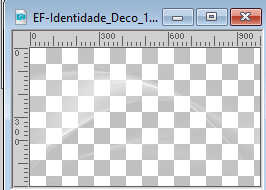
Edit>Copy.
Go back to your work and go to Edit>Paste as new layer.
Don't move it.
18. Activate your top layer.
Layers>New Raster Layer.
Selections>Load/Save Selection>Load Selection from Disk.
Look for and load the selection Identidade_2
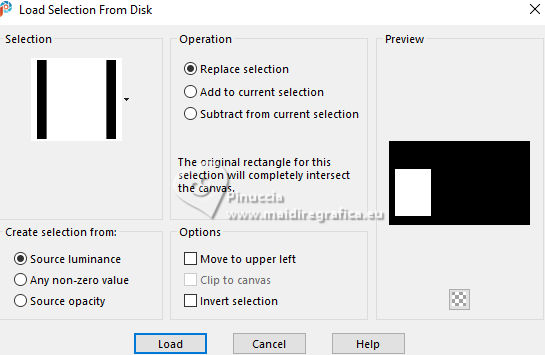
Set your background color to white.
Flood Fill  the selection with color white. the selection with color white.
19. Selections>Modify>Contract - 1 pixel.
Flood Fill  the selection with your foreground color. the selection with your foreground color.
20. Adjust>Add/Remove Noise>Add Noise.
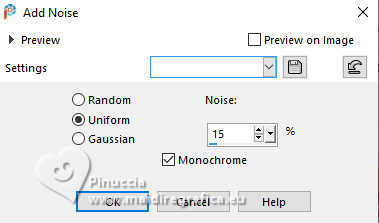
Keep selected.
21. Layers>New Raster Layer.
Open the tube EF-1703 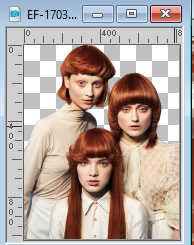
Edit>Copy.
Go back to your work and go to Edit>Paste into Selection.
Adjust>Sharpness>Sharpen More.
Selections>Select None.
Layers>Merge>Merge Down.
22. Layers>Duplicate.
Image>Resize, to 25%, resize all layers not checked.
Adjust>Sharpness>Sharpen.
23. K key to activate your Pick Tool 
Position X: 34,00 - Position Y: 94,00.

24. Effects>Plugins>Mura's Meister - Copies
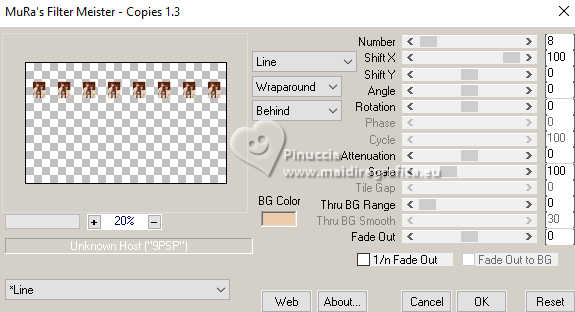
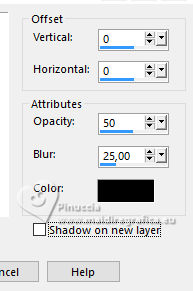
25. Effects>3D Effects>Drop Shadow, color #000000.
26. Activate the layer Raster 3.
Layers>Duplicate.
Image>Resize, to 50%, resize all layers not checked.
Position X: 476,00 - Position Y: 229,00

27. Layers>Duplicate.
Position X: 629,00 - Position Y: 314,00

28. Layers>Duplicate.
Position X: 787,00 - Position Y: 201,00

Layers>Merge>Merge Down - 2 times.
Adjust>Sharpness>Sharpen.
29. Effects>3D Effects>Drop Shadow, color #000000.

30. Activate the layer Raster 3.
Edit>Repeat Drop Shadow.
31. Open EF-Identidade_Poema 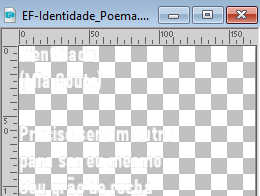
Edit>Copy.
Go back to your work and go to Edit>Paste as new layer.
Position X: 303,00 - Position Y: 211,00

M key to deselect the Tool.
32. Image>Add Borders, 1 pixel, symmetric, foreground color #5a2113.
Image>Add Borders, 10 pixels, symmetric, color #ffffff.
Image>Add Borders, 1 pixel, symmetric, foreground colo #5a2113.
Image>Add Borders, 40 pixels, symmetric, color #ffffff.
33. Open EF-Identidade_Deco_2 
Edit>Copy.
Go back to your work and go to Edit>Paste as new layer.
34. Image>Add Borders, 1 pixel, symmetric, foreground color #5a2113.
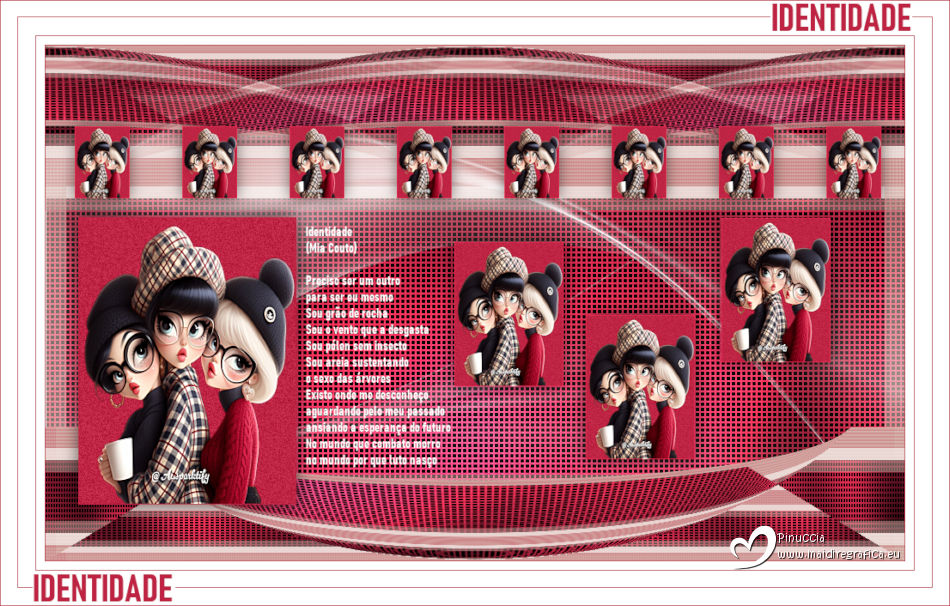
35. Save as jpg.
Images from Pinterest

If you have problems or doubts, or you find a not worked link,
or only for tell me that you enjoyed this tutorial, write to me.
25 January 2026

|

