|
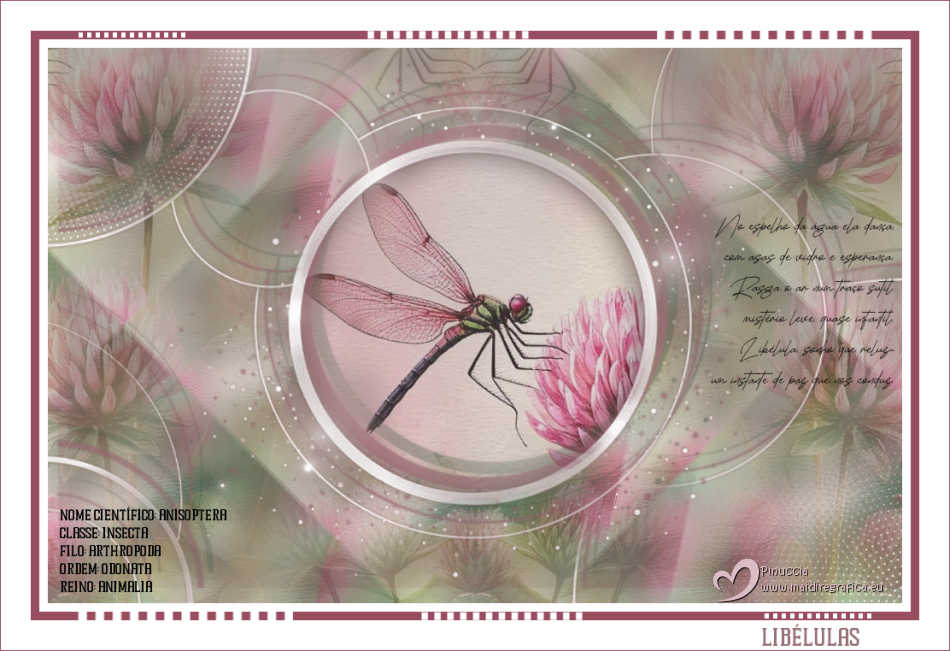
LIBELULAS


Thanks Estela for your invitation to translate your tutorials into english

This tutorial, created with PSP2022, was translated with PspX7, but it can also be made using other versions of PSP.
Since version PSP X4, Image>Mirror was replaced with Image>Flip Horizontal,
and Image>Flip with Image>Flip Vertical, there are some variables.
In versions X5 and X6, the functions have been improved by making available the Objects menu.
In the latest version X7 command Image>Mirror and Image>Flip returned, but with new differences.
See my schedule here
 French Translation here French Translation here
 Your versions here Your versions here

For this tutorial, you will need:

For the mask thanks Silvie
Image Pinterest
The rest of the material by EF.
(The links of the tubemakers here).

consult, if necessary, my filter section here
Filters Unlimited 2.0 here
&<Background Designers IV> - Slice N Dice (to import in Unlimited) here

You can change Blend Modes according to your colors.

Copy the selection in the Selections Folder.
Open the mask in PSP and minimize it with the rest of the material.
1. Open a new transparent image 1000 x 650 pixels.
Selections>Select All.
2. Open the image Grafico 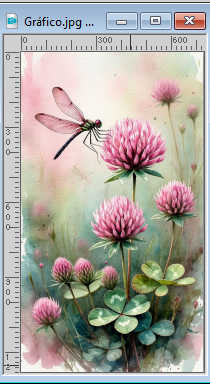
Edit>Copy.
Go back to your work and go to Edit>Paste into Selection.
Selections>Select None.
3. Effects>Image Effects>Seamless Tiling.

4. Adjust>Blur>Gaussian Blur - radius 25.

5. Effects>Texture Effects>Fur, default settings
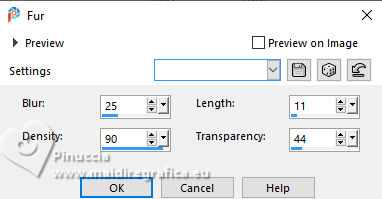
Repeat Effects>Texture Effects>Fur, with these settings
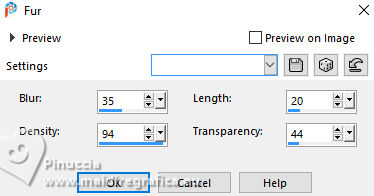
6. Effects>Plugins>Filters Unlimited 2.0 - &<Background Designers IV> - sf10 Slice N Dice
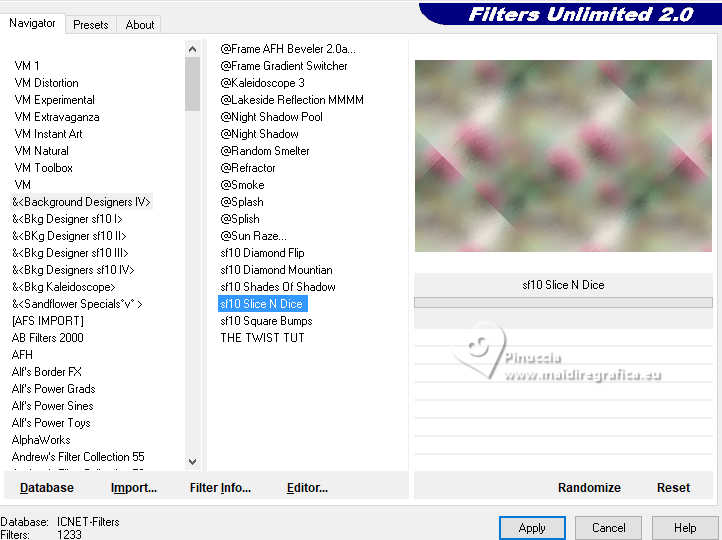
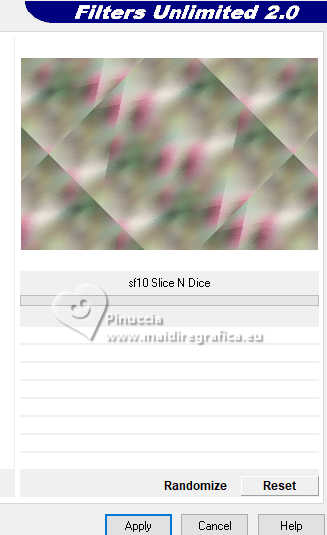
Repeat this effect another time
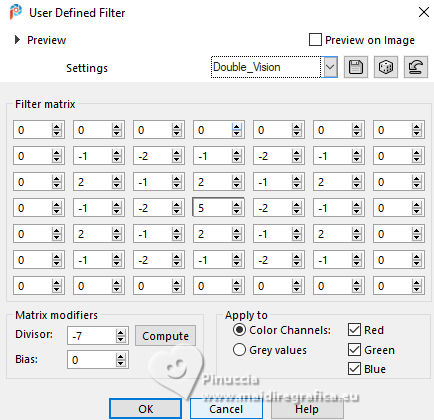
7. Effects>User Defined Filter - Double Vision
8. Open the tube EF-Misted_Libelulas 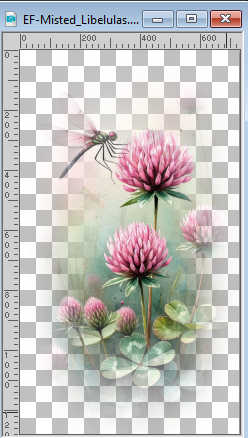
Edit>Copy.
Go back to your work and go to Edit>Paste as new layer.
Don't move it.
9. Effects>Image Effects>Seamless Tiling, Side by side

10. Effects>Reflection Effects>Rotating Mirror.

Change the Blend Mode of this layer to Soft Light.
11. Layers>New Raster Layer.
Set your foreground color to white #ffffff.
Flood Fill  the layer with color white #ffffff. the layer with color white #ffffff.
12. Layers>New Mask layer>From image
Open the menu under the source window and you'll see all the files open.
Select the mask Silvie_Mask_Abstract_Circles_777T
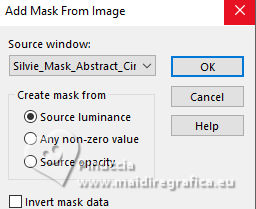
Layers>Merge>Merge Group.
13. Effects>3D Effects>Drop Shadow, color #db6b8f.
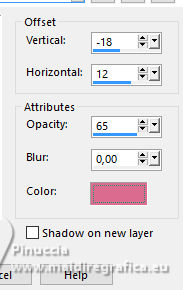
14. Effects>3D Effects>Drop Shadow, color #2f5d43.
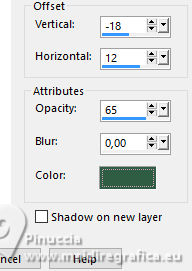
15. Selections>Load/Save Selection>Load Selection from Disk.
Look for and load the selection Libelulas
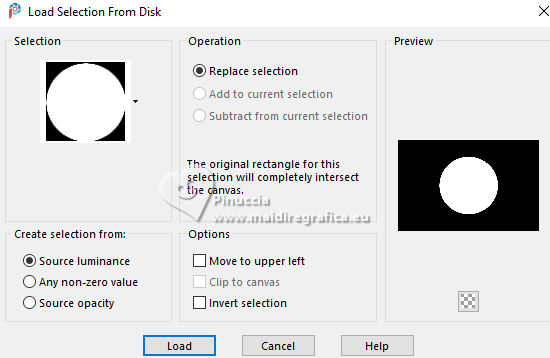
16. Activate again the image Grafico and go to Edit>Copy.
Go back to your work and go to Edit>Paste as new layer.
Place  the image on the selection. the image on the selection.
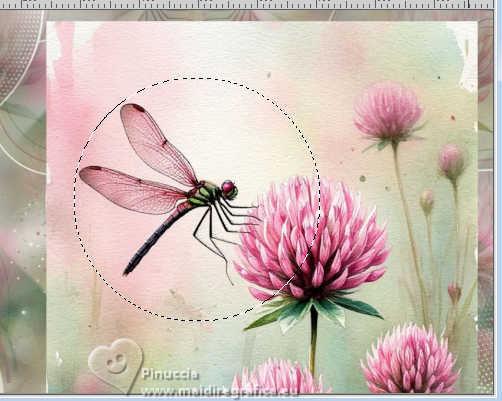
Selections>Invert.
Press CANC on the keyboard 
17. Selections>Invert.
Layers>Arrange>Move Down.
18. Layers>New Raster Layer.
Effects>3D Effects>Cutout.
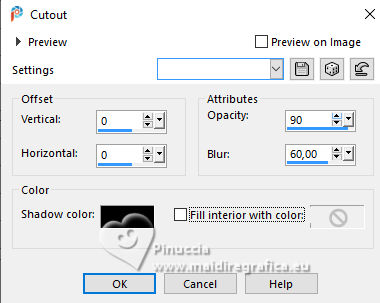
Selections>Select None.
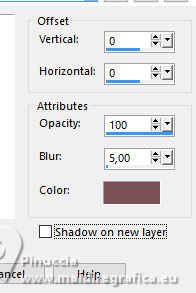
19. Activate your top layer.
Effects>3D Effects>Drop Shadow, color #83595c
20. Open EF-Libelulas_Texto 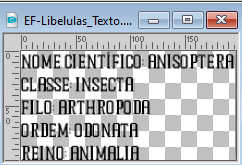
Edit>Copy.
Go back to your work and go to Edit>Paste as new layer.
K key to activate your Pick Tool 
Position X: 14,00 - Position Y: 537,00

Change the Blend Mode of this layer to Darken.
21. Open EF-Libelulas_Poema_Copilot 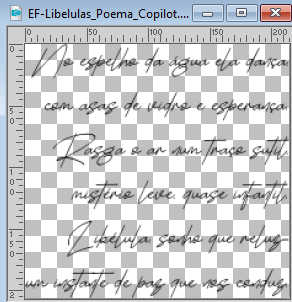
Edit>Copy.
Go back to your work and go to Edit>Paste as new layer.
Position X: 776,00 - Position Y: 195,00

22. Image>Add Borders, 10 pixels, symmetric, color #ffffff.
Image>Add Borders, 10 pixels, symmetric, color #994d61 
Image>Add Borders, 35 pixels, symmetric, color #ffffff
23. Open EF-Libelulas_Deco_1 
Edit>Copy.
Go back to your work and go to Edit>Paste as new layer.
Don't move it.
24. Open EF-Libelulas_Título 
Edit>Copy.
Go back to your work and go to Edit>Paste as new layer.
Colorize, if necessary.
Move  the tube on the border at the bottom right. the tube on the border at the bottom right.
25. Sign your work.
26. Image>Add Borders, 1 pixel, symmetric, color #994d61  . .
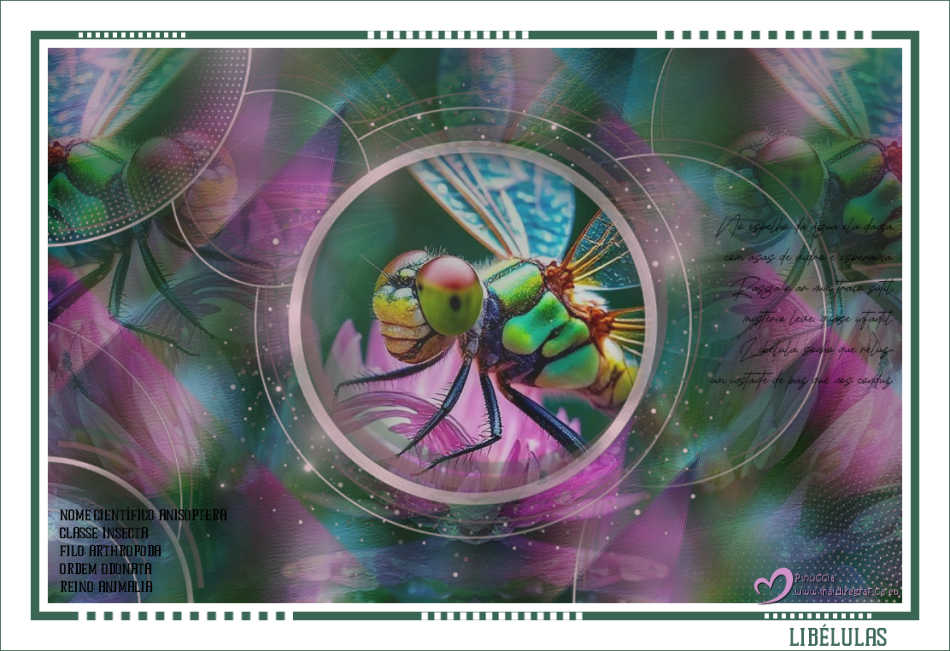
27. Image>Resize, 850 pixels width, resize all layers checked.
Save as jpg.
Image from Internet

If you have problems or doubts, or you find a not worked link,
or only for tell me that you enjoyed this tutorial, write to me.
25 January 2026

|

