|
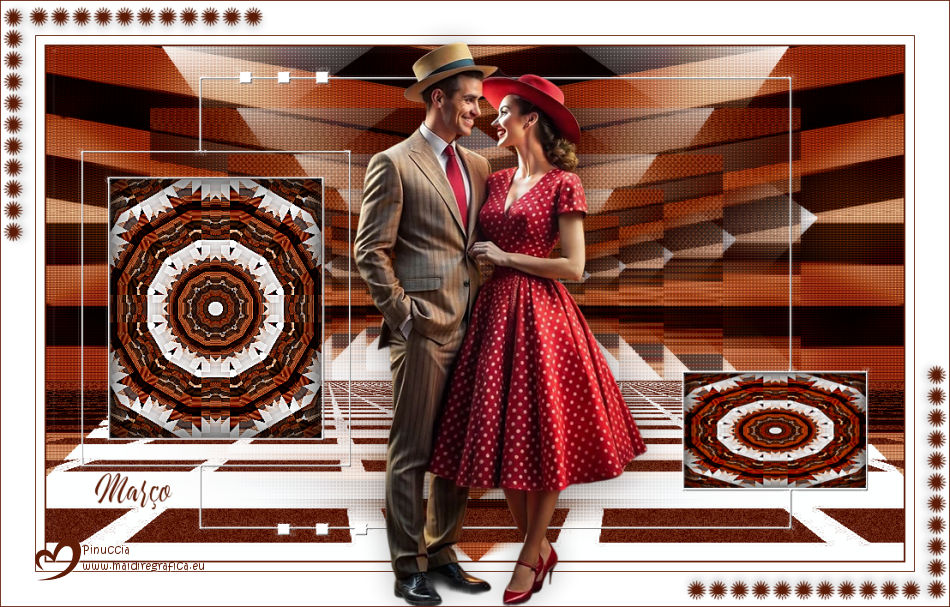
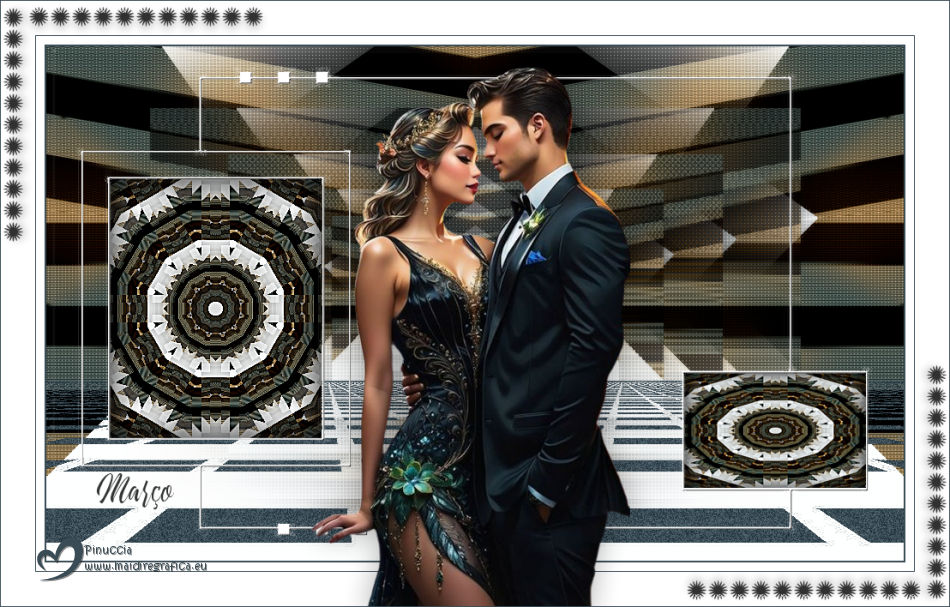
MARÇO
 MARCH MARCH

Thanks Estela for your invitation to translate your tutorials into english

This tutorial, created with PSP2022, was translated with PspX7, but it can also be made using other versions of PSP.
Since version PSP X4, Image>Mirror was replaced with Image>Flip Horizontal,
and Image>Flip with Image>Flip Vertical, there are some variables.
In versions X5 and X6, the functions have been improved by making available the Objects menu.
In the latest version X7 command Image>Mirror and Image>Flip returned, but with new differences.
See my schedule here
 French Translation here French Translation here
 Your versions here Your versions here

For this tutorial, you will need:

Material by Estela Fonseca.
(The links of the tubemakers here).
*It is forbidden to remove the watermark from the supplied tubes, distribute or modify them,
in order to respect the work of the authors

consult, if necessary, my filter section here
VanderLee - Unplugged-X here

You can change Blend Modes according to your colors.

Open the mask in PSP and minimize it with the rest of the material.
1. Set your foreground color to #5f1d07,
and your background color to #f7ebdb.
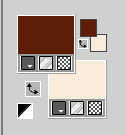
Set your foreground color to a Foreground/Background Gradient, style Sunburst.
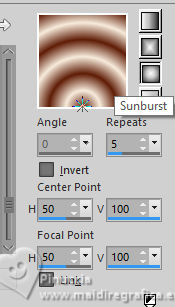
2. Open a new transparente image 1000 x 600 pixels.
Flood Fill  the transparent image with your Gradient. the transparent image with your Gradient.
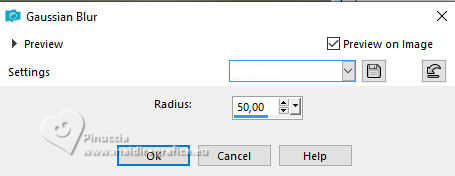
3. Adjust>Blur>Gaussian Blur - radius 50.
4. Effects>Plugins>VanDerLee - Unplugged-X - Interlace
Horizontal Scale 100
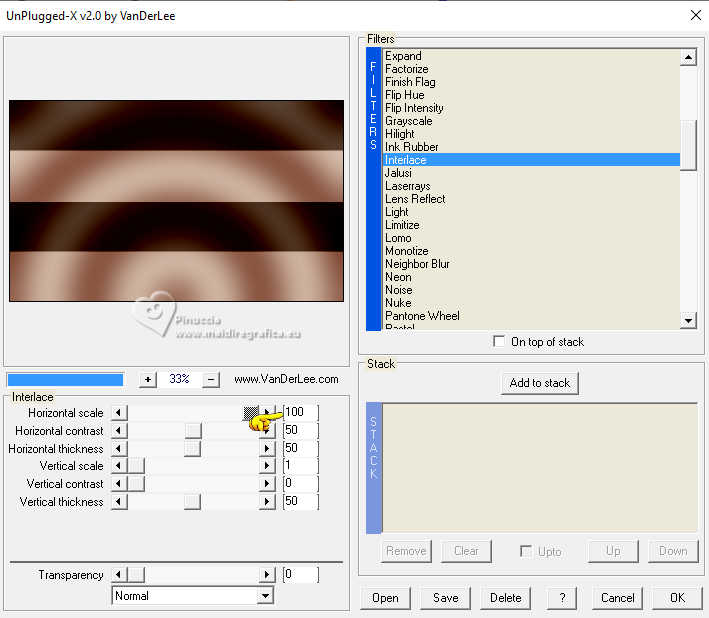
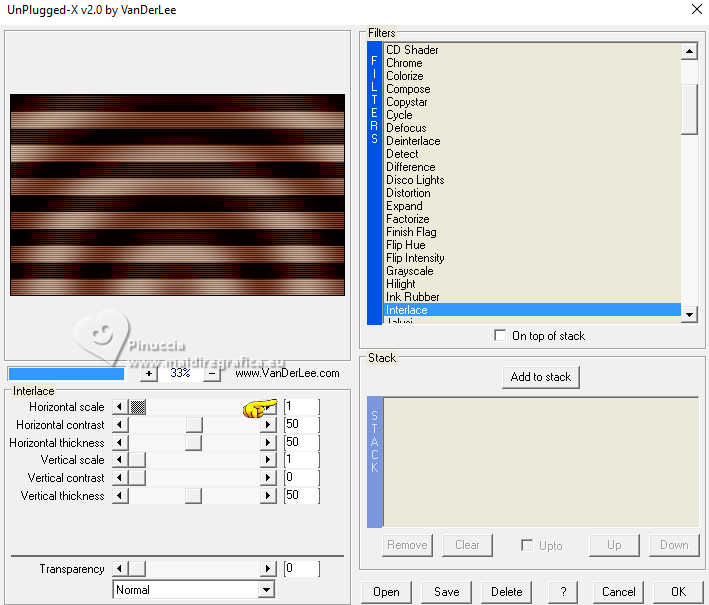
5. Effects>Plugins>VanDerLee - Unplugged-X - Interlace
Horizontal Scale 1
6. Effects>Plugins>VanDerLee - Unplugged-X - 45° Rectangle - color #ffffff.

7. Effects>Image Effects>Seamless Tiling, default settings.

8. Effects>Reflection Effects>Rotating Mirror.
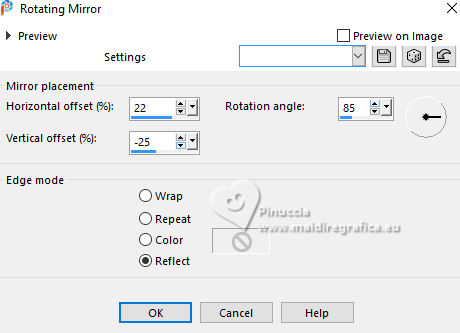
9. Effects>Reflection Effects>Feedback.
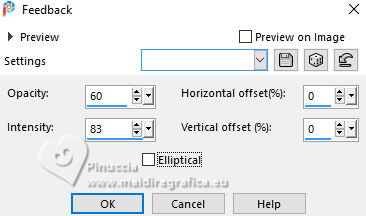
10. Effects>Reflection Effects>Rotating Mirror, default settings.

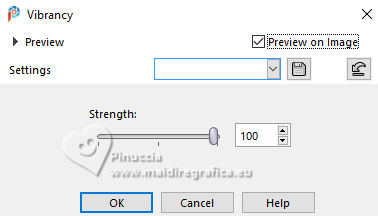
11. Adjust>Hue and saturation>Vibrancy
12. Layers>New Raster Layer.
Set your foreground color to Color.
Flood Fill  the layer with your foreground color. the layer with your foreground color.
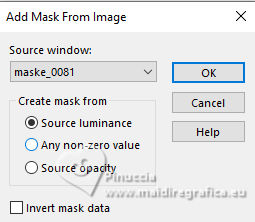
Layers>New Mask layer>From image
Open the menu under the source window and you'll see all the files open.
Select the mask maske_0081.
Effects>Edge Effects>Enhance More.
Layers>Merge>Merge Group.
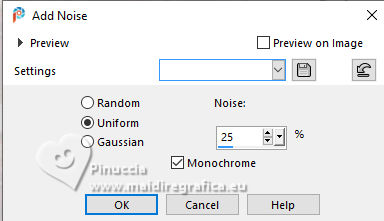
13. Adjust>Add/Remove Noise>Add Noise.
14. Effects>Reflection Effects>Rotating Mirror, default settings.

15. Open EF-Marco_Deco_1 
Edit>Copy.
Go back to your work and go to Edit>Paste as new layer.
16. Activate your background layer, Raster 1.
Activate your Selection Tool 
(no matter the type of selection, because with the custom selection your always get a rectangle)
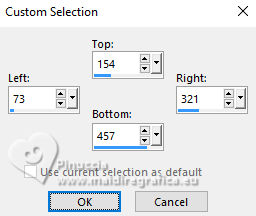
clic on the Custom Selection 
and set the following settings.
Selections>Promote Selection to layer.
Layers>Arrange>Bring to Top.
17. Effects>Reflection Effects>Kaleidoscope.
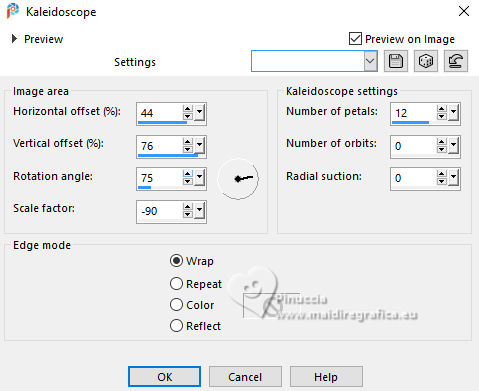
Adjust>Sharpness>Sharpen More.
Keep selected.
18. Layers>New Raster Layer.
Effects>3D Effects>Cutout - color #000000.
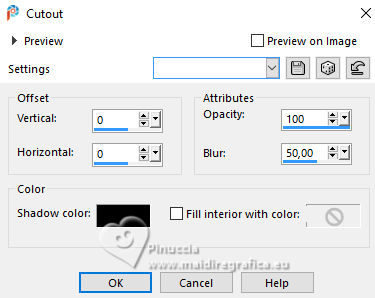
Selections>Select None.
Layers>Merge>Merge Down.
19. Activate your bottom layer, Raster 1.
Effects>Artistic Effects>Halftone.
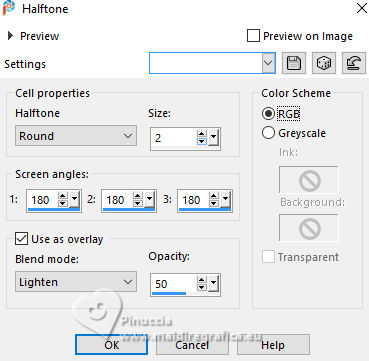
20. Activate your top layer.
Edit>Copy
21. Custom Selection 
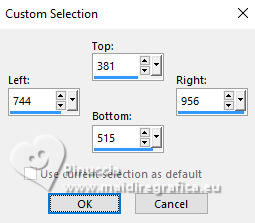
Layers>New Raster Layer.
Edit>Paste into Selection.
22. Adjust>Hue and Saturation>Vibrancy
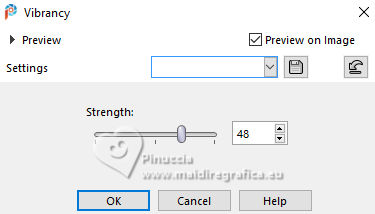
Selections>Select None.
Layers>Merge>Merge Down.
Layer>Arrange>Move Down.
23. Image>Add Borders, 2 pixels, symmetric, foreground color.
Image>Add Borders, 10 pixels, symmetric, color #ffffff.
Image>Add Borders, 2 pixels, symmetric, foreground color.
Image>Add Borders, 40 pixels, symmetric, color #ffffff.
24. Open your main tube 1102939d5... 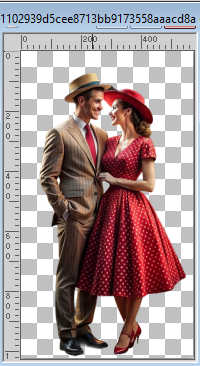
Edit>Copy.
Go back to your work and go to Edit>Paste as new layer.
Image>Resize, to 70%, resize all layers not checked.
Adjust>Sharpness>Sharpen.
Move  the tube at your choice. the tube at your choice.
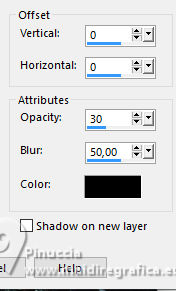
25. Effects>3D Effects>Drop shadow, color #000000.
26. Open EF_marco_deco_2 
Edit>Copy.
Go back to your work and go to Edit>Paste as new layer.
Objects>Align>Top.
Objects>Align>Left.
Layers>Duplicate.
Image>Mirror>Mirror horizontal (Image>Mirror)
Image>Mirror>Mirror vertical (Image>Flip).
27. Open EF_marco_deco_3 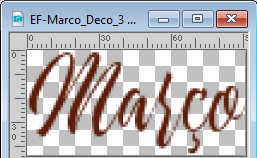
Edit>Copy.
Go back to your work and go to Edit>Paste as new layer.
Move  the text to your liking. the text to your liking.
28. Image>Add borders, 1 pixel, symmetric, foreground color.
Sign your work.
Image>Resize, 850 pixels width, resize all layers checked.
Save as jpg.
For the tube of this version thanks Lady Valella

If you have problems or doubts, or you find a not worked link,
or only for tell me that you enjoyed this tutorial, write to me.
14 May 2025

|
 MARCH
MARCH

 MARCH
MARCH