|
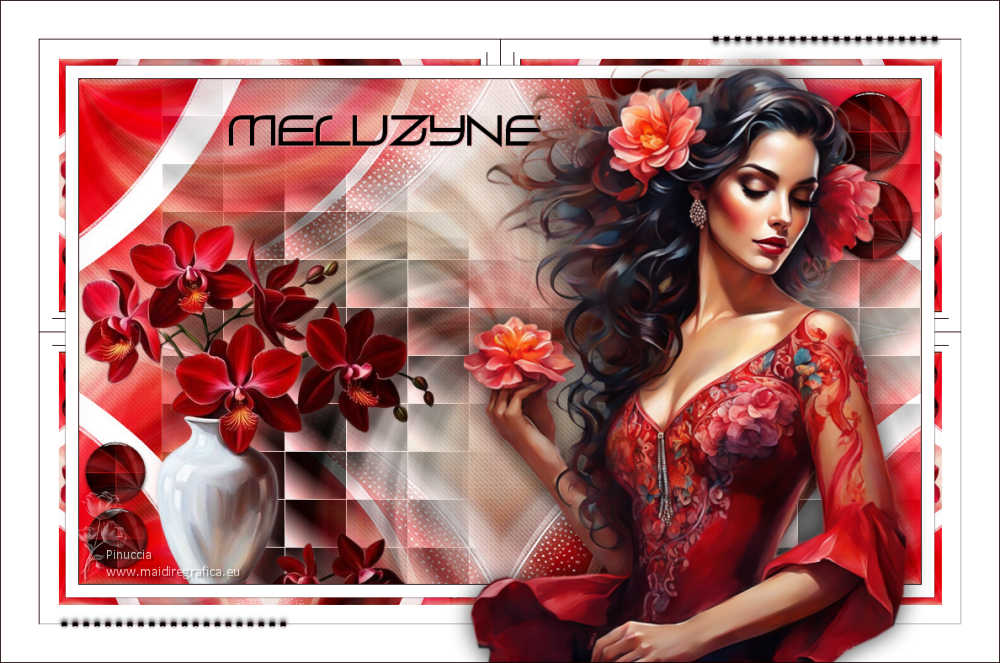
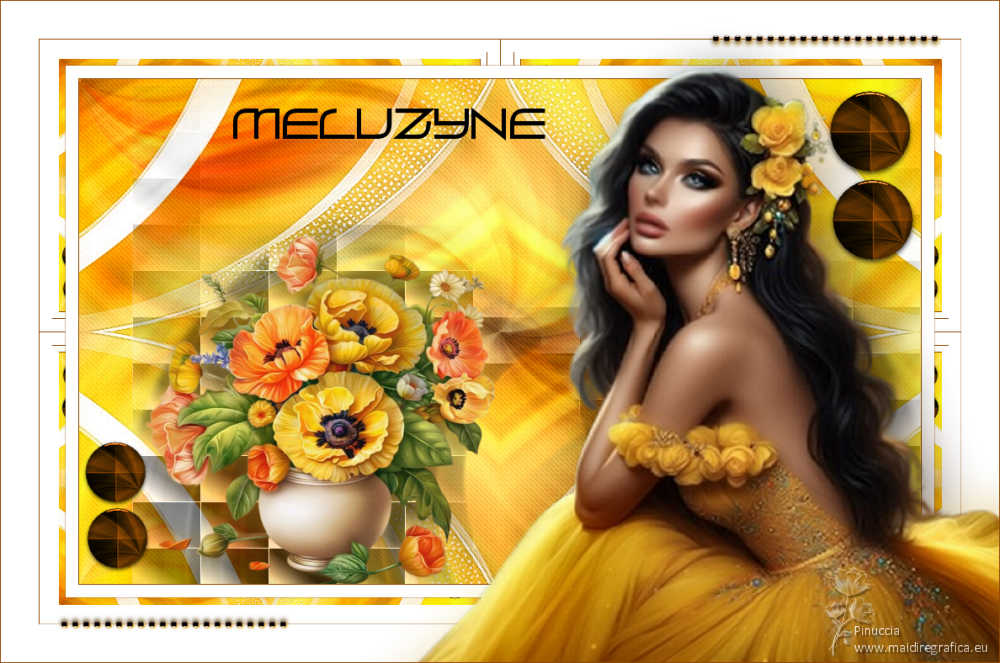
MELUZYNE


Thanks Estela for your invitation to translate your tutorials into english

This tutorial, created with PSP2022, was translated with PspX7, but it can also be made using other versions of PSP.
Since version PSP X4, Image>Mirror was replaced with Image>Flip Horizontal,
and Image>Flip with Image>Flip Vertical, there are some variables.
In versions X5 and X6, the functions have been improved by making available the Objects menu.
In the latest version X7 command Image>Mirror and Image>Flip returned, but with new differences.
See my schedule here
 French Translation here French Translation here
 Your versions here Your versions here

For this tutorial, you will need:

For the tube thanks Angel Star.
The rest of the material is by Estela Fonseca.
(The links of the tubemakers here).
*It is forbidden to remove the watermark from the supplied tubes, distribute or modify them,
in order to respect the work of the authors

consult, if necessary, my filter section here
Filters Unlimited 2.0 here
°V° Kiwi's Oelfilter - 3,5 Promille, Setzboard here
L&k's - L&K's Frederiek here
VM Toolbox - Instant Tile here
Filters Kiwi and VM Toolbox can be used alone or imported into Filters Unlimited.
(How do, you see here)
If a plugin supplied appears with this icon  it must necessarily be imported into Unlimited it must necessarily be imported into Unlimited

You can change Blend Modes according to your colors.

Open the mask in PSP and minimize it with the rest of the material.
Foreground color #170000
Background color #f19ca0
To begin, set your foreground color to white #ffffff,
1. Open a new transparent image 1000 X 600 pixels.
Selections>Select All.
2. Open the image Grafico_1 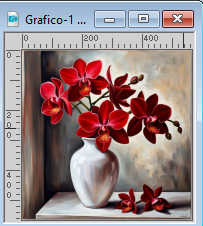
Edit>Copy.
Go back to your work and go to Edit>Paste into Selection.
Selections>Select None.
3. Effects>Image Effects>Seamless Tiling, default settings.

4. Adjust>Blur>Radial Blur.
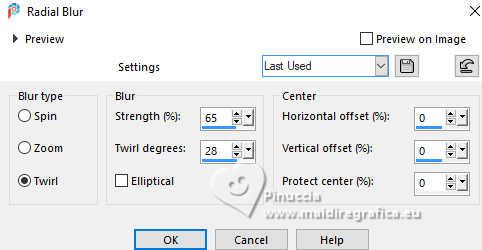
5. Adjust>Hue and Saturation>Vibrancy
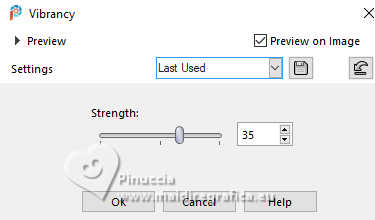
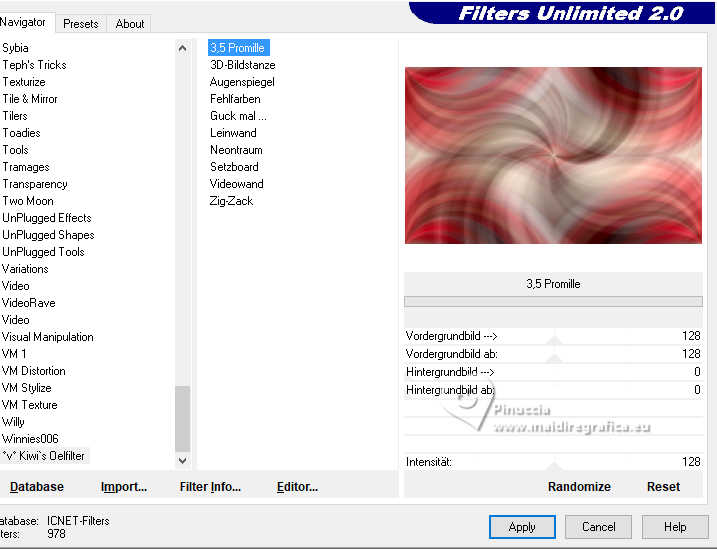
6. Effects>Plugins>Filters Unlimited 2.0 - °V° Kiwi's Oelfilter - 3.5 Promille, default settings.
7. Adjust>Hue and Saturation>Vibrancy, same settings

8. Layers>New Raster Layer.
Flood Fill  the layer with color white. the layer with color white.
9. Layers>New Mask layer>From image
Open the menu under the source window and you'll see all the files open.
Select the mask EF-Mask_651.
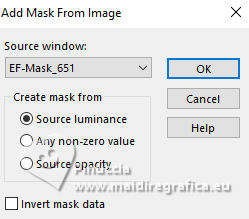
Layers>Duplicate.
Layers>Merge>Merge Group.
Adjust>Sharpness>Sharpen More.
Layers>Merge>Merge Down.
10. Layers>Duplicate.
Effects>Plugins>L&K's - L&K's Frederiek, default settings.
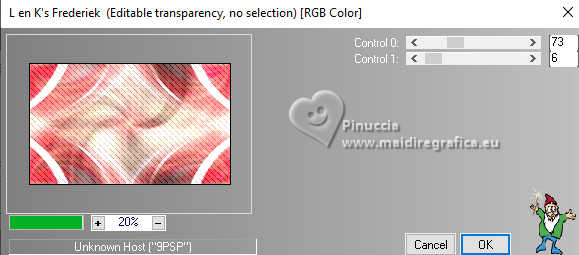
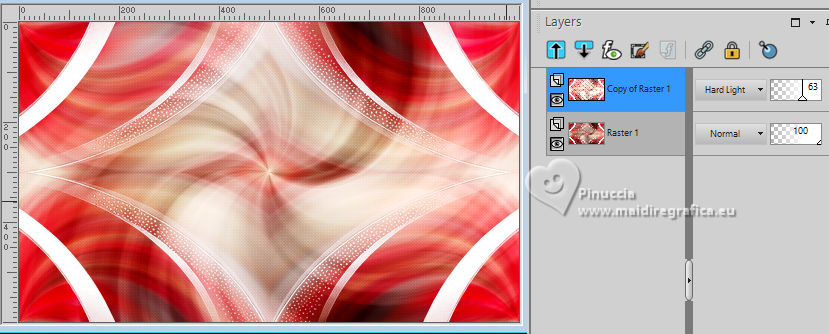
11. Change the Blend Mode of this layer to Hard Light and reduce the opacity to 63%.
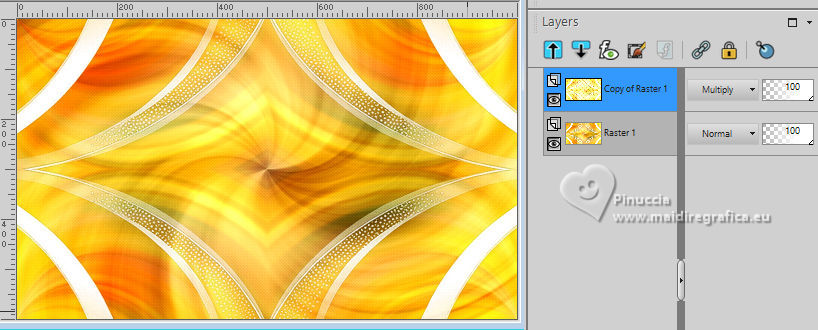
Note: if your result is too clear, change to Multiply, opacity 100
12. Open the tube EF-Vaso_Flores_Vermelhas 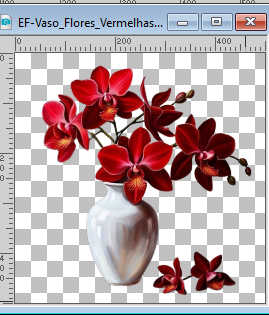
Edit>Copy.
Go back to your work and go to Edit>Paste as new layer.
13. K key to activate your Pick Tool 
Position X: 1,00 - Position Y: 167,00

M key to deselect the Tool.
14. Layers>Duplicate.
Activate the layer below, Raster 2.
15. Adjust>Blur>Radial Blur, same settings.

Objects>Align>Center in Canvas.
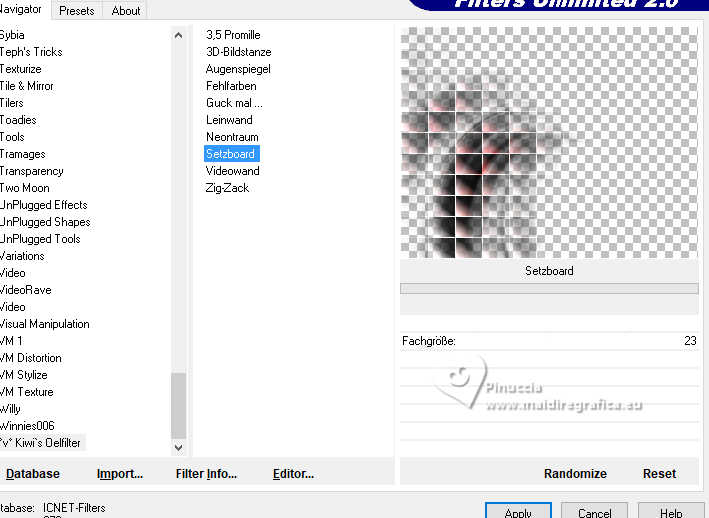
16. Effects>Plugins>Filters Unlimited 2.0 - °V° Kiwi's Oelfilter - Setzboard, default settings.
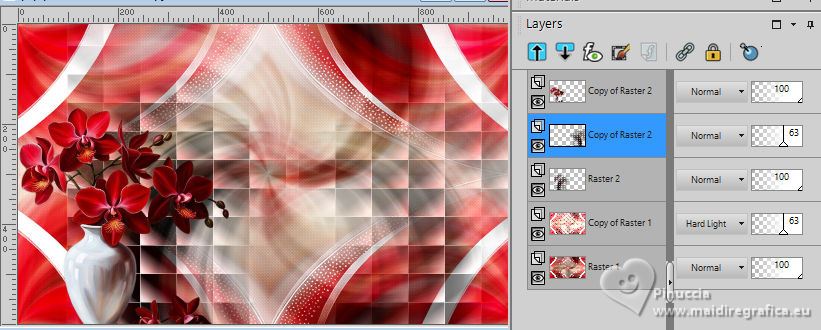
17. Layers>Duplicate.
Image>Mirror>Mirror Horizontal.
Objects>Align>Right.
Reduce the opacity of this layer to 63%.
18. Activate your top layer.
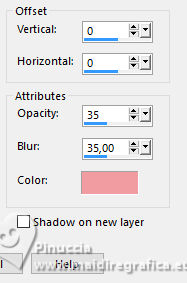
Effects>3D Effects>Drop Shadow, background color #f19ca0 .
19. Open the tube EF-Meluzyine_Deco_1 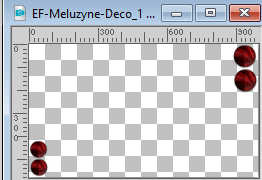
Edit>Copy.
Go back to your work and go to Edit>Paste as new layer.
20. Set your foreground color to color 1 #170000.

Image>Add borders, 1 pixel, symmetric, foreground color #170000.
Image>Add borders, 15 pixels, symmetric, color white #ffffff.
Image>Add borders, 1 pixel, symmetric, foreground color #170000.
Image>Add borders, 30 pixels, symmetric, color white #ffffff.
Image>Add borders, 1 pixel, symmetric, foreground color #170000.
Image>Add borders, 45 pixels, symmetric, color white #ffffff.
21. Activate your Magic Wand Tool 
and click in the border of 30 pixels to select it.
22. Effects>Plugins>VM Toolbox - Instant Tile, default settings.
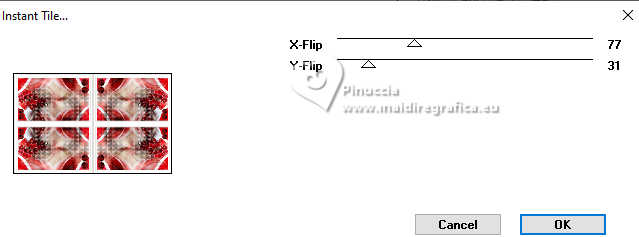
Selections>Select None.
23. Open the tube EF-Meluzyne_Texto 
Edit>Copy.
Go back to your work and go to Edit>Paste as new layer.
Move  the tube at the upper left, or to your liking. the tube at the upper left, or to your liking.
24. Effects>3D Effects>Drop Shadow, background color #f19ca0 .
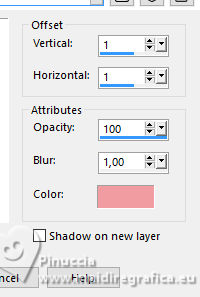
25. Open the tube EF-Meluzyne_deco_2 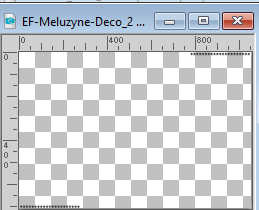
Edit>Copy.
Go back to your work and go to Edit>Paste as new layer.
Move  the tube to the right side. the tube to the right side.
26. Open the tube 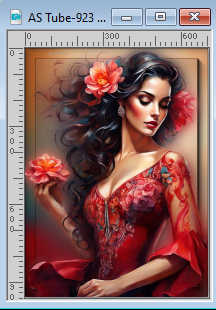
Edit>Copy.
Go back to your work and go to Edit>Paste as new layer.
Image>Resize, to 75%, resize all layers not checked.
Move  the tube to the right side. the tube to the right side.
Effects>3D Effects>Drop Shadow, at your choice.
27. Image>Add borders, 1 pixel, symmetric, foreground color #170000.
28. Sign your work.
Image>Resize, 1000 pixels width, resize all layers checked.
Save as jpg.
For the tube of this version thanks Luz Cristina

If you have problems or doubts, or you find a not worked link,
or only for tell me that you enjoyed this tutorial, write to me.
25 October 2024

|

