|
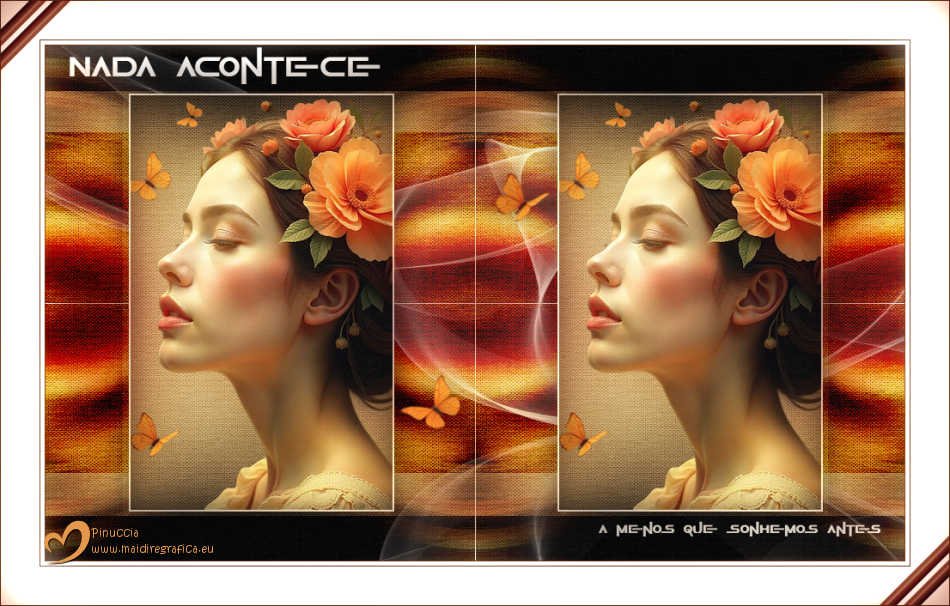
NADA ACONTECE
 NOTHING HAPPENS NOTHING HAPPENS

Thanks Estela for your invitation to translate your tutorials into english

This tutorial, created with PSP2022, was translated with PspX7, but it can also be made using other versions of PSP.
Since version PSP X4, Image>Mirror was replaced with Image>Flip Horizontal,
and Image>Flip with Image>Flip Vertical, there are some variables.
In versions X5 and X6, the functions have been improved by making available the Objects menu.
In the latest version X7 command Image>Mirror and Image>Flip returned, but with new differences.
See my schedule here
 French Translation here French Translation here
 Your versions here Your versions here

For this tutorial, you will need:

Material by Estela Fonseca.
(The links of the tubemakers here).
*It is forbidden to remove the watermark from the supplied tubes, distribute or modify them,
in order to respect the work of the authors

consult, if necessary, my filter section here
Filters Unlimited 2.0 here
Mock - Windo here
Nik Software here
Filters Mock can be used alone or imported into Filters Unlimited.
(How do, you see here)
If a plugin supplied appears with this icon  it must necessarily be imported into Unlimited it must necessarily be imported into Unlimited

You can change Blend Modes according to your colors.

Open the mask in PSP and minimize it with the rest of the material.
1. Open a new transparent image 1000 x 600 pixels.
Selections>Selecti All.
2. Open Grafico-1 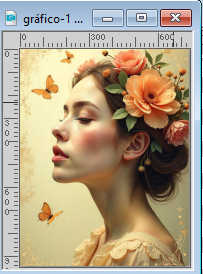
Edit>Copy.
Go back to your work and go to Edit>Paste into Selection.
Selections>Select None.
Effects>Image Effects>Seamless Tiling, default settings.

3. Adjust>Blur>Radial Blur.
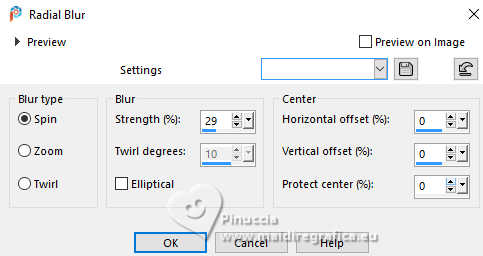
Effects>Edge Effects>Enhance More.
4.Repeat Adjust>Blur>Radial Blur, same settings.
Adjust>Sharpness>Sharpen.
5. Effects>Plugins>Filters Unlimited 2.0 - Tile & Mirror - Quadrant Mirror.
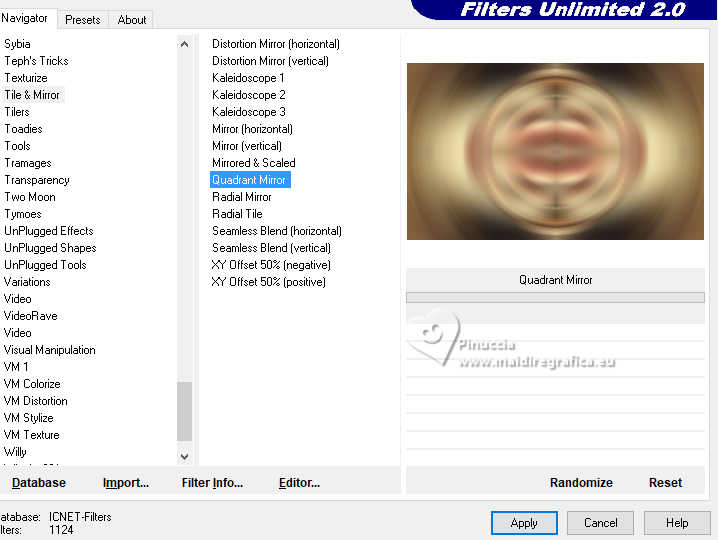
6. Effects>Plugins>Filters Unlimited 2.0 - Mock - Windo, default settings

7. Layers>Merge>Merge All.
Layers>Promote Background Layer.
8. Effects>Image Effects>Seamless Tiling.

9. Activate your Selection Tool 
(no matter the type of selection, because with the custom selection your always get a rectangle)
clic on the Custom Selection 
and set the following settings.
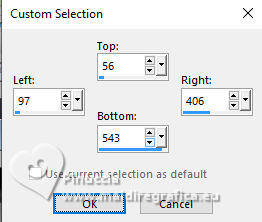
Selections>Promote Selection to Layer.
10. Adjust>Blur>Gaussian Blur - radius 45.
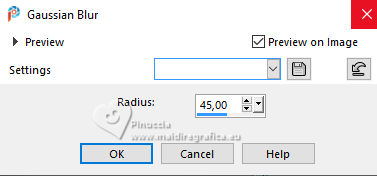
11. Layers>New Raster Layer.
Set your foreground color to white #ffffff.
Flood Fill  the layer with color white. the layer with color white.
Selections>Modify>Contract - 2 pixels.
Press CANC on the keyboard 
Keep selected.
12. Layers>Merge>Merge Down.
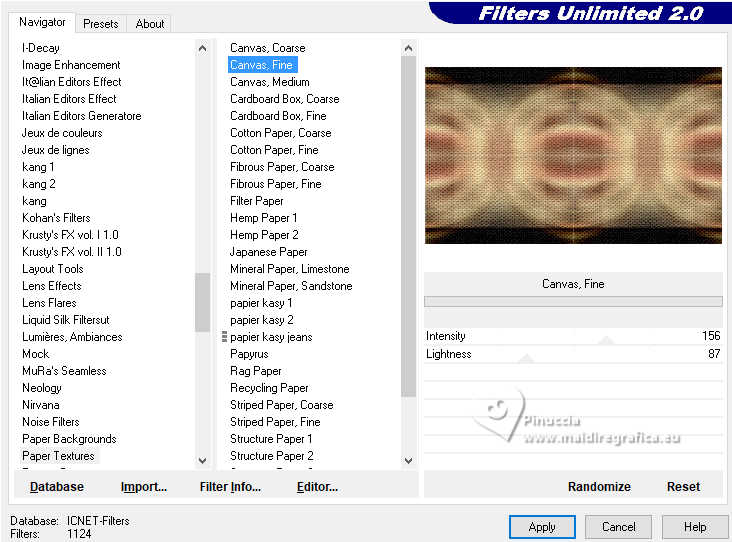
Effects>Plugins>Filters Unlimited 2.0 - Paper Texture - Canvas Fine, default settings.
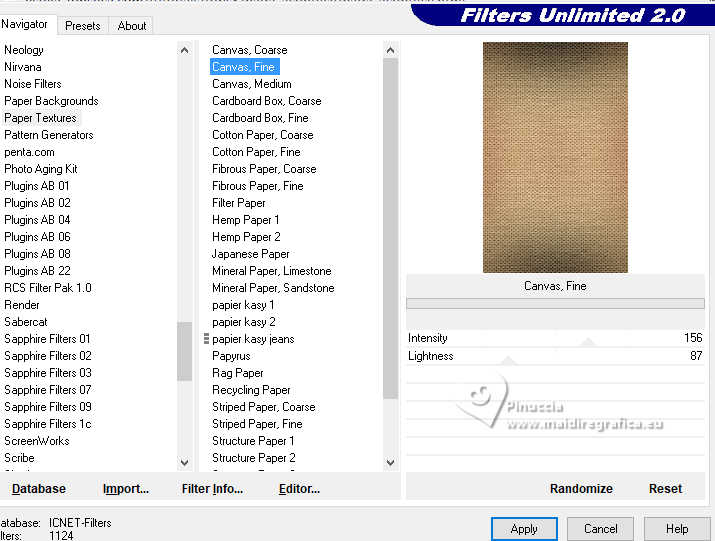
13. Open the tube tube-personagem 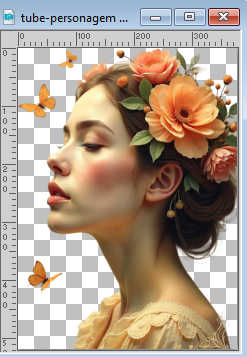
Edit>Copy.
Go back to your work and go to Edit>Paste as new layer.
Place  the tube on the selection. the tube on the selection.
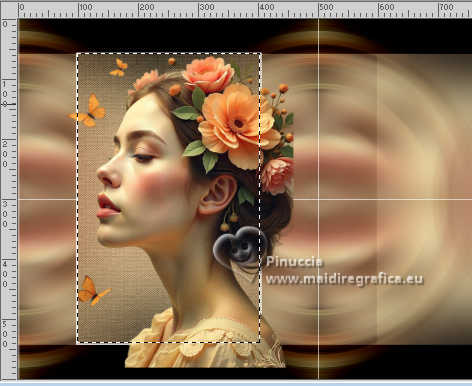
14. Selections>Invert.
Effects>3D Effects>Drop Shadow, color #000000.

Press CANC on the keyboard 
Selections>Select None.
Adjust>Sharpness>Sharpen.
Layers>Merge>Merge Down.
15. Layers>Duplicate.
K key to activate your Pick Tool 
Position X: 596,00 - Position Y: 56,00.

Layers>Merge>Merge Down.
Effects>3D Effects>Drop Shadow, same settings.

16. Activate the layer Raster 1.
Effects>Plugins>Filters Unlimited 2.0 - Paper Texture - Canvas Fine, default settings.
Layers>Duplicate.
Change the Blend Mode of this layer to Overlay and reduce the opacity to 57%.
17. Layers>Merge>Merge Down.
Image>Resize, to 102%, resize all layers not checked.
Custom Selection 
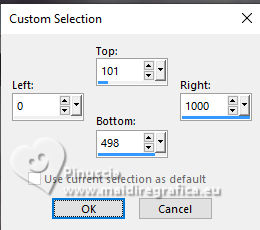
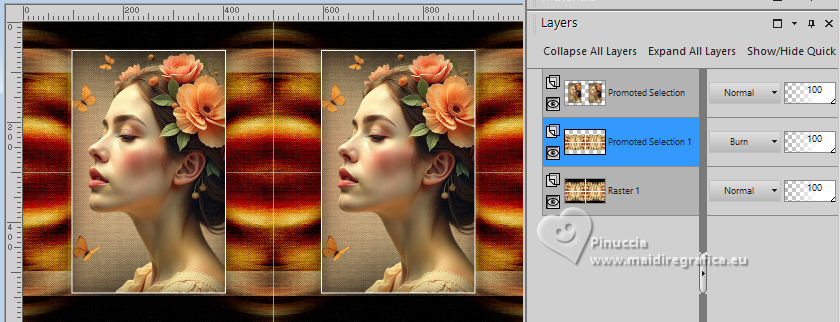
Selections>Promote Selection to Layer.
Selections>Select None.
Change the Blend Mode of this layer to Burn.
18. Layers>New Raster Layer.
Flood Fill  the layer with your white foreground color. the layer with your white foreground color.
18. Layers>New Mask layer>From image
Open the menu under the source window and you'll see all the files open.
Select the mask Silvie_Mask_Deco465T.
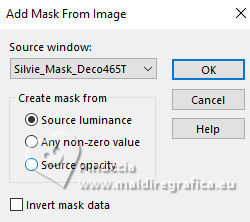
Layers>Merge>Merge Group.
19. Activate your top layer.
Open EF-Nada_Acontece_Deco_1 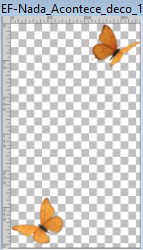
Edit>Copy.
Go back to your work and go to Edit>Paste as new layer.
Don't move it.
Effects>3D Effects>Drop Shadow, color #000000.

20. Open EF-nada_Acontece_Deco_2 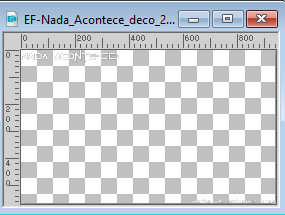
Edit>Copy.
Go back to your work and go to Edit>Paste as new layer.
Drag it up a little
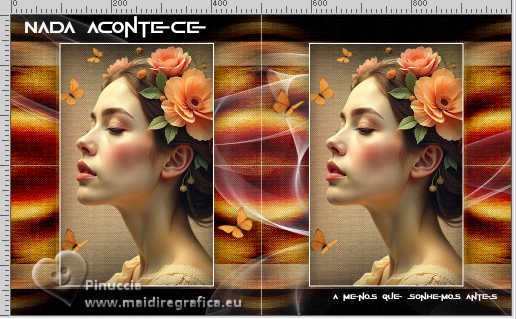
21. Image>Add borders, 1 pixels, symmetric, color #4b1a00 
Image>Add borders, 5 pixels, symmetric, color white #ffffff.
Image>Add borders, 1 pixels, symmetric, color #4b1a00.
Image>Add borders, 45 pixels, symmetric, color #ffffff.
22. Open EF-nada_Acontece_Deco_3 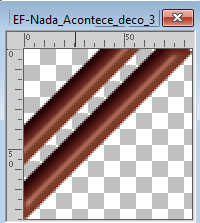
Edit>Copy.
Go back to your work and go to Edit>Paste as new layer.
Move  the tube to the top left corner. the tube to the top left corner.
Layers>Duplicate.
Image>Mirror>Mirror horizontal (Image>Mirror).
Image>Mirror>Mirror vertical (Image>Flip).
23. Sign your work.
Image>Add borders, 1 pixel, symmetric, color #4b1a00.
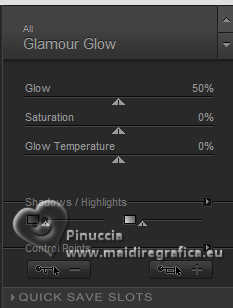
24. Effects>Plugins>Nik Software - Color Efex Pro - Glamour Glow, default settings.
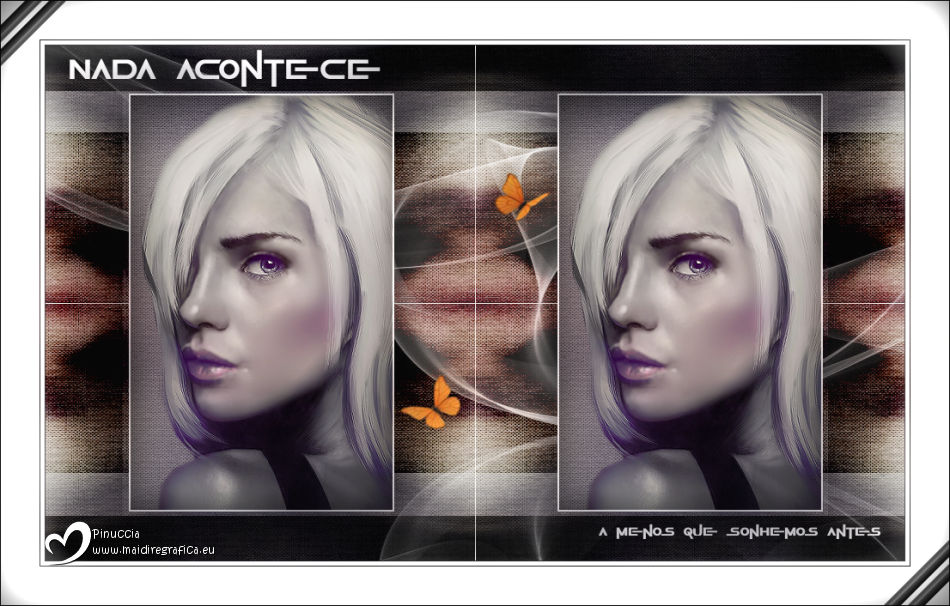
25. Image>Resize, 950 pixels width, resize all layers checked.
Save as jpg.
For the tube of this version thanks Luz Cristina

If you have problems or doubts, or you find a not worked link,
or only for tell me that you enjoyed this tutorial, write to me.
14 May 2025

|
 NOTHING HAPPENS

 NOTHING HAPPENS