|
NEVER


Thanks Estela for your invitation to translate your tutorials into english

This tutorial, created with PSP2022, was translated with PspX7, but it can also be made using other versions of PSP.
Since version PSP X4, Image>Mirror was replaced with Image>Flip Horizontal,
and Image>Flip with Image>Flip Vertical, there are some variables.
In versions X5 and X6, the functions have been improved by making available the Objects menu.
In the latest version X7 command Image>Mirror and Image>Flip returned, but with new differences.
See my schedule here
 French Translation here French Translation here
 Your versions here Your versions here

For this tutorial, you will need:

Material by Estela Fonseca.
(The links of the tubemakers here).
*It is forbidden to remove the watermark from the supplied tubes, distribute or modify them,
in order to respect the work of the authors

consult, if necessary, my filter section here
Filters Unlimited 2.0 ici
Simple - Blintz, Top Left Mirror ici
Graphics Plus - Vertical Mirror, Cross Shadow ici
Filters Simple and Graphics Plus can be used alone or imported into Filters Unlimited.
(How do, you see here)
If a plugin supplied appears with this icon  it must necessarily be imported into Unlimited it must necessarily be imported into Unlimited

You can change Blend Modes according to your colors.

Copy the selection in the Selections Folder.
Open the mask in PSP and minimize it with the rest of the material.
1. Open a new transparent image 950 x 650 pixels.
Selections>Selecti All.
2. Open Grafico-Floral 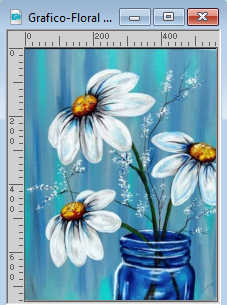
Edit>Copy.
Go back to your work and go to Edit>Paste into Selection.
Selections>Select None.
3. Adjust>Hue and Saturation>Vibrancy.
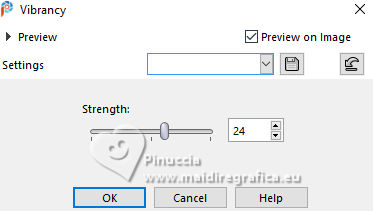
4. Effects>Image Effects>Seamless Tiling, default settings.

5. Adjust>Blur>Gaussian Blur - radius 25.

6. Layers>Duplicate.
Effects>Texture Effects>Mosaic Antique.
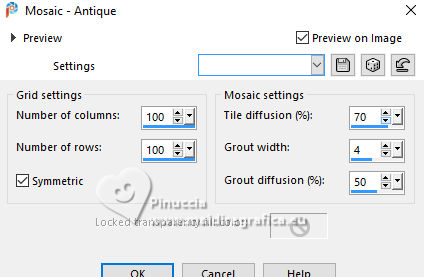
Layers>Arrange>Move Down.
7. Activate the layer above, Raster 1.
Effects>Plugins>Filters Unlimited 2.0 - Simple - Blintz.
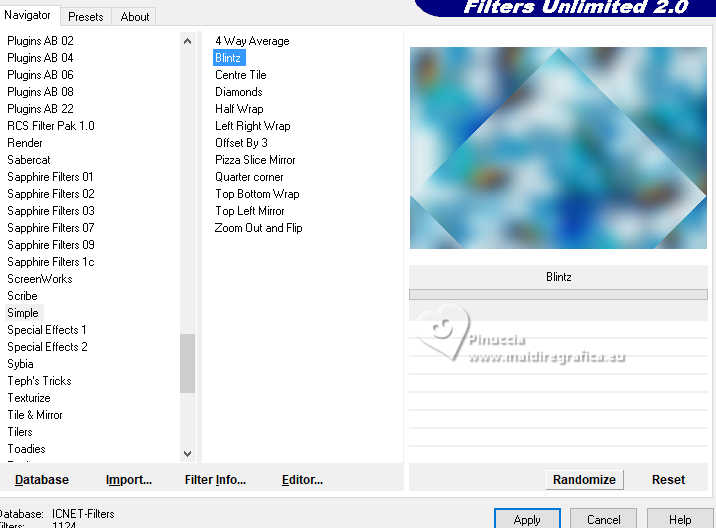
8. Effects>Plugins>Graphics Plus - Vertical Mirror, default settings.
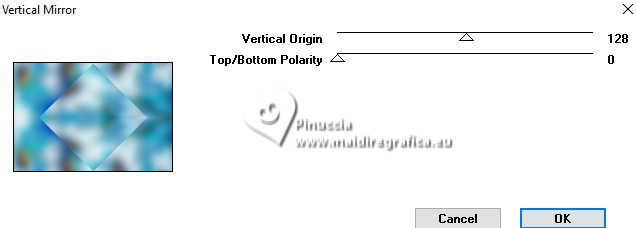
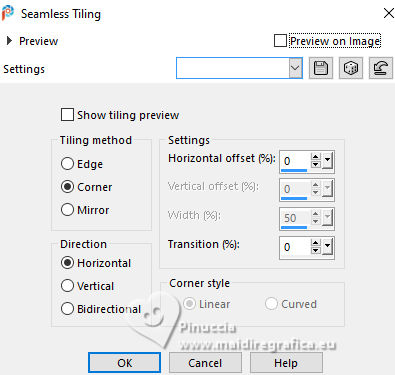
9. Effects>Image Effects>Seamless Tiling.
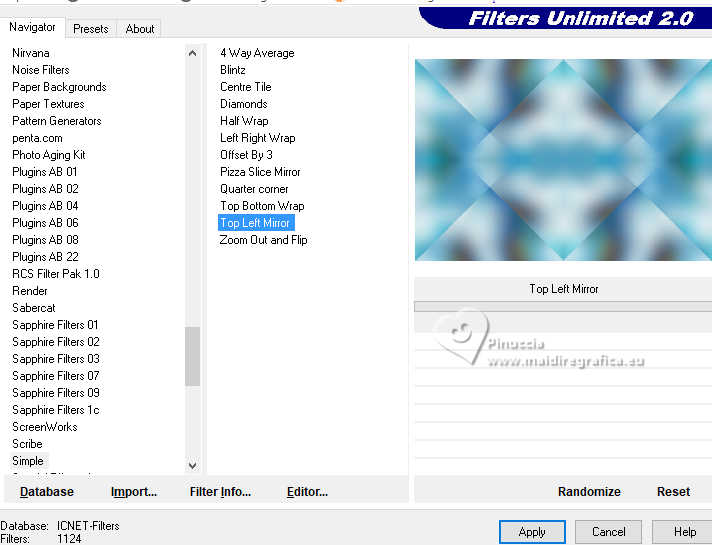
10. Effects>Plugins>Filters Unlimited 2.0 - Simple - Top Left Mirror.
11. Effects>Geometric Effects>Perspective horizontal.
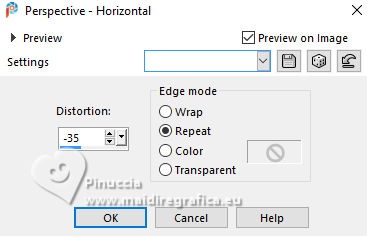
Edit>Repeat Perspective horizontal.
Change the Blend Mode of this layer to Hard Light, or according to your colors.
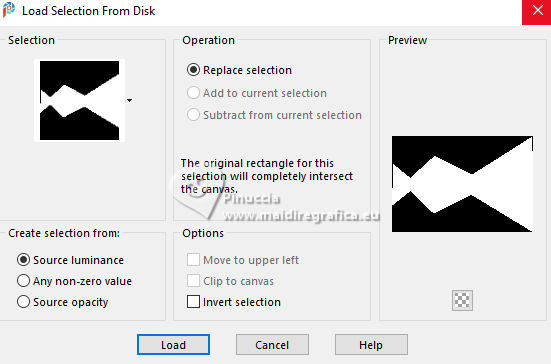
12. Selections>Load/Save Selection>Load Selection from Disk.
Look for and load the selection Never-1
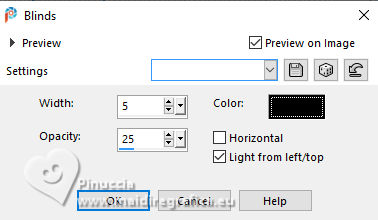
13. Effects>Texture Effects>Blinds, color black.
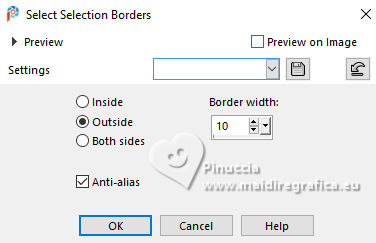
14. Selections>Modify>Select Selection Borders.
Set your foreground color to white #ffffff.
Flood Fill  the selection with color white. the selection with color white.
Selections>Select None.
15. Effects>Image Effects>Seamless Tiling, default settings.

16. Effects>Reflection Effects>Rotating Mirror.

17. Layers>New Raster Layer.
Flood Fill  the layer with your white foreground color. the layer with your white foreground color.
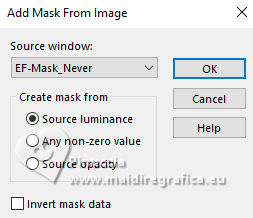
18. Layers>New Mask layer>From image
Open the menu under the source window and you'll see all the files open.
Select the mask EF-Mask_Never.
Layers>Duplicate.
Layers>Merge>Merge Group.
19. Effects>3D Effects>Drop Shadow, color #235ab7.
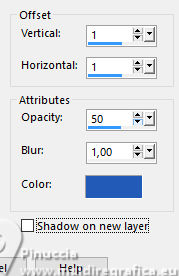
Reduce the opacity of this layer to 71%.
20. Open EF-Never_Deco_1 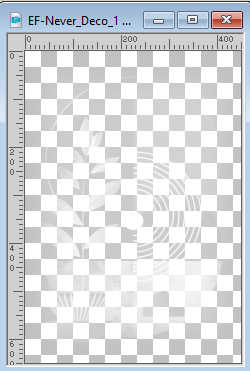
Edit>Copy.
Go back to your work and go to Edit>Paste as new layer.
Don't move it.
21. Open EF-Never_Deco_2 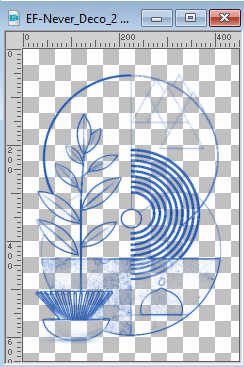
Edit>Copy.
Go back to your work and go to Edit>Paste as new layer.
Don't move it.
Layers>Merge>Merge Down.
22. Open EF-Tube_Flor 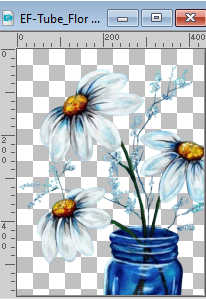
Edit>Copy.
Go back to your work and go to Edit>Paste as new layer.
Objects>Align>Bottom.
Objects>Align>Right.
23. Effects>3D Effects>Drop Shadow, color #235ab7.
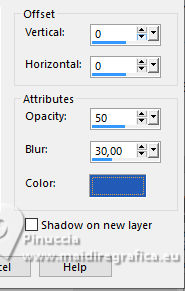
24. Image>Add borders, 10 pixels, symmetric, color white #ffffff.
Image>Add borders, 1 pixels, symmetric, color #235ab7.
Image>Add borders, 10 pixels, symmetric, color white #ffffff.
Image>Add borders, 35 pixels, symmetric, color #193f80.
25. Activate your Magic Wand Tool  , tolerance and feather 0, , tolerance and feather 0,
and click in the last border to select it.
26. Effects>Plugins>Graphics Plus - Cross Shadow, default settings.
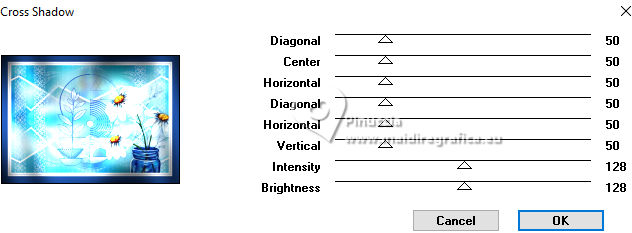
Selections>Select None.
27. Open the tube EF-Tube_mulher 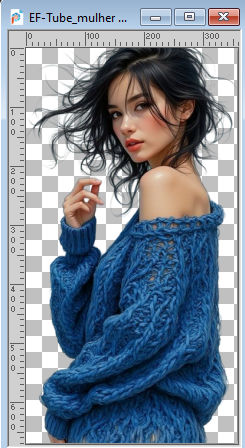
Edit>Copy.
Go back to your work and go to Edit>Paste as new layer.
K key to activate your Pick Tool 
Position X: 62,00 - Position Y: 46,00.

M key to deselect the Tool.
28. Open the tube EF-never_Texto_ 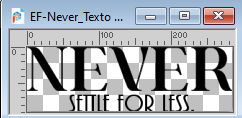
Edit>Copy.
Go back to your work and go to Edit>Paste as new layer.
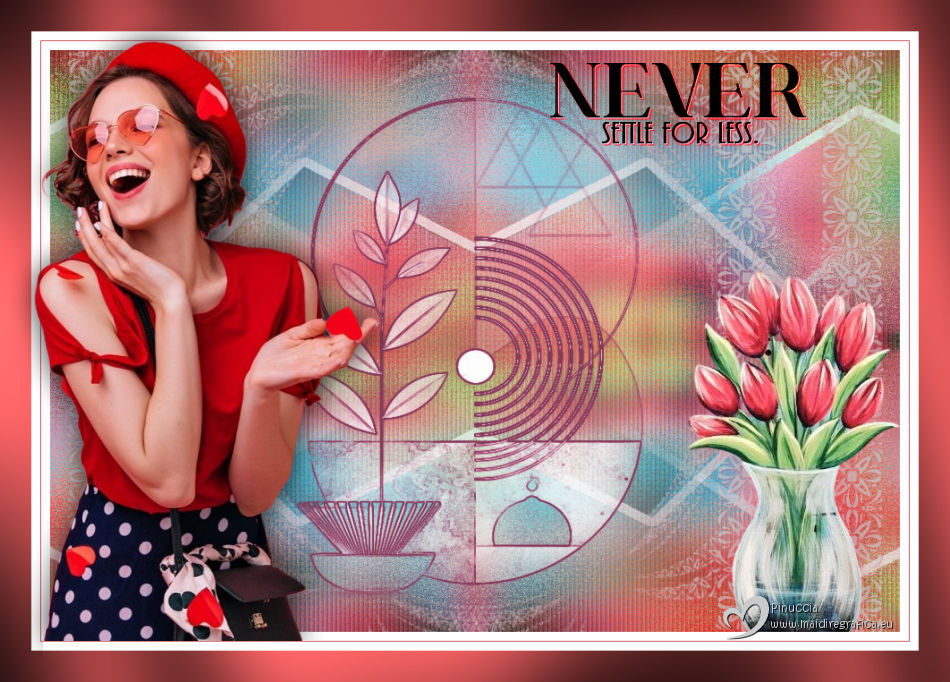
Move  the tube at the upper right, see my example. the tube at the upper right, see my example.
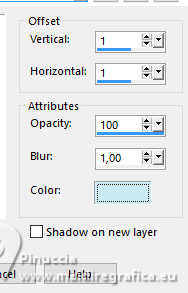
29. Effects>3D Effects>Drop Shadow, color #cceaf3.
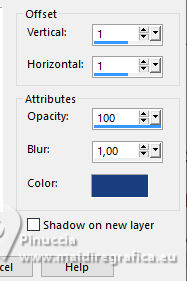
Effects>3D Effects>Drop Shadow, color #193f80.
Change the Blend Mode of this layer to Hard Light.
30. Sign your work.
Layers>Merge>Merge All.
Image>Resize, 850 pixels width, resize all layers checked.
Save as jpg.
For the tube of this version thanks Lady Valella

If you have problems or doubts, or you find a not worked link,
or only for tell me that you enjoyed this tutorial, write to me.
13 May 2025

|


