|
SEDUCTION

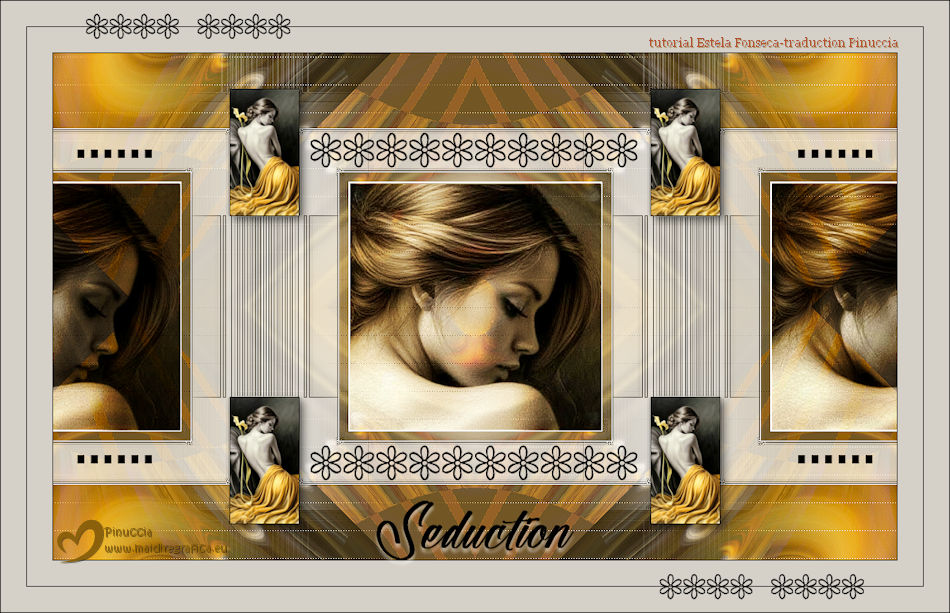
Thanks Estela for your invitation to translate your tutorials into english

This tutorial, created with PSP2022, was translated with PspX7, but it can also be made using other versions of PSP.
Since version PSP X4, Image>Mirror was replaced with Image>Flip Horizontal,
and Image>Flip with Image>Flip Vertical, there are some variables.
In versions X5 and X6, the functions have been improved by making available the Objects menu.
In the latest version X7 command Image>Mirror and Image>Flip returned, but with new differences.
See my schedule here
 French Translation here French Translation here
 Your versions here Your versions here

For this tutorial, you will need:

Mask EF.
Image Pinterest
(The links of the tubemakers here).

consult, if necessary, my filter section here
Filters Unlimited 2.0 here
Flaming Pear - Flexify 2 here
Simple - Diamonds, Top Left Mirror here
L&K's - L&K's Zitah here
Filters Simple can be used alone or imported into Filters Unlimited.
(How do, you see here)
If a plugin supplied appears with this icon  it must necessarily be imported into Unlimited it must necessarily be imported into Unlimited

You can change Blend Modes according to your colors.
Open the mask in PSP and minimize it with the rest of the material.
1. Open a new transparent image 1000 x 600 pixels.
Selections>Select All.
2. Open the image Gráfico-1 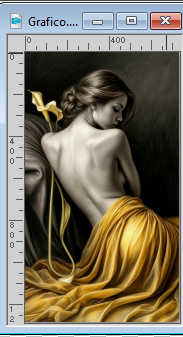
Edit>Copy.
Go back to your work and go to Edit>Paste into Selection.
Selections>Select None.
3. Adjust>Blur>Radial Blur.
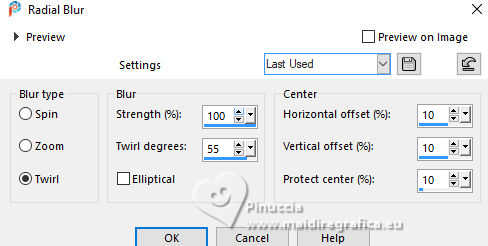
4. Adjust>Hue and Saturation>Vibrancy.
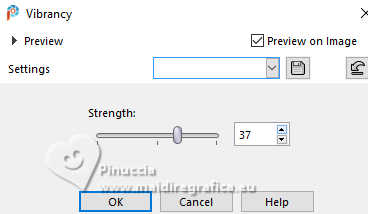
Effects>Edge Effects>Enhance.
5. Layers>Duplicate.
Effects>Plugins>Flaming Pear - Flexify 2.
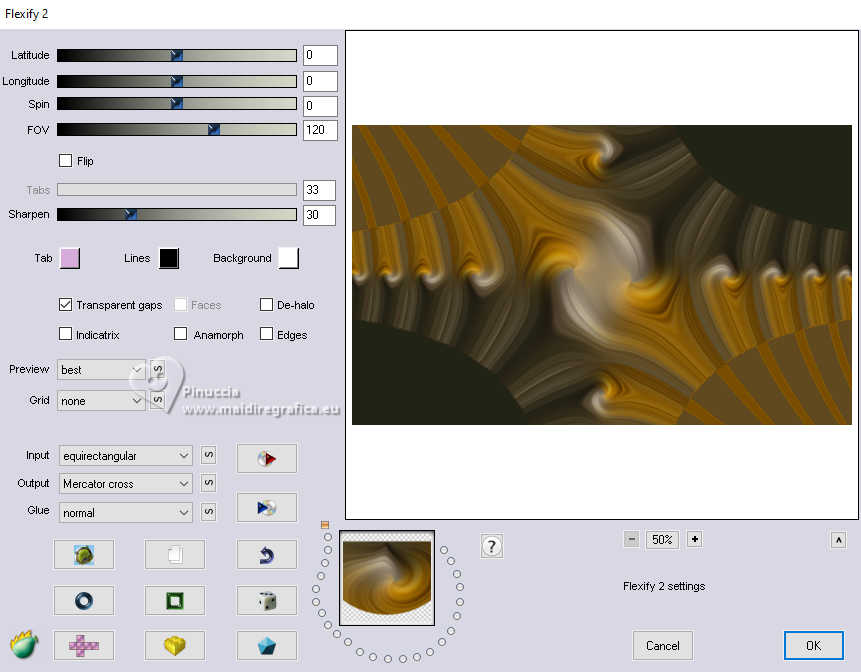
Change the Blend Mode of this layer to Lighten.
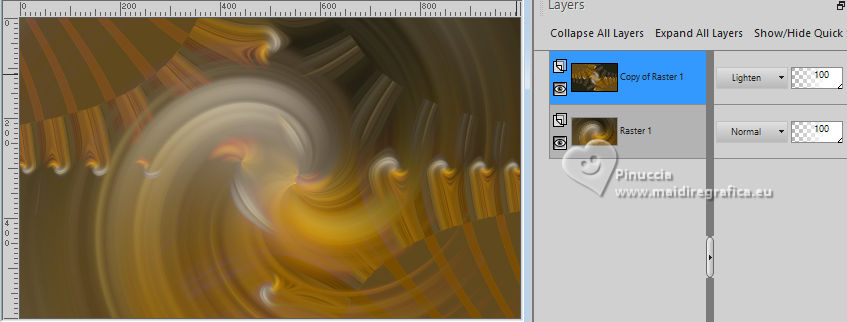
Layers>Merge>Merge Down.
6. Effects>Plugins>Simple - Diamonds
This Effect works without window; result:
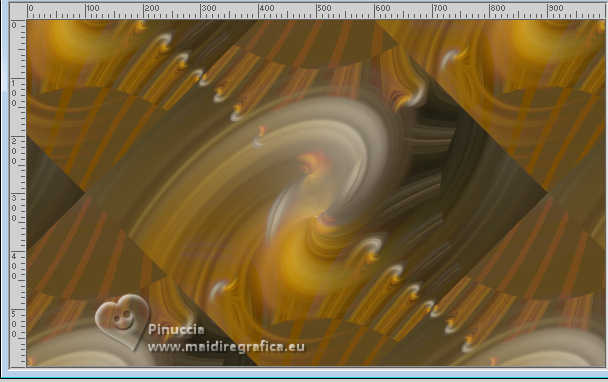
7. Effects>Plugins>Simple - Top Left Mirror.
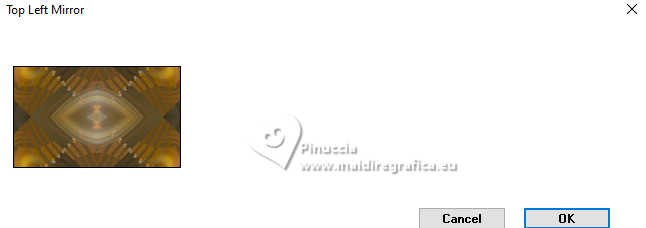
8. Effects>Plugins>L&K's - L&K's Zitah
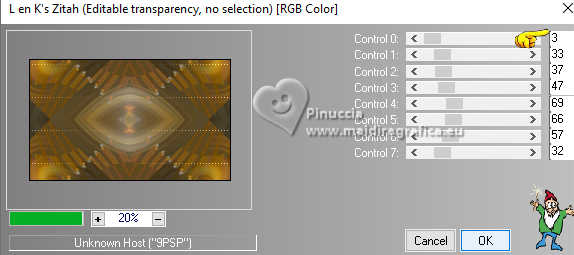
If you find the image too dark:
Adjust>One Step Photo Fix.
9. Layers>New Raster Layer.
Flood Fill  the layer with your foreground color #ffffff. the layer with your foreground color #ffffff.
10. Layers>New Mask layer>From image
Open the menu under the source window and you'll see all the files open.
Select the mask EF-Mask_Seduction.
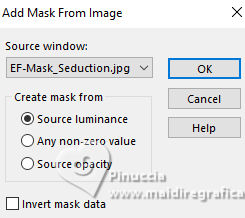
Effects>Edge Effects>Enhance.
Layers>Merge>Merge Group.
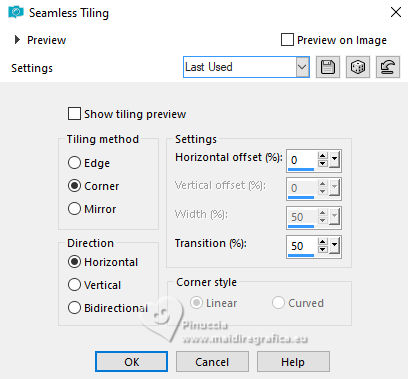
11. Effects>Image Effects>Seamless Tiling.
12. Activate your Selection Tool 
(no matter the type of selection, because with the custom selection your always get a rectangle)
clic on the Custom Selection 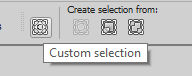
and set the following settings.
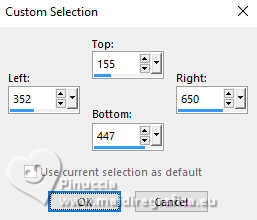
13. Edit>Paste as new layer - the image Gráfico is still in memory.
Position  the image on the selection. the image on the selection.
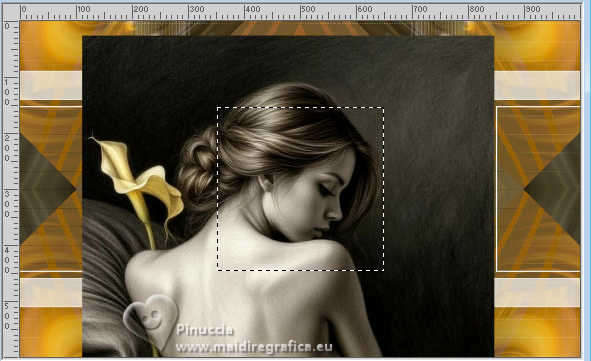
Selections>Invert.
Press CANC on the keyboard 
Selections>Select None.
Change the Blend Mode of this layer to Hard Light.
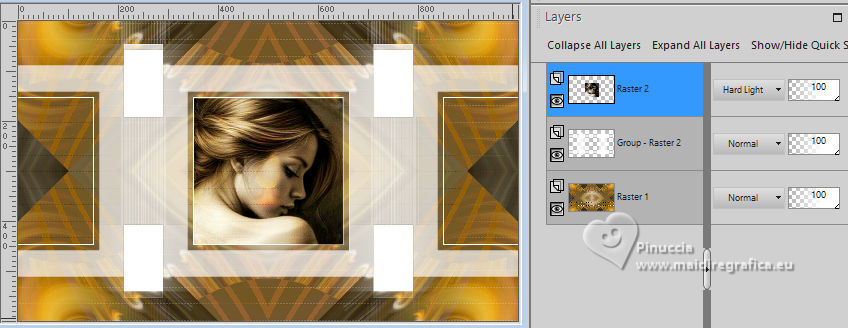
14. Effects>Image Effects>Seamless Tiling, last settings.
15. Layers>New Raster Layer.
Custom Selection
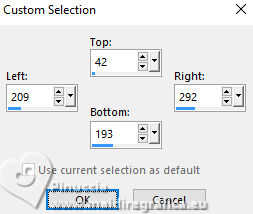
Flood Fill the selection with your background color #000000.
Selections>Modify>Contract - 1 pixel.
16. Edit>Paste into Selection - the image Gráfico is always in memory.
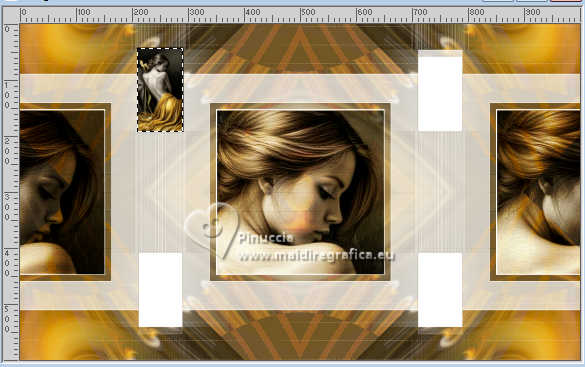
Adjust>One Step Photo Fix.
Selections>Select None.
17. Layers>Duplicate.
Image>Mirror>Mirror Horizontal.
Image>Flip>Flip Horizontal.
This command flips the image while keeping it in the same position.
If you are using an older version that lacks this feature:
Layers>Duplicate.
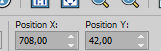
Pick Tool 
Position X: 708,00 - Position Y: 42,00
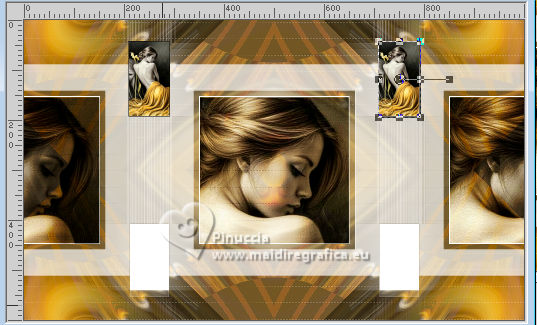
Layers>Merge>Merge Down.
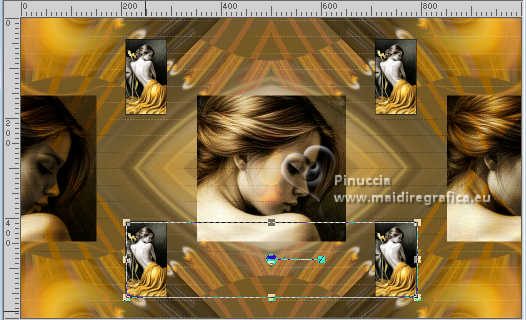
18. Layers>Duplicate.
Image>Mirror>Mirroir vertical.
Image>Flip>Flip Vertical.
As before, if you are using an earlier version:
Layers>Duplicate.
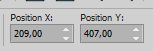
Position X: 209,00 - Position Y: 407,00
Layers>Merge>Merge Down.
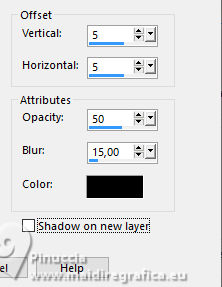
19. Effects>3D Effects>Drop Shadow, color #000000.
20. Activate the mask's layer Group Raster 2
Effects>Edge Effects>Enhance More.
Layers>Merge>Merge visible.
21. Open EF-Seduction_Deco_1 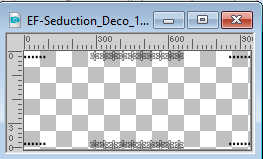
Edit>Copy.
Go back to your work and go to Edit>Paste as new layer.
Don't move it.
22. Image>Add Borders, 1 pixel, symmetric, color #000000.
Image>Add Borders, 30 pixels, symetric, color #d5d1c9.
Image>Add Borders, 1 pixel, symmetric, color #000000.
Image>Add Borders, 30 pixels, symetric, color #d5d1c9.
23. Open EF-Seduction_Deco_2 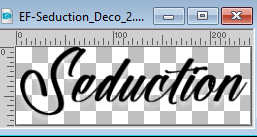
Edit>Copy.
Go back to your work and go to Edit>Paste as new layer.
Position the tube to your liking.
24. Open EF-Seduction_Deco_3 
Edit>Copy.
Go back to your work and go to Edit>Paste as new layer.
25. Image>Add Borders, 1 pixel, symmetric, color #000000.
26. Sign your work on a new layer.
Layers>Merge>Merge All.
Image>Resize, 1000 pixels width, resize all layers checked.
Save as jpg.
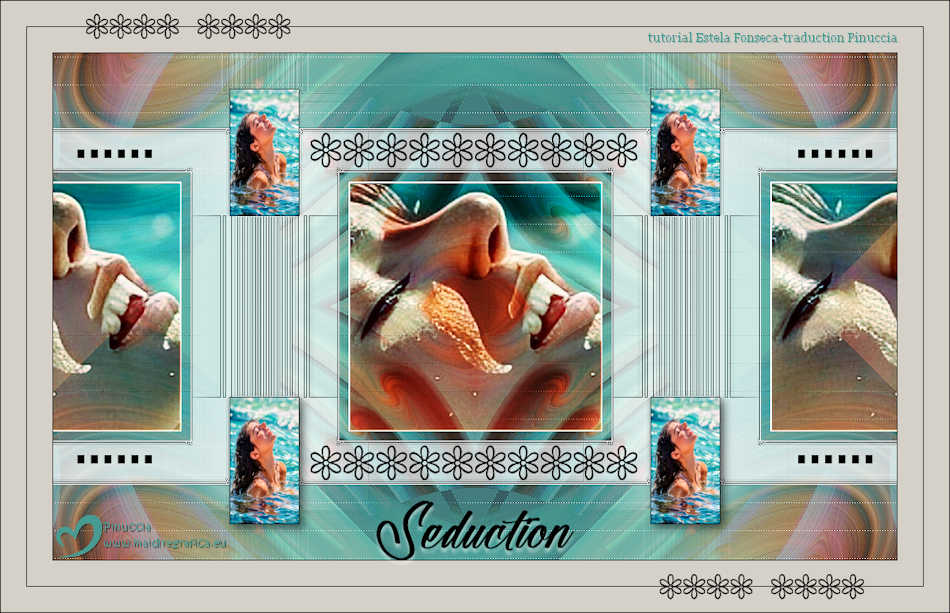
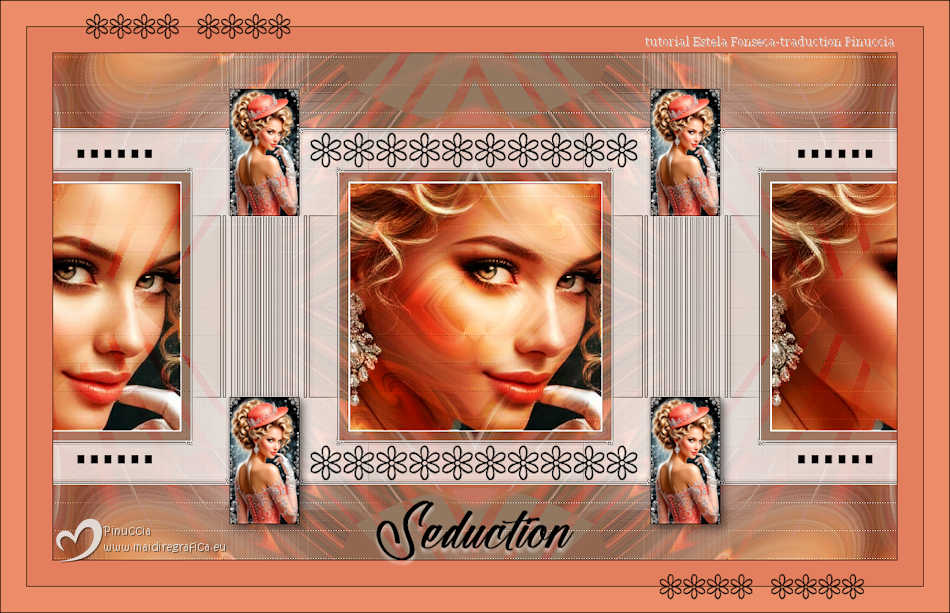
If you have problems or doubts, or you find a not worked link,
or only for tell me that you enjoyed this tutorial, write to me.
13 October 2026

|