|
SIM 5 ANOS


Thanks Estela for your invitation to translate your tutorials into english

This tutorial, created with PSP2022, was translated with PspX7, but it can also be made using other versions of PSP.
Since version PSP X4, Image>Mirror was replaced with Image>Flip Horizontal,
and Image>Flip with Image>Flip Vertical, there are some variables.
In versions X5 and X6, the functions have been improved by making available the Objects menu.
In the latest version X7 command Image>Mirror and Image>Flip returned, but with new differences.
See my schedule here
 French Translation here French Translation here
 Your versions here Your versions here

For this tutorial, you will need:

For a tube thanks Mentali.
The rest of the material is by Estela Fonseca.
(The links of the tubemakers here).
*It is forbidden to remove the watermark from the supplied tubes, distribute or modify them,
in order to respect the work of the authors

consult, if necessary, my filter section here
Filters Unlimited 2.0 here
AFS IMPORT - sqborder2 here
Mura's Meister - Perspective Tiling here
Toadies - What are you here
Simple - Top Left Mirror, Diamonds here
Filters AFS IMPORT, Toadies and Simple can be used alone or imported into Filters Unlimited.
(How do, you see here)
If a plugin supplied appears with this icon  it must necessarily be imported into Unlimited it must necessarily be imported into Unlimited

You can change Blend Modes according to your colors.
In the newest versions of PSP, you don't find the foreground/background gradient (Corel_06_029).
You can use the gradients of the older versions.
The Gradient of CorelX here

Open the mask in PSP and minimize it with the rest of the material.
1. Set your foreground color to #e35807,
and your background color to #0980a2
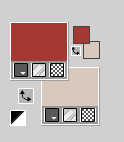
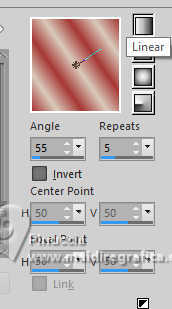
Set your foreground color to a Foreground/Background Gradient, style Linear.
2. Open EF-sissy_Alpha_Channel
Window>Duplicate or, on the keyboard, shift+D to make a copy.

Close the original.
The copy, that will be the basis of your work, is not empty,
but contains the selections saved to alpha channel.
Flood Fill  the transparent image with your Gradient. the transparent image with your Gradient.
3. Layers>Duplicate.
Close this layer and activate the layer below, Raster 1.
4. Effects>Texture Effects>Soft Plastic

5. Adjust>Softness>Soft Focus

6. Effects>Reflection Effects>Kaleidoscope.

7. Selection Tool 
(no matter the type of selection, because with the custom selection your always get a rectangle)
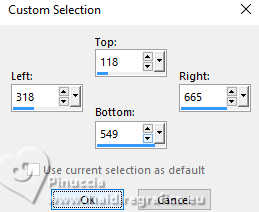
clic on the Custom Selection 
and set the following settings.
8. Effects>Plugins>[AFS IMPORT] - sqborder2.

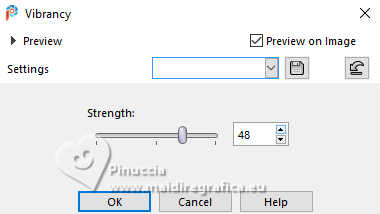
9. Adjust>Hue and Saturation>Vibrancy.
Selections>Select None.
10. Open and activate the top layer.
Effects>Geometric Effects>Skew - background color.

11. Effects>Plugins>Graphics Plus - Cross Shadow, default settings.

12. Adjust>Add/Remove Noise>Add Noise.
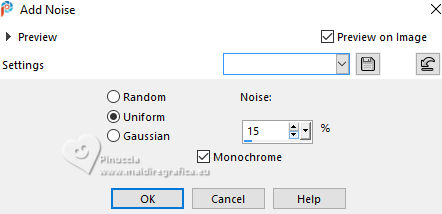
13. Change the Blend Mode of this layer to Overlay.
Layers>Merge>Merge Down.
14. Selections>Load/Save Selection>Load Selection from Alpha Channel.
The selection Selection #1 is immediately available.
You just have to click Load.
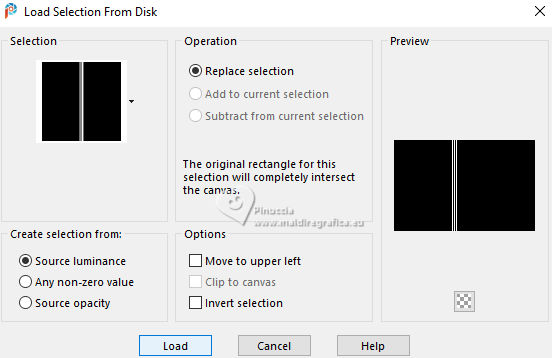
Selections>Promote Selection to Layer.
Selections>Select None.
15. Adjust>Blur>Gaussian Blur - radius 25.

16. Effects>Texture Effects>Blinds.
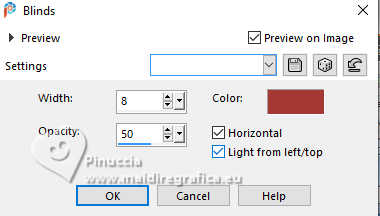
17. Effects>Texture Effects>Straw Wall

18. Effects>Plugins>[AFS IMPORT] - sqborder2, same settings.

19. Change the Blend Mode of this layer to Hard Light and reduce the opacity to 69%.
20. Effects>Plugins>Simple - Diamonds.
Effects>Plugins>Simple - Top Left Mirror.

21. Effects>Plugins>Toadies - What are you

Adjust>Sharpness>Sharpen More.
22. Open the tube mentali-misted3212 
Edit>Copy.
Go back to your work and go to Edit>Paste as new layer.
Image>Resize, to 75%, resize all layers not checked.
23. K key to activate your Pick Tool 
Position X: 244,00 - Position Y: -34,00.

Adjust>Sharpness>Sharpen More.
24. Open EF- Sim_5_Anos_Texto_1 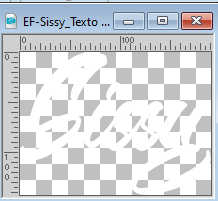
Edit>Copy.
Go back to your work and go to Edit>Paste as new layer.
Position X: 560,00 - Position Y: 400,00.

25. Selections>Select All.
Selections>Float.
Selections>Defloat.
26. Selections>Modify>Contract - 1 pixel.
Activate the layer Raster 1.
Selections>Promote Selection to Layer.
Layers>Arrange>Bring to Top.
27. Effects>3D Effects>Inner Bevel, color white.

28. Effects>3D Effects>Drop Shadow, color #000000.

Selections>Select None.
29. Activate the layer Raster 1.
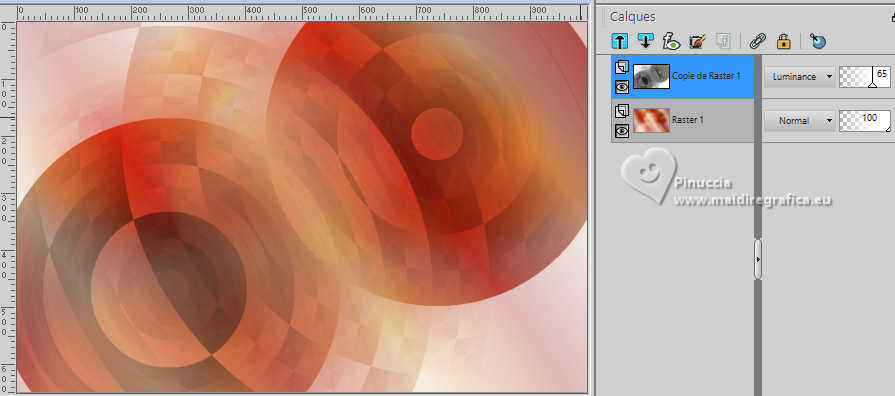
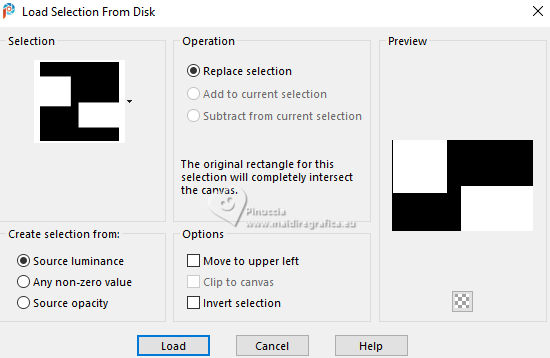
Selections>Load/Save Selection>Load Selection from Alpha Channel.
Open the selections menu and load the selection Selection #2
30. Effects>Plugins>Mura's Meister - Perspective Tiling, default settings.

Selections>Select None.
31. Activate your top layer
Open EF- Sim_5_Anos_Deco_1 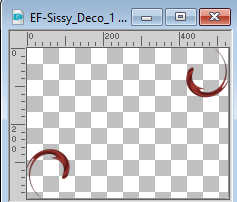
Edit>Copy.
Go back to your work and go to Edit>Paste as new layer.
32. Open the woman's tube EF-Mulher 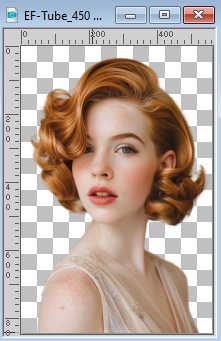
Edit>Copy.
Go back to your work and go to Edit>Paste as new layer.
Image>Mirror>Mirror Horizontal.
Move  the tube to the left side. the tube to the left side.
Adjust>Sharpness>Sharpen.
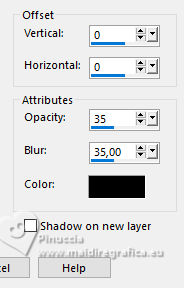
33. Effects>3D Effects>Drop Shadow, color #000000.
34. Open EF- Sim_5_Anos_Deco_3 
Edit>Copy.
Go back to your work and go to Edit>Paste as new layer.
Move  the tube at the upper right. the tube at the upper right.
35. Image>Add borders, 40 pixels, symmetric, color white.
Image>Add borders, 3 pixels, symmetric, background color.
Image>Add borders, 45 pixels, symmetric, color white.
36. Effects>Plugins>AAA Frames - Texture Frame

37. Image>Resize, 1000 pixels width, resize all layers checked.
Sign your work and save as jpg.
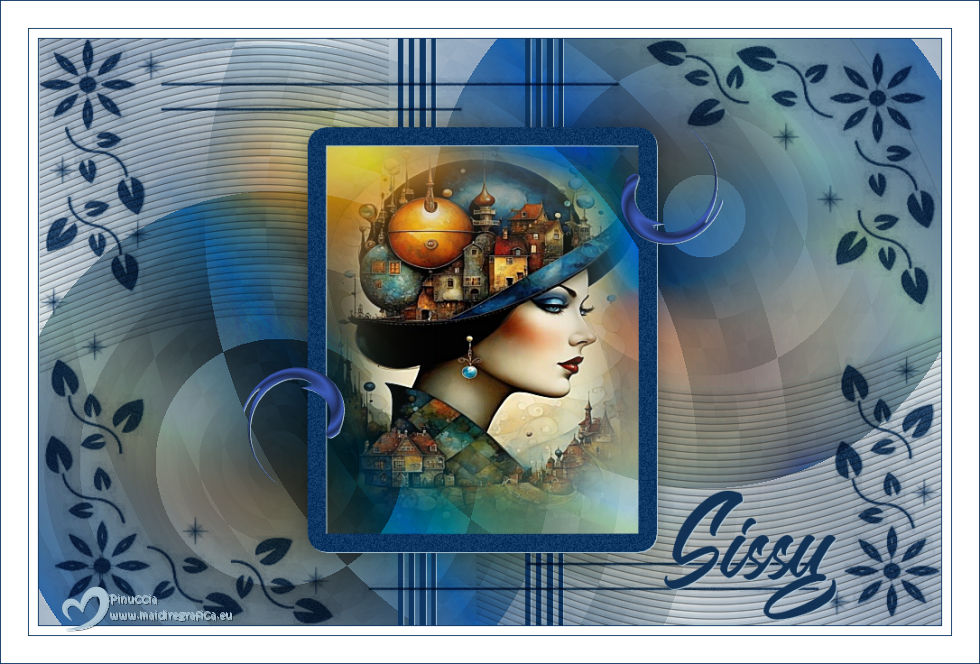
For the tubes of this version thanks Renée and Mentali

If you have problems or doubts, or you find a not worked link,
or only for tell me that you enjoyed this tutorial, write to me.
29 Novembre 2024
|


