|
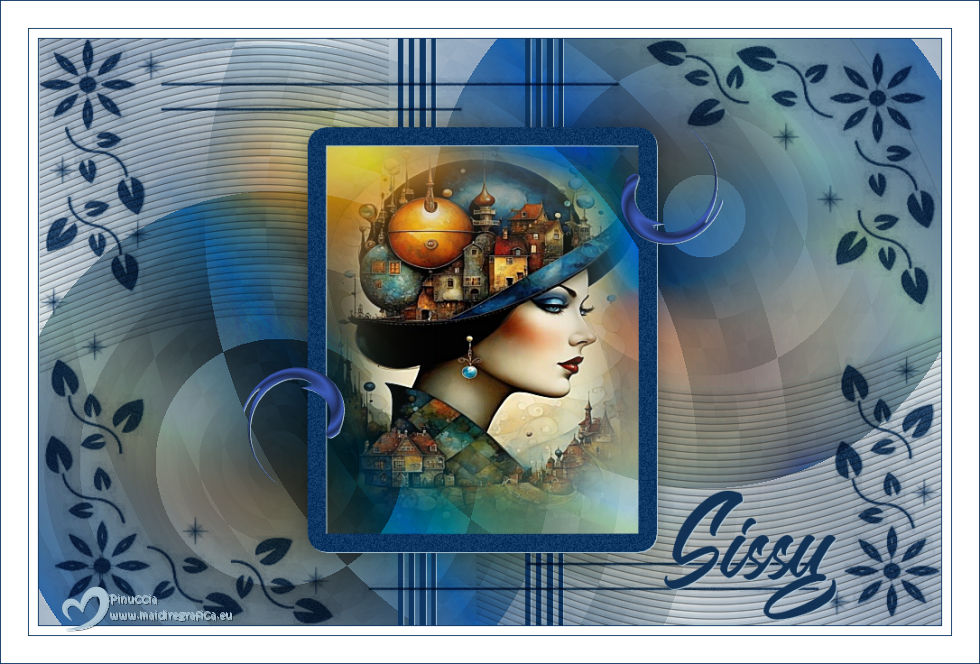
SISSY


Thanks Estela for your invitation to translate your tutorials into english

This tutorial, created with PSP2022, was translated with PspX7, but it can also be made using other versions of PSP.
Since version PSP X4, Image>Mirror was replaced with Image>Flip Horizontal,
and Image>Flip with Image>Flip Vertical, there are some variables.
In versions X5 and X6, the functions have been improved by making available the Objects menu.
In the latest version X7 command Image>Mirror and Image>Flip returned, but with new differences.
See my schedule here
 French Translation here French Translation here
 Your versions here Your versions here

For this tutorial, you will need:

Material is by Estela Fonseca.
(The links of the tubemakers here).
*It is forbidden to remove the watermark from the supplied tubes, distribute or modify them,
in order to respect the work of the authors

consult, if necessary, my filter section here
Filters Unlimited 2.0 here
Filter Factory Gallery C - Interference here
Filters Factory Gallery can be used alone or imported into Filters Unlimited.
(How do, you see here)
If a plugin supplied appears with this icon  it must necessarily be imported into Unlimited it must necessarily be imported into Unlimited

You can change Blend Modes according to your colors.
In the newest versions of PSP, you don't find the foreground/background gradient (Corel_06_029).
You can use the gradients of the older versions.
The Gradient of CorelX here

Copy the selections in the Selections Folder.
Open the mask in PSP and minimize it with the rest of the material.
1. Set your foreground color to #a63934.
and your background color to #d9c9bc
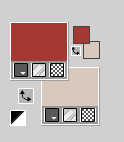
Set your foreground color to a Foreground/Background Gradient, style Linear.
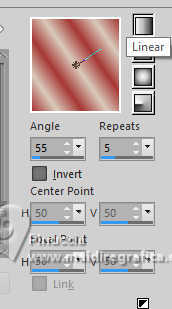
2. Open a new transparent image 1000 x 650 pixels.
Flood Fill  the transparent image with your Gradient. the transparent image with your Gradient.
3. Selections>Select All.
Layers>New Raster Layer.
Open the tube EF-Tube_450 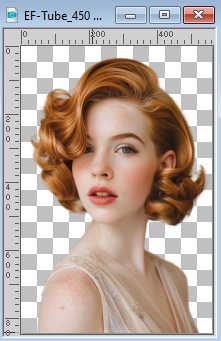
Edit>Copy.
Go back to your work and go to Edit>Paste into Selection.
Selections>Select None.
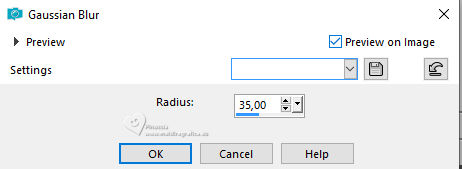
4. Adjust>Blur>Gaussian Blur - radius 35.
Change the Blend Mode of this layer to Hard Light.
Layers>Merge>Merge Down.
5. Layers>Duplicate.
Effects>Plugins>Filters Unlimited 2.0 - Filter Factory Gallery C - Interference.
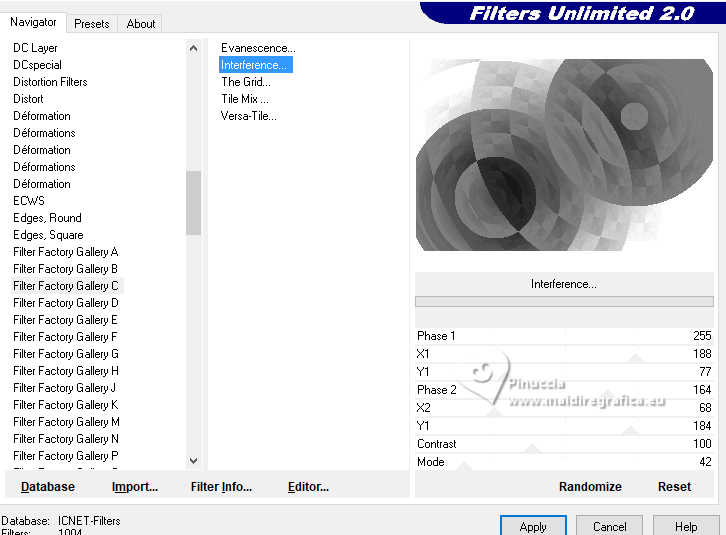
Change the Blend Mode to Luminance and reduce the opacity to 65%.
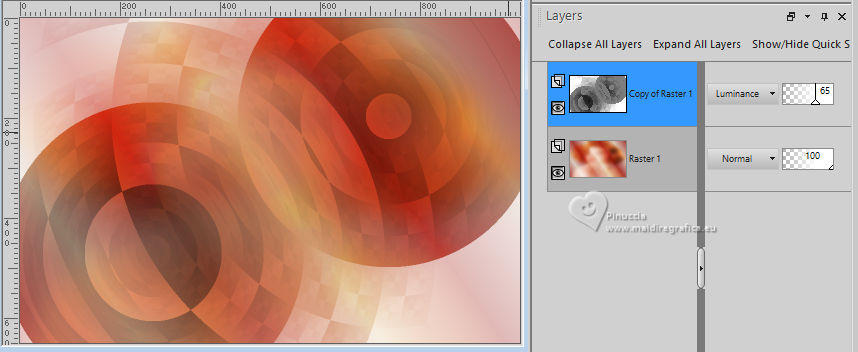
Layers>Merge>Merge Down.
Adjust>Sharpness>Sharpen.
6. Layers>New Raster Layer.
Selections>Load/Save Selection>Load Selection from Disk.
Look for and load the selection Sissy_1
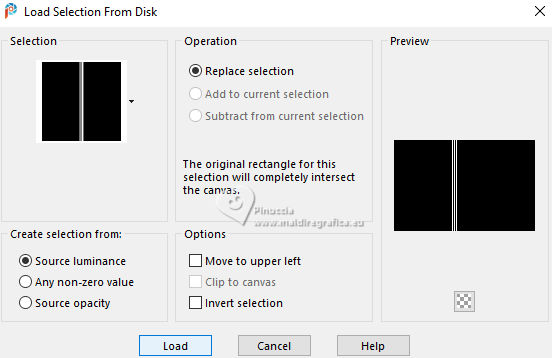
Set your foreground color to Color.
Flood Fill  the selection with your foreground color. the selection with your foreground color.
Selections>Select None.
7. Effects>3D Effects>Drop Shadow, background color.
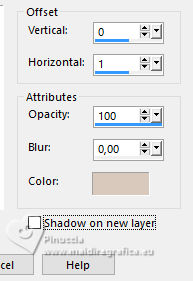
8. Layers>New Raster Layer.
Selections>Load/Save Selection>Load Selection from Disk.
Look for and load the selection Sissy_2
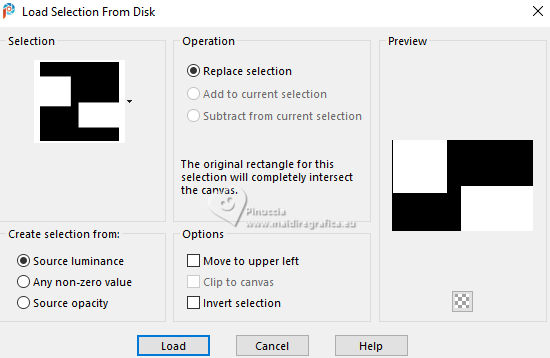
Set your foreground color to white #ffffff.
Flood Fill  the selection with color white. the selection with color white.
9. Adjust>Blur>Gaussian Blur - radius 100.
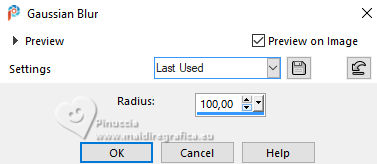
Reduce the opacity of this layer to 50%.
10. Effects>Texture Effects>Blinds - foreground color.
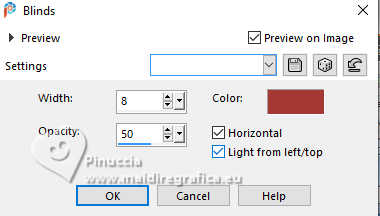
Change the Blend Mode of this layer to Multiply.
Effects>Edge Effects>Enhance More.
Selections>Select None.
11. Effects>Distortion Effects>Wave.
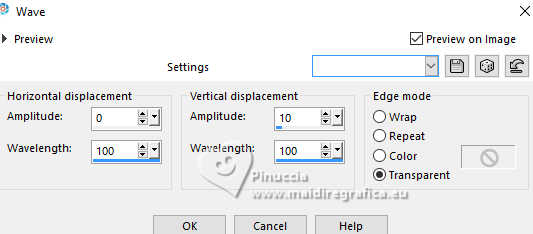
12. Layers>New Raster Layer.
Set again your foreground color to #a63934.
Flood Fill  the layer with your foreground color. the layer with your foreground color.
13. Layers>New Mask layer>From image
Open the menu under the source window and you'll see all the files open.
Select the mask EF-Mask_Sissy
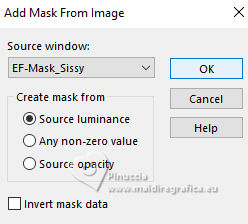
Layers>Merge>Merge Group.
Effects>3D Effects>Drop Shadow, same settings.
Change the Blend Mode of this layer to Multiply.
14. Adjust>Add/Remove Noise>Add Noise.
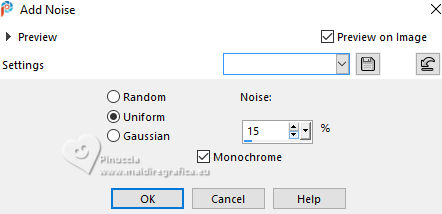
15. Activate the layer Raster 2.
Layers>Duplicate.
K key to activate your Pick Tool 
Position X: 539,00 - Position Y: 0,00.

M key to deselect the Tool.
Layers>Merge>Merge Down.
16. Activate the layer Raster 1.
Selection Tool 
(no matter the type of selection, because with the custom selection your always get a rectangle)
clic on the Custom Selection 
and set the following settings.
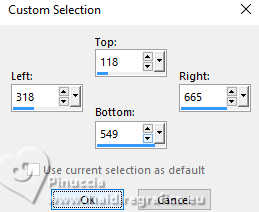
Selections>Promote Selection to Layer.
Layers>Arrange>Bring to Top.
17. Adjust>Hue and Saturation>Vibrancy.
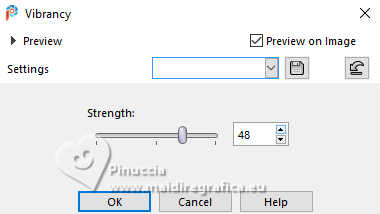
18. Layers>New Raster Layer.
The woman's tube EF-Tube_450 is still in memory: Edit>Paste into Selection.
Adjust>Sharpness>Sharpen More.
Layers>Merge>Merge Down.
19. Selections>Modify>Select Selection Borders.
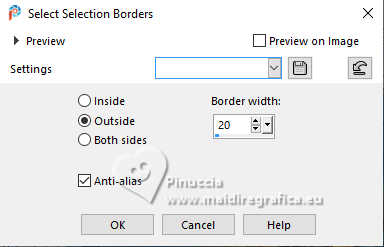
20. Layers>New Raster Layer.
Flood Fill  the layer with your foreground color. the layer with your foreground color.
21. Adjust>Add/Remove Noise>Add Noise.

Selections>Select None.
22. Effects>3D Effects>Drop Shadow, background color.
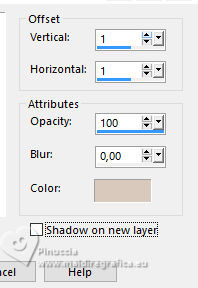
Layers>Merge>Merge Down.
23. Effects>3D Effects>Drop Shadow, color black.

24. Open the tube EF-Sissy_Texto 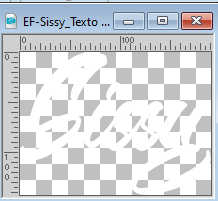
Edit>Copy.
Go back to your work and go to Edit>Pate as new layer.
Move  the texte to the right, or to your liking. the texte to the right, or to your liking.
25. Effects>3D Effects>Drop Shadow, background color.

26. Image>Add borders, 1 pixel, symmetric, foreground color.
Image>Add borders, 10 pixels, symmetric, color white.
Image>Add borders, 1 pixel, symmetric, foreground color.
Image>Add borders, 30 pixels, symmetric, color white.
Image>Add borders, 1 pixel, symmetric, foreground color.
27. Open the tube EF-Sissy_Deco_1 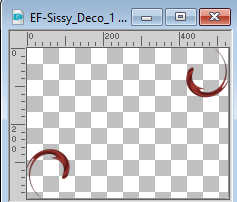
Edit>Copy.
Go back to your work and go to Edit>Paste as new layer.
Place  correctly the tube. correctly the tube.
28. Effects>3D Effects>Drop shadow, same settings.

29. Sign your work.
Image>Resize, 980 pixels width, resize all layes checked.
30. Save as jpg.
For the tube of this version thanks Renée

If you have problems or doubts, or you find a not worked link,
or only for tell me that you enjoyed this tutorial, write to me.
29 Novembre 2024

|


