|
SOMEONE


Thanks Estela for your invitation to translate your tutorials into english

This tutorial, created with PSP2022, was translated with PspX7, but it can also be made using other versions of PSP.
Since version PSP X4, Image>Mirror was replaced with Image>Flip Horizontal,
and Image>Flip with Image>Flip Vertical, there are some variables.
In versions X5 and X6, the functions have been improved by making available the Objects menu.
In the latest version X7 command Image>Mirror and Image>Flip returned, but with new differences.
See my schedule here
 French Translation here French Translation here
 Your versions here Your versions here

For this tutorial, you will need:

Images by Pinterest.
(The links of the tubemakers here).

consult, if necessary, my filter section here
Filters Unlimited 2.0 here
&<Bkg Designer sf10II> - DIS Refractor 2 (à importer dans Unlimited) here
Mura's Meister - Perspective Tiling here
Graphics Plus - Vertical Mirror here
Simple - Left Right Wrap, Top Bottom Wrap here
Mura's Seamless - Emboss at Alpha here
Filters Graphics Plus, Mura's Seamless and Simple can be used alone or imported into Filters Unlimited.
(How do, you see here)
If a plugin supplied appears with this icon  it must necessarily be imported into Unlimited it must necessarily be imported into Unlimited

You can change Blend Modes according to your colors.
In the newest versions of PSP, you don't find the foreground/background gradient (Corel_06_029).
You can use the gradients of the older versions.
The Gradient of CorelX here

Set your foreground color to #8fbbd8,
and your background color to #203a53.
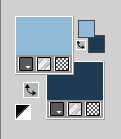
1. Open a new transparent image 1000 x 650 pixels.
Activate your Selection Tool 
(no matter the type of selection, because with the custom selection your always get a rectangle)
clic on the Custom Selection 
and set the following settings.
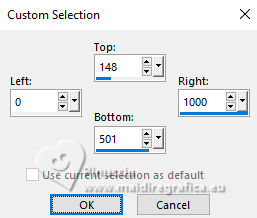
Flood Fill  the selection with your foreground color #8fbbd8. the selection with your foreground color #8fbbd8.
2. Selections>Invert.
Flood Fill  the selection with your background color #203a53. the selection with your background color #203a53.
Selections>Select None.
We have this
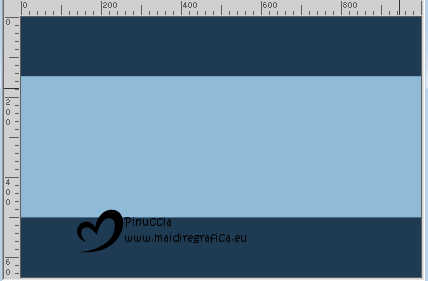
3. Adjust>Blur>Gaussian Blur - radius 30.

Effects>Plugins>Filters Unlimited 2.0&<Bkg Designer sf10II> - DIS Refractor 2.
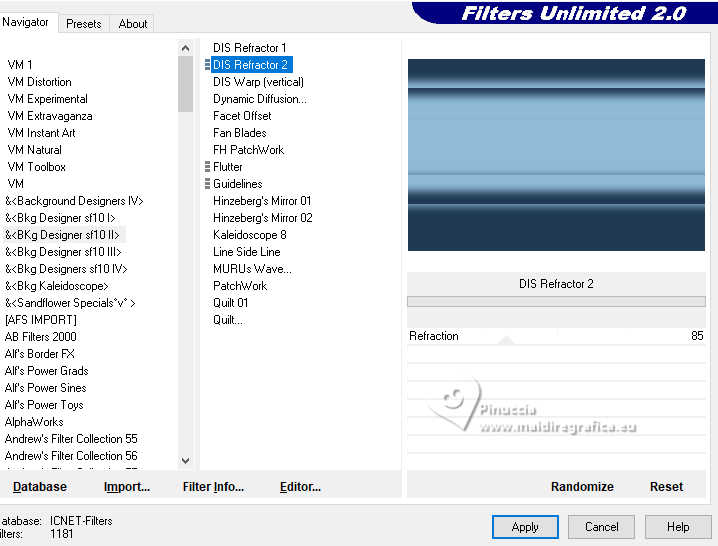
4. Repeat Effects>Plugins>Filters Unlimited 2.0&<Bkg Designer sf10II> - DIS Refractor 2, default settings.
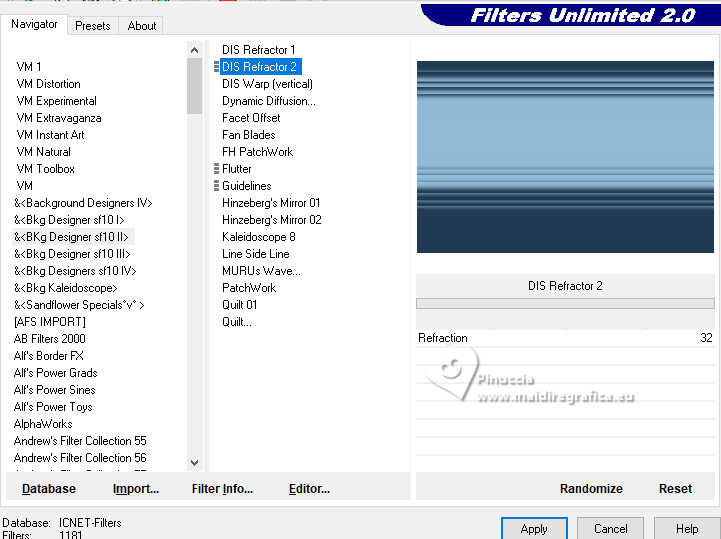
5. Layers>Duplicate.
Effects>Plugins>Mura's Meister - Perspective Tiling.
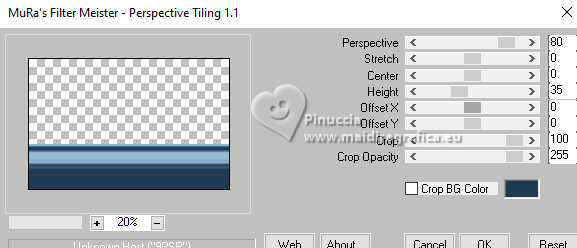
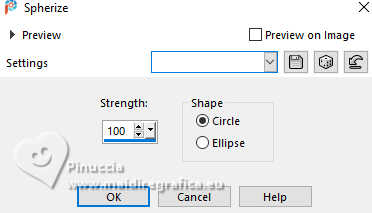
6. Effects>Geometric Effects>Spherize.
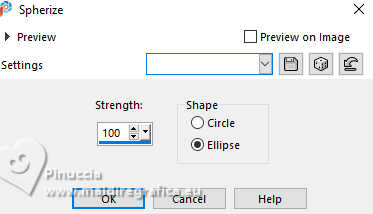
Repeat Effects>Geometric Effects>Spherize, ellipse checked.
We have this

7. Layers>Duplicate.
Image>Mirror>Mirror vertical (Image>Flip).
Layers>Merge>Merge Down.
8. Activate the layer Raster 1.
Effects>Reflection Effects>Feedback.
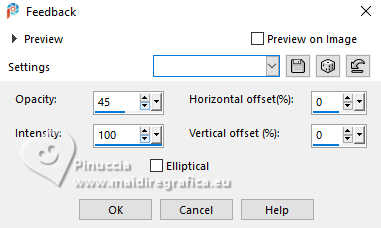
9. Effects>Plugins>Graphic Plus - Vertical Mirror.

10. Effects>Image Effects>Seamless Tiling.

11. Activate your top layer, Copy of Raster 1.
Effects>Plugins>Simple - Left Right Wrap.
This effect works without window; result
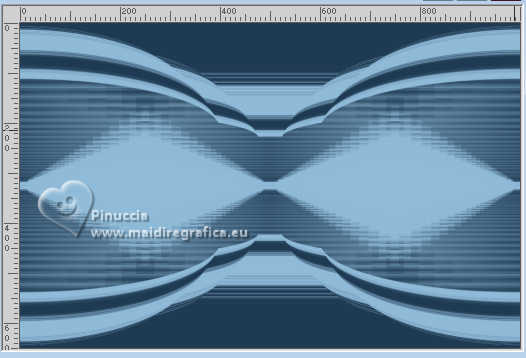
12. Effects>Image Effects>Seamless Tiling, same settings.

13. Effects>Plugins>Filters Unlimited 2.0 - Paper Textures - Canvas Fine.
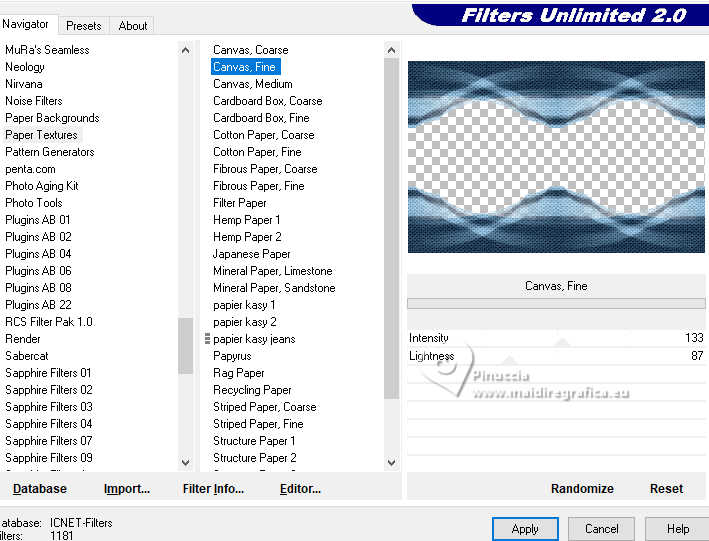
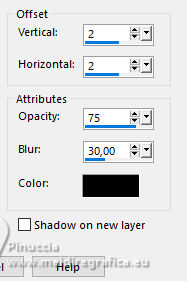
14. Effects>3D Effects>Drop Shadow, color #000000.
15. Effects>Plugins>Simple - Top Bottom Wrap.
Also this effect works without window; result
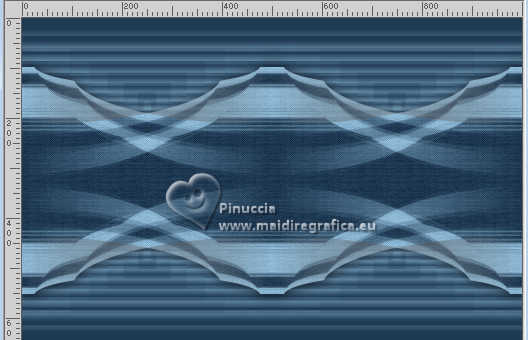
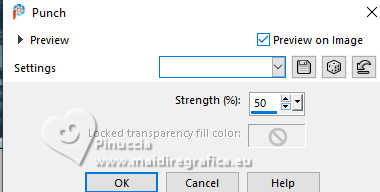
16. Effects>Distortion Effects>Punch.
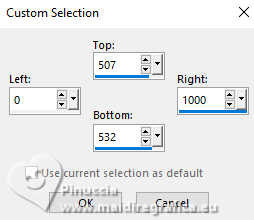
17. Layers>New Raster Layer.
Custom Selection 
18. Set your foreground color to a Foreground/Background Gradient, style Linear.
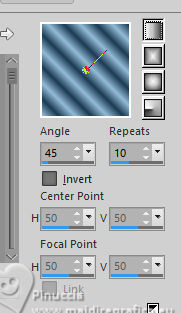
Flood Fill  the selection with your Gradient. the selection with your Gradient.
Selections>Select None.
19. Effects>Plugins>Mura's Seamless - Emboss at Alpha, default settings.

20. Effects>Reflection Effects>Kaleidoscope.
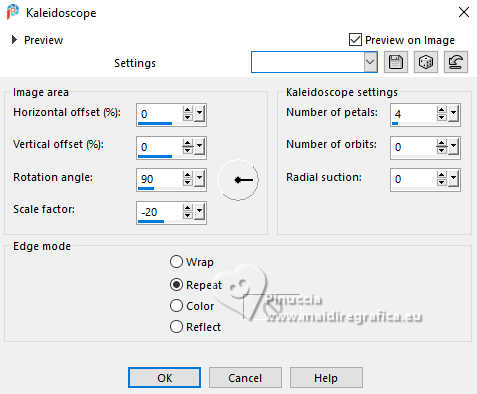
21. Open EF-Someone_Deco_1 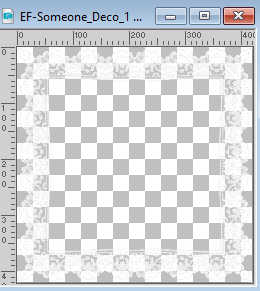
Edit>Copy.
Go back to your work and go to Edit>Paste as new layer.
Adjust>Sharpness>Sharpen.
22. Effects>3D Effects>Drop Shadow, background color #203a53.
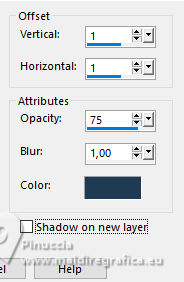
Layers>Merge>Merge Down.
23. Activate your Magic Wand Tool 
and click in the frame to select it.
Layers>New Raster Layer.
Open the image grafico 
Edit>Copy.
Go back to your work and go to Edit>Paste into Selection.
Adjust>Sharpness>Sharpen.
24. Layers>New Raster Layer.
Effects>3D Effects>Cutout.
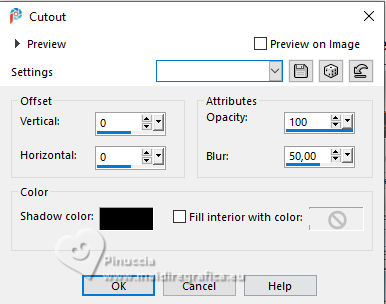
Selections>Select None.
25. Layers>Merge>Merge Down - 2 times.
26. Layers>Duplicate.
Image>Resize, to 50%, resize all layers not checked.
Move  the image as in my example. the image as in my example.
Pick Tool 
Position X: 718,00 - Position Y: 24,00.

27. Layers>Duplicate.
Position X: 64,00 - Position Y: 411,00.

Layers>Merge>Merge Down.
Adjust>Sharpness>Sharpen More.
28. Open EF-Someone_Deco_2 
Edit>Copy.
Go back to your work and go to Edit>Paste as new layer.
29. Open EF-Someone_Deco_3 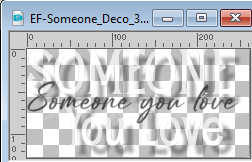
Edit>Copy.
Go back to your work and go to Edit>Paste as new layer.
Move  the text to your liking. the text to your liking.
Reduce the opacity of this layer to 67%.
30. Image>Add Borders, 2 pixels, symmetric, color white.
Edit>Copy
31. Open EF-Someone_Frame 
The image has an active selection.
Edit>Paste into Selection.
32. Layers>New Raster Layer.
Effects>3D Effects>Cutout, same settings.

Selections>Select None.
33. Sign your work on a new layer.
Layers>Merge>Merge All and save as jpg.
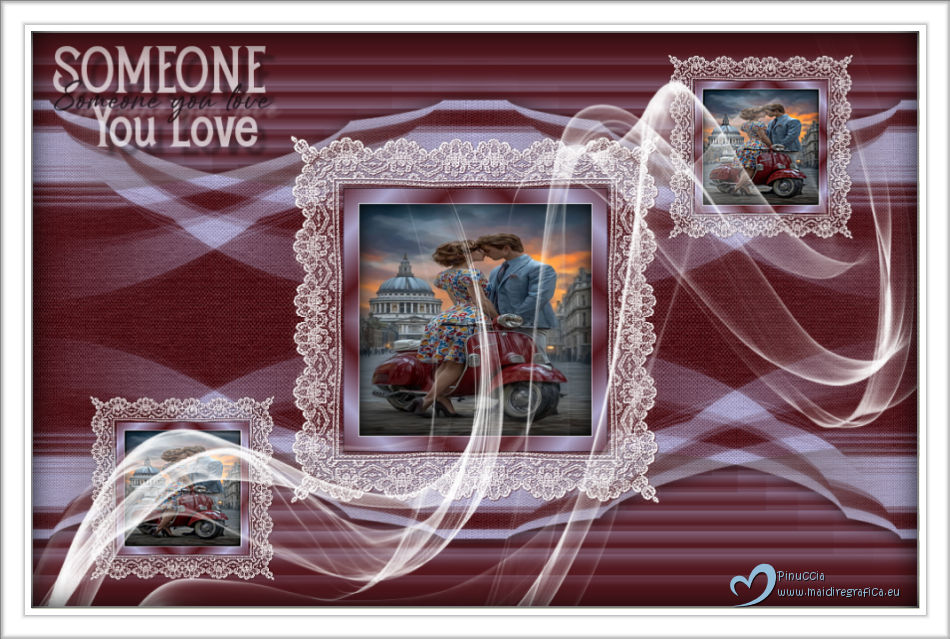
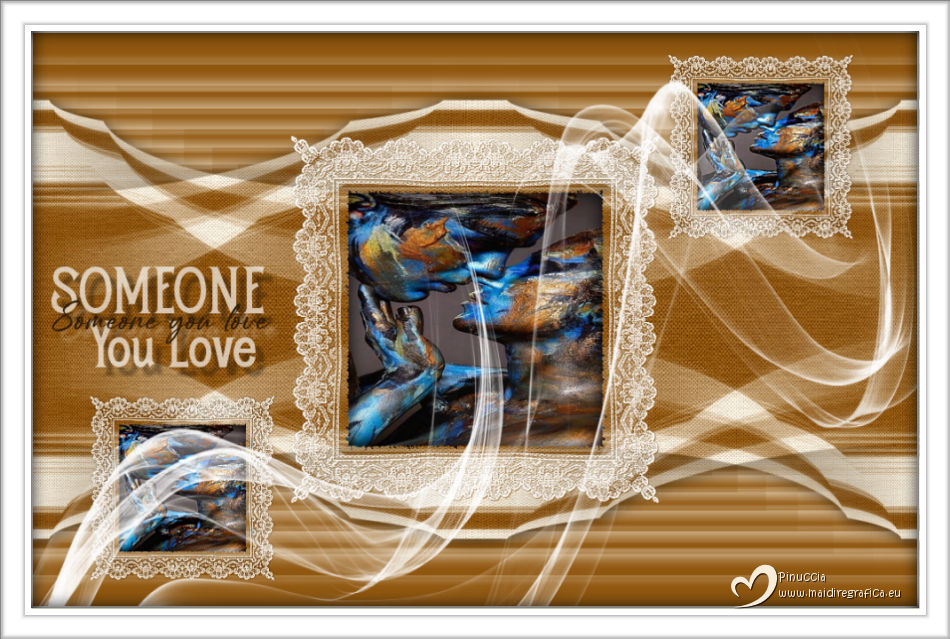

If you have problems or doubts, or you find a not worked link,
or only for tell me that you enjoyed this tutorial, write to me.
9 October 2025

|


