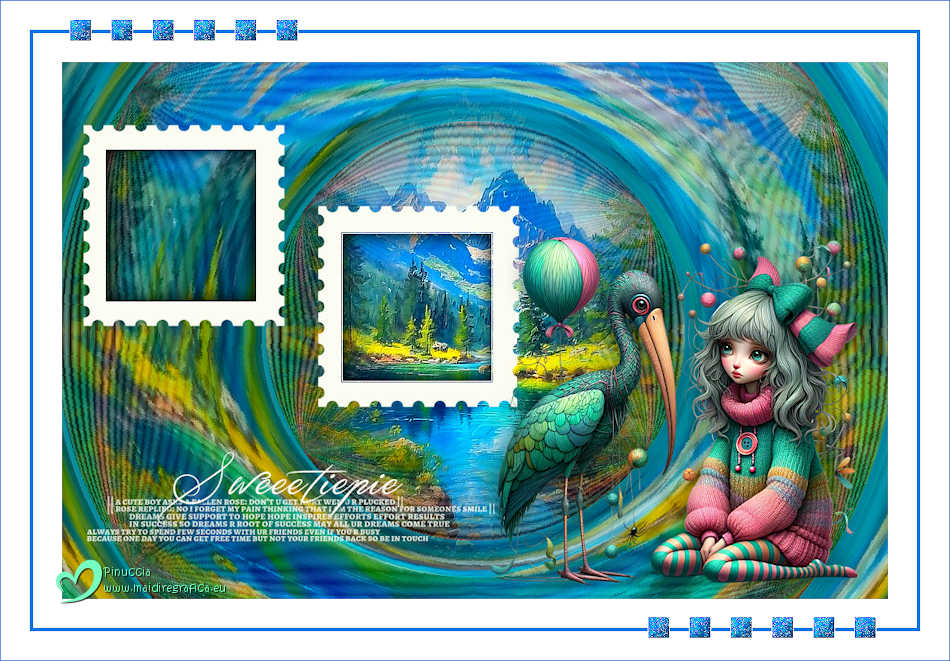
|
SWEETIE PIE


Thanks Estela for your invitation to translate your tutorials into english

This tutorial, created with PSP2022, was translated with PspX7, but it can also be made using other versions of PSP.
Since version PSP X4, Image>Mirror was replaced with Image>Flip Horizontal,
and Image>Flip with Image>Flip Vertical, there are some variables.
In versions X5 and X6, the functions have been improved by making available the Objects menu.
In the latest version X7 command Image>Mirror and Image>Flip returned, but with new differences.
See my schedule here
 French Translation here French Translation here
 Your versions here Your versions here

For this tutorial, you will need:

Material by Estela Fonseca.
(The links of the tubemakers here).
*It is forbidden to remove the watermark from the supplied tubes, distribute or modify them,
in order to respect the work of the authors

consult, if necessary, my filter section here
Filters Unlimited 2.0 here
VM Distortion - Circulator here
&<Background Designers IV> - @Night Shadow Pool (to import in Unlimited) here
Filter Factory Gallery D - Vortex here
Flaming Pear - Flexify 2 here
FM Tile Tools - Blend Emboss, Saturation Emboss here
AAA Filters - Custom here
Filters Mock can be used alone or imported into Filters Unlimited.
(How do, you see here)
If a plugin supplied appears with this icon  it must necessarily be imported into Unlimited it must necessarily be imported into Unlimited

You can change Blend Modes according to your colors.

Copy the selections in the Selections Folder.
1. Open the background image EF-Sweetie_Pie_Fundo 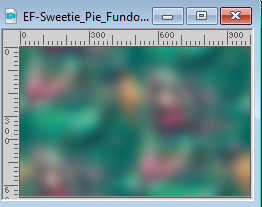
Window>Duplicate.
Close the original.
The copy will be the basis of your work.
Layers>Promote Background Layer, Raster 1.
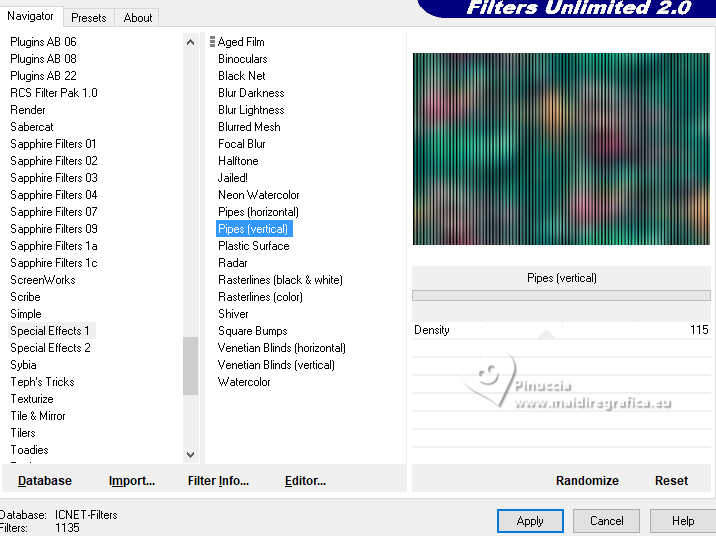
2. Effects>Plugins>Filters Unlimited 2.0 - Special Effects 1 - Pipes (vertical).
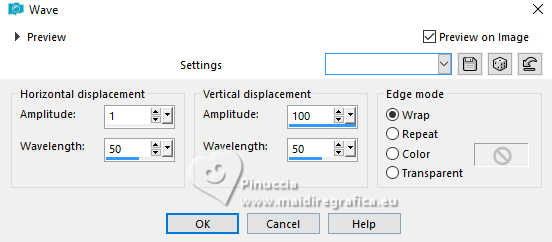
3. Effects>Distortion Effects>Wave.
4. Effects>Plugins>Flaming Pear - Flexify 2.
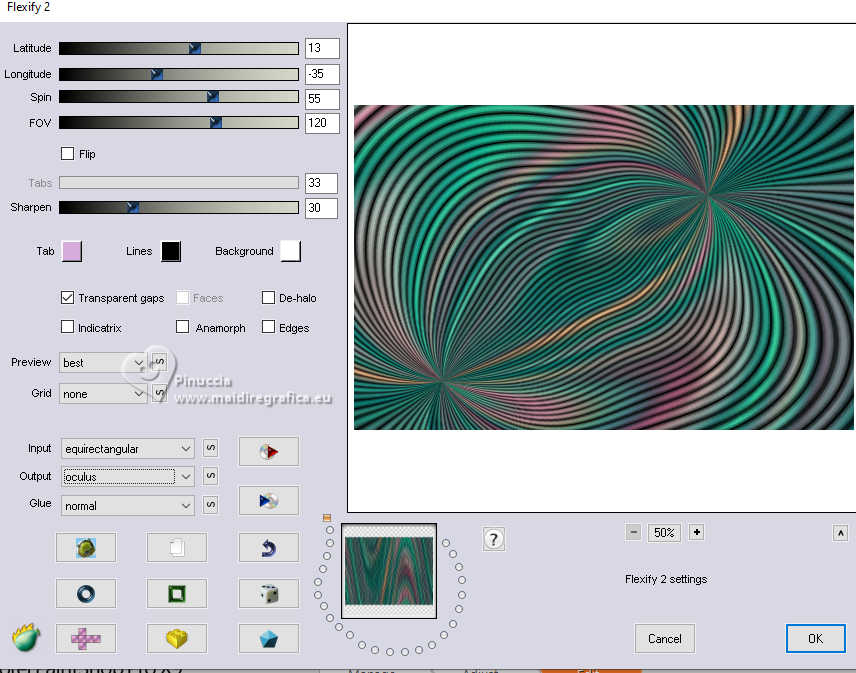
5. Effects>Plugins>Filters Unlimited 2.0 - Tile & Mirror - Mirror (vertical)...
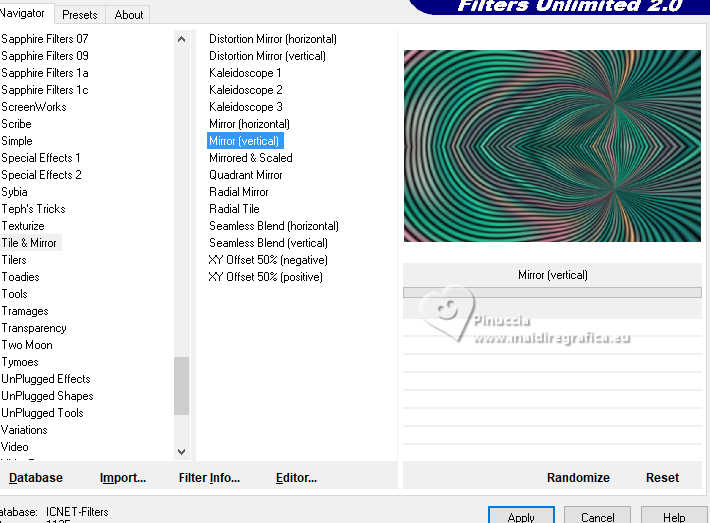
6. Effects>Reflection Effects>Rotating Mirror, default settings.

7. Layers>Duplicate.
Effects>Plugins>Filters Unlimited 2.0 - VM Distortion - Circulator
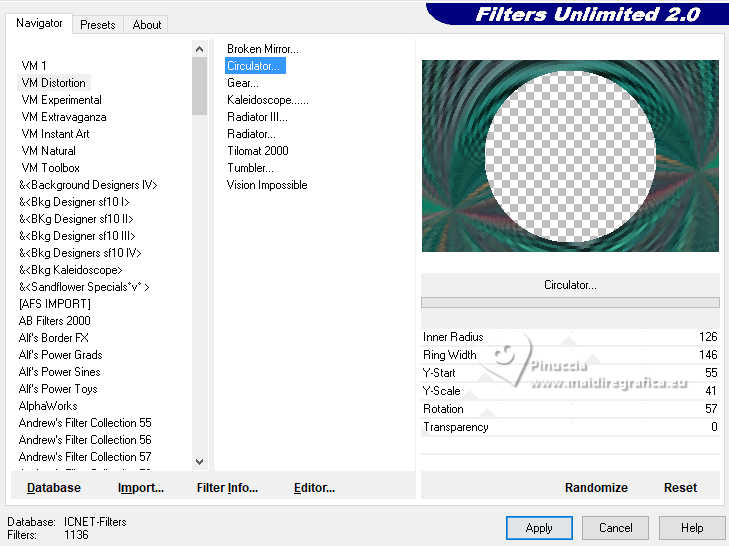
8. Adjust>Add/Remove Noise>Add Noise.
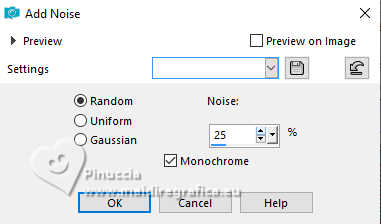
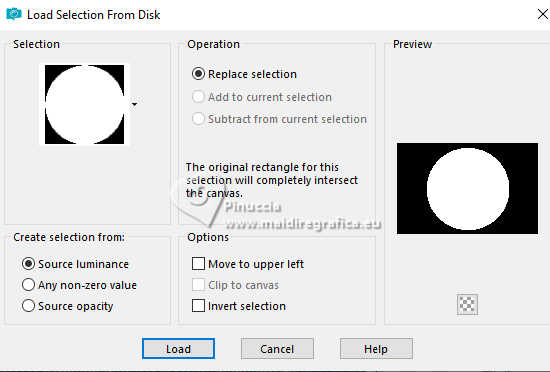
9. Selections>Load/Save Selection>Load Selection from Disk.
Look for and load the selection EF-Sweetie_Pie_1
10. Set your foreground color to #00625f  . .
Layers>New Raster Layer.
Flood Fill  the selection with your foreground color #00625f. the selection with your foreground color #00625f.
11. Selections>Modify>Contract - 10 pixels.
Press CANC on the keyboard 
Selections>Select None.
12. Effects>3D Effects>Inner Bevel.
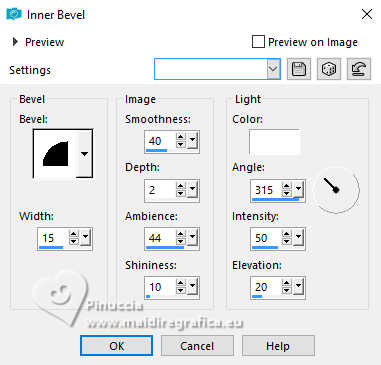
Effects>Edge Effects>Erode.
13. Layers>Duplicate.
Image>Resize, to 95%, resize all layers not checked.
Layers>Merge>Merge Down.
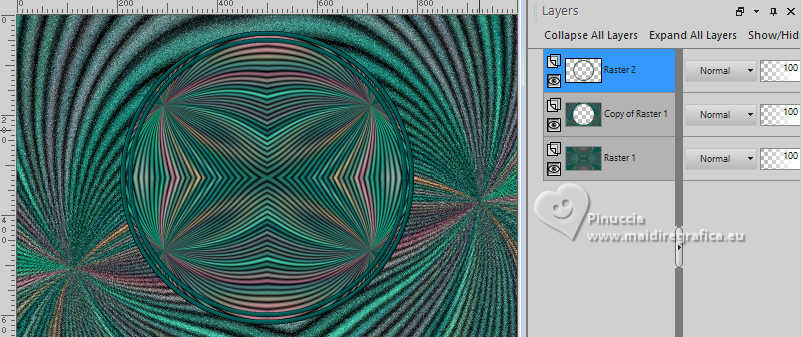
14. You should have this:
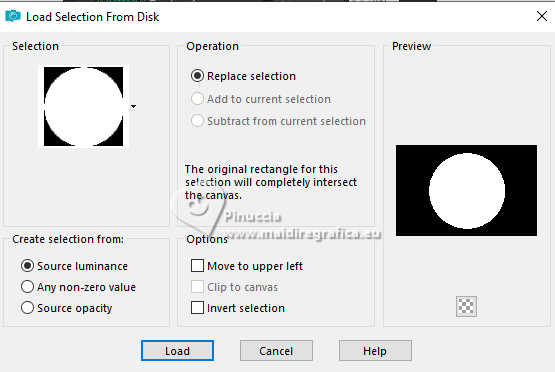
15. Selections>Load/Save Selection>Load Selection from Disk.
Look for and load the selection EF-Sweetie_Pie_2
16. Layers>New Raster Layer.
Open the tube Misted_Paisagem 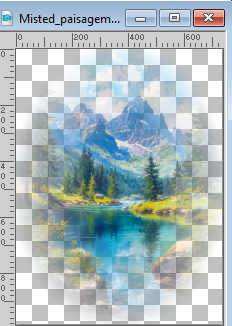
Edit>Copy.
Go back to your work and go to Edit>Paste into Selection.
Layers>Duplicate.
Layers>Merge>Merge Down.
Keep selected.
17. Layers>New Raster Layer.
Effects>3D Effects>Cutout.
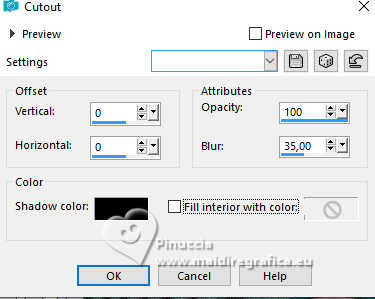
Selections>Select None.
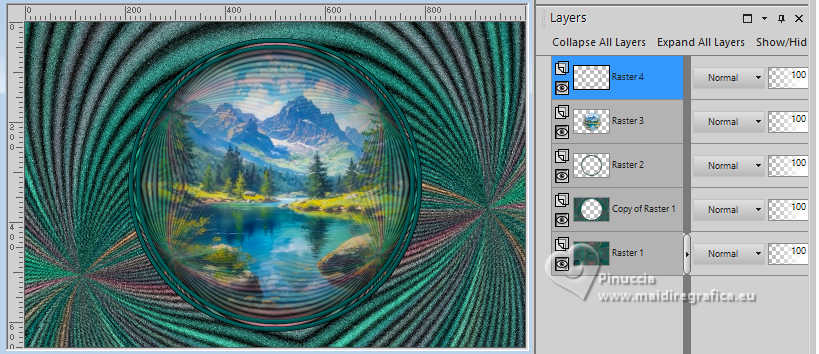
18. Layers>Merge>Merge Down - 2 times.
19. Activate the central layer, Copy of Raster 1.
Effects>Plugins>Filters Unlimited 2.0 - &<Background Designers IV> - @Night Shadow Pool, default settings.
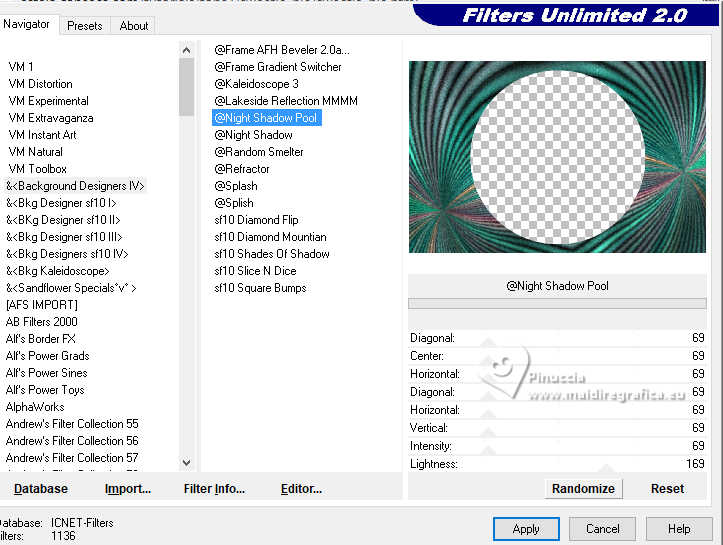
20. Activate your top layer.
Adjust>Hue and Saturation>Vibrancy.
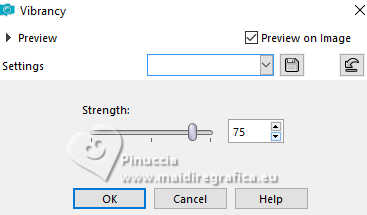
Layers>Merge>Merge Down.
Reduce the opacity of this layer to 79%.
Layers>Merge>Merge Down.
21. Effects>Plugins>Filters Unlimited 2.0 - Filter Factory Gallery D - Vortex
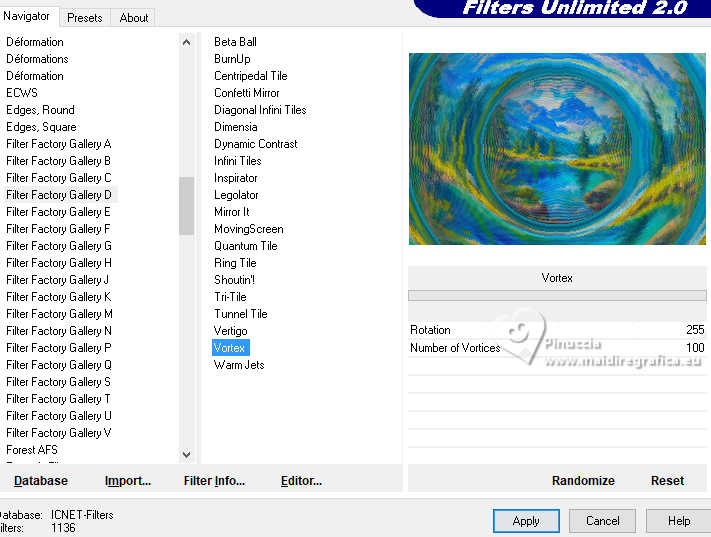
22. Edit>Paste as new layer - the landscape misted is still in memory.
Image>Resize, to 60%, resize all layers not checked.
Adjust>Sharpness>Sharpen.
23. Effects>Plugins>FM Tile Tools - Saturation Emboss, default.

24. Open EF-Sweetie_Pie_Deco_1 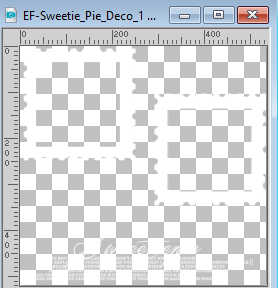
Edit>Copy.
Go back to your work and go to Edit>Paste as new layer.
K key to activate your Pick Tool 
Position X: 18,00 - Position Y: 71,00.

M key to deselect the Tool.
25. Effects>Plugins>FM Tile Tools - Blend Emboss, defaut settings.

26. Activate your Magic Wand Tool  , ,
and click in the squares to select them.
Layers>New Raster Layer.
Effects>3D Effects>Cutout, same settings.

Selections>Select None.
27. Open the tube EF-Tube 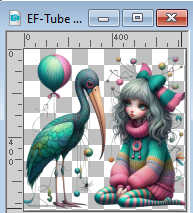
Edit>Copy.
Go back to your work and go to Edit>Paste as new layer.
Image>Resize, to 60%, resize all layers not checked.
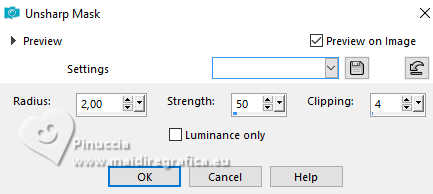
Adjust>Sharpness>Unsharp mask
Move  the tube to the right. the tube to the right.
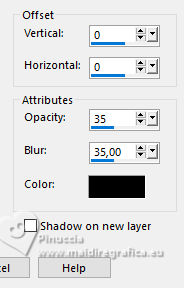
28. Effects>3D Effects>Drop Shadow, color #000000.
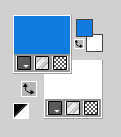
29. Set your foreground color to #137be2,
and your background color to white #ffffff.
Image>Add Borders, 35 pixels, symmetric, color #ffffff.
Image>Add Borders, 4 pixels, symmetric, foreground color #137be2.
Image>Add Borders, 35 pixels, symmetric, color #ffffff.
30. Layers>New Raster Layer.
Selections>Load/Save Selection>Load Selection from Disk.
Look for and load the selection EF-Sweetie_Pie_3
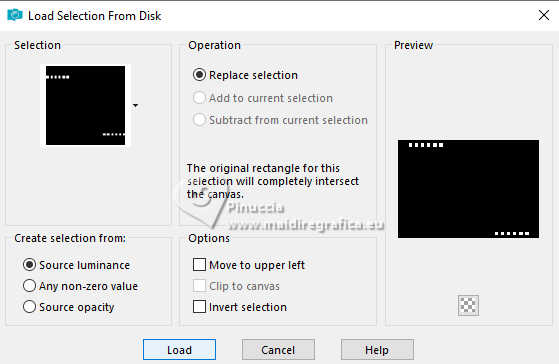
Flood Fill  the selection with your background color #ffffff the selection with your background color #ffffff
Selections>Modify>Contract - 1 pixel.
Flood Fill  the selection with your foreground color #137be2. the selection with your foreground color #137be2.
31. Adjust>Add/Remove Noise>Add Noise, same settings.

32. Effects>3D Effects>Inner Bevel.
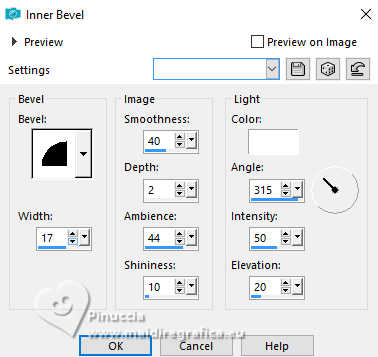
Selections>Select None.
Effects>Edge Effects>Enhance.
33. Image>Add Borders, 1 pixel, symmetric, foreground color #137be2.
34. Effects>Plugins>AAA Filters - Custom - Landscape, default settings.
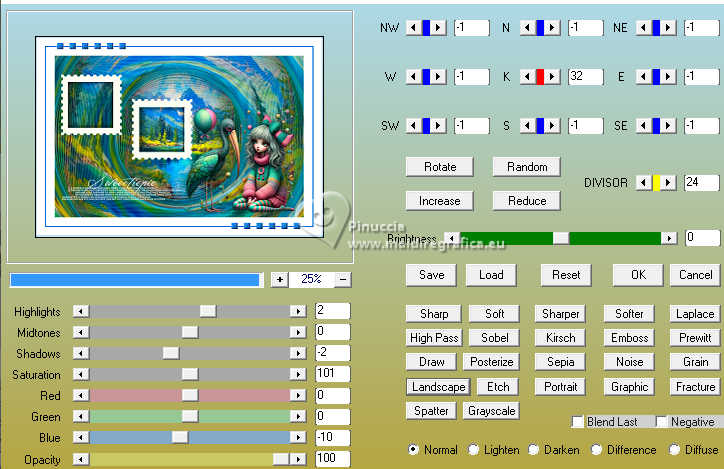
35. Sign your work on a new layer.
Layers>Merge>Merge All.
36. Image>Resize, 850 pixels width, resize all layers checked.
Save as jpg.
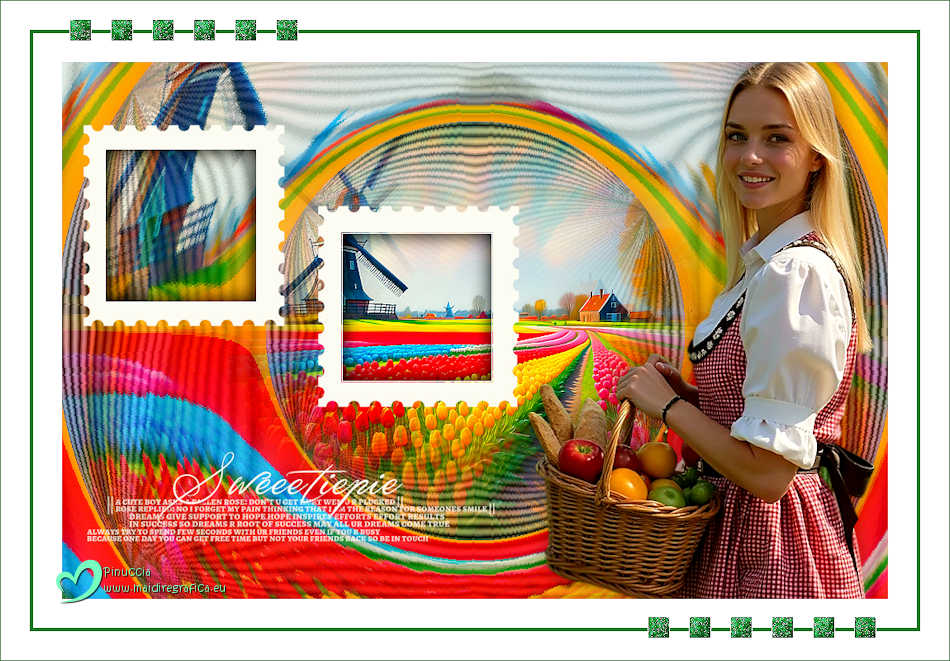
For the tube of these versions thanks
Virginia
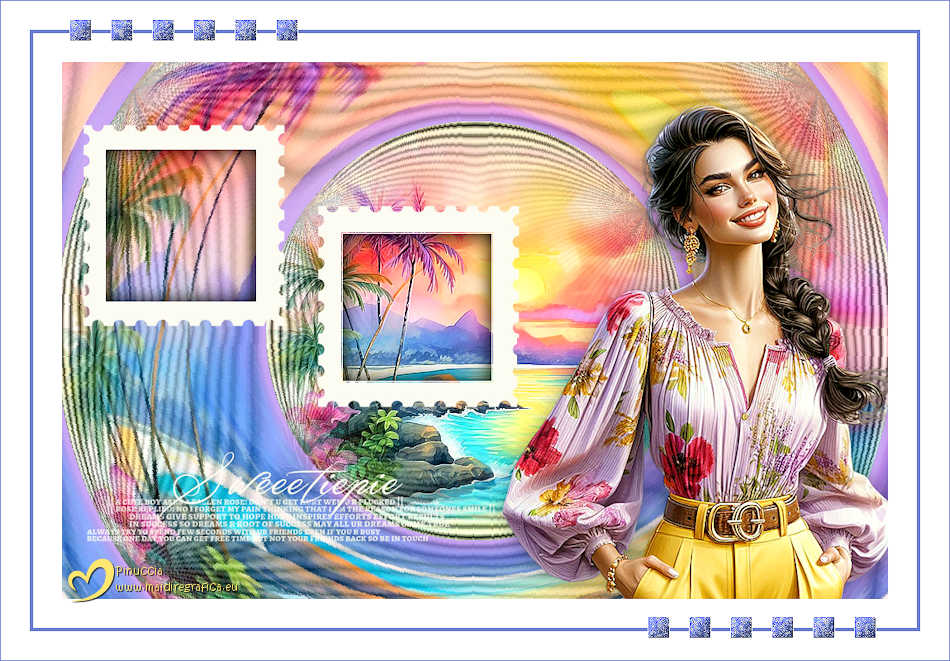
Kamil

If you have problems or doubts, or you find a not worked link,
or only for tell me that you enjoyed this tutorial, write to me.
29 May 2025

|

