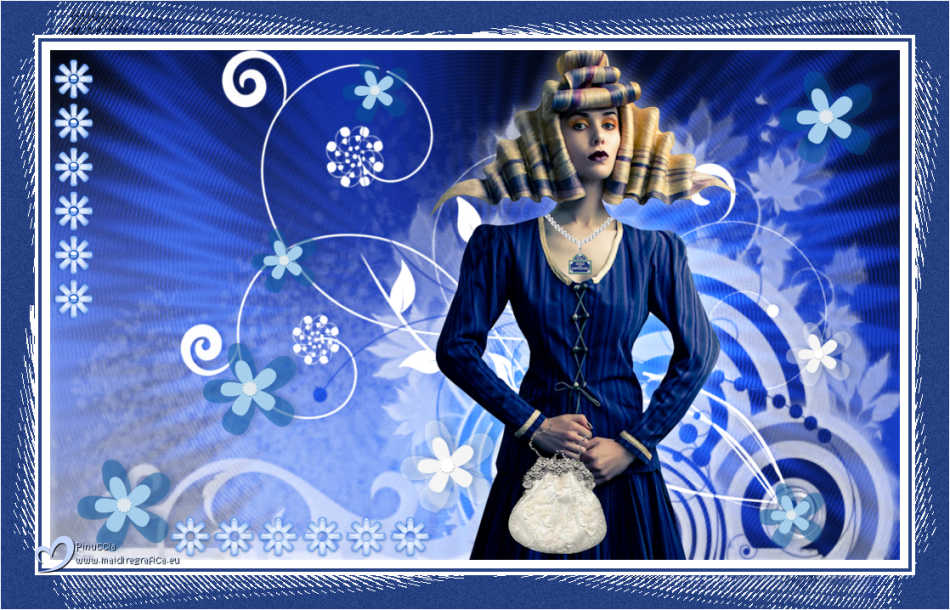
|
TIMIDEZ


Thanks Estela for your invitation to translate your tutorials into english

This tutorial, created with PSP2022, was translated with PspX7, but it can also be made using other versions of PSP.
Since version PSP X4, Image>Mirror was replaced with Image>Flip Horizontal,
and Image>Flip with Image>Flip Vertical, there are some variables.
In versions X5 and X6, the functions have been improved by making available the Objects menu.
In the latest version X7 command Image>Mirror and Image>Flip returned, but with new differences.
See my schedule here
 French Translation here French Translation here
 Your versions here Your versions here

For this tutorial, you will need:

For the tube thanks Kittys
(The links of the tubemakers here).
*It is forbidden to remove the watermark from the supplied tubes, distribute or modify them,
in order to respect the work of the authors

consult, if necessary, my filter section here
Filters Unlimited 2.0 here
Graphics Plus- Cross Shadow here
VM Distortion - Gear here
Neology - Polar Waves here
Filters Graphics Plus, VM Distortion and Neology can be used alone or imported into Filters Unlimited.
(How do, you see here)
If a plugin supplied appears with this icon  it must necessarily be imported into Unlimited it must necessarily be imported into Unlimited

You can change Blend Modes according to your colors.

Set your foreground color to #264283,
and your background color to the color black #000000.

1. Open a new transparent image 1000 x 600 pixels.
Flood Fill  the transparent image with your foreground color. the transparent image with your foreground color.
Effects>Plugins>Graphics Plus - Cross Shadow, default settings.
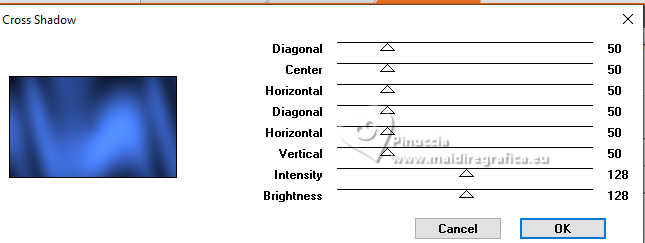
2. Effests>Plugins>Filters Unlimited 2.0 - VM Distortion Gear
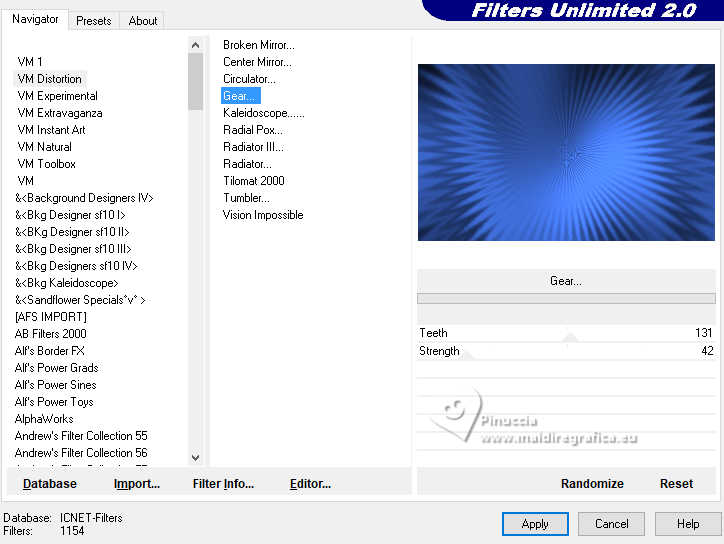
Layers>Duplicate.
Change the Blend Mode of this layer to Overlay and reduce the opacity to 85%.
4. Open EF-Timidez_Deco_1 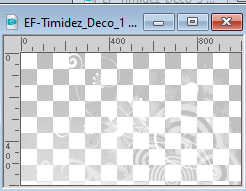
Edit>Copy.
Go back to your work and go to Edit>Paste as new layer.
Effects>3D Effects>Drop Shadow, color #000000.
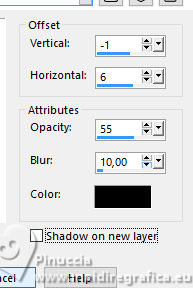
Change the Blend Mode of this layer to Overlay.
5. Open EF- Timidez_Deco_2 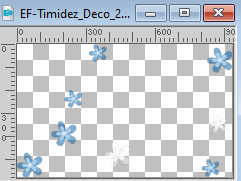
Edit>Copy.
Go back to your work and go to Edit>Paste as new layer.
(colorize to your liking).
Effects>3D Effects>Drop Shadow, foreground color #264283.
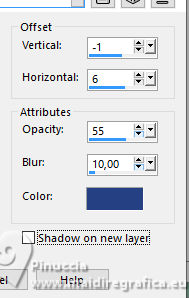
6. Open kittyshearspecial-vi 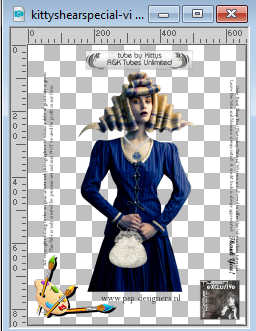
Erase the watermark et Edit>Copy.
Go back to your work and go to Edit>Paste as new layer.
Place  the tube as below the tube as below
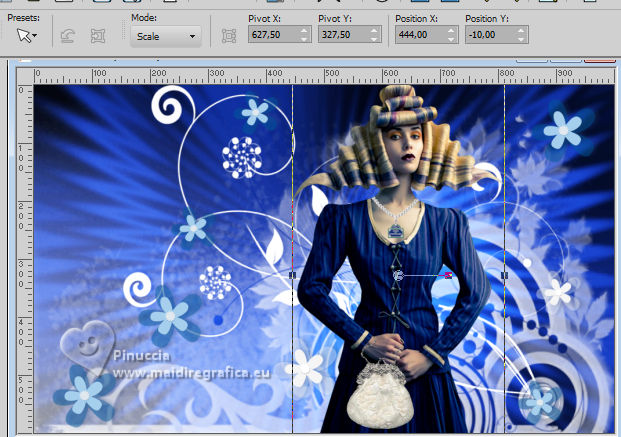
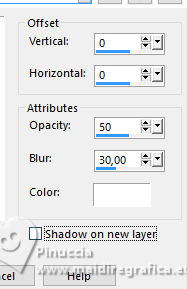
Effects>3D Effects>Drop Shadow, color #ffffff.
7. Open EF- Timidez_Deco_3 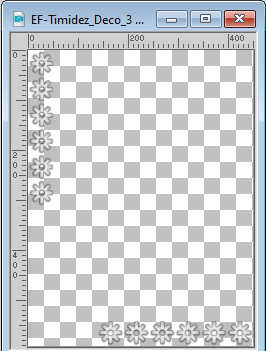
Edit>Copy.
Go back to your work and go to Edit>Paste as new layer.
Objects>Align>Left.
Objects>Align>Bottom.
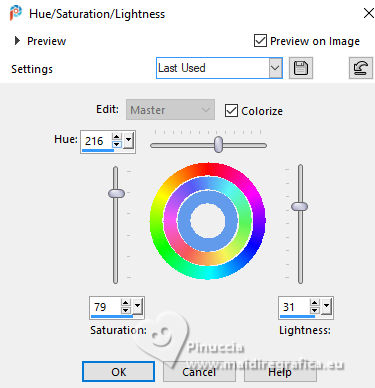
Adjust>Hue and Saturation>Hue-Saturation-Lightness.
8. Activate the layer Copy of Raster 1.
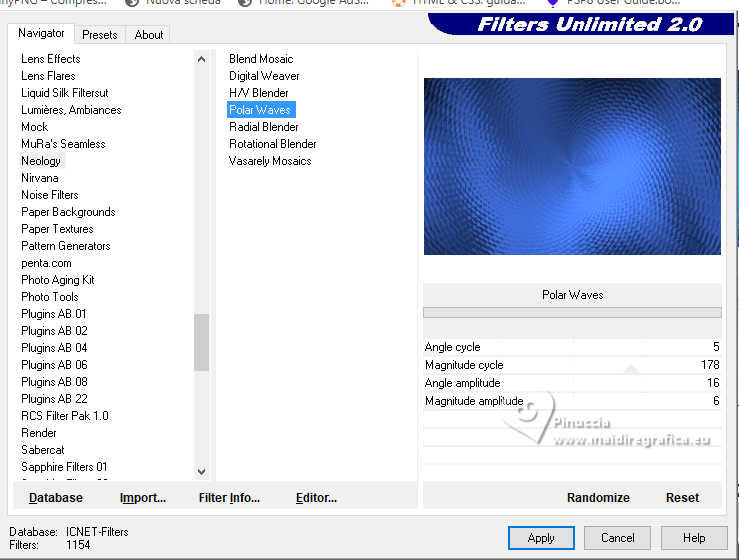
Effects>Plugins>Filters Unlimited 2.0 - Neology - Polar Waves
9. Image>Add Borders, 10 pixels, symmetric, color #ffffff.
Image>Add Borders, 4 pixels, symmetric, foreground color #264283.
Image>Add Borders, 4 pixels, symmetric, color #ffffff
10. Selections>Select All.
Image>Ajouter des bordures, 40 pixels, symmetric, foreground color.
Selections>Invert.
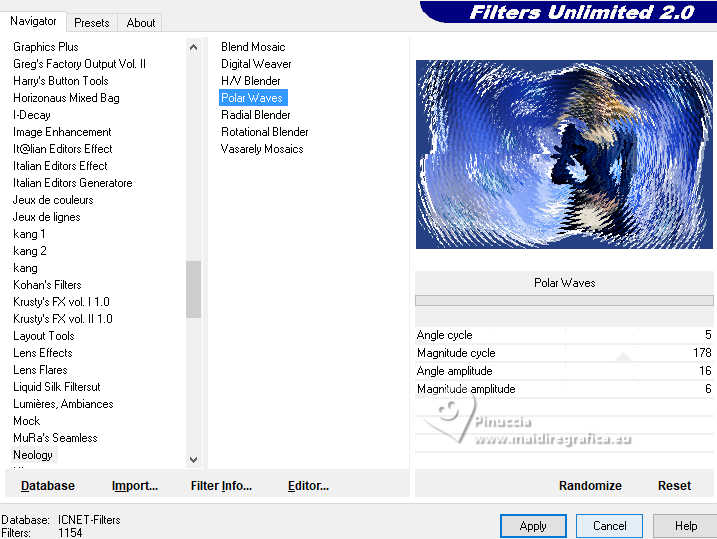
Effects>Plugins>Filters Unlimited 2.0 - Neology - Polar Waves, same settings.
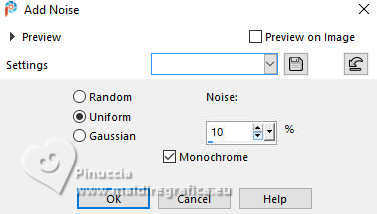
11. Adjust>Add/Remove Noise>Add Noise.
Selections>Selections>Select None.
12. Sign your work.
Image>Add Borders, 1 pixel, symmetric, color #FFFFFF.
Image>Resize, 850 pixels width, resize all layers not checked. (br>
Save as jpg.
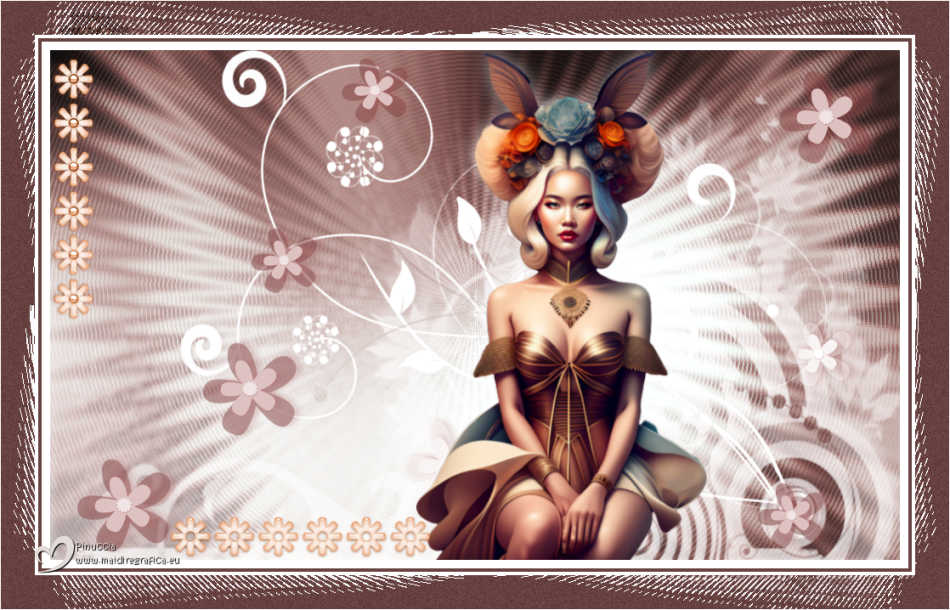
For the tube of this version thanks Renée.

If you have problems or doubts, or you find a not worked link,
or only for tell me that you enjoyed this tutorial, write to me.
2 July 2025

|

