|
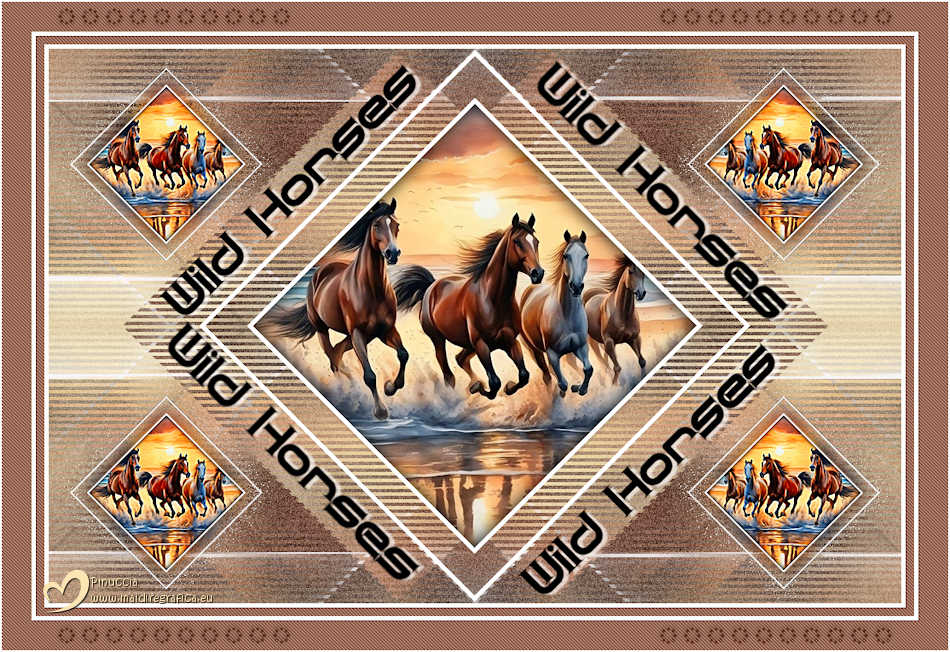
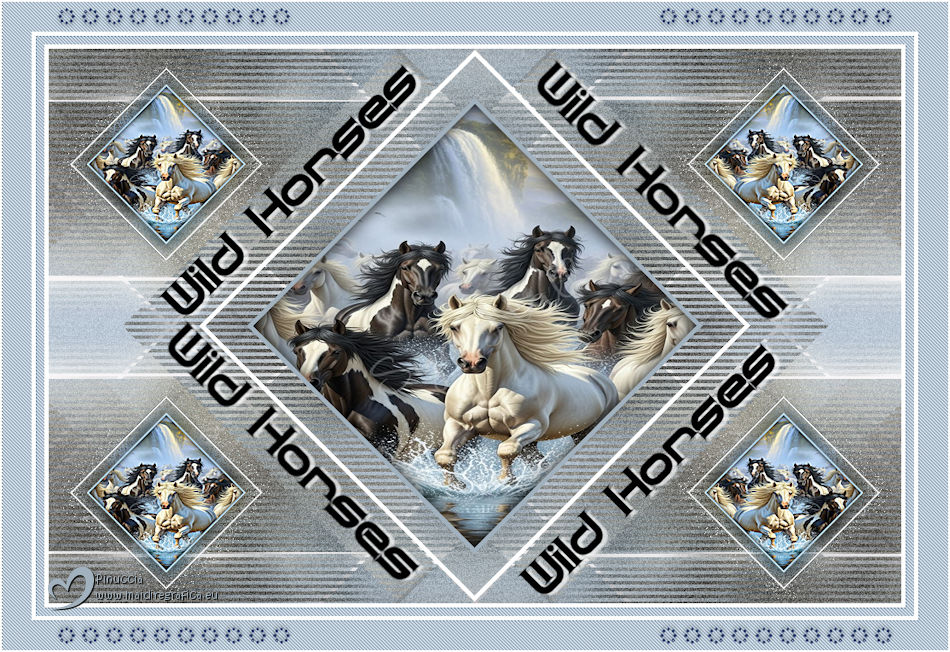
WILD HORSES


Thanks Estela for your invitation to translate your tutorials into english

This tutorial, created with PSP2022, was translated with PspX7, but it can also be made using other versions of PSP.
Since version PSP X4, Image>Mirror was replaced with Image>Flip Horizontal,
and Image>Flip with Image>Flip Vertical, there are some variables.
In versions X5 and X6, the functions have been improved by making available the Objects menu.
In the latest version X7 command Image>Mirror and Image>Flip returned, but with new differences.
See my schedule here
 French Translation here French Translation here
 Your versions here Your versions here

For this tutorial, you will need:

Images by Pinterest.
(The links of the tubemakers here).

consult, if necessary, my filter section here
Filters Unlimited 2.0 here
Simple - Blintz here
DSB Flux - Linear Transmission here
VanDerLee - Unplugged-X here
FM Tile Tools - Blend Emboss here
Penta.com - Jeans here
Filters Graphics Plus, Funhouse, Penta.com and Simple can be used alone or imported into Filters Unlimited.
(How do, you see here)
If a plugin supplied appears with this icon  it must necessarily be imported into Unlimited it must necessarily be imported into Unlimited

You can change Blend Modes according to your colors.

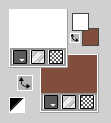
Set your foreground color to #ffffff,
and your background color to #804e3b.
1. Open a new transparent image 1000 X 650 pixels.
Selections>Select All.
Open the image Wild Horses_1 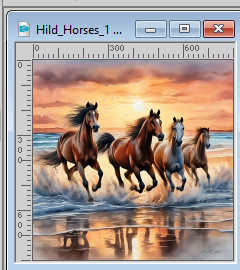
Edit>Copy.
Go back to your work and go to Edit>Paste into Selection.
Selections>Select None.
2. Effects>Image Effects>Seamless Tiling.

3. Adjust>Blur>Gaussian Blur - radius 25.

4. Effects>Plugins>Filters Unlimited 2.0 - Simple - Blintz
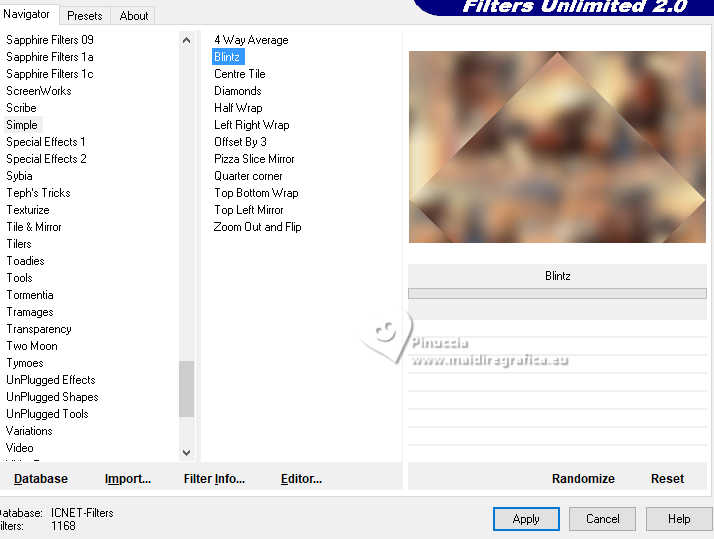
Repeat this Effect another time.
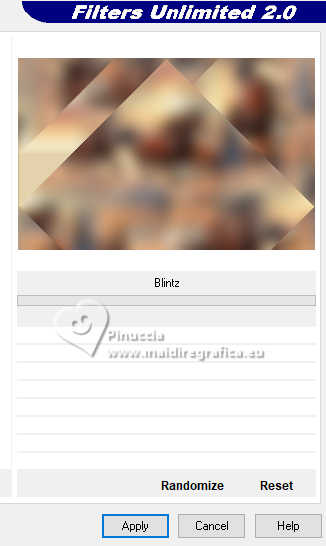
5. Effects>Reflection Effects>Rotating Mirror.

6. Activate your Selection Tool 
(no matter the type of selection, because with the custom selection your always get a rectangle)
clic on the Custom Selection 
and set the following settings.
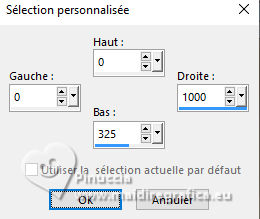
Selections>Promote Selection to Layer.
Selections>Select None.
Image>Mirror>Mirror vertical (Image>Flip).
Layers>Merge>Merge Down.
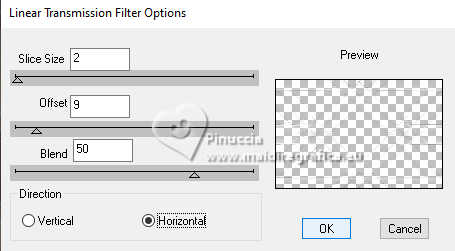
7. Effects>Plugins>DSB Flux - Linear Transmission.
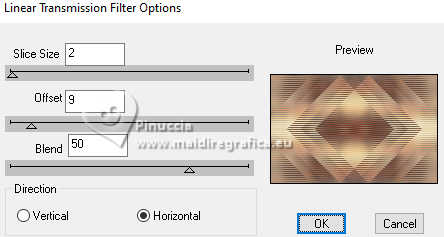
8. Effects>Plugins>Filters Unlimited 2.0 - Noise Filters - Background Noise
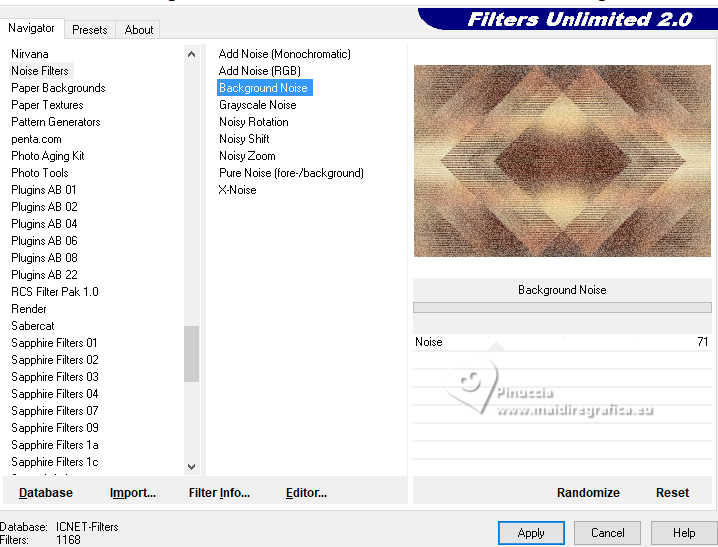
9. Open EF-Wild_Horses_Deco_1 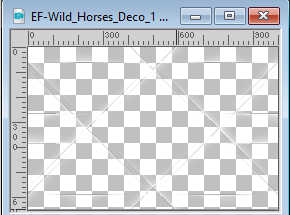
Edit>Copy.
Go back to your work and go to Edit>Paste as new layer.
10. Effects>Plugins>DSB Flux - Linear Transmission, same settings.
11. Layers>New Raster Layer.
Effects>Plugins>VanDerLee - Unplugged-X - 45° Rectangle.
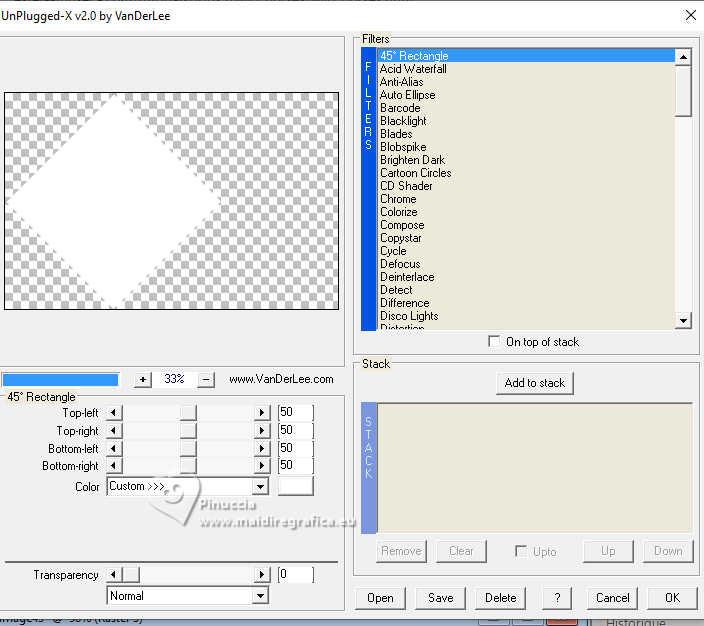
Objects>Align>Center in Canvas.
12. Activate your Magic Wand Tool 
and click in the white form to select it.
Selections>Modify>Contract - 5 pixels.
Press CANC on the keyboard 
13. Selections>Modify>Contract - 35 pixels.
Flood Fill  the selection with the white foreground color #ffffff. the selection with the white foreground color #ffffff.
Selections>Modify>Contract - 5 pixels.
Press CANC on the keyboard.
Keep selected.
14. Layers>New Raster Layer.
Activate again the image Wild_Horses_1 and go to Edit>Copy.
Go back to your work and go to Edit>Paste into Selection.
Adjust>Sharpness>Sharpen.
15. Layers>New Raster Layer.
Effects>3D Effects>Cutout.
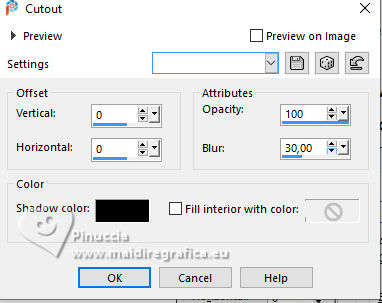
Layers>Merge>Merge Down - 2 times.
Selections>Select None.
16. Layers>Duplicate.
Image>Resize, to 35%, resize all layers not checked.
Adjust>Sharpness>Sharpen More.
17. K key to activate your Pick Tool 
Position X: 25,00 - Position Y: 22,00.

Adjust>Hue and Saturation>Vibrancy.
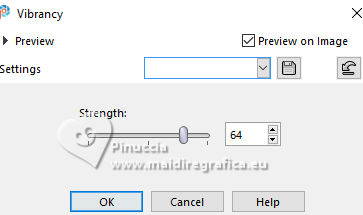
18. Layers>Duplicate.
Image>Mirror>Mirror Horizontal.
Layers>Merge>Merge Down.
19. Layers>Duplicate.
Position X: 25,00 - Position Y: 407,00.

M key to deselect the Tool.
20. Layers>Merge>Merge Down.
Layers>Duplicate.
Layers>Arrange>Move Down.
Adjust>Blur>Gaussian Blur - radius 10

Change the Blend Mode of this layer to Multiply.
21. Layers>Duplicate.
Layers>Arrange>Move Down.
Change the Blend Mode of this layer to Dissolve.
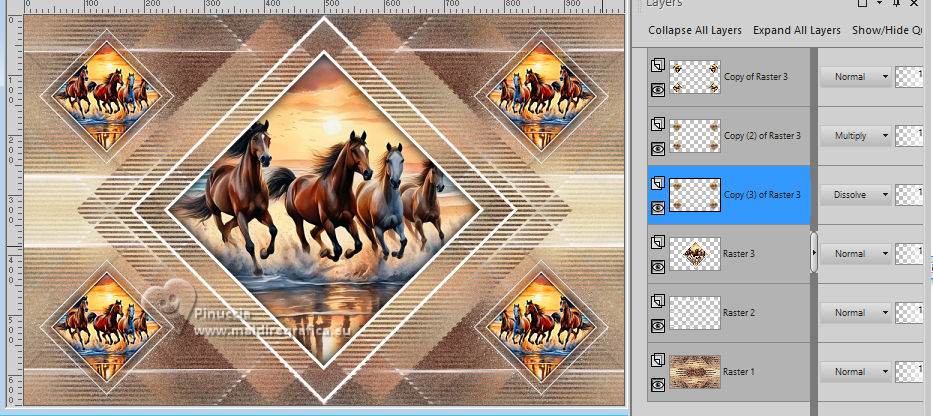
22. Activate your top layer.
Open EF-Wild_Horses_Texto 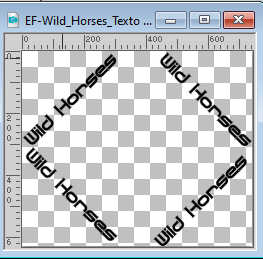
Edit>Copy.
Go back to your work and go to Edit>Paste as new layer.
Effects>3D Effects>Drop Shadow, color white.
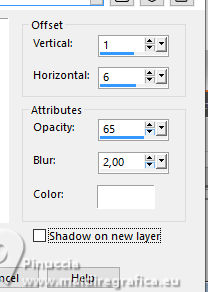
23. Image>Add Borders, 5 pixels, symmetric, colo #ffffff.
Image>Add Borders, 10 pixels, symmetric, background color #804e3b.
Image>Add Borders, 5 pixels, symmetric, color #ffffff.
Image>Add Borders, 35 pixels, symmetric, background color #804e3b.
24. Activate your Magic Wand Tool 
and click in the 10 and 15 borders to select them.
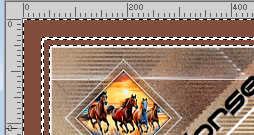
25. Effects>Plugins>Penta.com - Jeans, default settings.
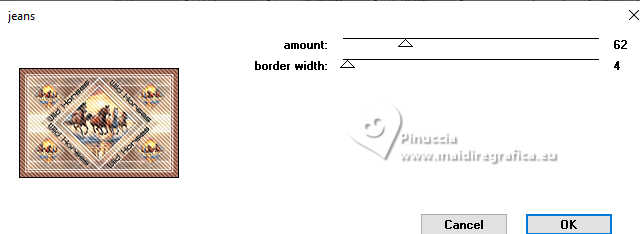
26. Effects>Plugins>FM Tile Tools - Blend Emboss, default settings.

Selections>Select None.
27. Open EF-Wild_Horses_Deco_2 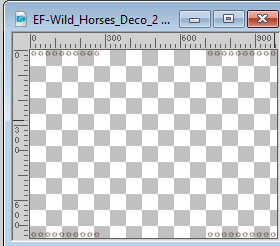
Edit>Copy.
Go back to your work and go to Edit>Paste as new layer.
28. Image>Add Borders, 2 pixels, symétrique, couleur #ffffff.
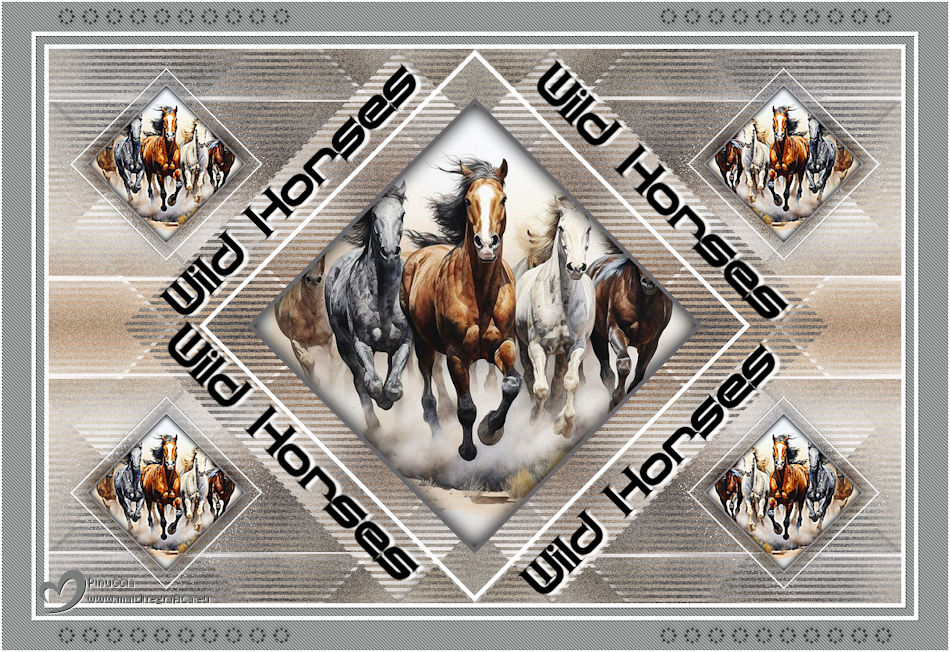
Layers>Merge>Merge All.
Sign your work and save as jpg.

If you have problems or doubts, or you find a not worked link,
or only for tell me that you enjoyed this tutorial, write to me.
17 September 2025

|

