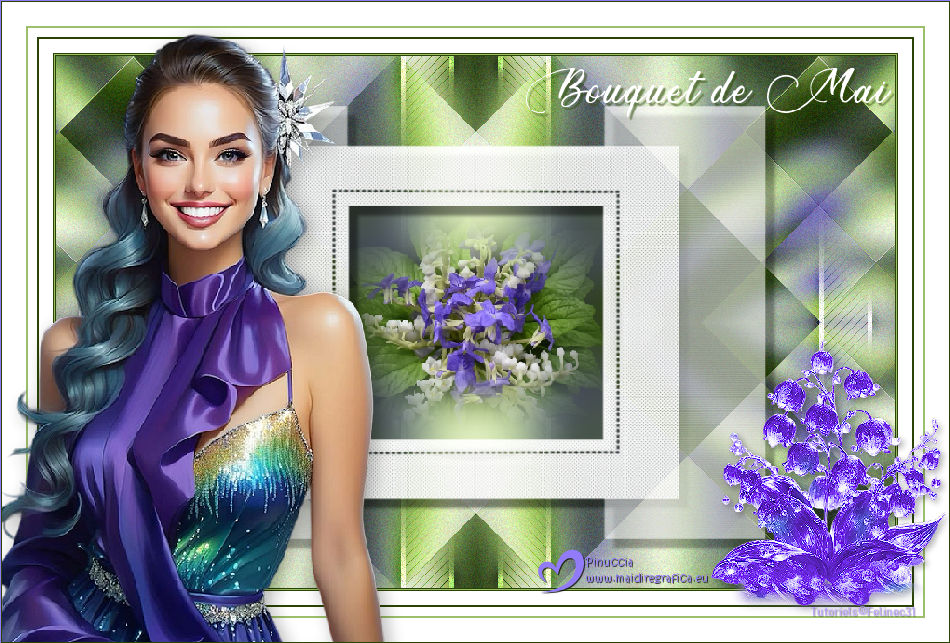
BOUQUET DE MAI

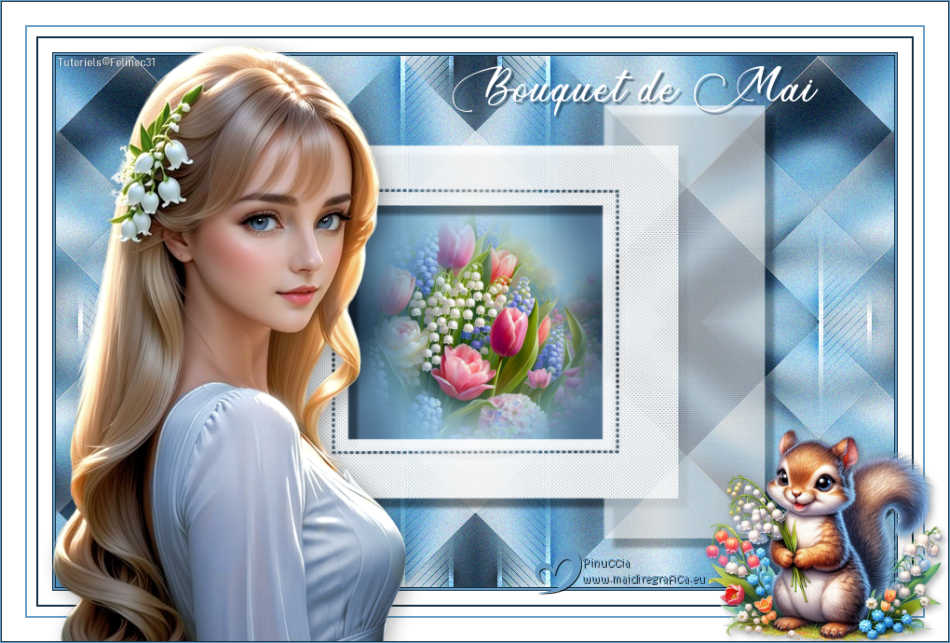
Thanks Carine for your invitation to translate

Clic and move the brush to follow the tutorial.

To print


|
This tutorial was translated with PSPX9 and PSP2020, but it can also be made using other versions of PSP.
Since version PSP X4, Image>Mirror was replaced with Image>Flip Horizontal,
and Image>Flip with Image>Flip Vertical, there are some variables.
In versions X5 and X6, the functions have been improved by making available the Objects menu.
In the latest version X7 command Image>Mirror and Image>Flip returned, but with new differences.
See my schedule here
 italian translation here italian translation here
 your versions here your versions here
Necessary

For the tubes and the mask thanks Cat, Virginia and Narah.
(The links of the tubemakers here).

consult, if necessary, my filter section here
Filters Unlimited 2.0 here
Mehdi - Wavy Lab 1.1. here
AFS IMPORT - Bugeye here
Simple - Diamonds here
Plugin Galaxy - Instant Mirror here
VanDerLee - Unplugged-X here
AP [Innovations] - Lines SilverLining here
Filters AFS IMPORT and Simple can be used alone or imported into Filters Unlimited.
(How do, you see here)
If a plugin supplied appears with this icon  it must necessarily be imported into Unlimited it must necessarily be imported into Unlimited

You can change Blend Modes according to your colors.

Copy the selections in the Selection Folder.
Open the mask in PSP and minimize it with the rest of the material.
1. Set your foreground color to #659cc5,
and your background color to #132d41.
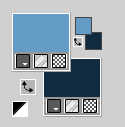
Open a new transparent image 900 x 570 pixels.
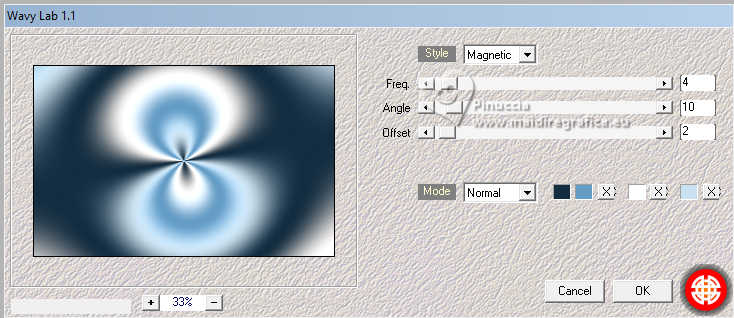
2. Effcts>Plugins>Mehdi - Wavy Lab 1.1.
This filter creates gradients with the colors of your Materials palette.
The first is your background color, the second is your foreground color.
Change the last two colors created by the filtre:
the third color with #ffffff and the fourth color with #cae1f1.
3. Effects>Image Effects>Seamless Tiling, default settings.

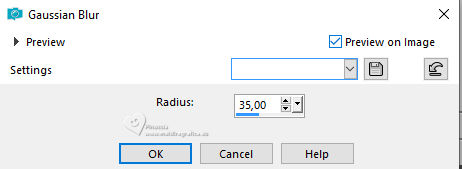
4. Adjust>Blur>Gaussian Blur - radius 35.
5. Effects>Plugins>Filters Unlimited 2.0 - AFS IMPORT - Bugeye
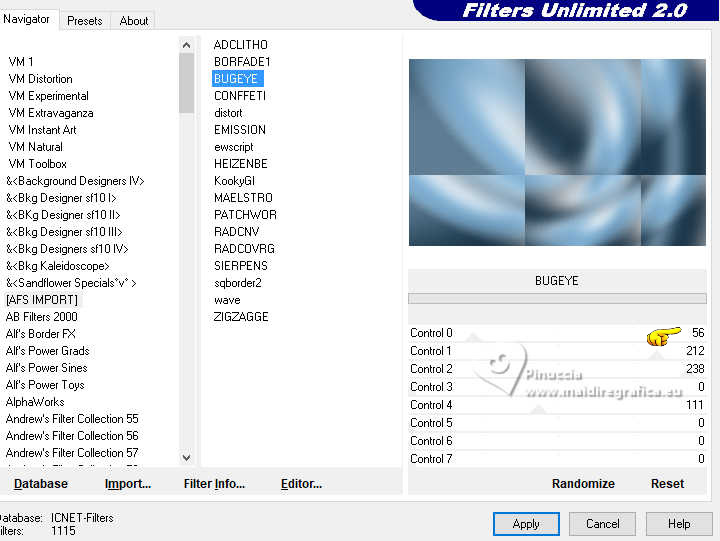
6. Effects>Plugins>Simple - Diamonds.
7. Layers>Duplicate.
Image>Mirror>Mirror horizontal.
Change the Blend Mode of this layer to Overlay and reduce the opacity to 50%.
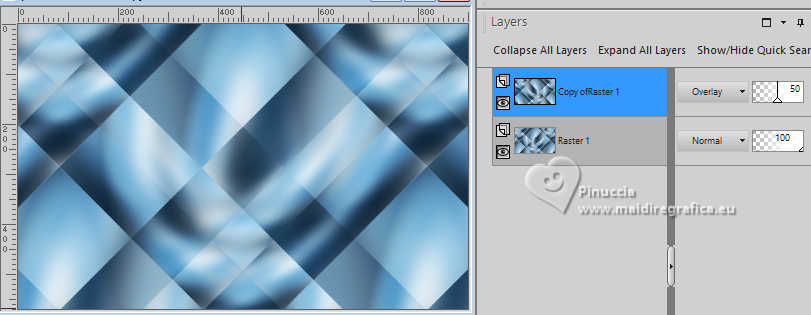
Effects>Edge Effects>Enhance.
Layers>Merge>Merge Down.
8. Effects>Plugins>Plugin Galaxy - Instant Mirror
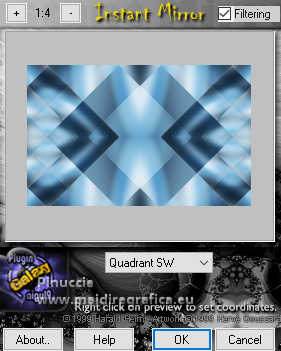
9. Effects>Plugins>VanDerLee - Unplugged-X - Difference
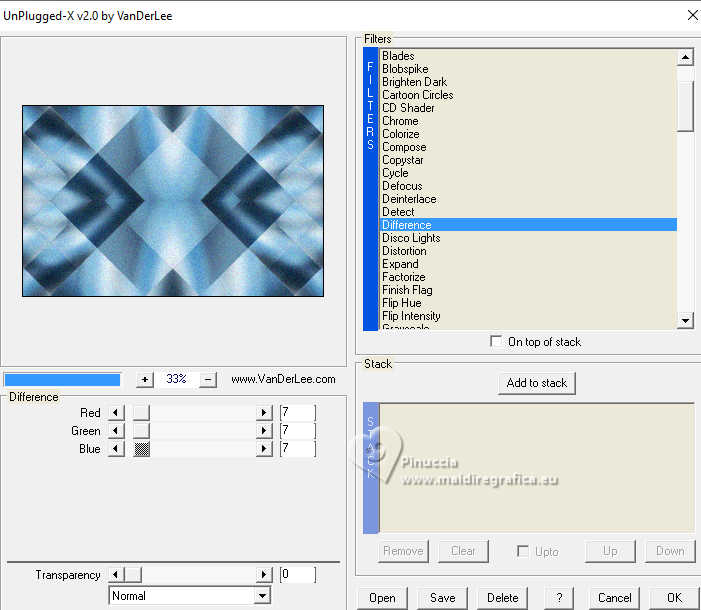
10. Set your foreground color to white.
Layers>New Raster Layer.
Flood Fill  the layer with color white. the layer with color white.
11. Layers>New Mask layer>From image
Open the menu under the source window and you'll see all the files open.
Select the mask NarahsMasks_1801
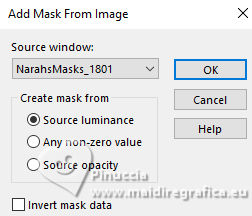
Layers>Merge>Merge Group.
12. Effects>3D Effects>Drop Shadow, default settings.
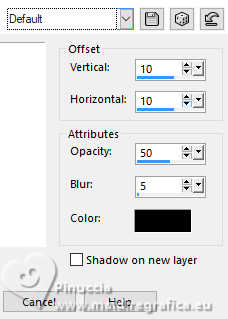
13. Activate your background layer, Raster 1.
Selections>Load/Save Selection>Load Selection from Disk.
Look for and load the selection Selection Pâques
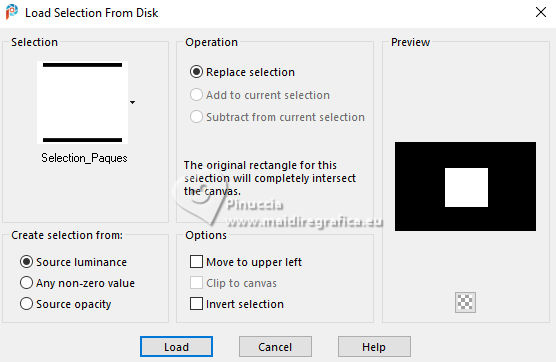
Selections>Promote Selection to Layer.
14. Adjust>Blur>Gaussian Blur - radius 20.

Selections>Select None.
15. Open the tube Cat mist 2024 04 26 N9 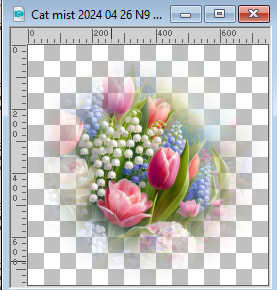
Edit>Copy.
Go back to your work and go to Edit>Paste as new layer.
Image>Resize, to 40%, resize all layers not checked.
Place  the tube in the center. the tube in the center.
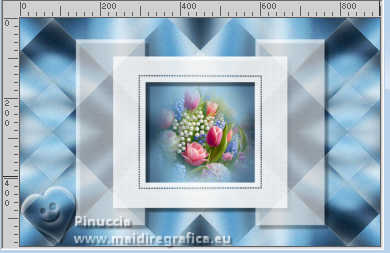
16. Activate your top layer.
Layers>New Raster Layer, Raster 3.
17. Selections>Load/Save Selection>Load Selection from Disk.
Look for and load the selection Selection Pâques 1
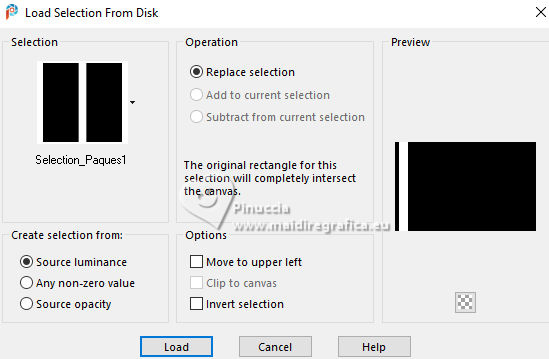
Flood Fill  the selection with color white. the selection with color white.
18. Adjust>Add/Remove Noise>Add Noise.
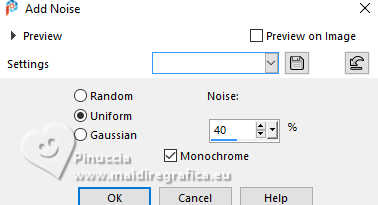
Adjust>Sharpness>Sharpen.
19. Selections>Modify>Contract - 5 pixels.
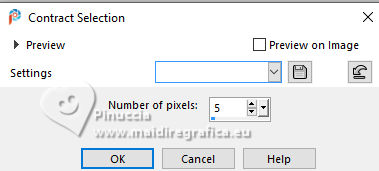
Press CANC on the keyboard 
20. Reduce the opacity of your Flood Fill Tool to 50.

Flood Fill  the selection with color white. the selection with color white.
Set again the opacity of your Flood Fill Tool to 100.
21. Effects>Plugins>AP Innovations - Lines SilverLining.
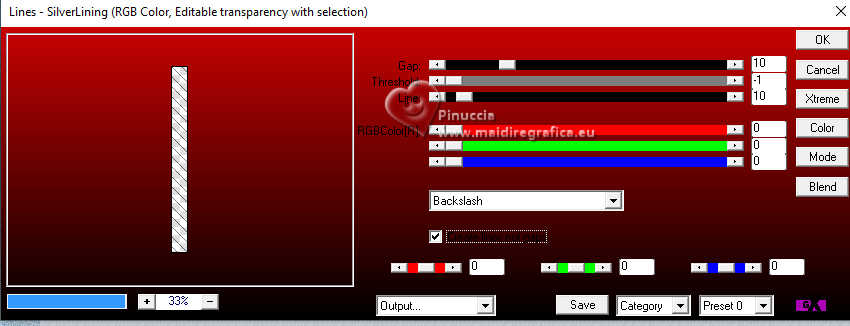
Selections>Select None.
Change the Blend Mode of this layer to Overlay, opacity 100.
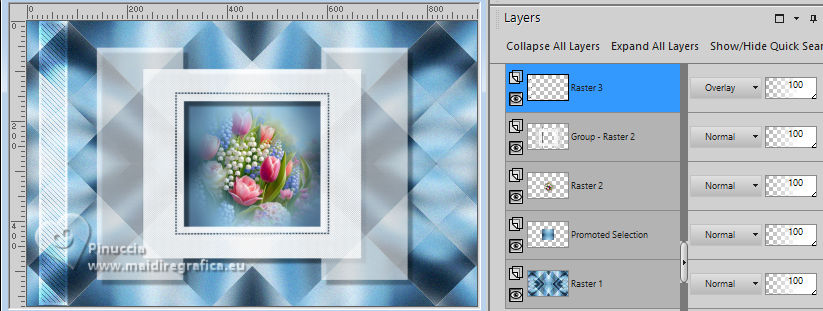
22. Layers>Duplicate.
Image>Mirror>Mirror horizontal.
Layers>Merge>Merge Down.
23. Effects>Image Effects>Seamless Tiling, default settings.

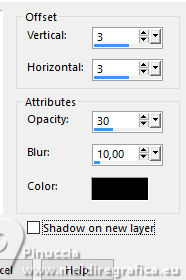
24. Effects>3D Effects>Drop Shadow, color black.

25. Set again your foreground color to #659cc5.

Image>Add Borders, 1 pixel, symmetric, background color.
Image>Add Borders, 2 pixels, symmetric, foreground color.
Image>Add Borders, 1 pixel, symmetric, background color.
Image>Add Borders, 15 pixels, symmetric, color white.
Image>Add Borders, 2 pixels, symmetric, background color.
Image>Add Borders, 10 pixels, symmetric, foreground color.
Image>Add Borders, 2 pixels, symmetric, foreground color.
Image>Add Borders, 25 pixels, symmetric, color white.
26. Open the tube Felinec31©Fev 4-2025 F 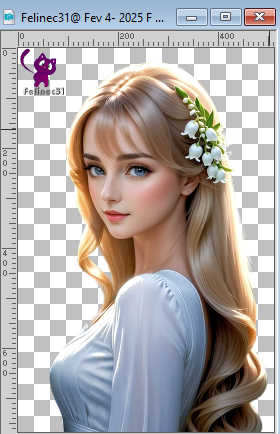
Erase the watermark and go to Edit>Copy.
Go back to your work and go to Edit>Paste as new layer.
Image>Resize, to 87%, resize all layer not checked.
Image>Mirror>Mirror Horizontal.
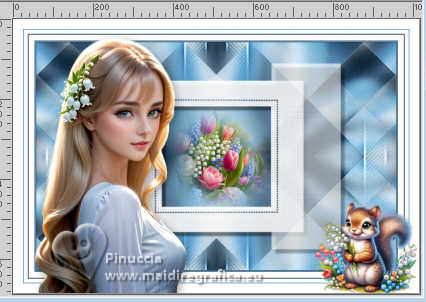
Move  the tube as in my example. the tube as in my example.
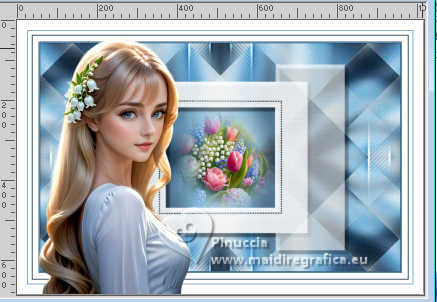
27. Effects>3D Effects>Drop Shadow, color black.

28. Open the tube CV_1704_001 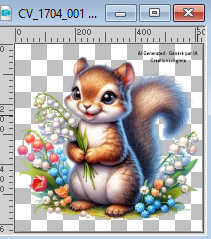
Erase the watermark and go to Edit>Copy.
Go back to your work and go to Edit>Paste as new layer.
Image>Resize, to 42, resize all layer not checked.
Move  the tube as in my example. the tube as in my example.
29. Effects>3D Effects>Drop Shadow, color black.
30. Open the text Texte mai 
Edit>Copy.
Go back to your work and go to Edit>Paste as new layer.
Move  the tube at the upper right, as in my example. the tube at the upper right, as in my example.
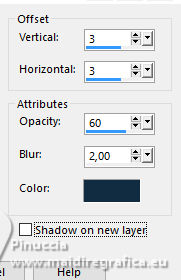
31. Effects>3D Effects>Drop Shadow, background color.
32. Image>Add Borders, 1 pixel, symmetric, background color.
Image>Add Borders, 1 pixel, symmetric, foreground color.
33. Sign your work.
34. Image>Resize, 950 pixels width, resize all layers checked.
Save as jpg.
For the tubes of this version thanks Felinec31 and Silvie, the misted is mine.

If you have problems or doubts, or you find a not worked link, or only for tell me that you enjoyed this tutorial, write to me.
16 April 2025

|

