MEI-LI

Thanks Carine for your invitation to translate

Clic and move the brush to follow the tutorial.

To print


|
This tutorial was translated with PSPX9 and PSP2020, but it can also be made using other versions of PSP.
Since version PSP X4, Image>Mirror was replaced with Image>Flip Horizontal,
and Image>Flip with Image>Flip Vertical, there are some variables.
In versions X5 and X6, the functions have been improved by making available the Objects menu.
In the latest version X7 command Image>Mirror and Image>Flip returned, but with new differences.
See my schedule here
 italian translation here italian translation here
 your versions here your versions here
Necessary

For the tubes thanks Kamil and Virginia.
(The links of the tubemakers here).

consult, if necessary, my filter section here
Filters Unlimited 2.0 here
Flaming Pear - Flexify 2 here
Toadies - Ommadawn here
Tramages - Wire Mesh here
Mura's Meister - Perspective Tiling here
Filters Toadies and Tramages can be used alone or imported into Filters Unlimited.
(How do, you see here)
If a plugin supplied appears with this icon  it must necessarily be imported into Unlimited it must necessarily be imported into Unlimited

You can change Blend Modes according to your colors.

Copy the Gradient in the Gradients Folder.
Copy the selections in the Selection Folder.
Colors

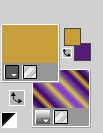
Set your foreground color to the color 1 #c89e3a
and your background color to the color 2 #551d78.

1. Open a new transparent image 900 x 570 pixels.
2. Set your background color to Gradient, and select the gradient Gradient_7, style Linear.
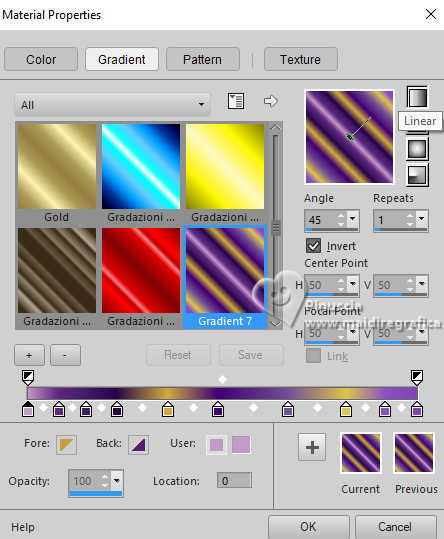 
Flood Fill  the transparent image with your Gradient. the transparent image with your Gradient.
3. Layers>Duplicate.
Image>Mirror>Mirror horizontal.
4. Reduce the opacity of this layer to 50%.
Merge>Merge Down.
5. Adjust>Blur>Gaussian Blur - radius 40.

6. Layers>New Raster Layer - Raster 2.
Selections>Load/Save Selection>Load Selection from Disk.
Look for and load the selection Sélection_F7
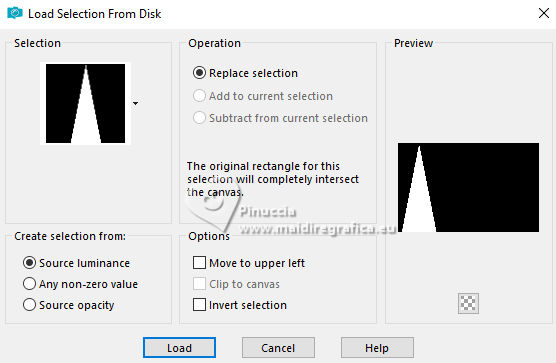
Flood Fill  the selection with your foreground color #c89e3a (color 1 the selection with your foreground color #c89e3a (color 1  ) )
7. Selections>Modify>Contract - 3 pixels.
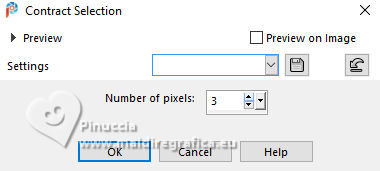
Press CANC on the keyboard 
Flood Fill  the selection with your Gradient. the selection with your Gradient.
8. Effects>Art Media Effects>Brush Strokes.
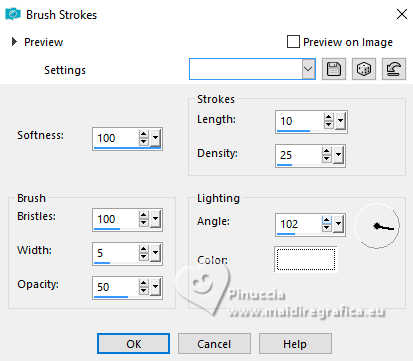
Selections>Select None.
9. Layers>Duplicate.
Image>Mirror>Mirror Horizontal.
Image>Mirror>Mirror Vertical (Image>Flip).
Layers>Merge>Merge Down.
10. Effects>Plugins>Flaming Pear - Flexify 2.
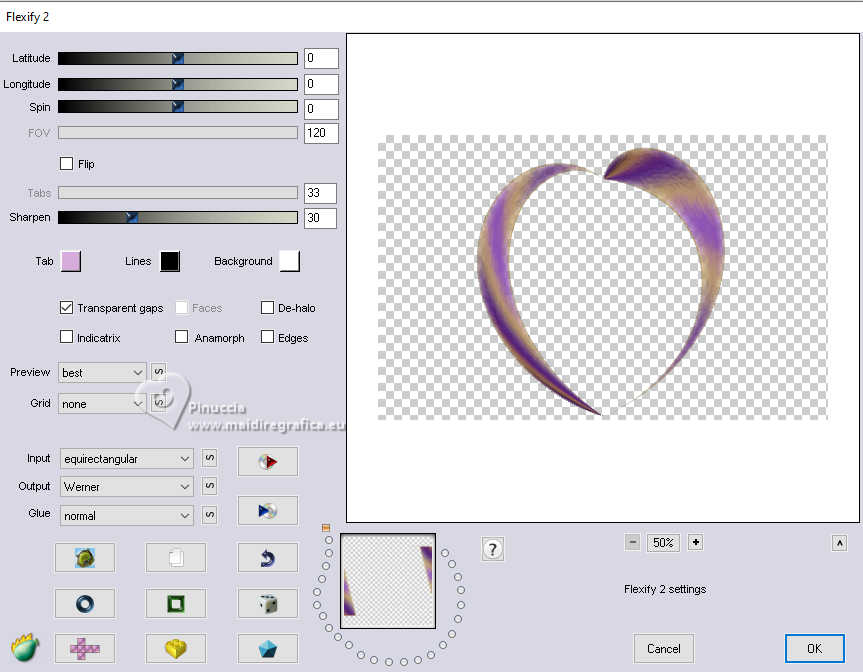
11. Effects>3D Effects>Inner Bevel.
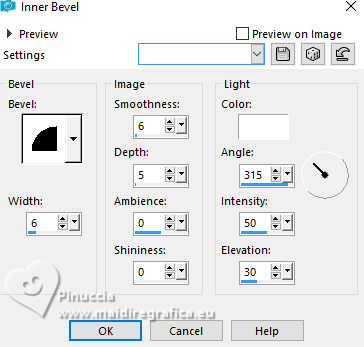
12. Layers>Duplicate.
Effects>Image Effects>Seamless Tiling.

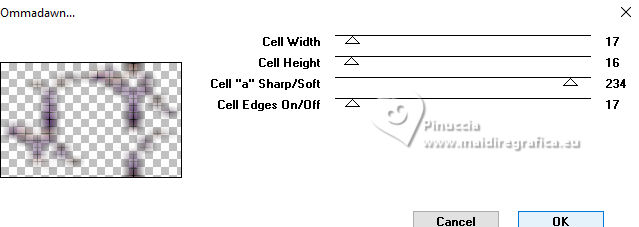
13. Effects>Plugins>Toadies - Ommadawn, default settings.
14. Layers>Arrange>Move Down.
Activate again your top layer.
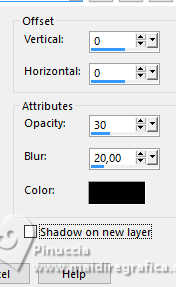
15. Effects>3D Effects>Drop shadow, color black.

16. Activate the layer Raster 1.
Effects>Plugins>Tramages - Wire Mesh
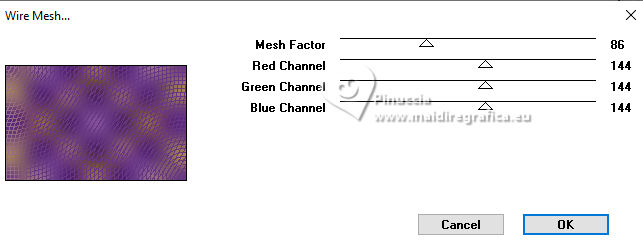
Adjust>Sharpness>Sharpen.
17. Open Deco1 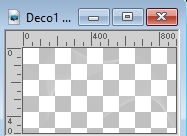
Edit>Copy.
Go back to your work and go to Edit>Paste as new layer.
Don't move it; it is at its place.
18. Selections>Load/Save Selection>Load Selection from Disk.
Look for and load the selection Sélection_F8
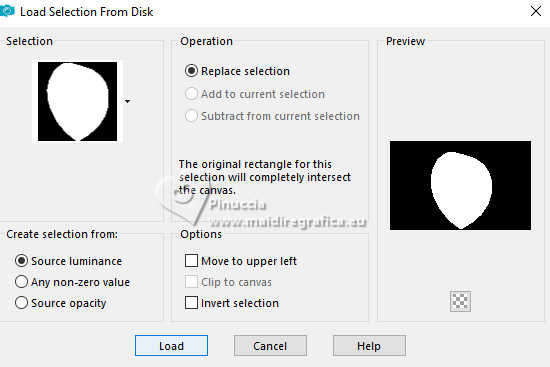
Press CANC on the keyboard.
Keep selected.
19. Open the tube CV_2008_012 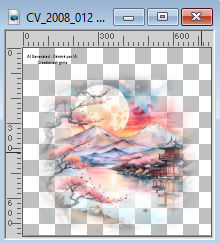
Erase the watermark and go to Edit>Copy.
Go back to your work and go to Edit>Paste into Selection.
Selections>Select None.
20. Activate again the layer Raster 1.
Layers>Duplicate.
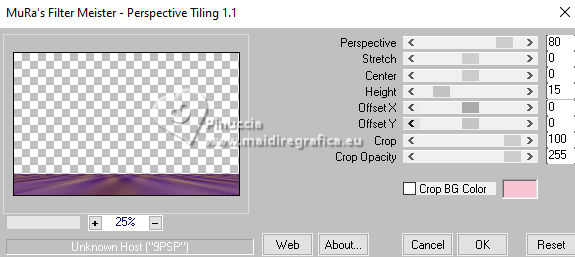
21. Effects>Plugins>Mura's Meister - Perspective Tiling.
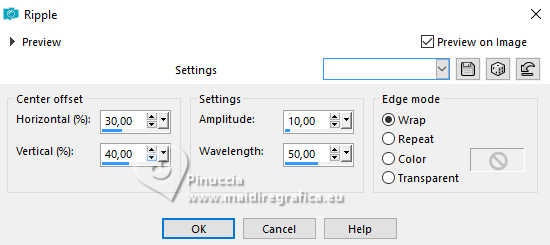
22. Effects>Distortion Effects>Ripple.
23. Effects>Reflection Effects>Rotating Mirror.

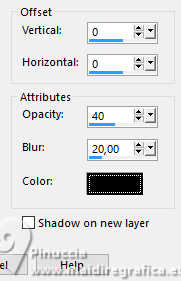
24. Effects>3D Effects>Drop Shadow, color black.
25. Selections>Load/Save Selection>Load Selection from Disk.
Look for and load the selection Sélection_F9
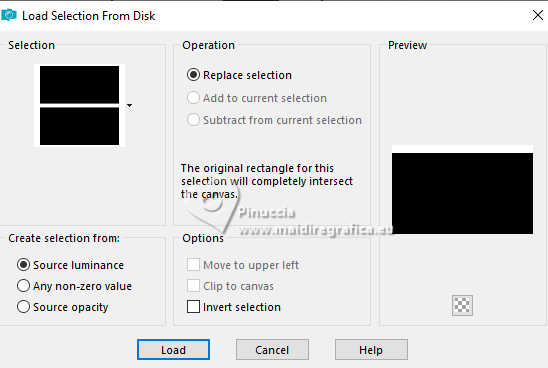
If you wonder what you have selected, close the other layers to see
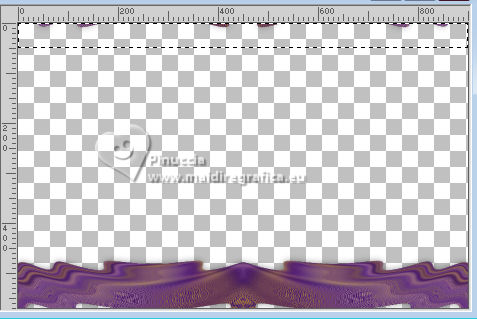
Press CANC on the keyboard.
Selections>Select None.
26. Layers>Merge>Merge visible.
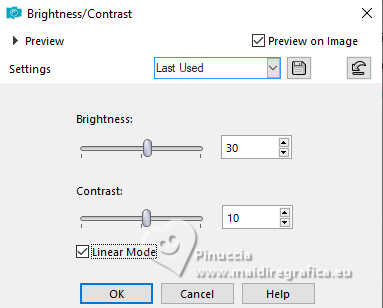
27. Adjust>Brightness and Contrast>Brightness and Contrast (adapt according to your colors).
28. Image>Add Borders, 2 pixels, simmetriche, colore bianco.
Image>Add Borders, 2 pixels, symmetric, color 2 ##551d78  . .
Image>Add Borders, 2 pixels, symmetric, color 1 #c89e3a  . .
29. Selections>Select All.
Image>Add Borders, 40 pixels, symmetric, color white.
Selections>Invert.
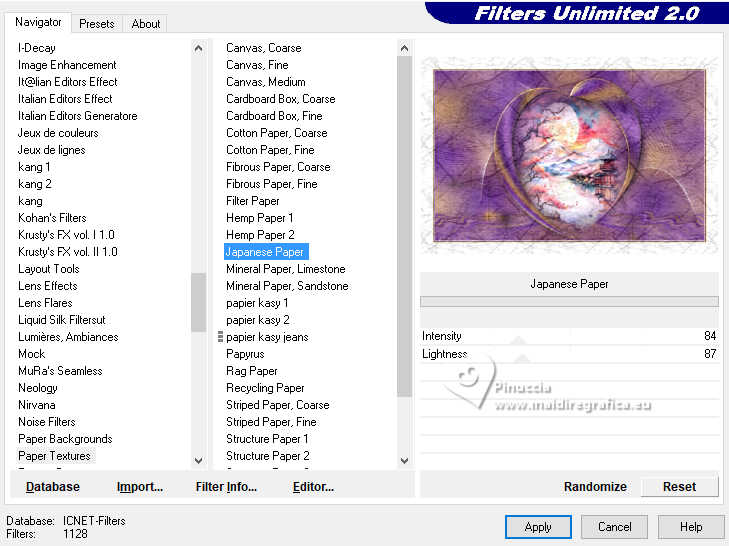
30. Effects>Plugins>Filters Unlimited 2.0 - Paper Textures - Japanaise Paper, default settings.
Adjust>Sharpness>Sharpen.
Selections>Select None.
31. Open the tube KamilTube-2311 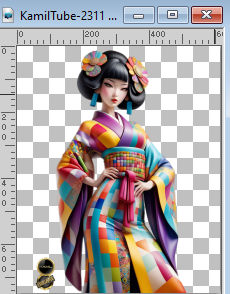
Erase the watermark and go to Edit>Copy.
Go back to your work and go to Edit>Paste as new layer.
Image>Resize, to 88%, resize all layers not checked.
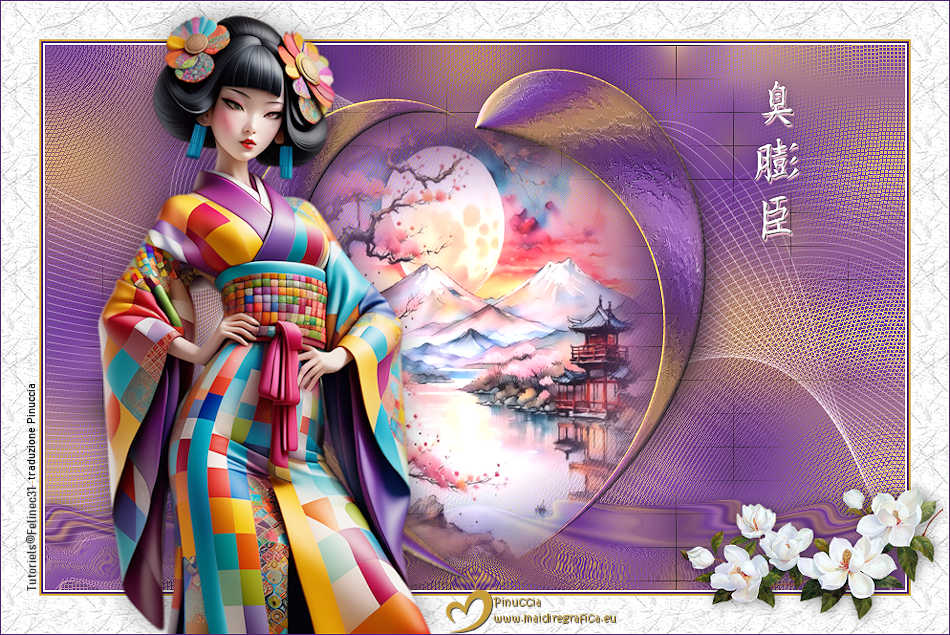
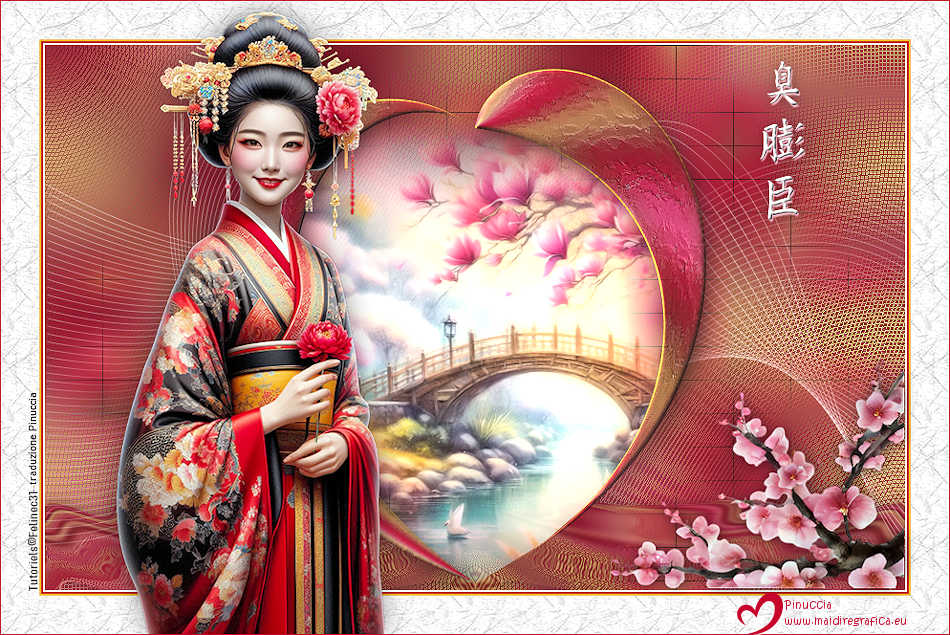
Move  the tube to the left, see my example. the tube to the left, see my example.
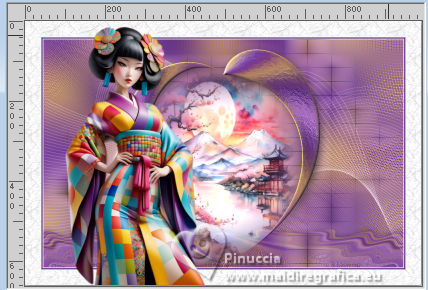
32. Effects>3D Effects>Drop Shadow, color black.

33. Open the text Texte Mei 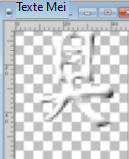
Edit>Copy.
Go back to your work and go to Edit>Paste as new layer.
Move  the text at the upper right, see my example. the text at the upper right, see my example.
34. Effects>3D Effects>Drop shadow, color 4 #fac5d2.
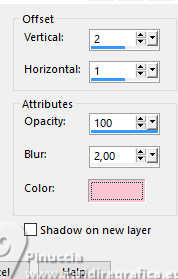
35. Effects>3D Effects>Drop Shadow, color black.
36. Open the tube Cluster Fleuri 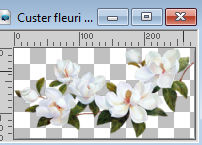
Edit>Copy.
Go back to your work and go to Edit>Paste as new layer.
Move  the tube at the bottom right, see my example. the tube at the bottom right, see my example.
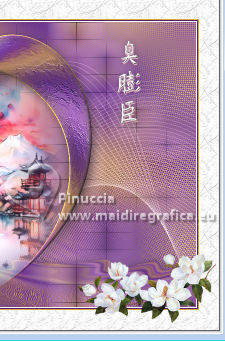
37. Effects>3D Effects>Drop Shadow, color black.

38. Image>Add Borders, 1 pixel, symmetric, color 2 #d5ac2f  . .
39. Image>Resize, 950 pixels width, resize all layers checked.
Adjust>Sharpness>Sharpen.
40. Sign your work and save as jpg.
For the tubes of this version thanks Virginia.

If you have problems or doubts, or you find a not worked link, or only for tell me that you enjoyed this tutorial, write to me.
22 April 2025
|

