NAIA

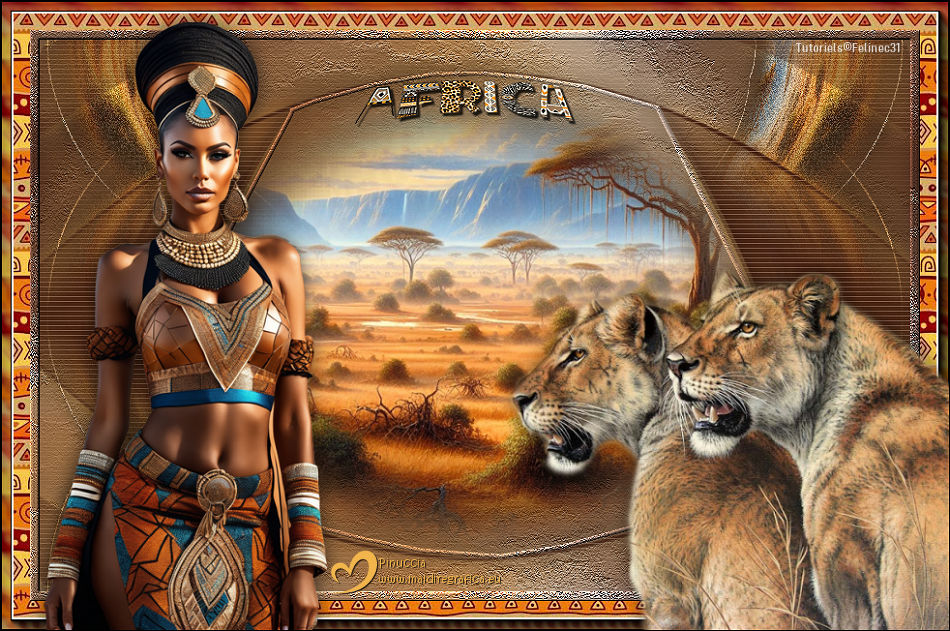
Thanks Carine for your invitation to translate

Clic and move the brush to follow the tutorial.

To print


|
This tutorial was translated with PSPX9 and PSP2020, but it can also be made using other versions of PSP.
Since version PSP X4, Image>Mirror was replaced with Image>Flip Horizontal,
and Image>Flip with Image>Flip Vertical, there are some variables.
In versions X5 and X6, the functions have been improved by making available the Objects menu.
In the latest version X7 command Image>Mirror and Image>Flip returned, but with new differences.
See my schedule here
 italian translation here italian translation here
 your versions here your versions here
Necessary

For the tubes and the mask thanks Cat, Angelstar and Narah.
(The links of the tubemakers here).

consult, if necessary, my filter section here
Filters Unlimited 2.0 here
Simple - Top Left Mirror here
Carolaine and Sensibility - CS-Texture here
Mura's Meister - Pole Transform here
AAA Frames - Foto Frame here
Filters Simple can be used alone or imported into Filters Unlimited.
(How do, you see here)
If a plugin supplied appears with this icon  it must necessarily be imported into Unlimited it must necessarily be imported into Unlimited

You can change Blend Modes according to your colors.

Copy the selection in the Selection Folder.
Open the mask and the pattern in PSP and minimize them with the rest of the material.
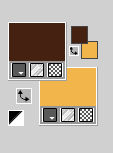
Set your foreground color to #462213,
and your background color to #f1b54c
1. Open a new transparent image 900 x 570 pixels.
2. Selections>Select All.
Open the background image Fond 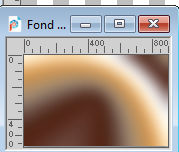
Edit>Copy.
Go back to your work and go to Edit>Paste into Selection.
Selections>Select None.
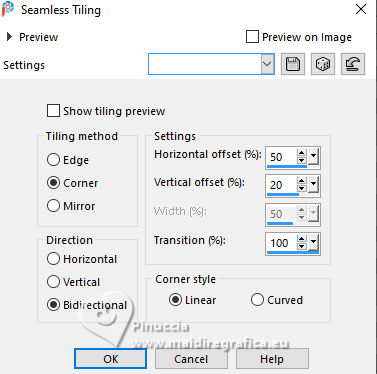
3. Effects>Image Effects>Seamless Tiling.
4. Layers>New Raster Layer.
Selections>Select All.
Open the tube AS Tube-1133 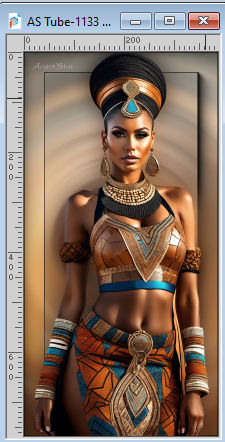
Edit>Copy.
Go back to your work and go to Edit>Paste into Selection.
Selections>Select None.
5. Effects>Image Effects>Seamless Tiling, default settings.

6. Adjust>Blur>Radial Blur.

7. Reduce the opacity of this layer to 60%.
Layers>Merge>Merge Down.
8. Effets>Art Media Effects>Brush Strokes.
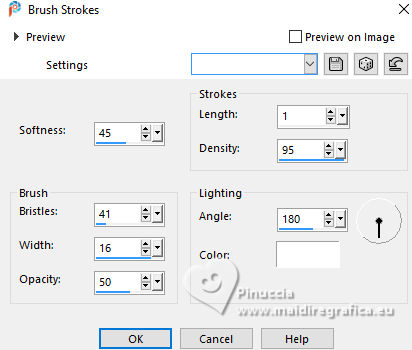
9. Layers>New Raster Layer, Raster 2.
Flood Fill  the layer with your foreground color #462213 the layer with your foreground color #462213
Layers>New Mask layer>From image
Open the menu under the source window and you'll see all the files open.
Select the mask NarahsMasks_1847
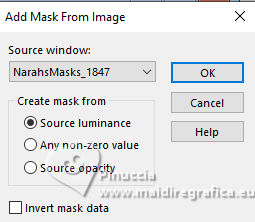
Layers>Merge>Merge Group.
10. Layers>Duplicate.
Image>Mirror>Mirror Horizontal (Immagine>Rifletti).
Image>Mirror>Mirror Vertical (Image>Flip).
Layers>Merge>Merge Down.
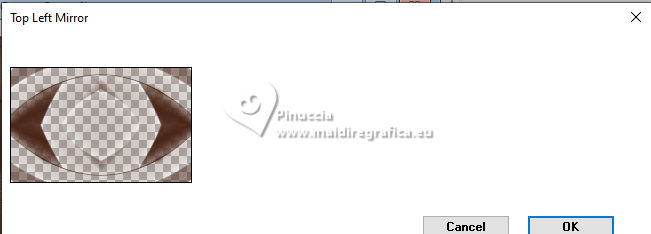
11. Effects>Plugins>Simple - Top Left Mirror
12. Effects>Plugins>Carolaine and Sensibility - CS-Texture, default settings
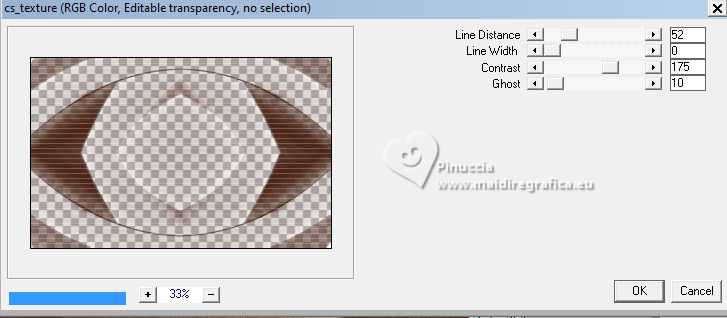
Adjust>Sharpness>Sharpen.
13. Effects>3D Effects>Drop Shadow, background color.
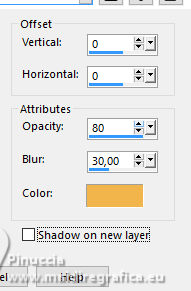
14. Layers>New Raster Layer.
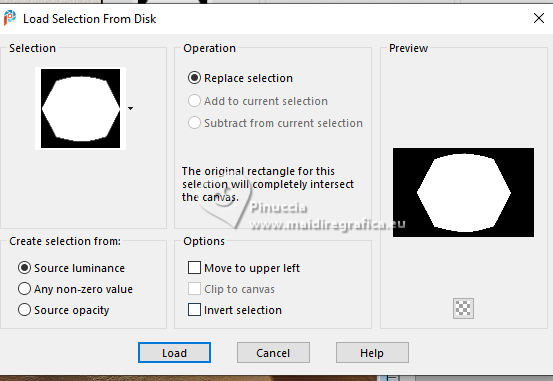
Selections>Load/Save Selection>Load Selection from Disk.
Look for and load the selection Selection_Africa
15. Open the tube 2024 03 24 N8 Cat 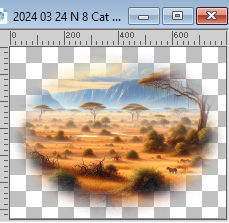
Edit>Copy.
Go back to your work and go to Edit>Paste into Selection.
Keep selected.
16. Activate the layer Raster 1.
Selections>Modify>Select Selection Borders.
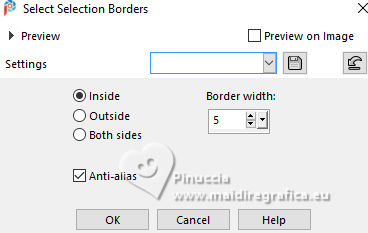
17. Selections>Promote Selection to Layer.
Layers>Arrange>Bring to Top.
18. Effects>3D Effects>Inner Bevel.
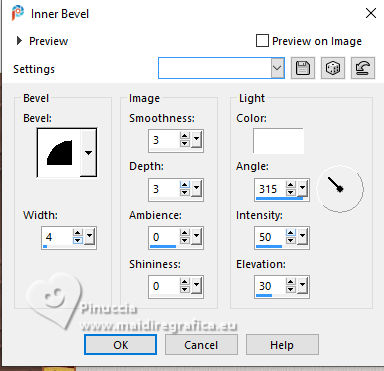
19. Adjust>Sharpness>Sharpen.
Selections>Select None.
Layers>Merge>Merge Down.
20. Effects>3D Effects>Drop Shadow, color black.

21. Layers>Duplicate.
Effects>Plugins>Mura's Meister - Pole Transform.
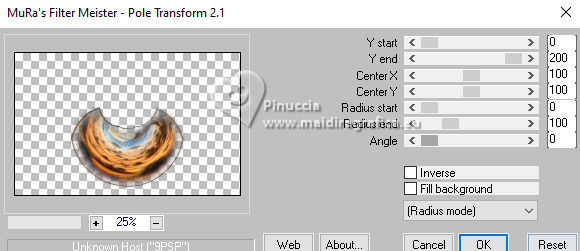
22. Image>Free Rotate - 90 degrees to right.
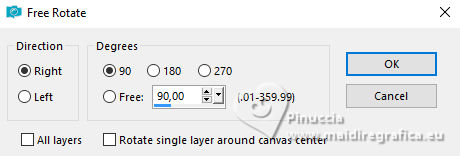
23. Activate your Pick Tool 
Position X: -4,00 - Position Y: 42,00

24. Layers>Duplicate.
Image>Mirror>Mirror Horizontal.
Layers>Merge>Merge Down.
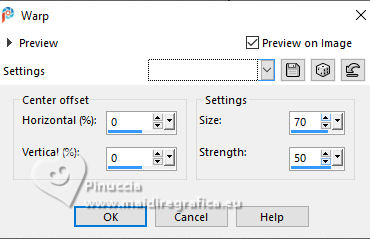
25. Effects>Distortion Effects>Warp.
26. Layers>Arrange>Move Down - 2 times (under the layer Group Raster 2)
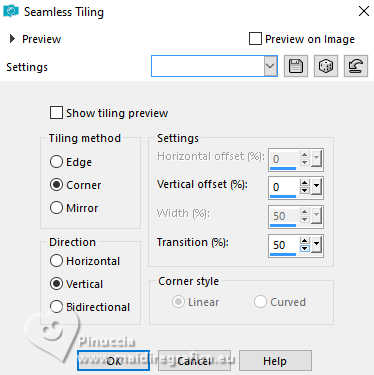
27. Effects>Image Effects>Seamless Tiling.
28. Adjust>Add/Remove Noise>Add Noise.
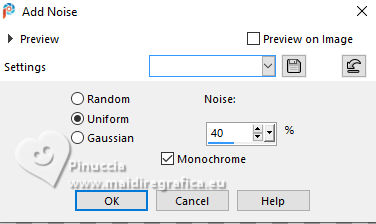
Adjust>Sharpness>Sharpen.
29. Effects>3D Effects>Drop Shadow, last settings.

30. Activate the layer Raster 1.
Edit>Copy.
Edit>Paste as new image, and minimize this image.
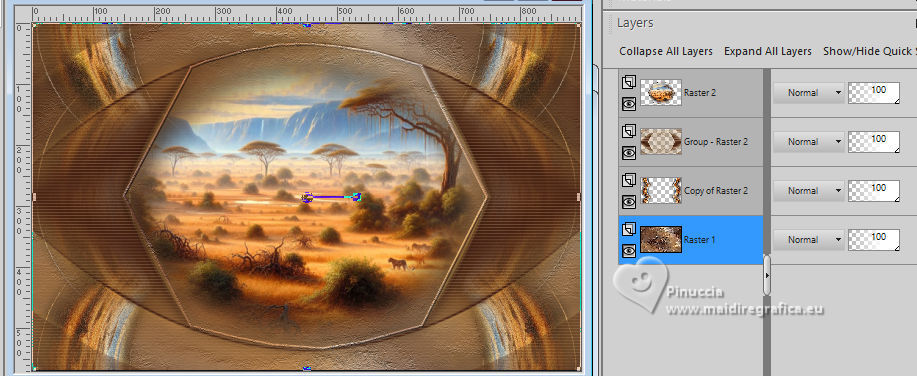
31. Your tag and the layers.
32. Layers>Merge>Merge All.
33. Selections>Select All.
Image>Add borders, 10 pixels, symmetric, color white.
Selections>Invert.
Edit>Paste into Selection - the image in memory from step 30.
34. Effects>3D Effects>Inner Bevel, last settings.

Effects>Edge Effects>Enhance.
35. Selections>Select All.
Image>Add borders, 30 pixels, symmetric, background color.
Selections>Invert.
36. Layers>New Raster Layer.
if you haven't done so before you started, open the pattern papier Africain and minimize it.
37. Set your foreground color to Pattern, and select the pattern with these settings.
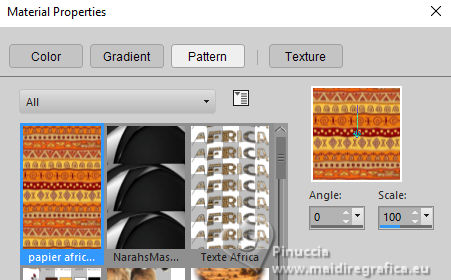
Flood Fill  the selection with your foreground pattern. the selection with your foreground pattern.
Selections>Select None.
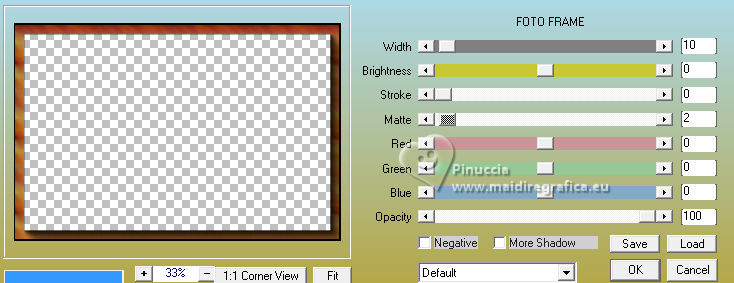
38. Effects>Plugins>AAA Frames - Foto Frame.
39. Open the tube lion carine 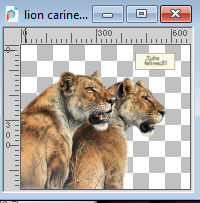
Erase the watermark and go to Edit>Copy.
Go back to your work and go to Edit>Paste as new layer.
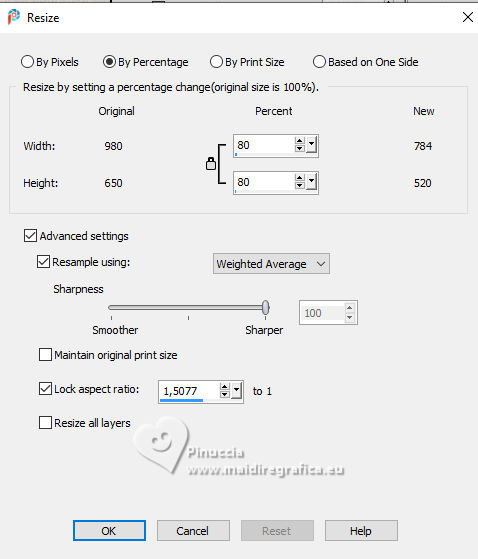
Image>Resize, to 80%, resize all layers not checked.
Image>Miroir>Miroir Horizontal.
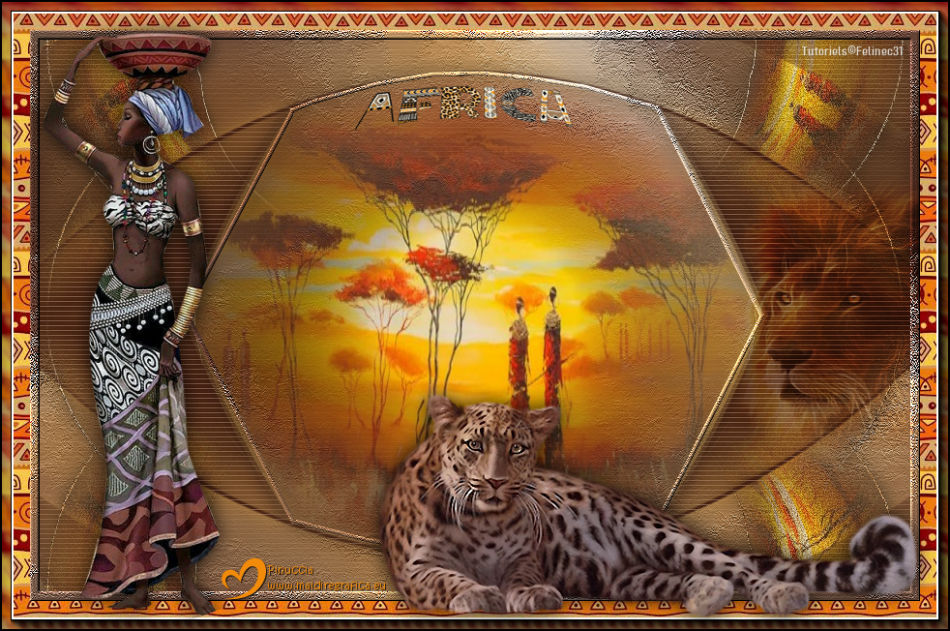
Move  the tube at the bottom right, see my example. the tube at the bottom right, see my example.
40. Effects>3D Effects>Drop Shadow, color black.

41. Activate again the woman's tube AS Tube-1133 and go to Edit>Copy.
Go back to your work and go to Edit>Paste as new layer.
Image>Resize, to 83%, resize all layers not checked.
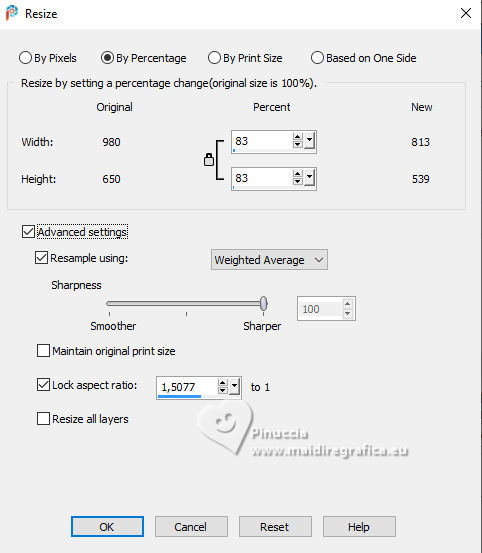
Move the tube to the left side, see my example. the tube to the left side, see my example.
42. Effects>3D Effects>Drop Shadow, last settings.

43. Open Texte Africa 
Edit>Copy.
Go back to your work and go to Edit>Paste as new layer.
Move  the text at the top in the center, see my example. the text at the top in the center, see my example.
44. Effects>3D Effects>Drop Shadow, color black.
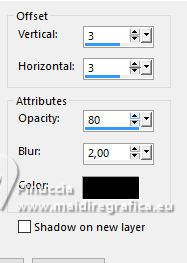
Adjust>Sharpness>Sharpen.
45. Image>Add borders, 1 pixel, symmetric, color black.
46. Adjust>Sharpness>Unsharp Mask, if necessary and according to your tubes.
47. Sign your work.
Image>Resize, 950 pixels width, resize all layers checked.
Save as jpg.
For the tubes of this version thanks Saturnella and Talanat

If you have problems or doubts, or you find a not worked link, or only for tell me that you enjoyed this tutorial, write to me.
25 February 2025

|

