UNE JOURNÉE D'HIVER


Thanks Carine for your invitation to translate

Clic and move the brush to follow the tutorial.

To print


|
This tutorial was translated with PSPX9 and PSP2020, but it can also be made using other versions of PSP.
Since version PSP X4, Image>Mirror was repunejourneed with Image>Flip Horizontal,
and Image>Flip with Image>Flip Vertical, there are some variables.
In versions X5 and X6, the functions have been improved by making available the Objects menu.
In the latest version X7 command Image>Mirror and Image>Flip returned, but with new differences.
See my schedule here
 italian translation here italian translation here
 your versions here your versions here
Necessary

Thanks for the tubes Mentali, Sassi and for the mask Silvie.
(The links of the tubemakers here).

consult, if necessary, my filter section here
Alien Skin Eye Candy 5 Nature - Snow Drift here
Carolaine and Sensibility - CS-Linear-H here
AAA Frames - Texture Frame here

You can change Blend Modes according to your colors.
In the newest versions of PSP, you don't find the foreground/background gradient (Corel_06_029).
You can use the gradients of the older versions.
The Gradient of CorelX here
Copy the preset  in the folder of the plugin Alien Skin Eye Candy 5 Nature>Settings>Snow Drift. in the folder of the plugin Alien Skin Eye Candy 5 Nature>Settings>Snow Drift.
One or two clic on the file (it depends by your settings), automatically the preset will be copied in the right folder.
why one or two clic see here

Copy the selections in the Selections Folder.
Open the mask in PSP and minimize it with the rest of the material.
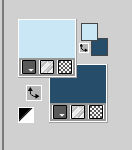
Set your foreground color to #cae7f6
and your background color to #274e6b
color 3 #ffffff
Set your foreground color to a Foreground/Background Gradient, style Linear.
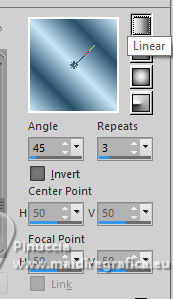
1. Open a new transparent image 900 x 570 pixels.
Flood Fill  the trasparente image with your gradient. the trasparente image with your gradient.
2. Adjust>Blur>Gaussian Blur - radius 25.

3. Effects>Image Effects>Seamless Tiling.

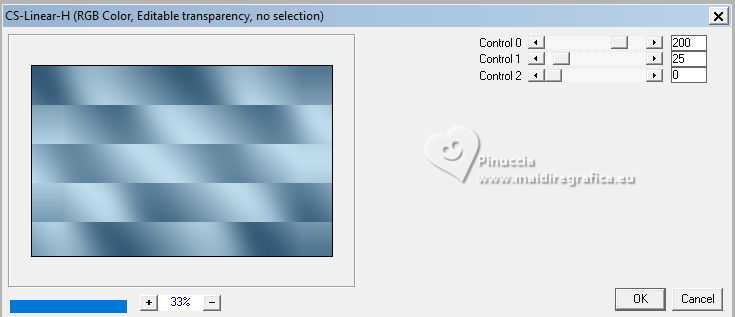
4. Effects>Plugins>Carolaine and Sensibility - CS-Linear-H, default settings.
5. Layers>New Raster Layer.
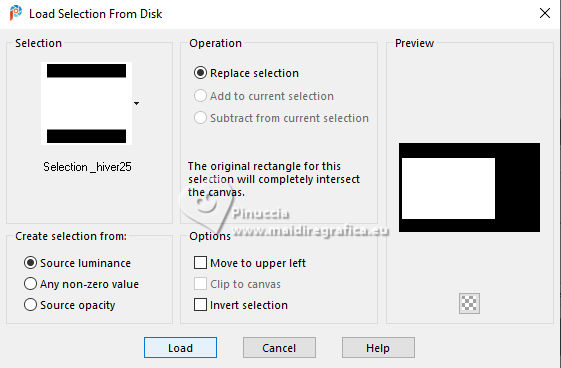
Selections>Load/Save Selection>Load Selection from disk.
Look for and load the selection Sélection Hiver25
6. Set your foreground color to white #ffffff.
Flood Fill  the selection with color white. the selection with color white.
7. Selections>Modify>Contract - 15 pixels.
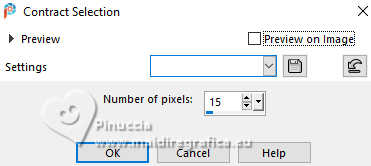
Press CANC on the keyboard 
8. Selections>Modify>Contract - 10 pixels.
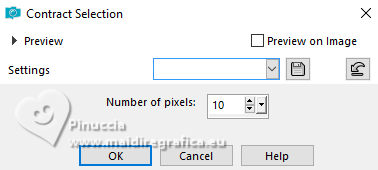
9. Reduce the opacity of your Flood Fill Tool to 60
Flood Fill  the selection with color white. the selection with color white.
Set again the opacity of your Flood Fill Tool to 100.
10. Selections>Modify>Contract - 10 pixels.

Press CANC on the keyboard.
Keep selected.
11. Activate your bottom layer, Raster 1.
Selections>Promote Selection to Layer.
12. Adjust>Blur>Gaussian Blur - radius 15.

13. Layers>New Raster Layer.
Open the landscape mentali-misted2898 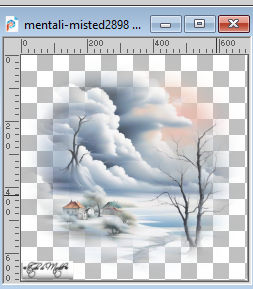
Image>Mirror>Mirror horizontal.
Erase the watermark and go to Edit>Copy.
Go back to your work and go to Edit>Paste into Selection.
Image>Resize, to 105%, resize all layers not checked.
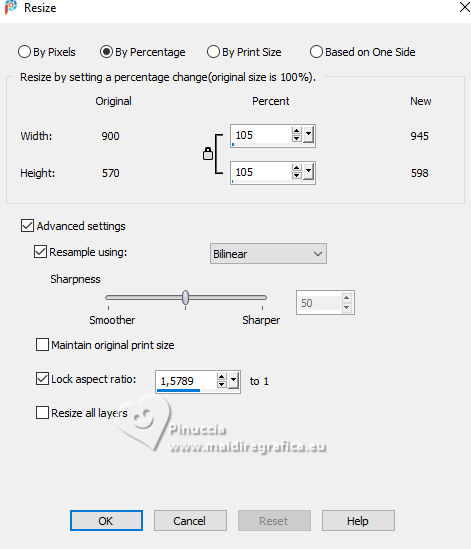
Adjust>Sharpness>Sharpen.
14. Layers>New Raster Layer.
Effects>3D Effects>Cutout.
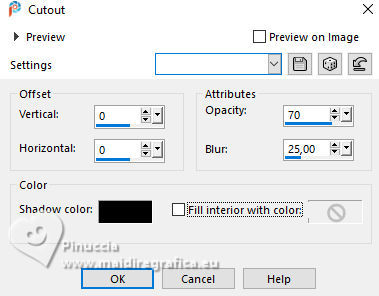
15. Layers>Merge>Merge Down - 2 times.
Selections>Select None.
16. Activate the layer above of the frame, Raster 2.
Effects>3D Effects>Inner Bevel.
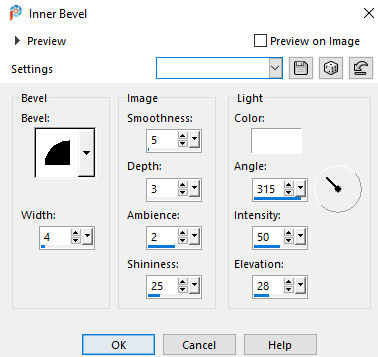
17. Layers>Merge>Merge Down.
18. Open Déco 1 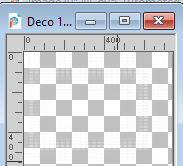
Edit>Copy.
Go back to your work and go to Edit>Paste as new layer.
19. Objects>Align>Left - opacity 85%
or
K key to activate your Pick Tool 

20. Layers>Arrange>Move Down (under the frame's layer).
Activate the layer Raster 1.
21. Selections>Load/Save Selection>Load Selection from disk.
Look for and load the selection Sélection-Hiver 25-1
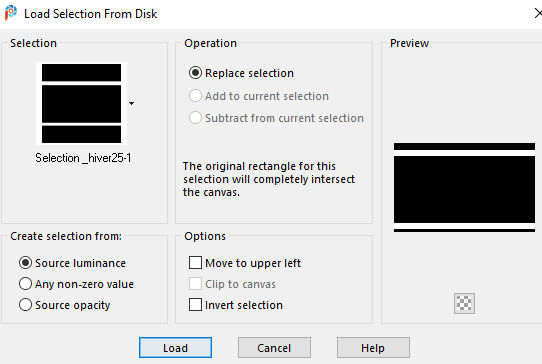
Selections>Promote Selection to Layer.
22. Effects>Plugins>Alien Skin Eye Candy 5 Nature - Snow Drift
Select the preset Snow Drift_Hiver
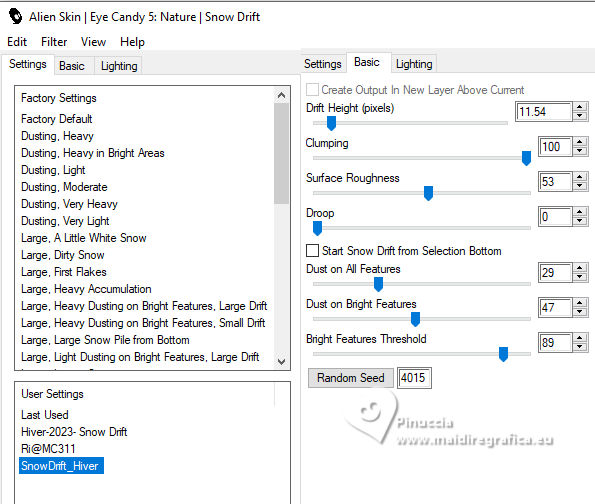
23. Effects>3D Effects>Inner Bevel, last settings.

Selections>Select None.
24. Activate your top layer.
Layers>New Raster Layer.
Flood Fill  the layer with color white. the layer with color white.
25. Layers>New Mask layer>From image
Open the menu under the source window and you'll see all the files open.
Select the mask Silvie_Mask_Glitter_Wave333
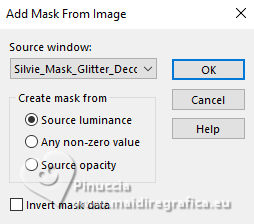
Layers>Merge>Merge Group.
26. Change the Blend Mode of this layer to Luminance (legacy) and reduce the opacity to 90%.
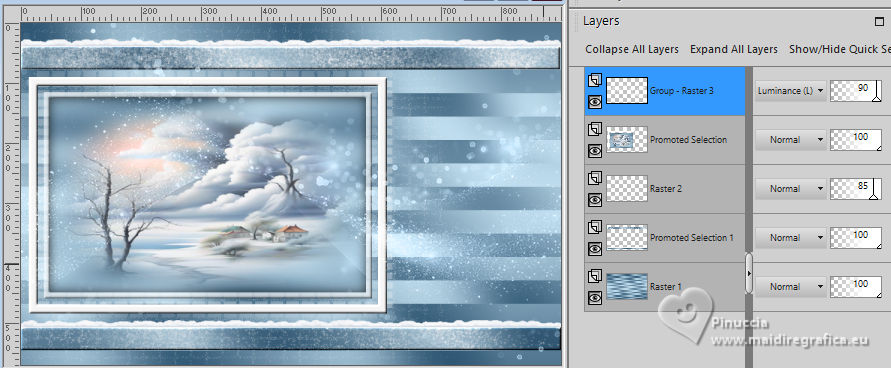
27. Layers>Merge>Merge All.
28. Image>Add Borders, 1 pixel, symmetric, background color.
Image>Add Borders, 3 pixels, symmetric, color white.
Image>Add Borders, 1 pixel, symmetric, background color.
29. Selections>Select All.
Edit>Copy
30. Image>Add Borders, 40 pixels, symmetric, color white.
Selections>Invert.
Edit>Paste into Selection
31. Again Selections>Invert.
Effects>Image Effects>Seamless Tiling, default settings.

32. Selections>Invert.
Adjust>Blur>Gaussian Blur - radius 15.

33. Effetti>Plugins>AAA Frames - Texture Frame.
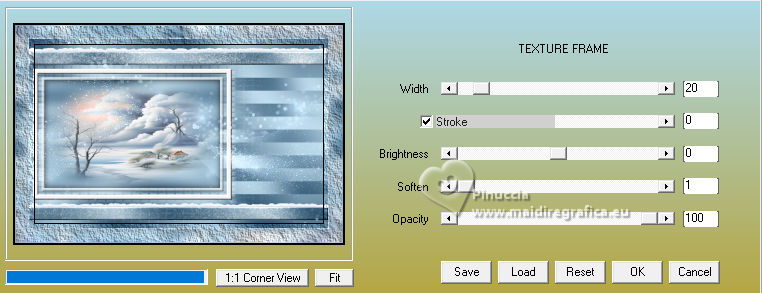
34. Effects>3D Effects>Inner Bevel, last settings.

Selections>Select None.
35. Open your main tube Feline31@280 octobre-25 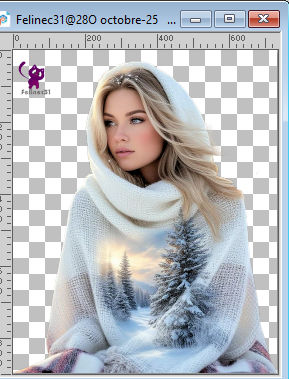
Erase the watermark and go to Edit>Copy.
Go back to your work and go to Edit>Paste as new layer.
Image>Resize, to 73%, resize all layers not checked.
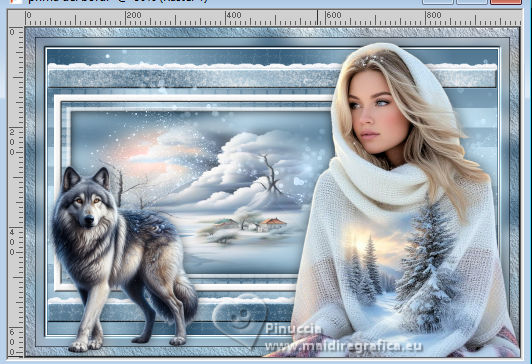
Move  the tube to the right, as in my example. the tube to the right, as in my example.
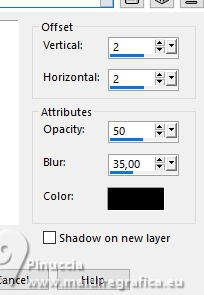
36. Effects>3D Effects>Drop Shadow, color black.
37. Open the tube SSD-2025-EnchantedTwilight-SassiSoul Designez 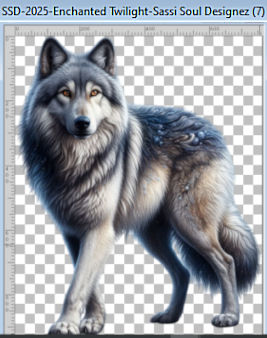
Edit>Copy.
Go back to your work and go to Edit>Paste as new layer.
Image>Resize, to 40%, resize all layers not checked.
Move  the tube at the bottom left, as in my example. the tube at the bottom left, as in my example.
38. Effects>3D Effects>Drop Shadow, color black.
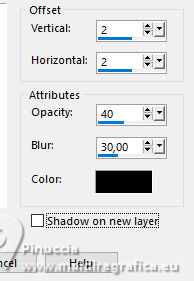
39. Image>Add Borders, 1 pixel, symmetric, background color.
Image>Add Borders, 3 pixels, symmetric, color white.
Image>Add Borders, 1 pixel, symmetric, background color.
40. Sign your work.
Add the author's signature, without forgetting your translator's.
Image>Resize, to 950 pixels width, resize all layers checked.
Save as jpg.
Version with my tubes from Pinterest images


If you have problems or doubts, or you find a not worked link, or only for tell me that you enjoyed this tutorial, write to me.
23 November 2025

|

