|
CHRISTMAS ANGEL

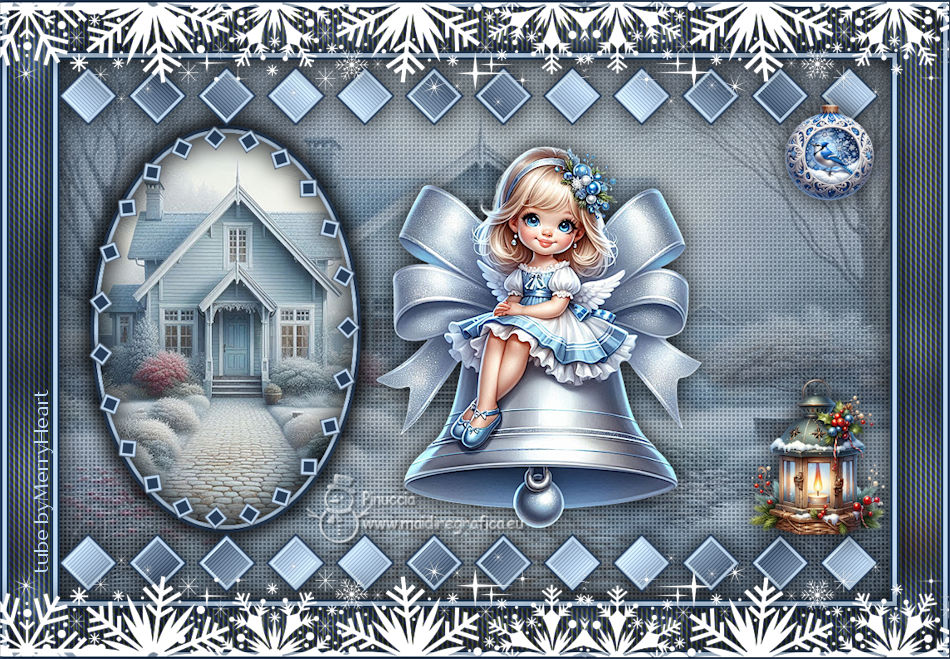
Thanks Inge-Lore for your invitation to translate your tutorials.

This tutorial, was translated with PSPX9, PSPX8 and PSP2020, but it can also be made using other versions of PSP.
Since version PSP X4, Image>Mirror was replaced with Image>Flip Horizontal,
and Image>Flip with Image>Flip Vertical, there are some variables.
In versions X5 and X6, the functions have been improved by making available the Objects menu.
In the latest version X7 command Image>Mirror and Image>Flip returned, but with new differences.
See my schedule here
 Italian translation qui Italian translation qui
 French translation here French translation here
 Your versions ici Your versions ici

Material
A tube at your choice
The rest of the material

For the tube thanks MerryHeart.
(you find here the links to the material authors' sites)

consult, if necessary, my filter section here
Carolaine and Sensibility - CS-DLines here

You can change Blend Modes according to your colors.
In the newest versions of PSP, you don't find the foreground/background gradient (Corel_06_029).
You can use the gradients of the older versions.
The Gradient of CorelX here

Copy the selection in the Selections Folder.
1. Choose from your tubes a light and a dark color.
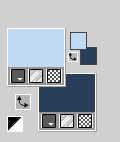
Set your foreground color to a Foreground/Background Gradient, style Linear.
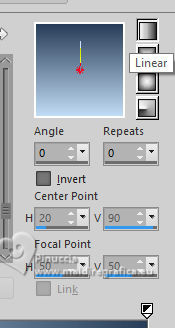
Open a new transparent image 1000 x 650 pixels.
Flood Fill  the transparent image with your Gradient. the transparent image with your Gradient.
Selections>Select All.
Open your background tube paper_EF(18) 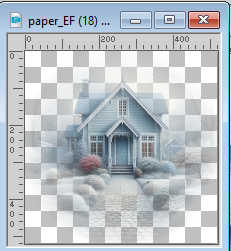
Edit>Copy.
Go back to your work and go to Edit>Paste into Selection.
Selections>Select None.
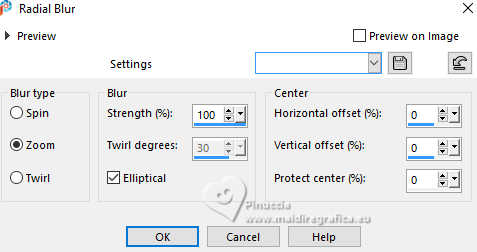
Adjust>Blur>Radial Blur.
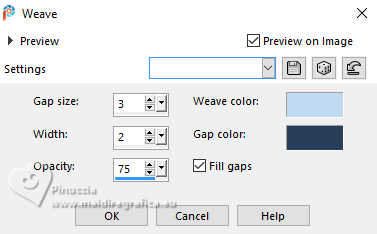
Effects>Texture Effects>Weave
weave color: light color
gap color: dark color
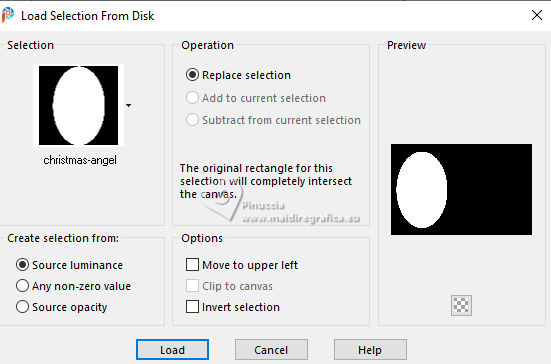
2. Selections>Load/Save Selection>Load Selection from Disk.
Look for and load the selection christmas-angel
Layers>New Raster Layer.
Flood Fill  the selection with your dark color. the selection with your dark color.
Selections>Modify>Contract - 5 pixels.
Set your foreground color to Color.
Flood Fill  the selection with your foreground light color di primo piano. the selection with your foreground light color di primo piano.
Selections>Modify>Contract - 5 pixels.
Flood Fill  the selection with your dark color. the selection with your dark color.
Open paper_EF(18) 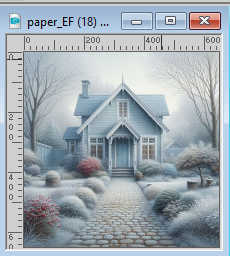
Edit>Copy.
Go back to your work and go to Edit>Paste as new layer.
3. Image>Resize, if necessary.
Place  the image on the selection. the image on the selection.
Selections>Invert.
Press CANC on the keyboard 
Again Selections>Invert.
Adjust>Sharpness>Sharpen.
Layers>New Raster Layer.
Effects>3D Effects>Cutout.
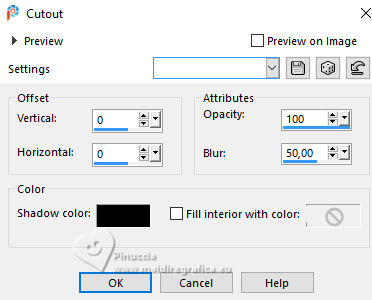
Selections>Select None.
Layers>Merge>Merge Down - 2 times.
Image>Resize, to 90%, resize all layers not checked.
K key to activer your Pick Tool 
Position X: 37,00 - Position Y: 79,00.

4. Open Deko-1 
Edit>Copy.
Go back to your work and go to Edit>Paste as new layer.
Position X: -2,00 - Position Y: 8,00.

Selections>Select All.
Selections>Float.
Selections>Defloat.
Selections>Modify>Contract - 6 pixels.
Set again your foreground color to Gradient, and change the settings
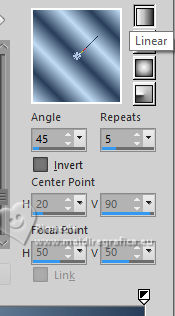
Flood Fill  the selection with your Gradient. the selection with your Gradient.
Effects>Plugins>Carolaine and Sensibility - CS-DLines
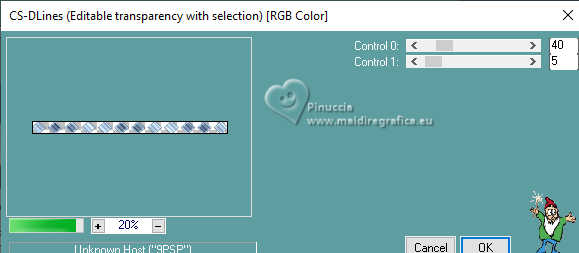
Selections>Select None.
5. Effects>3D Effects>Drop shadow, color black.

Layers>Duplicate.
Image>Mirror>Mirror vertical (Image>Flip).
Layers>Merge>Merge Down.
Activate the layer Raster 1.
Layers>New Raster Layer.
Selections>Select All.
Activate again your background image and go to Edit>Copy.
Go back to your work and go to Edit>Paste into Selection.
Selections>Select None.
Reduce the opacity of this layer to 50%.
6. Open your main tube and go to Edit>Copy.
Go back to your work and go to Edit>Paste as new layer.
Image>Resize, if necessary, resize all layers not checked.
Adjust>Sharpness>Sharpen.
Place  correctly the tube. correctly the tube.
Effects>3D Effects>Drop shadow, same settings.
Open AI VISIONS-ORNA BLUEJAY 13 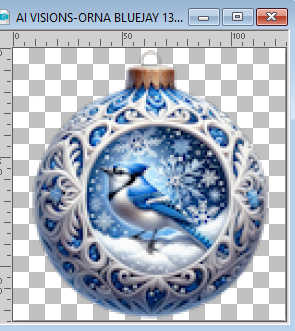
Edit>Copy.
Go back to your work and go to Edit>Paste as new layer.
K key to activate your Pick Tool 
Position X: 873,00 - Position Y: 47,00.

Effects>3D Effects>Drop shadow, same settings.
7. Open AI VISIONS-ANTIQUE LANTERN 33 
Edit>Copy.
Go back to your work and go to Edit>Paste as new layer.
Position X: 827,00 - Position Y: 384,00.

Effects>3D Effects>Drop shadow, same settings.
Activate the layer Raster 2.
Open Deko-2 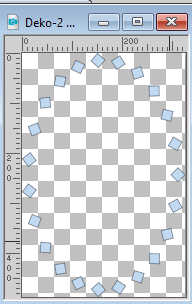
Edit>Copy.
Go back to your work and go to Edit>Paste as new layer.
Position X: 35,00 - Position Y: 79,00.

8. Selections>Select All.
Selections>Float.
Selections>Defloat.
Selections>Modify>Contract - 4 pixels.
Flood Fill  the selection with your dark color. the selection with your dark color.
Selections>Select None.
Effects>3D Effects>Drop shadow, same settings.
Layers>Merge>Merge Down.
Effects>3D Effects>Drop shadow, same settings.
9. Selections>Select All.
Layers>New Raster Layer.
Effects>3D Effects>Cutout, same settings.
Selections>Select None.
Edit>Copy Special>Copy Merged
Image>Add Borders, 3 pixels, symmetric, dark color.
Image>Add Borders, 5 pixels, symmetric, light color.
Image>Add Borders, 3 pixels, symmetric, dark color.
10. Selections>Select All.
Image>Add Borders, 50 pixels, symmetric, light color.
Selections>Invert.
Edit>Paste into Selection
Adjust>Blur>Gaussian Blur - radius 20.

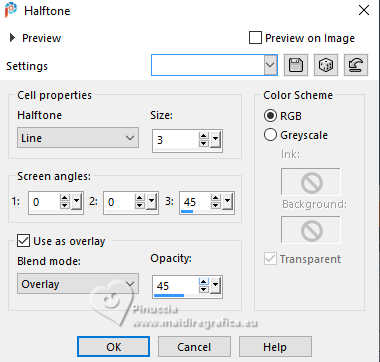
Effects>Artistic Effects>Halftone.
Selections>Invert.
Effects>3D Effects>Drop shadow, color black.

Selections>Select None.
11. Image>Add Borders, 3 pixels, symmetric, dark color.
Image>Add Borders, 5 pixels, symmetric, light color.
Image>Add Borders, 3 pixels, symmetric, dark color.
Open Deko-3 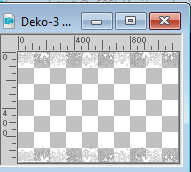
Edit>Copy.
Go back to your work and go to Edit>Paste as new layer.
Effects>3D Effects>Drop shadow, color black.

Layers>Merge>Merge All.
Image>Resize, 1000 pixels width, resize all layers checked.
Sign your work on a new layer.
Layers>Merge>Merge All and save as jpg.
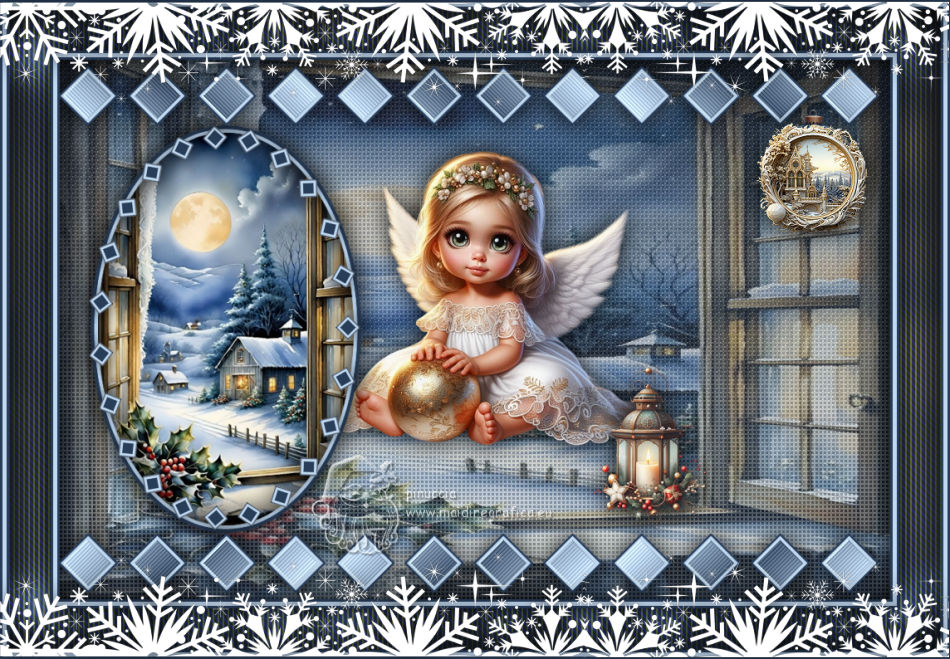
Versions with my tubes from Pinterest images.

If you have problems or doubts, or you find a not worked link, or only for tell me that you enjoyed this tutorial, write to me.
13 November 2025

|


