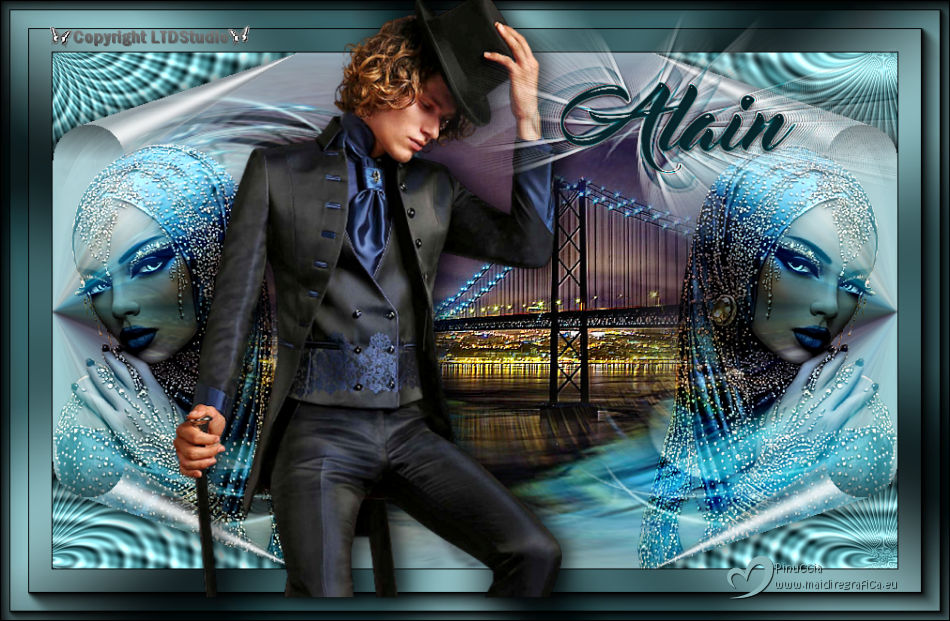
|
ALAIN 

This tutorial, was created with PSPX9 and translated with PSP2020, but it can also be made using other versions of PSP.
For this tutorial, you will need:  Thanks for the tube and the mask Eugenia Clo and Narah. The rest of the material is by Lady Tess. (you find here the links to the material authors' sites)  consult, if necessary, my filter section here Filters Unlimited 2.0 here &<Bkg Kaleidoscope> - Zandflower (to import in Unlimited) here Mehdi - Wavy Lab 1.1. here FM Tile Tools - Blend Emboss here Flaming Pear - Flexify 2 here Simple - Left Right Wrap here Graphics Plus - Page Curl here AAA Frames - Foto Frame here Alien Skin Eye Candy 5 Impact - Perspective Shadow here Filters Simple and Graphics Plus can be used alone or imported into Filters Unlimited. (How do, you see here) If a plugin supplied appears with this icon  You can change Blend Modes according to your colors.  Copy the selection in the Selections Folder. Colors  1. Set your foreground color to #182628, and your background color to #3c6266. 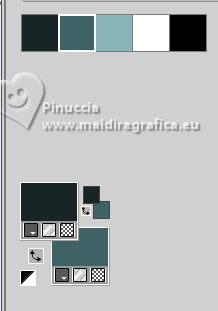 color 3 #89b5b9 other colors: white and black 2. Open a new transparent image 900 x 550 pixels. Effects>Plugins>Mehdi - Wavy Lab 1.1 This filter creates gradients with the colors of your Materials palette. The first is your background color, the second is your foreground color. Change the last two colors created by the filter: the third color with #89b5b9 and the fourth with your background color #3c6266. 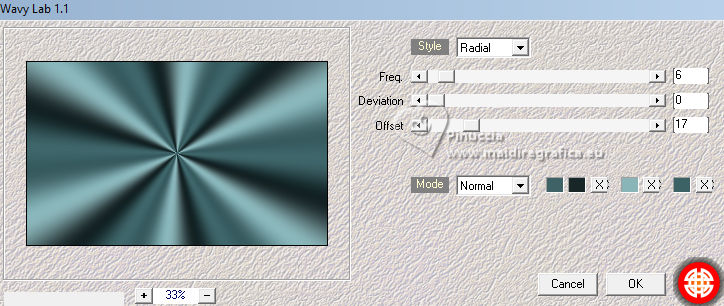 Layers>Duplicate. Adjust>Blur>Gaussian Blur - radius 30.  Layers>New Raster Layer. 3. Selections>Select All. Open MistedPaesaggio135_byClo 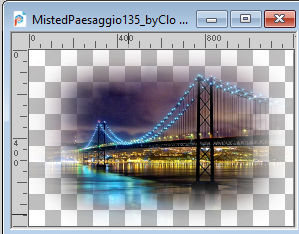 Edit>Copy. Go back to your work and go to Edit>Paste into Selection. Selections>Select None. 4. Layers>Merge>Merge Down. Effects>Image Effects>Seamless Tiling, default settings.  Adjust>Blur>Motion Blur. 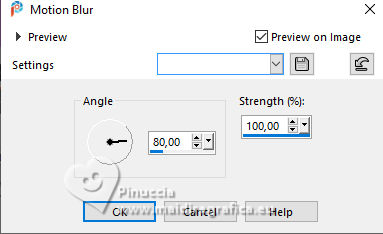 Edit>Repeat Motion Blur. 5. Effects>Reflection Effects>Rotating Mirror, default settings.  Edit>Paste as new layer - the tube MistedPaesaggio134_byClo is still in memory. Image>Resize, to 80%, resize all layers not checked. 6. We have this 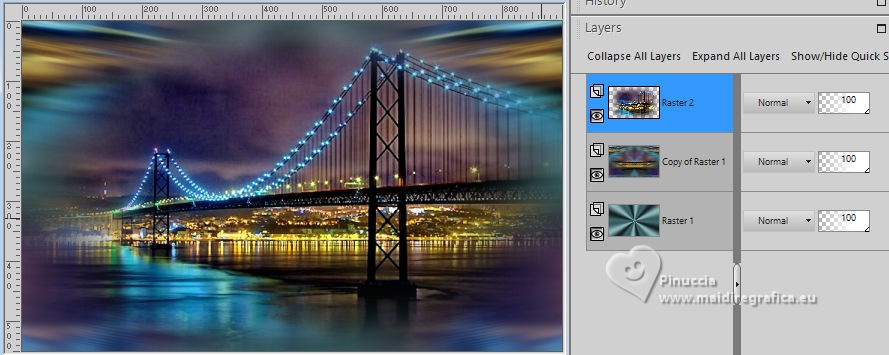 7. Effects>Plugins>FM Tile Tools - Blend Emboss, default settings  Set your foreground color to color 3 #89b5b9 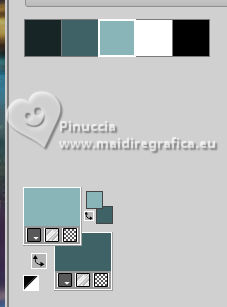 Layers>New Raster Layer. Flood Fill  the layer with your foreground color #89b5b9. the layer with your foreground color #89b5b9.Layers>New Mask layer>From image Open the menu under the source window and you'll see all the files open. Select the mask Narah_mask_03333. 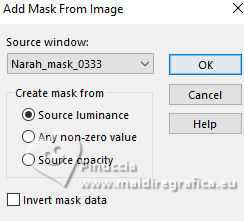 Layers>Merge>Merge Group. Change the Blend Mode of this layer to Screen. Effects>Edge Effects>Enhance. 8. K key to activate your Pick Tool  Position X: 0,00 - Position Y: -40,00. 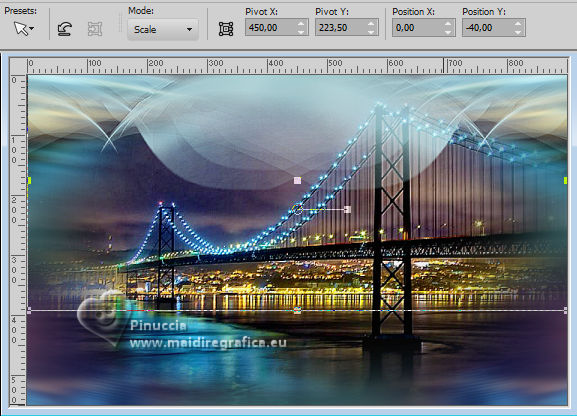 M key to deselect the Tool. Effects>Plugins>Simple - Left Right Wrap. Layers>Duplicate. Image>Mirror>Mirror Vertical (Image>Flip). We have this 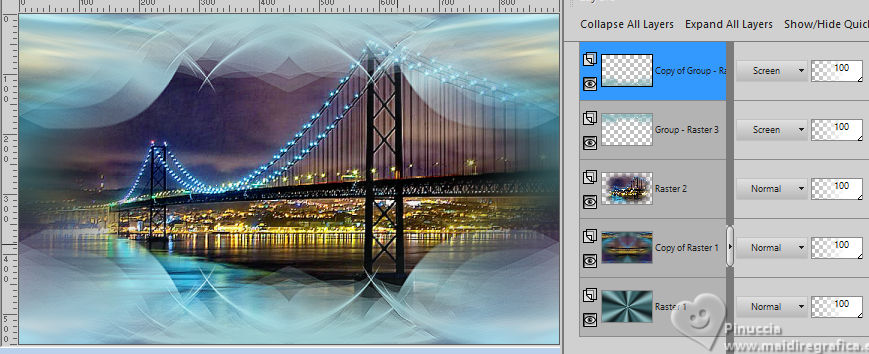 9. Close the layer Raster 1. Layers>Merge>Merge visible. Effects>Plugins>Flaming Pear - Flexify 2. 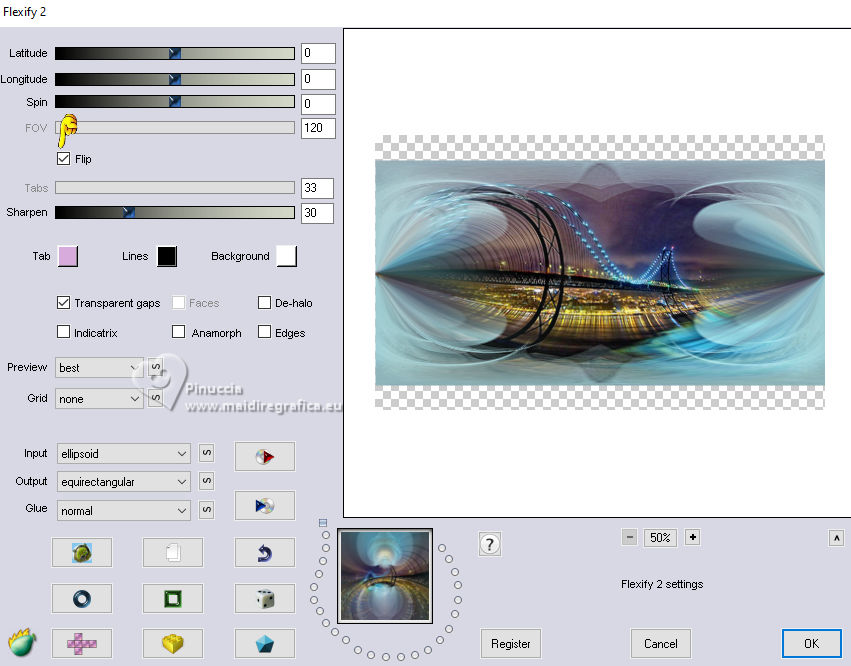 Open the layer Raster 1. K key to activate your Pick Tool  Position X: 0,00 - Position Y: -4,00. 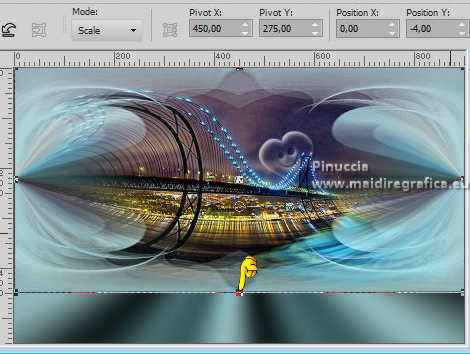 Mode Scale  pull the central node down until the border 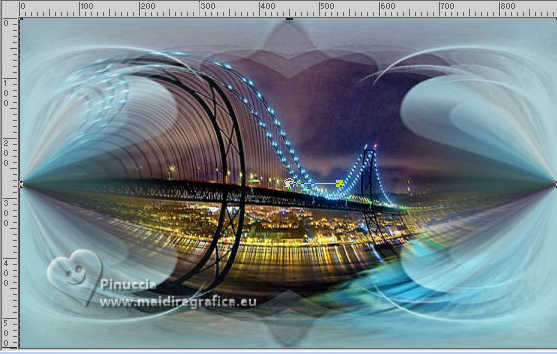 10. The tube mistedPaesaggio135_byClo is still in memory: Edit>Paste as new layer. Image>Resize, to 50%, resize all layers not checked. Effects>Plugins>FM Tile Tools - Blend Emboss, default settings. 11. We have this 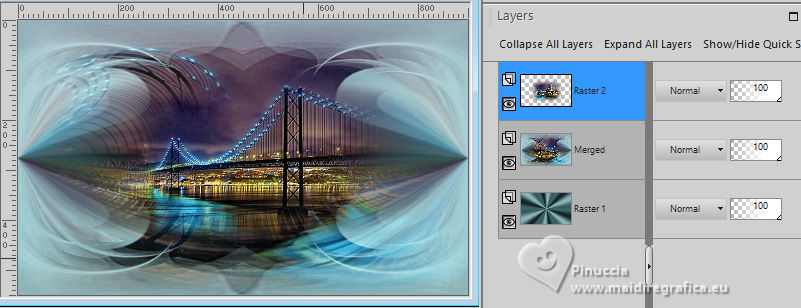 12. Open Woman2964_byClo 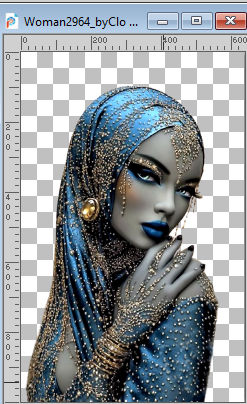 Edit>Copy. Go back to your work and go to Edit>Paste as new layer. Image>Resize, to 50%, resize all layers not checked. Adjust>Sharpness>Sharpen More. Objects>Align>Right. Objects>Align>Bottom. 13. Change the Blend Mode of this layer to Overlay. Layers>Duplicate. Image>Mirror>Mirror Horizontal. 14. We have this 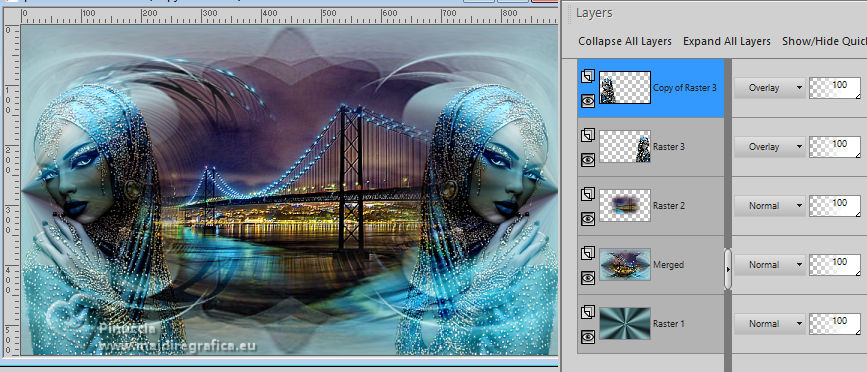 15. Close the layer Raster 1. Activate the layer above. Layers>Merge>Merge visible. Effects>Plugins>Filters Unlimited 2.0 - Graphics Plus - Page Curl.  16. Again: Effects>Plugins>Filters Unlimited 2.0 - Graphics Plus - Page Curl.  Again: Effects>Plugins>Filters Unlimited 2.0 - Graphics Plus - Page Curl.  17. Again: Effects>Plugins>Filters Unlimited 2.0 - Graphics Plus - Page Curl.  Open and activate the layer Raster 1. Layers>New Raster Layer. 18. Before the next filter, set again your foreground color to #182628.  Effects>Plugins>Mehdi - Wavy Lab 1.1.  Effects>Plugins>Filters Unlimited 2.0 - &<Bkg Kaleidoscope> - Zandflower, default settings 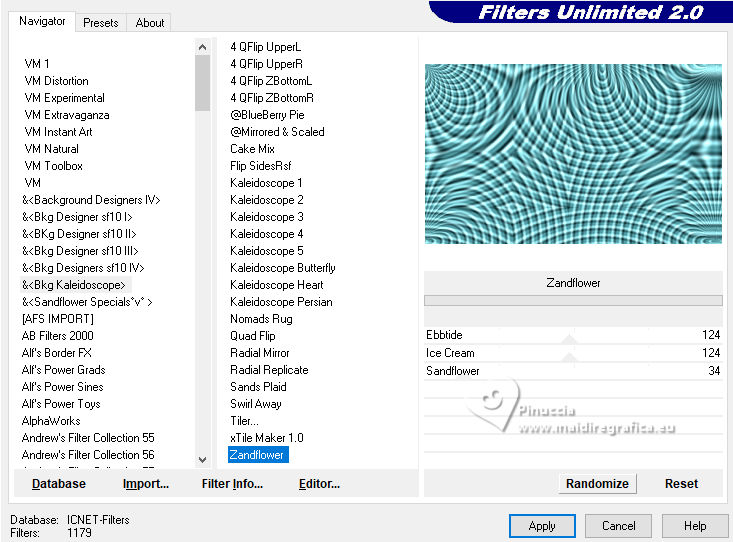 19. We have this 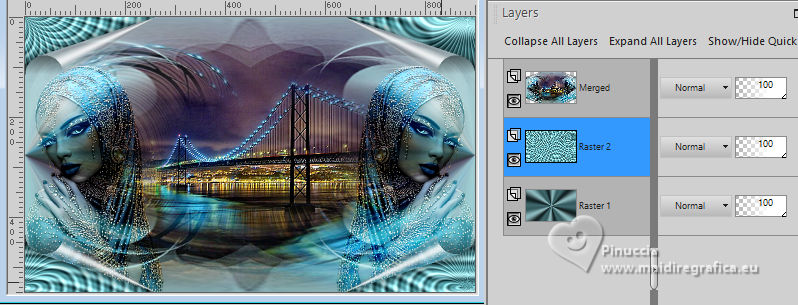 20. Activate the layer Raster 1. Edit>Copy. Edit>Paste as new image. Minimize this image for the moment. Go back to your work. Image>Add Borders, 1 pixel, symmetric, color #000000. Selections>Select All. Image>Add Borders, 55 pixels, symmetric, color #ffffff. Selections>Invert. 21. Edit>Paste into Selection - the image of step 20 is in memory. Effects>Plugins>AAA Frames - Foto Frame.  Again Effects>Plugins>AAA Frames - Foto Frame. 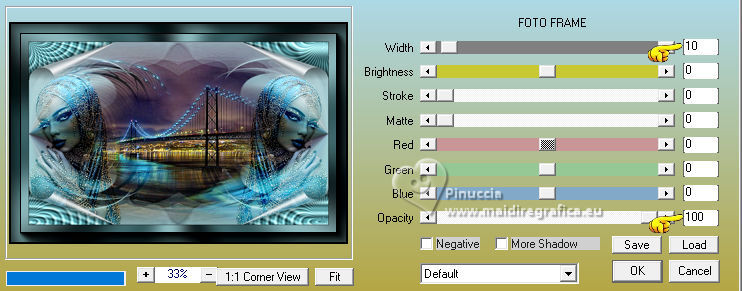 Selections>Select None. 22. Open Man34_byClo 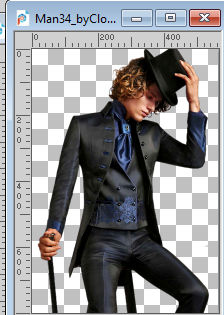 Edit>Copy. Go back to your work and go to Edit>Paste as new layer. Image>Resize, to 80%, resize all layers not checked. K key to activate your Pick Tool  Position X: 184,00 - Position Y: -3,00.  M key to deselect the Tool. 23. Effects>Plugins>Alien Skin Eye Candy 5 Impact - Perspective Shadow preset Drop Shadow Lowest, with these settings  Open LTDStudio_Alain_Texto  Edit>Copy. Go back to your work and go to Edit>Paste as new layer. Move  the tube to your liking. the tube to your liking.24. Sign your work on a new layer. Add the watermarks of the author and of the translator. Layers>Merge>Merge All and save as jpg. Version with my tubes; for the man's tube thanks Lady Valella.    Your versions. Thanks Your versions. Thanks If you have problems or doubts, or you find a not worked link, or only for tell me that you enjoyed this tutorial, write to me. 7 October 2025 |
