|
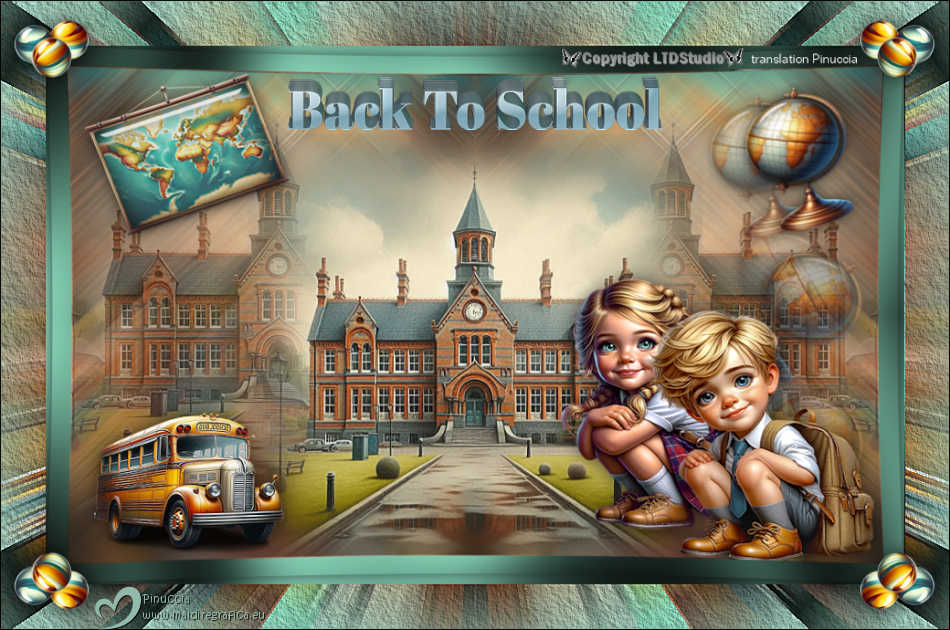
BACK TO SCHOOL 

This tutorial, was created with PSPX9 and translated with PSP2020, but it can also be made using other versions of PSP.
 For this tutorial, you will need:  Thanks for the tubes ElFairy. The rest of the material is by Lady Tess. (you find here the links to the material authors' sites)   consult, if necessary, my filter section here Filters Unlimited 2.0 here Graphics Plus - Cross Shadow here VM Toolbox - Zoom Blur here Alien Skin Eye Candy 5 Impact - Glass here Muras's Meister - Copies here AAA Frames - Texture Frame here You can change Blend Modes according to your colors.  Copy the selection in the Selections Folder. 1. Set your foreground color to #92baab and your background color to #355348. 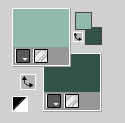 2. Open a new transparent image 900 x 550 pixels. Selections>Select All. Open the image Image-Fondo 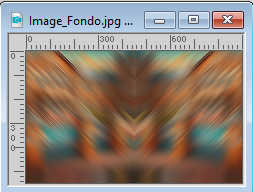 Edit>Copy. Go back to your work and go to Edit>Paste into Selection. Selections>Select None. 3. Effects>Image Effects>Seamless Tiling. 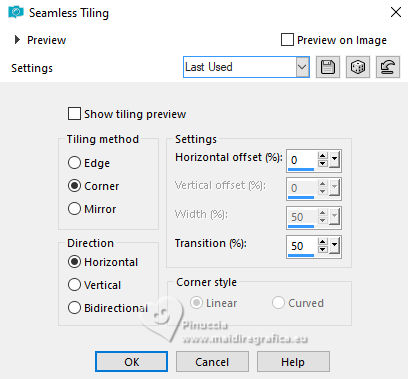 Open paper_EF(9) 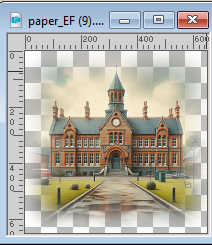 Edit>Copy. Go back to your work and go to Edit>Paste as new layer. Image>Resize, to 80%, resize all layers not checke. Adjust>Sharpness>Sharpen. 4. Effects>Plugins>Mura's Meister - Copies. 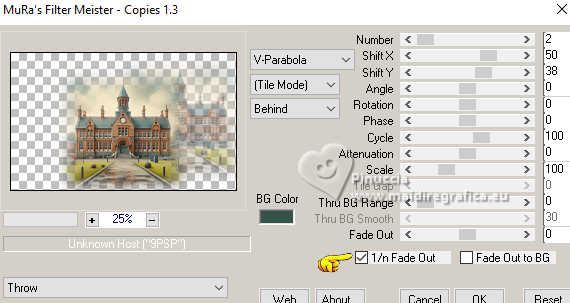 Layers>Duplicate. Image>Mirror>Mirror Horizontal. Layers>Merge>Merge Down. 5. We have this 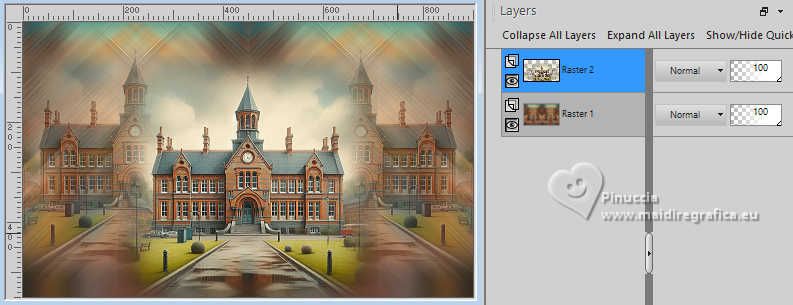 6. Layers>New Raster Layer. Selections>Load/Save Selection>Load Selection from Disk. Look for and load the selection LTD_BackSchool_sel_1 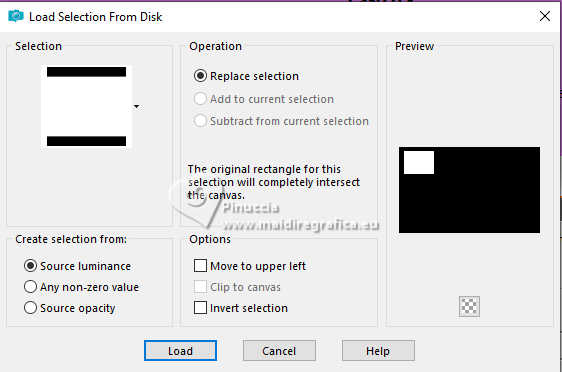 Open element_EF(32) 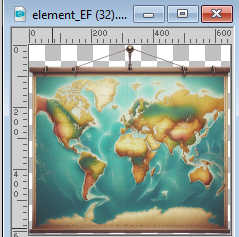 Edit>Copy. Go back to your work and go to Edit>Paste into Selection. Adjust>Sharpness>Sharpen More. Selections>Select None. 7. Effects>3D Effects>Drop Shadow, color #000000 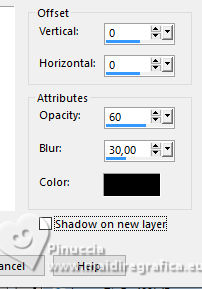 8. Selections>Load/Save Selection>Load Selection from Disk. Look for and load the selection LTD_BackSchool_sel_2 Effects>Plugins>Alien Skin Eye Candy 5 Impact - Glass - preset Clear 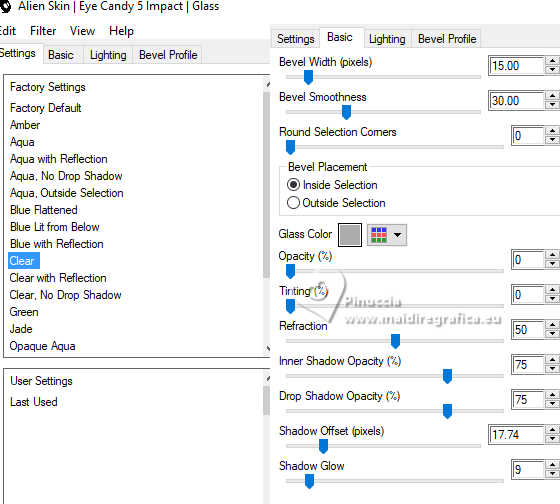 Selections>Select None. Adjust>Sharpness>Sharpen. 9. Image>Free Rotate - 20 degrees to left 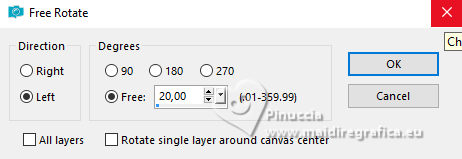 Move  it slightly up. it slightly up.Result 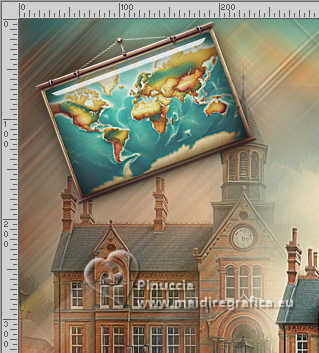 10. Open school_bus 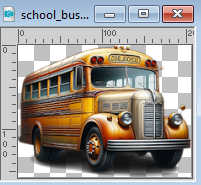 Edit>Copy. Go back to your work and go to Edit>Paste as new layer. Effects>Image Effects>Offset. 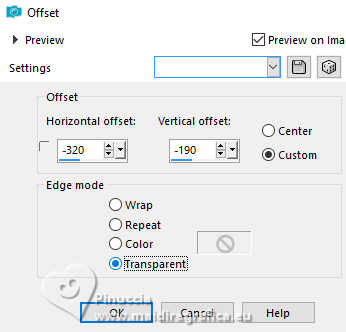 Effects>3D Effects>Drop Shadow, last settings. Adjust>Sharpness>Sharpen. 11. Layers>New Raster Layer. Selections>Load/Save Selection>Load Selection from Disk. Look for and load the selection LTD_BackSchool_sel_3 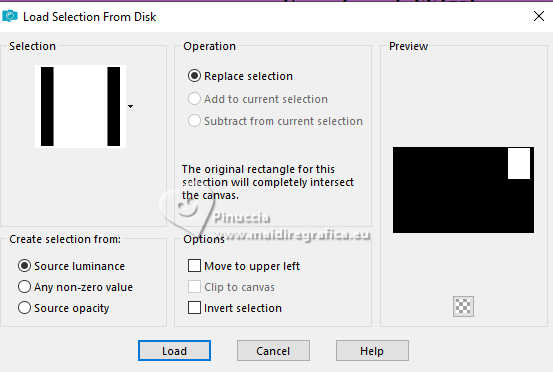 Open element_EF(52) 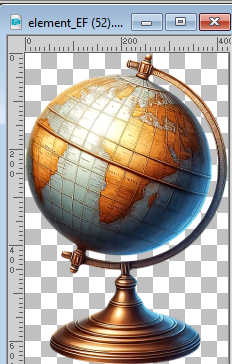 Edit>Copy. Go back to your work and go to Edit>Paste into Selection. Selections>Select None. 12. Effects>3D Effects>Drop Shadow, last settings. Adjust>Sharpness>Sharpen. Image>Free Rotate - 20 degrees to right 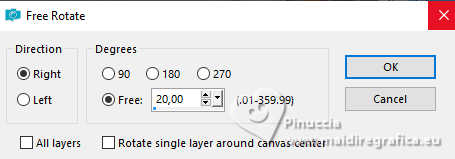 13. Selections>Load/Save Selection>Load Selection from Disk. Look for and load the selection LTD_BackSchool_sel_4 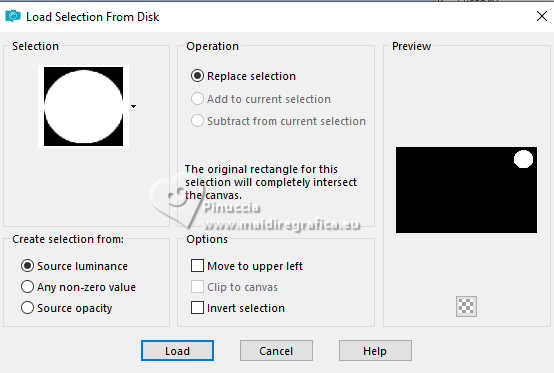 Effects>Plugins>Alien Skin Eye Candy 5 Impact - Glass - preset Clear, last settings Selections>Select None. Effects>Plugins>Mura's Meister - Copies 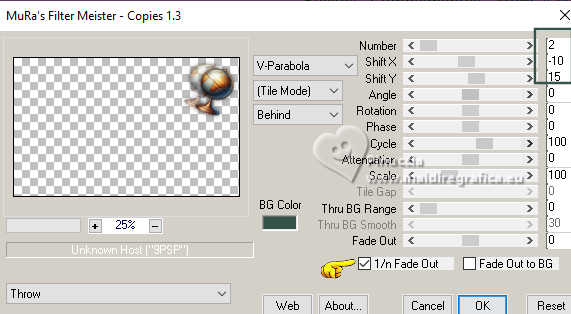 14. Image>Resize, to 80%, resize all layers not checked. Adjust>Sharpness>Sharpen. Effects>Image Effects>Offset. 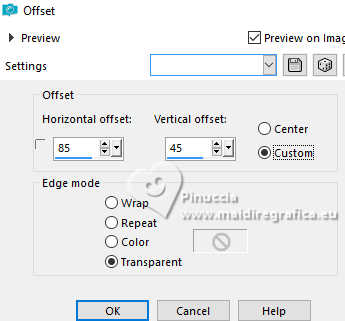 Effects>Plugins>Mura's Meister - Copies 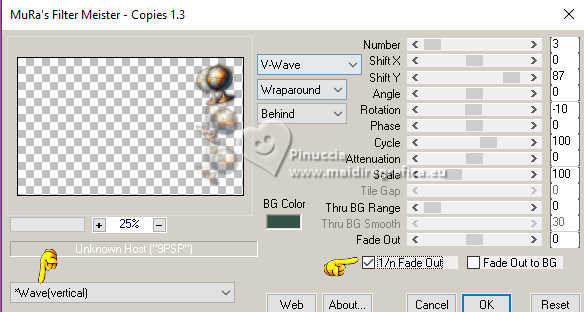 15. We have this 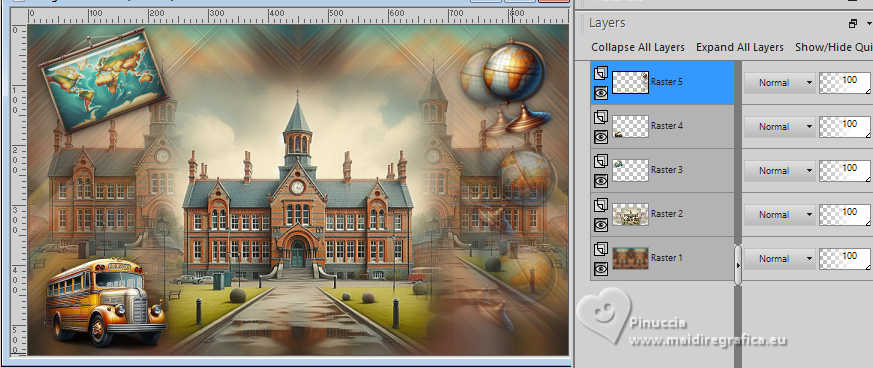 16. Open tubes_boygirl 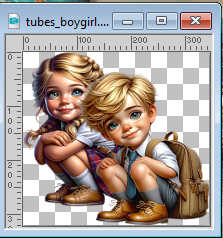 Edit>Copy. Go back to your work and go to Edit>Paste as new layer. Effects>Image Effects>Offset. 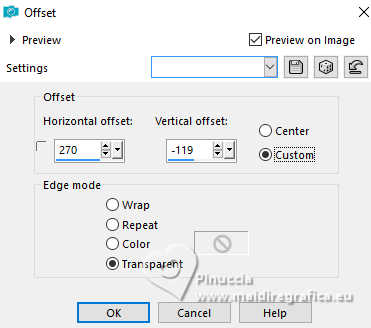 Effects>3D Effects>Drop Shadow, last settings. Result 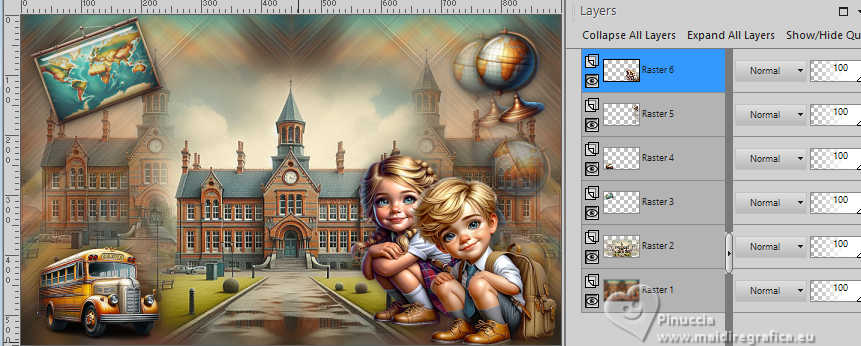 17. Image>Add Borders, 20 pixels, symmetric, background color #355348. Activate your Magic Wand Tool  , tolerance and feather 0, , tolerance and feather 0,and click in the border to select it. Effects>Plugins>Filters Unlimited 2.0 - Graphics Plus - Cross Shadow, default settings. 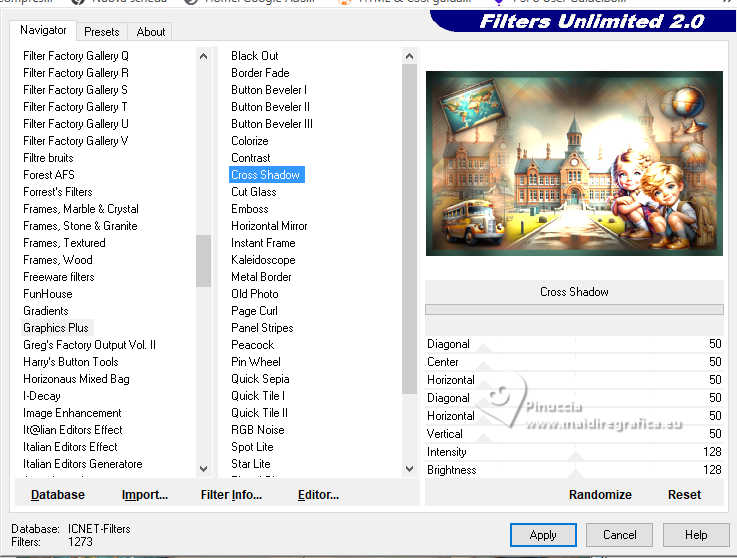 Repeat this Effect another time. Image>Rotate Right. Effects>Reflection Effects>Rotating Mirror. 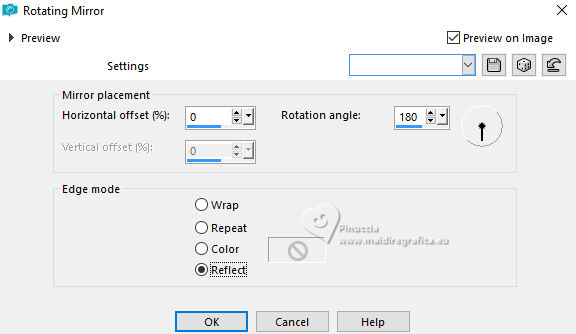 18. Image>Rotate Left. Selections>Select All. Image>Add Borders, 50 pixels, symmetric, foreground color #92baab. Selections>Invert. Effects>Plugins>Filters Unlimited 2.0 - VM Toolbox - Zoom Blur. It may happen that, when imported into Unlimited, the Zoom Blur Effect is found under VM Stylize. 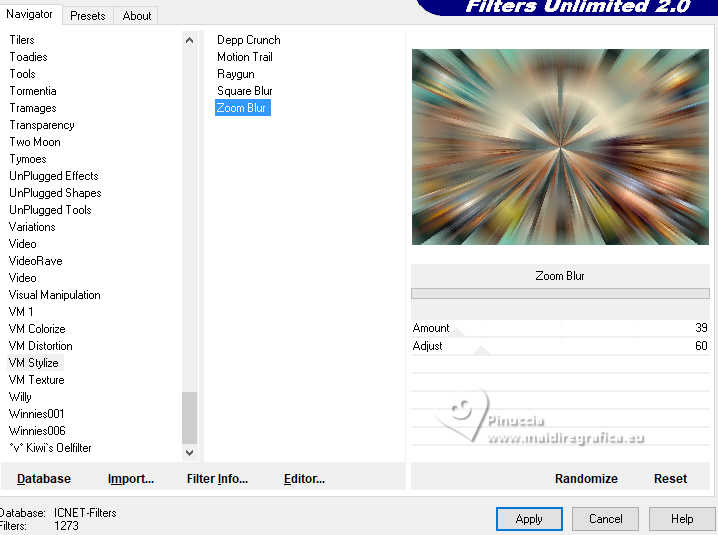 Effects>Reflection Effects>Rotating Mirror, last settings. 19. Adjust>Sharpness>Sharpen More. Effects>Plugins>AAA Frames - Texture Frame. 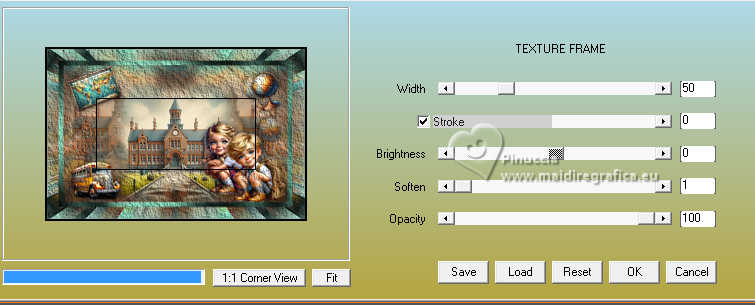 Selections>Invert. 20. Effects>Distortion Effects>Lens Distortion. 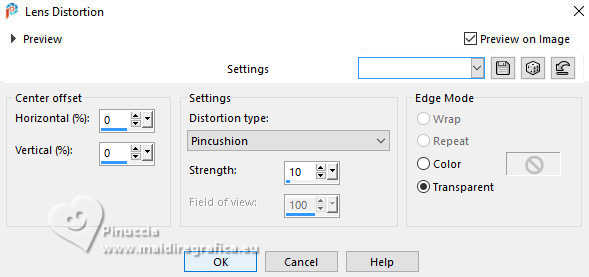 Effects>3D Effects>Drop Shadow, color black. 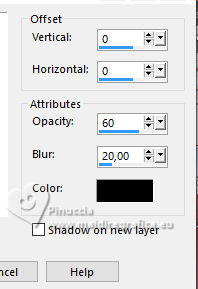 Selections>Select None. Open LTDStudio_BackToSchool_DecoTexto 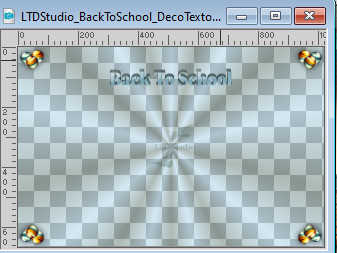 (Optional) (Optional)Edit>Copy. Go back to your work and go to Edit>Paste as new layer. It's in its place. 21. If you want open LTDStudio_BackToSchool_Texto 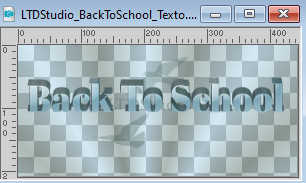 Edit>Copy. Go back to your work and go to Edit>Paste as new layer. Effects>Image Effects>Offset. 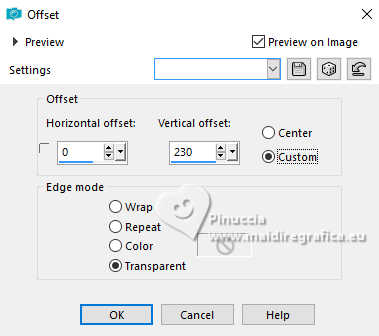 22. Sign your work on a new layer. Add the author's and translator's watermarks. Layers>Merge>Merge All and save as jpg. For the tubes of this version thanks ElFairy 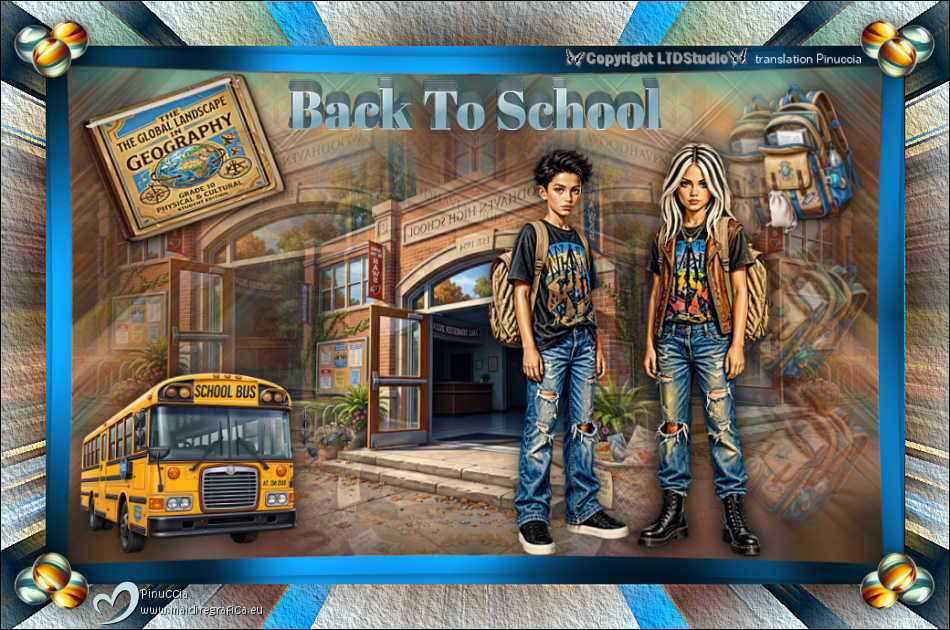   Your versions. Thanks Your versions. Thanks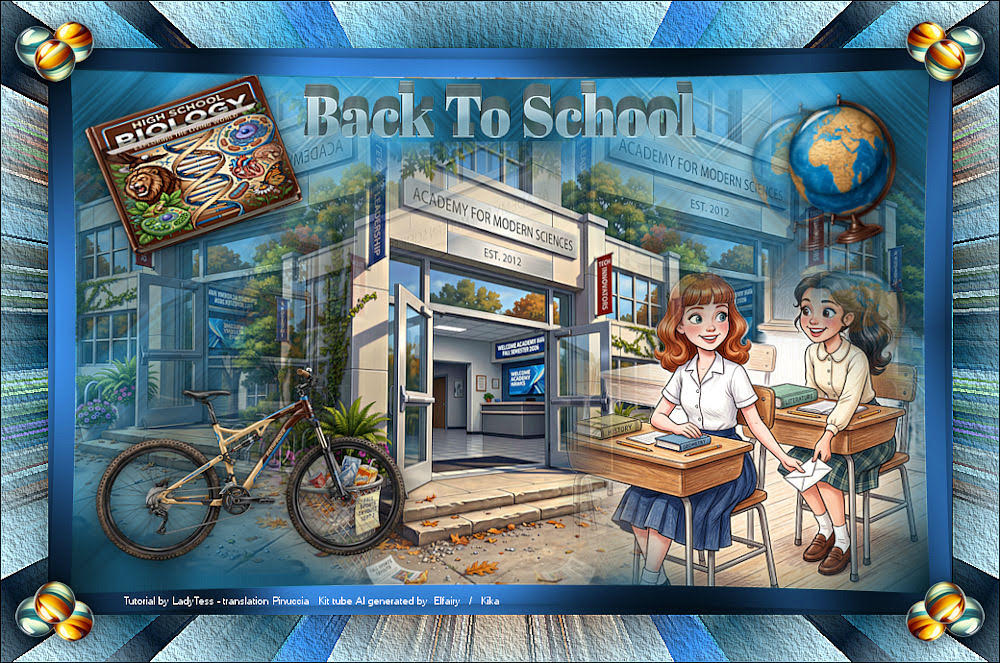 Kika  If you have problems or doubts, or you find a not worked link, or only for tell me that you enjoyed this tutorial, write to me. 1 September 2026 |