|
BEAUTÉ SENSUELLE 

This tutorial, was created with PSPX9 and translated with PSP2020, but it can also be made using other versions of PSP.
For this tutorial, you will need:  Thanks for the tubes Clo, Nena Silva, Silvie and for the mask Narah. The rest of the material is by Lady Tess. (you find here the links to the material authors' sites)  consult, if necessary, my filter section here Filters Unlimited 2.0 here Mehdi - Wavy Lab 1.1. here Flaming Pear - Flexify 2 here Graphics Plus - Cross Shadow here AAA Frames - Foto Frame here Alien Skin Eye Candy 5 Impact - Glass here Filters Graphics Plus can be used alone or imported into Filters Unlimited. (How do, you see here) If a plugin supplied appears with this icon  You can change Blend Modes according to your colors.  Copy the selections in the Selections Folder. Open the mask in PSP and minimize it with the rest of the material. Colors  1. Set your foreground color to #8396c3 and your background color to #303f64. 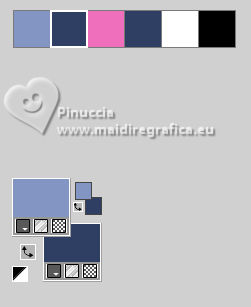 color 3 #ef6fbd color 4 #303f64 other colors: white #ffffff and black #000000 2. Open a new transparent image 900 x 550 pixels. Effects>Plugins>Mehdi - Wavy Lab 1.1 This filter creates gradients with the colors of your Materials palette. The first is your background color, the second is your foreground color. Change the last two colors created by the filter: the third with color 3 #ef6fbd and the fourth with color 4 #303f64. 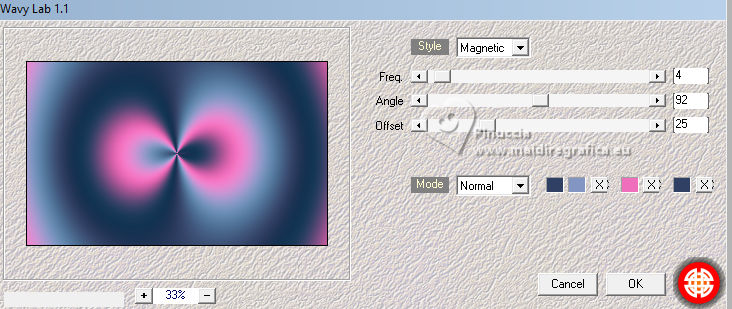 Effects>Reflection Effects>Rotating Mirror, default settings  Layers>Duplicate. Adjust>Blur>Gaussian Blur - radius 50. 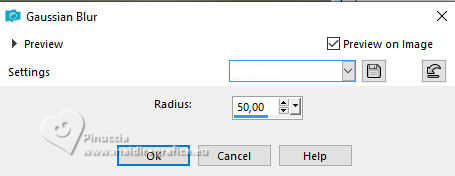 Layers>New Raster Layer. 3. Flood Fill  the layer with your background color #303f64. the layer with your background color #303f64.Layers>New Mask layer>From image Open the menu under the source window and you'll see all the files open. Select the mask NarahsMasks_1524. 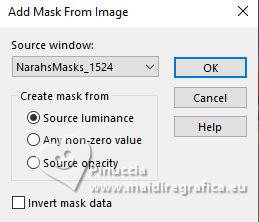 Layers>Merge>Merge Group. Effects>Edge Effects>Enhance. 4. We have this 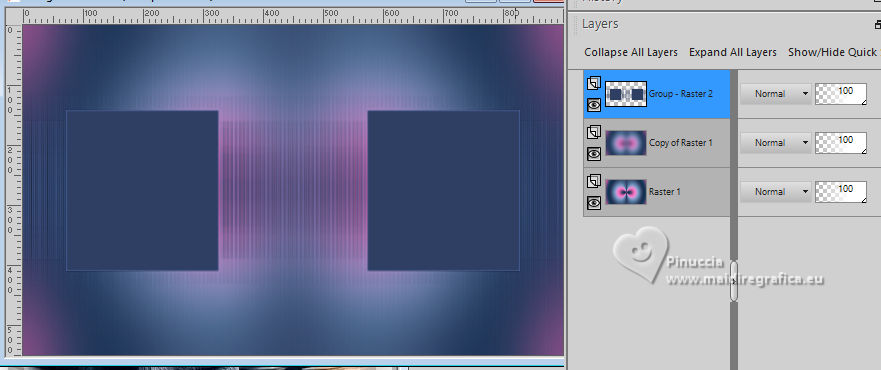 5. Activate the central layer, Copy of Raster 1. Open ns-paisagem1128 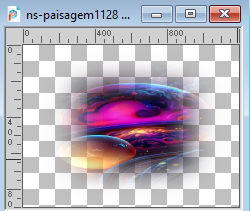 Edit>Copy. Go back to your work and go to Edit>Paste as new layer. K key to activate your Pick Tool  Position X: -106,00 - Position Y: -199,00.  M key to deselect the Tool. Effects>Image Effects>Seamless Tiling.  6. Stay on this layer, Raster 2. Selections>Load/Save Selection>Load Selection from Disk. Look for and load the selection BeautéSensuelle_sel_1 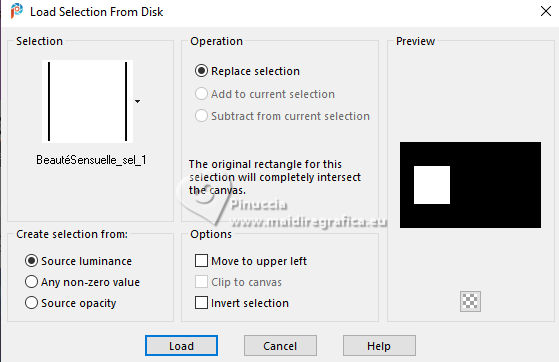 Selections>Promote Selection to Layer. Layers>Arrange>Bring to Top. 7. Adjust>Blur>Gaussian Blur - radius 5. 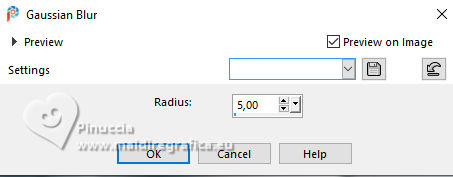 Effects>Edge Effects>Enhance. Layers>New Raster Layer. Open the tube MistedWoman1331-byClo 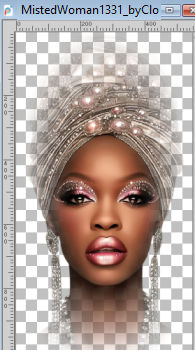 Edit>Copy. Go back to your work and go to Edit>Paste into Selection. Effects>Edge Effects>Enhance. Layers>Merge>Merge Down. 8. Effects>Plugins>Alien Skin Eye Candy 5 Impact - Glass - Clear 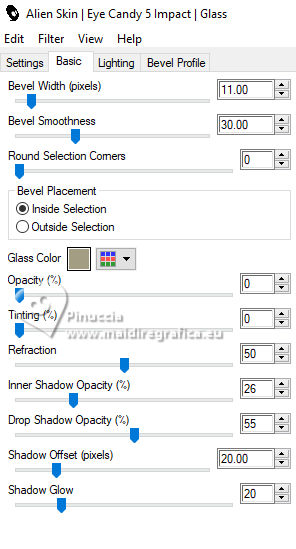 Selections>Select None. Layers>Duplicate. Image>Mirror>Mirror Horizontal. Layers>Merge>Merge Down. 9. Activate the layer of the mask, Group-Raster 2. Effects>3D Effects>Drop Shadow, color #000000. 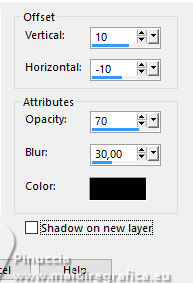 Repeat Effects>3D Effects>Drop Shadow, color #000000. 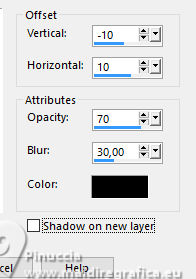 Effects>Edge Effects>Enhance. 10. We have this  11. Activate your top layer. Layers>Duplicate. Effects>Plugins>Flaming Pear - Flexify 2.  Image>Resize, to 80%, resize all layers not checked. K key to activate your Pick Tool  Position X: 236,00 - Position Y: -7,00.  Layers>Duplicate. Position X: 236,00 - Position Y: 274,00.  M key to deselect the Tool. Reduce the opacity of this layer to 61%. Effects>Edge Effects>Enhance. 12. We have this.  13. Activate the layer Raster 2 - the 3td from the bottom. Open Black_Swans88E_misted_Silvie_09.03.2025 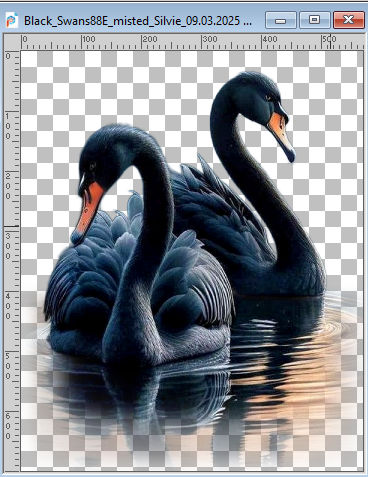 Edit>Copy. Go back to your work and go to Edit>Paste as new layer. Image>Resize, to 40%, resize all layers not checked. K key to activate your Pick Tool  Position X: -3,00 - Position Y: -1,00.  M key to deselect the Tool. 14. Reduce the opacity of this layer to 77%. Effects>Edge Effects>Enhance. Layers>Duplicate. Image>Mirror>Mirror Horizontal. Layers>Merge>Merge Down. Layers>Duplicate. K key to activate your Pick Tool  Position X: -3,00 - Position Y: 357,00.  M key to deselect the Tool. Layers>Arrange>Bring to Top. Reduce the opacity of this layer to 77%. 15. Layers>Merge>Merge All. Edit>Copy. Edit>Paste as new image, and minimize this image. Go back to your work. Image>Add Borders, 1 pixel, symmetric, color #000000. Selections>Select All. 16. Image>Add Borders, 55 pixels, symmetric, color #ffffff. Selections>Invert. Edit>Paste into Selection - the image minimized at step 15 is still in memory. 17. Adjust>Blur>Gaussian Blur - radius 25.  Effects>Plugins>Graphics Plus - Cross Shadow, default settings  Edit>Repeat Cross Shadow. Effects>Plugins>Filters unlimited 2.0 - Buttons & Frames - 3D Glass Frame 2.  Effects>Reflection Effects>Rotating Mirror.  18. Effects>Plugins>AAA Frames - Foto Frame. 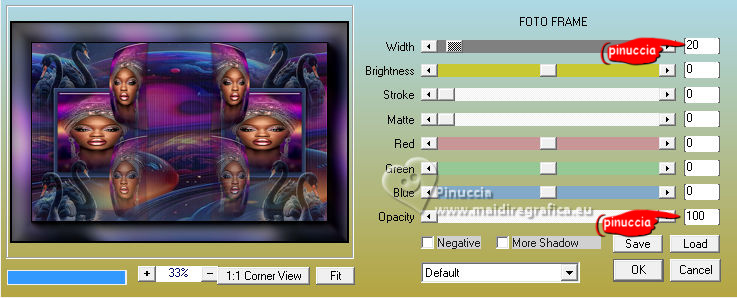 Selections>Select None. Open Woman3015_byClo 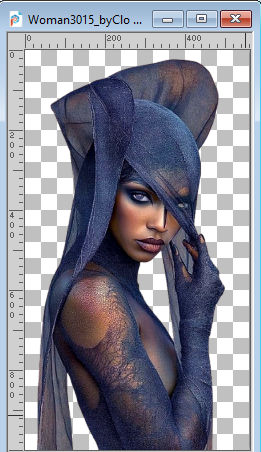 Edit>Copy. Go back to your work and go to Edit>Paste as new layer. Image>Resize, to 67%, resize all layers not checked. Adjust>Sharpness>Sharpen. 19. Effects>3D Effects>Drop shadow, shadow on a new layer checked. 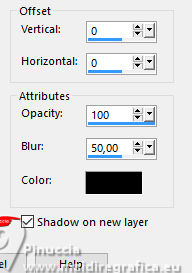 Stay on the shadow's layer. Effects>Distortion Effects>Ripple. 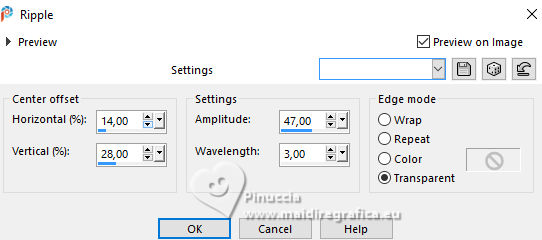 Change the Blend Mode of this layer to Overlay. 20. Effects>Edge Effects>Enhance More. Activate your top layer. Open LTDStudio_BeautéSensuelle_Texto  Edit>Copy. Go back to your work and go to Edit>Paste as new layer. Change the Blend Mode of this layer to Dodge (optional). Move  the tube to your liking. the tube to your liking.21. Sign your work on a new layer. Add the watermarks of the author and of the translator. Layers>Merge>Merge All. 22. Save as jpg. Versions with my tubes from images by Pinterest; for the deco tubes thanks Silvie.     Your versions. Thanks Your versions. Thanks Kika 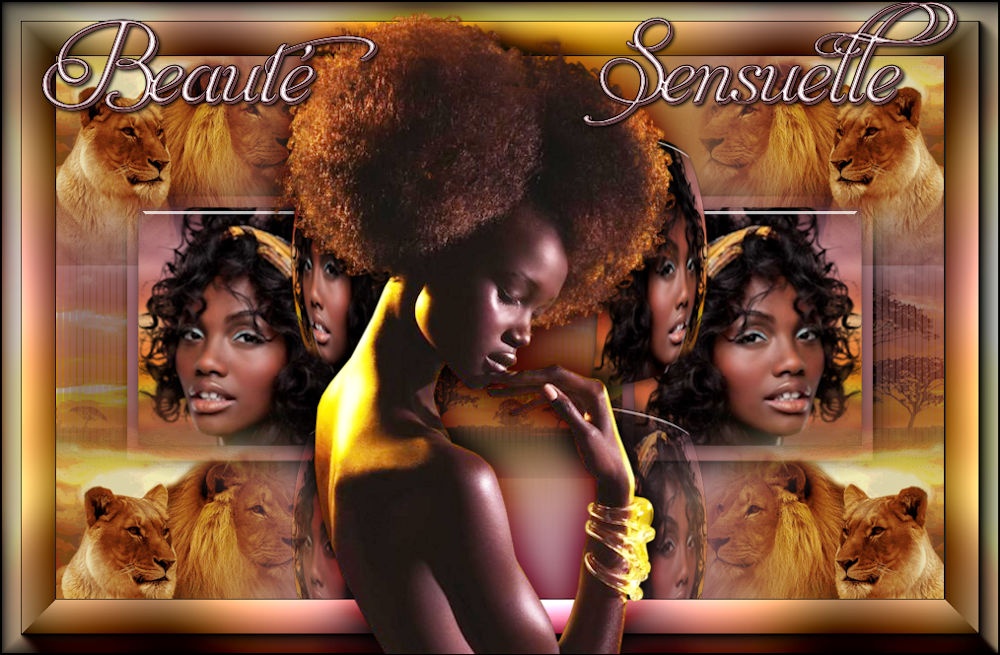 Pia  If you have problems or doubts, or you find a not worked link, or only for tell me that you enjoyed this tutorial, write to me. |


