|
FRANCESCO 

This tutorial, was created with PSPX9 and translated with PSP2020, but it can also be made using other versions of PSP.
 For this tutorial, you will need:  Thanks for the tubes and the mask Beatriz, Silvie and Narah. The rest of the material is by Lady Tess. (you find here the links to the material authors' sites)   consult, if necessary, my filter section here Filters Unlimited 2.0 here Graphics Plus - Cross Shadow here [AP Lines] - Lines SilverLining here FM Tile Tools - Blend Emboss here Toadies - What are you here AAA Frames - Foto Frame here Filters Graphics Plus and Toadies can be used alone or imported into Filters Unlimited. (How do, you see here) If a plugin supplied appears with this icon  it must necessarily be imported into Unlimited it must necessarily be imported into UnlimitedYou can change Blend Modes according to your colors.  Open the mask in PSP and minimize it with the rest of the material. 1. Set your foreground color to #b0daea and your background color to #2d82a4. 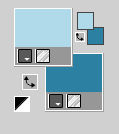 2. Open a new transparent image 900 x 550 pixels. Selections>Select All. Open the image Image-Fondo 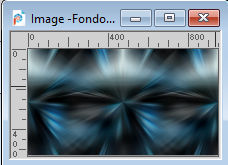 (you can colorize it) Edit>Copy. Go back to your work and go to Edit>Paste into Selection. Selections>Select None. Layers>New Raster Layer. Flood Fill  the layer with your background color #2d82a4. the layer with your background color #2d82a4.Layers>New Mask layer>From image Open the menu under the source window and you'll see all the files open. Select the mask NarahsMasks_1747 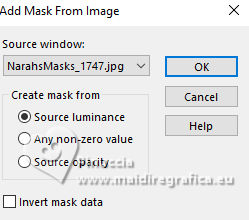 Effect>Edge Effects>Enhance More. Layers>Merge>Merge Group. 3. Effects>Reflection Effects>Rotating Mirror. 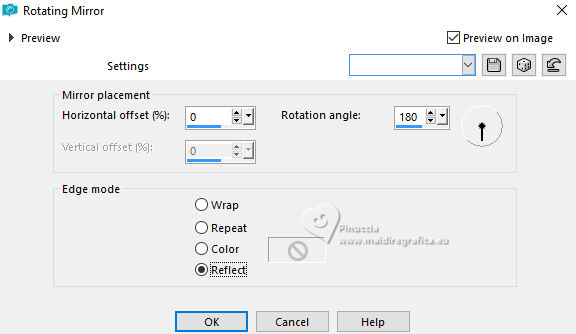 Open Tube_Italia 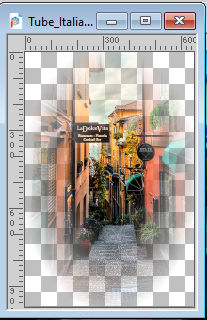 Edit>Copy. Go back to your work and go to Edit>Paste as new layer. Image>Resize, to 70%, resize all layers not checked. Change the Blend Mode of this layer to Overlay. 4. We have this 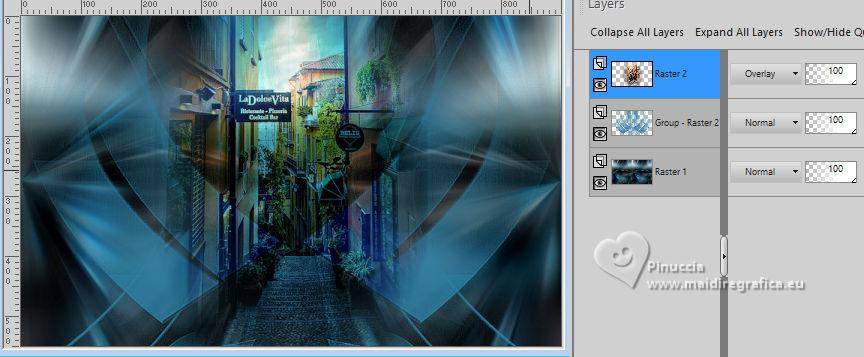 5. Activate the layer Raster 1. Edit>Copy. Edit>Paste as new image and minimize this image for a moment. Go back to your work. Layers>Merge>Merge visible. 6. Selections>Select All. Selections>Modify>Contract - 8 pixels. Selections>Invert. Layers>New Raster Layer. Flood Fill the layer with your background color #2d82a4.7. Effects>Plugins>Filters Unlimited 2.0 - Graphics Plus - Cross Shadow. 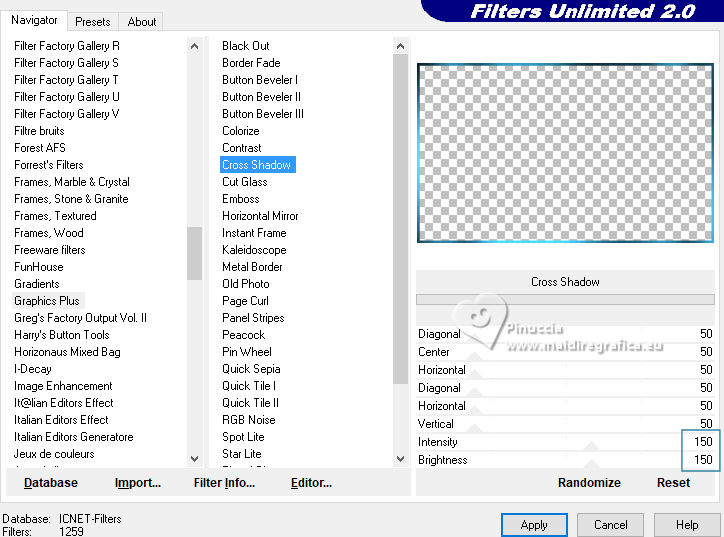 Effects>Plugins>[AP Lines] - Lines SilverLining - Breaks in Fence. 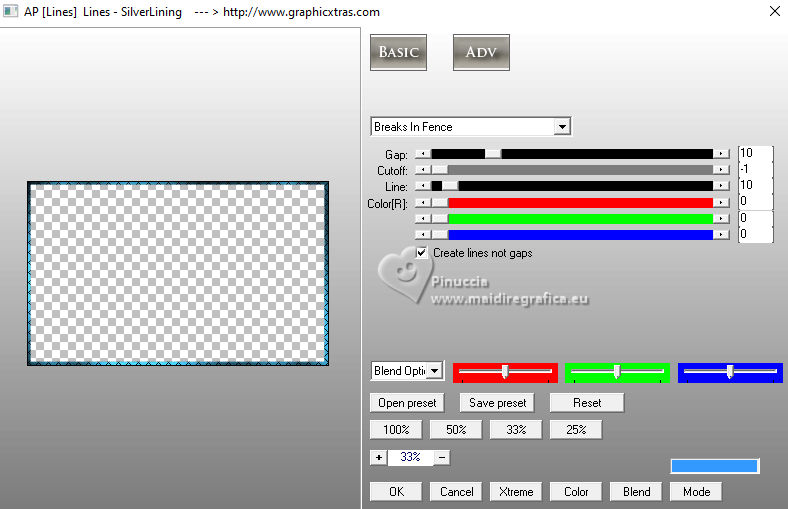 8. Adjust>Sharpness>Sharpen. Selections>Select None. Layers>Merge>Merge Down. Edit>Copy. Activate the image minimized in step 5 and go to Edit>Paste into Selection. 9. Image>Resize, to 90%, resize all layers not checked. Layers>Duplicate. Activate the layer below of the original. Effects>Plugins>Filters Unlimited 2.0 - Toadies - What are you 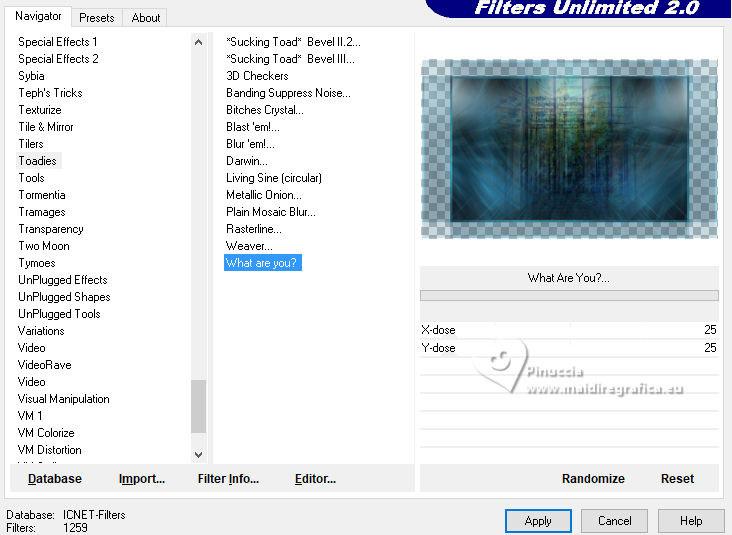 Effects>Plugins>FM Tile Tools - Blend Emboss, default settings. 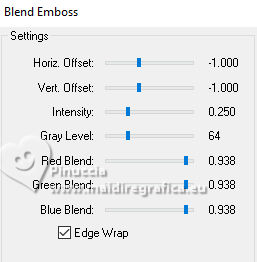 Edit>Repeat Blend Emboss. 10. Activate your top layer. Effects>Distortion Effects>Lens Distortion. 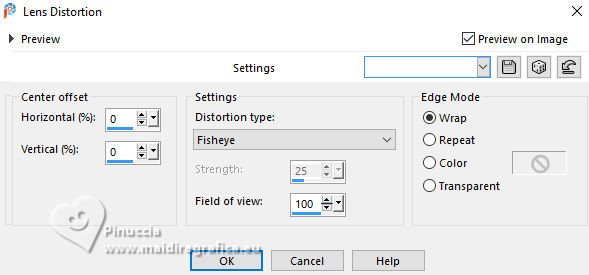 11. We have this 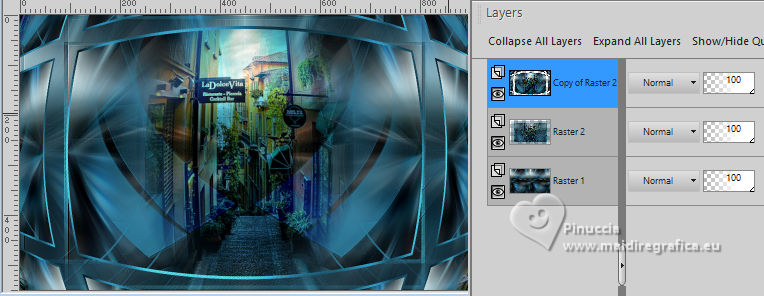 12. Image>Add Borders, 1 pixel, symmetric, color #000000. Selections>Select All. Image>Add Borders, 55 pixels, symmetric, color #ffffff. Effects>Image Effects>Seamless Tiling, default settings 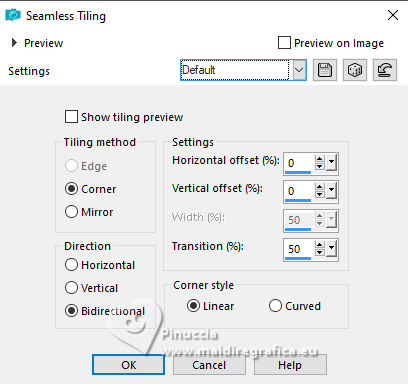 13. Selections>Invert. Adjust>Blur>Motion Blur 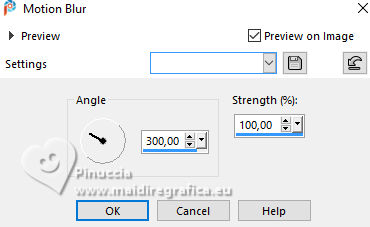 Edit>Repeat Motion Blur. Effects>Reflection Effects>Rotating Mirror 14. Effects>Plugins>AAA Frames - Foto Frame. 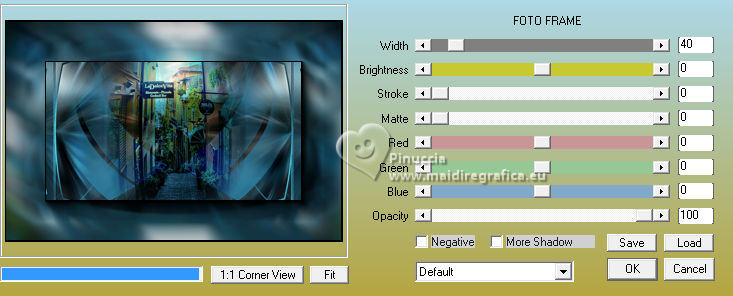 Repeat Effects>Plugins>AAA Frames - Foto Frame, width 10. 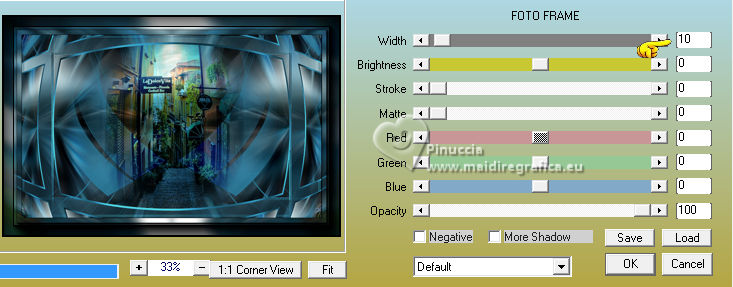 Selections>Select None. 15. Open 5038-man-LB TUBES 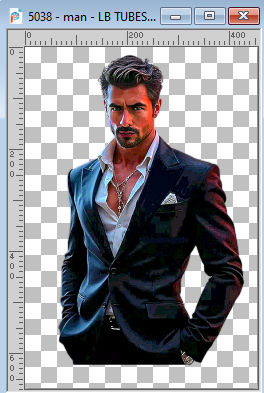 Edit>Copy. Go back to your work and go to Edit>Paste as new layer. Move  the tube to the right side. the tube to the right side.Effects>3D Effects>Drop shadow. 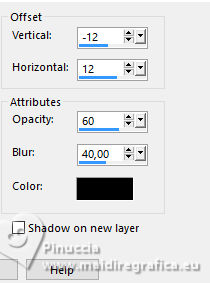 16. Open Auto_Deportivo 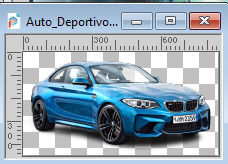 Edit>Copy. Go back to your work and go to Edit>Paste as new layer. Image>Resize, to 66%, resize all layers not checked. Effects>Image Effects>Offset. 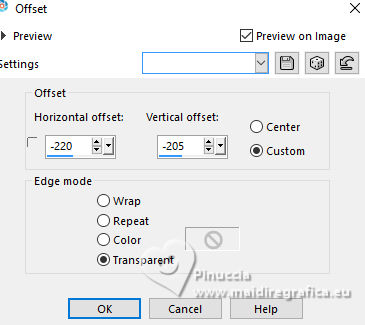 17. Effects>3D Effects>Drop shadow, last settings. Activate your bottom layer. Open Deco741_Silvie_18.01.2022 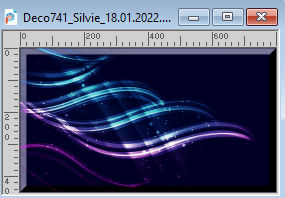 Edit>Copy. Go back to your work and go to Edit>Paste as new layer. 18. Image>Mirror>Mirror Horizontal. Move the tube at the bottom right.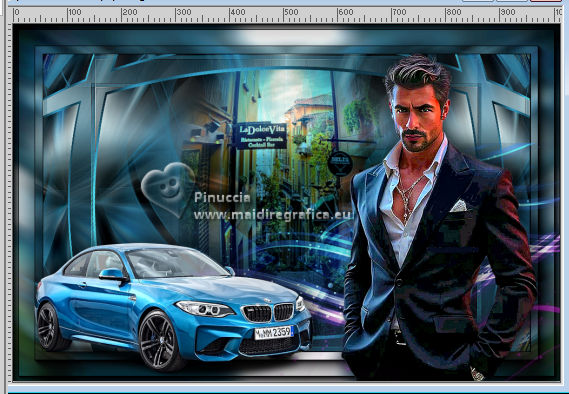 Layers>Duplicate. Again Image>Mirror>Mirror Horizontal. Layers>Merge>Merge Down. 19. Activate your top layer. Open LTDStudio_Francesco_Texto 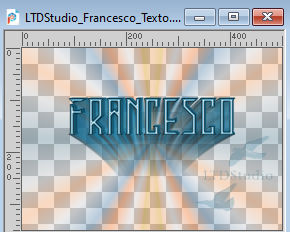 Edit>Copy. Go back to your work and go to Edit>Paste as new layer. Move the text to your liking.Sign your work on a new layer. Add the author's and translator's watermarks. Layers>Merge>Merge All and save as jpg. Version with my tubes from Pinterest image 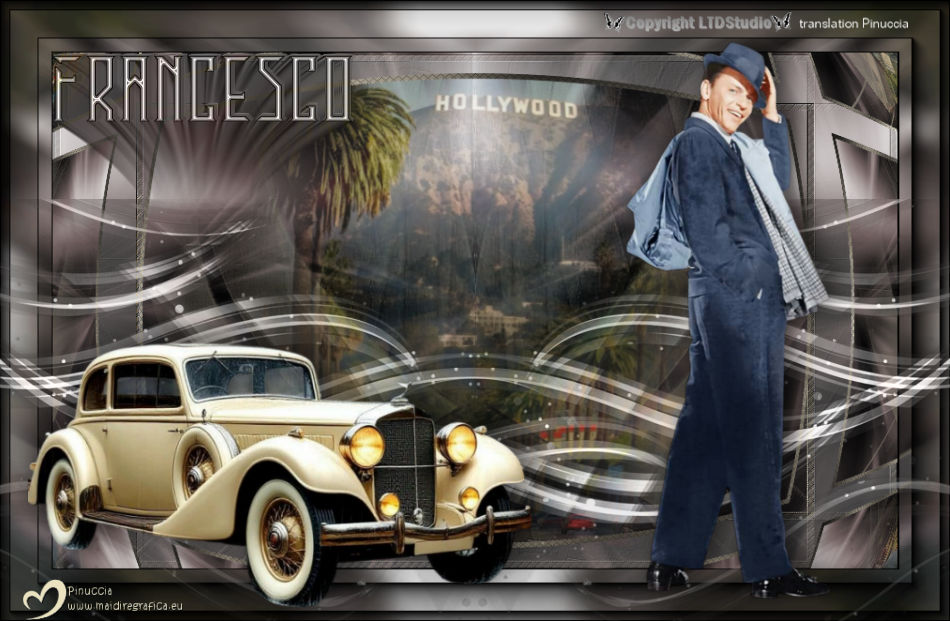   Your versions. Thanks Your versions. Thanks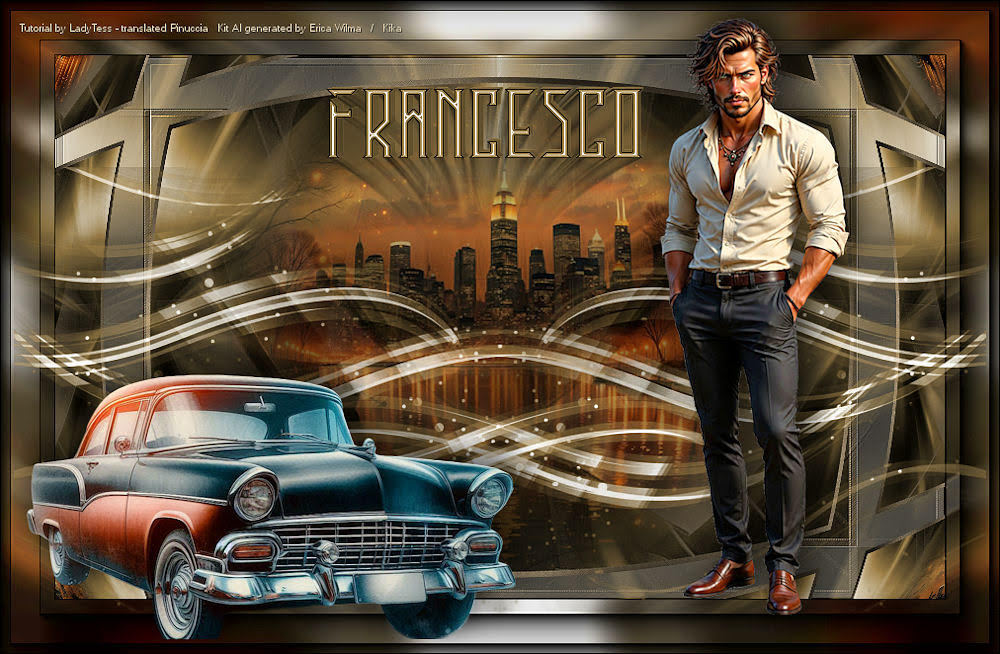 Kika 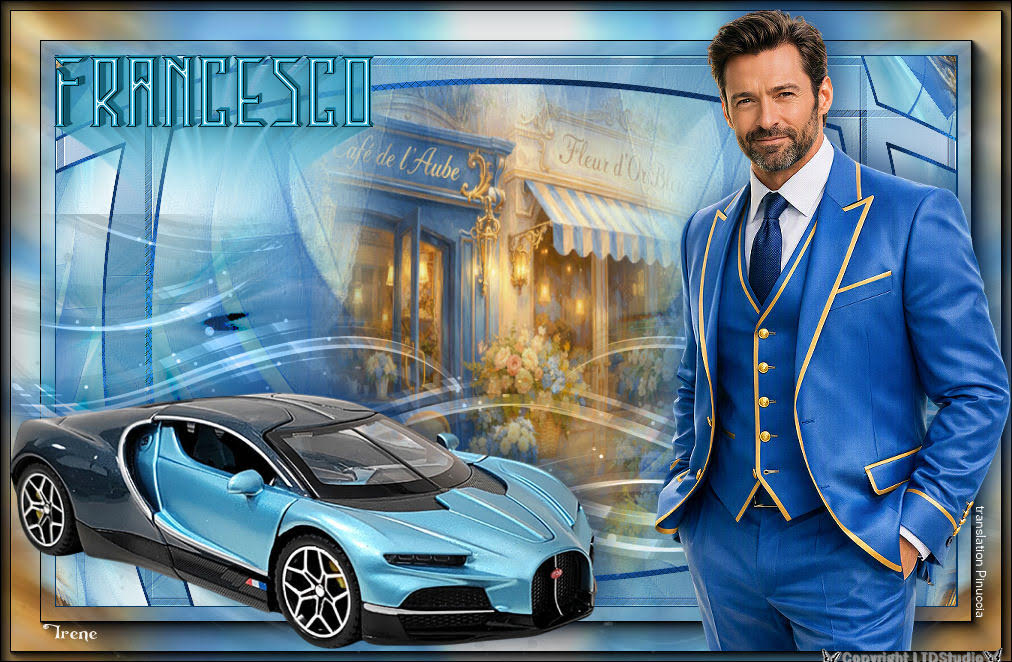 Irene  Baby 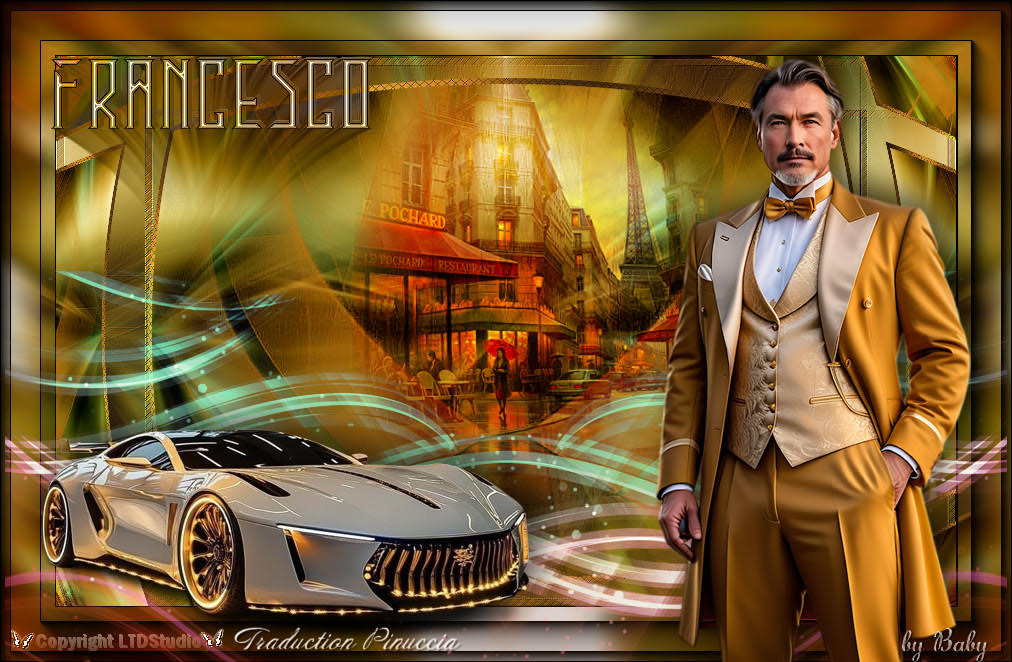 Baby  If you have problems or doubts, or you find a not worked link, or only for tell me that you enjoyed this tutorial, write to me. 3 August 2026 |